Routzy for Smart Service
What’s Routzy?
Routzy is a mobile sales CRM that gives your sales reps access to your Smart Service customer list. Using Routzy, your sales reps can create prospects, estimates, maintain their schedule, and send it all back to your office.
If the estimation features available in iFleet aren’t cutting it for your sales team, Routzy’s biggest advantage is giving the independence to create and maintain a schedule separate from Smart Service.
Device Requirements
Before you get started with Routzy, make sure your device is up to spec. Although cellular service is not required to operate Routzy, a data plan of 1GB+ is recommended. Without a data plan, technicians will only be able to send and receive job information when connected to Wi-Fi.
- The Routzy app is available on iPads only
- Routzy requires iOS 9 or above
- 16 GB of storage recommended
Integrating Routzy
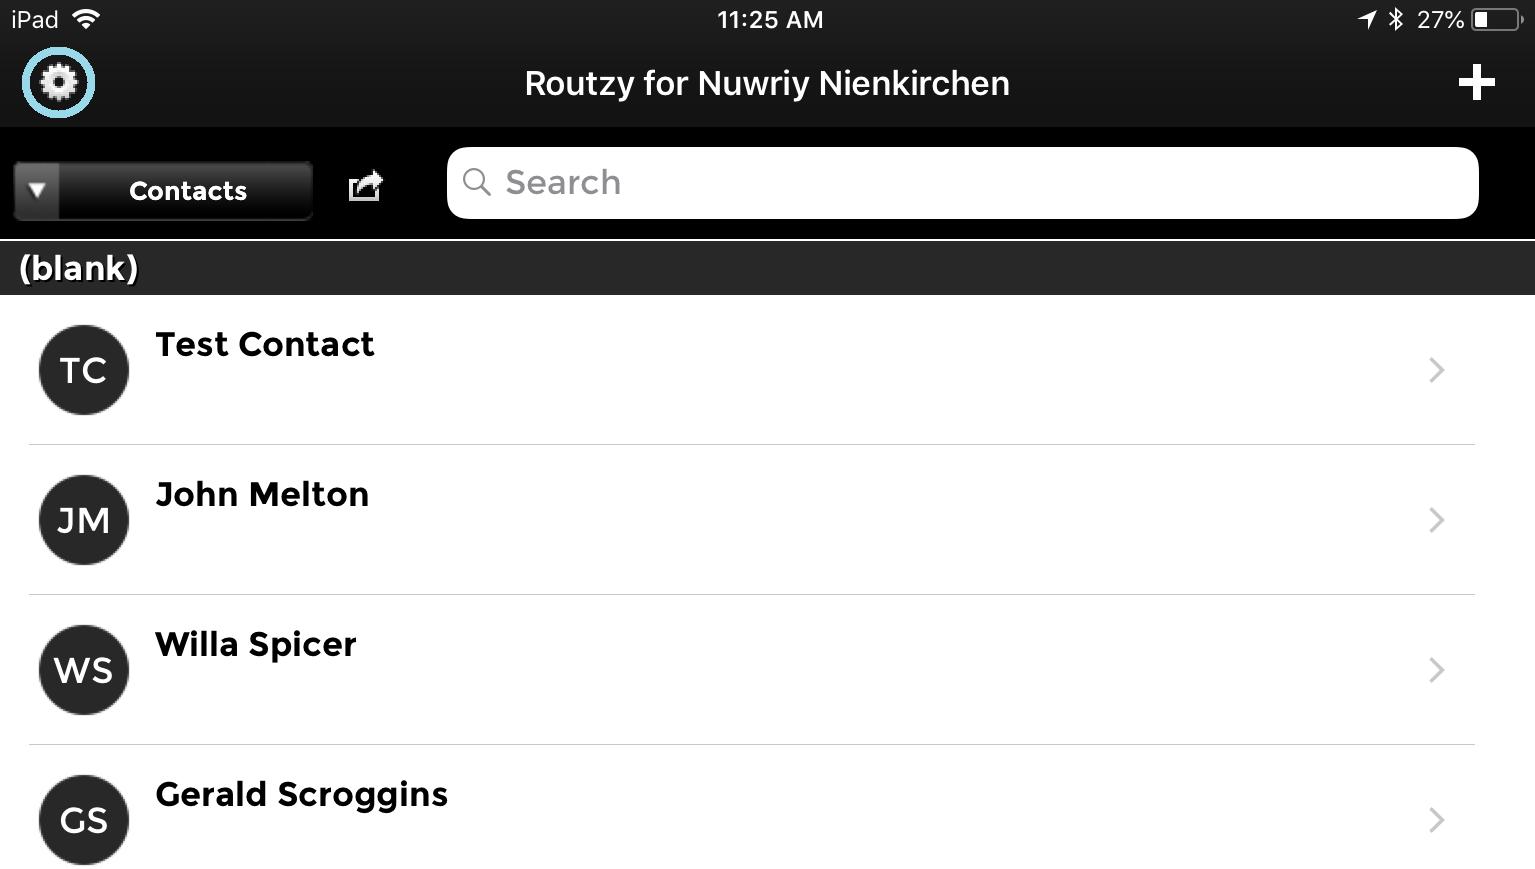
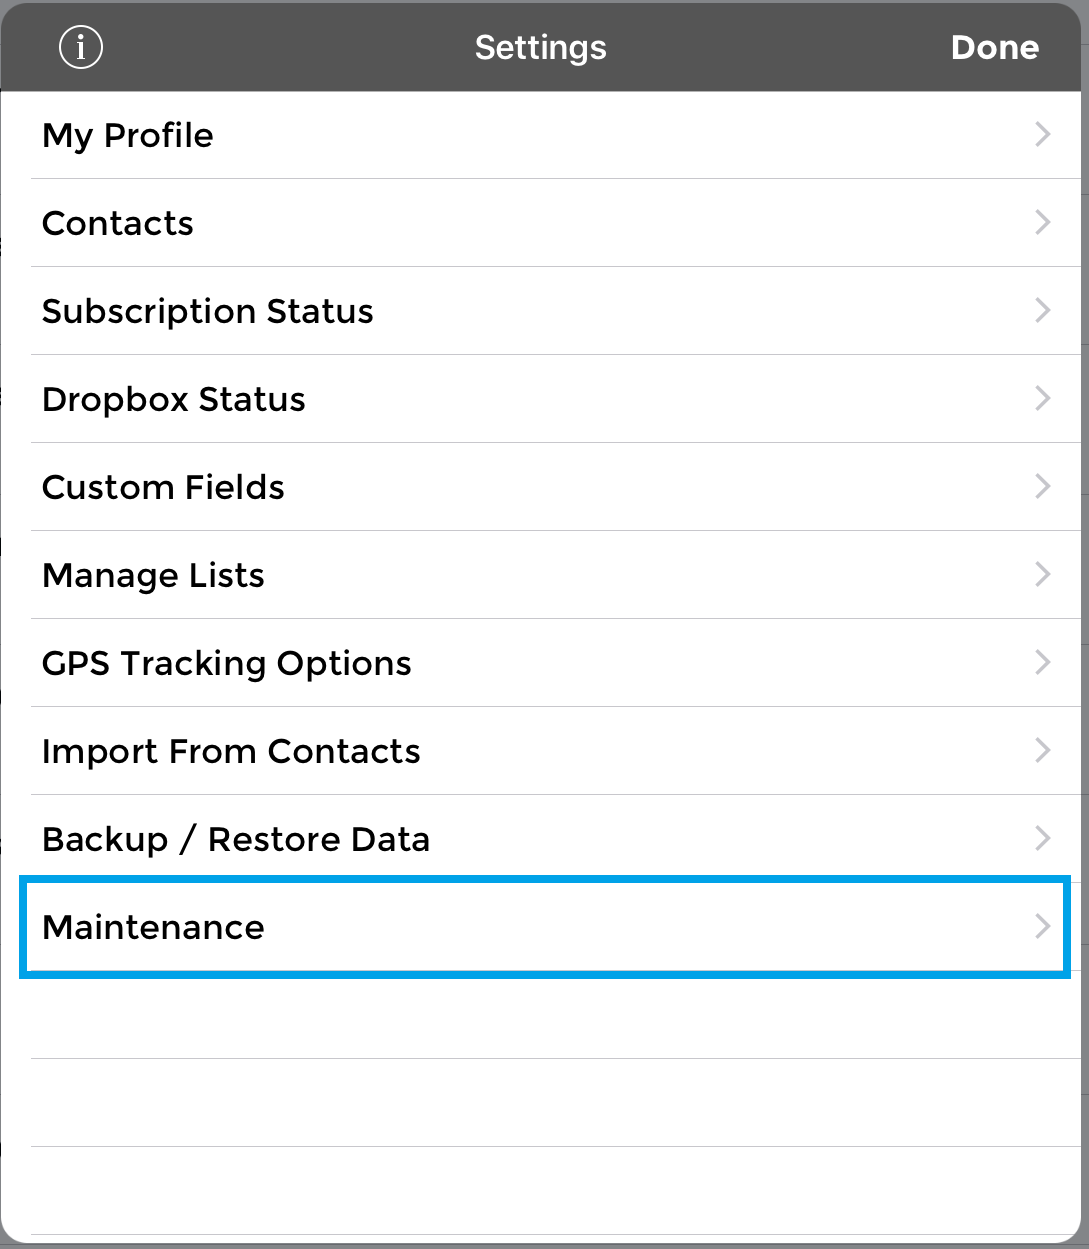
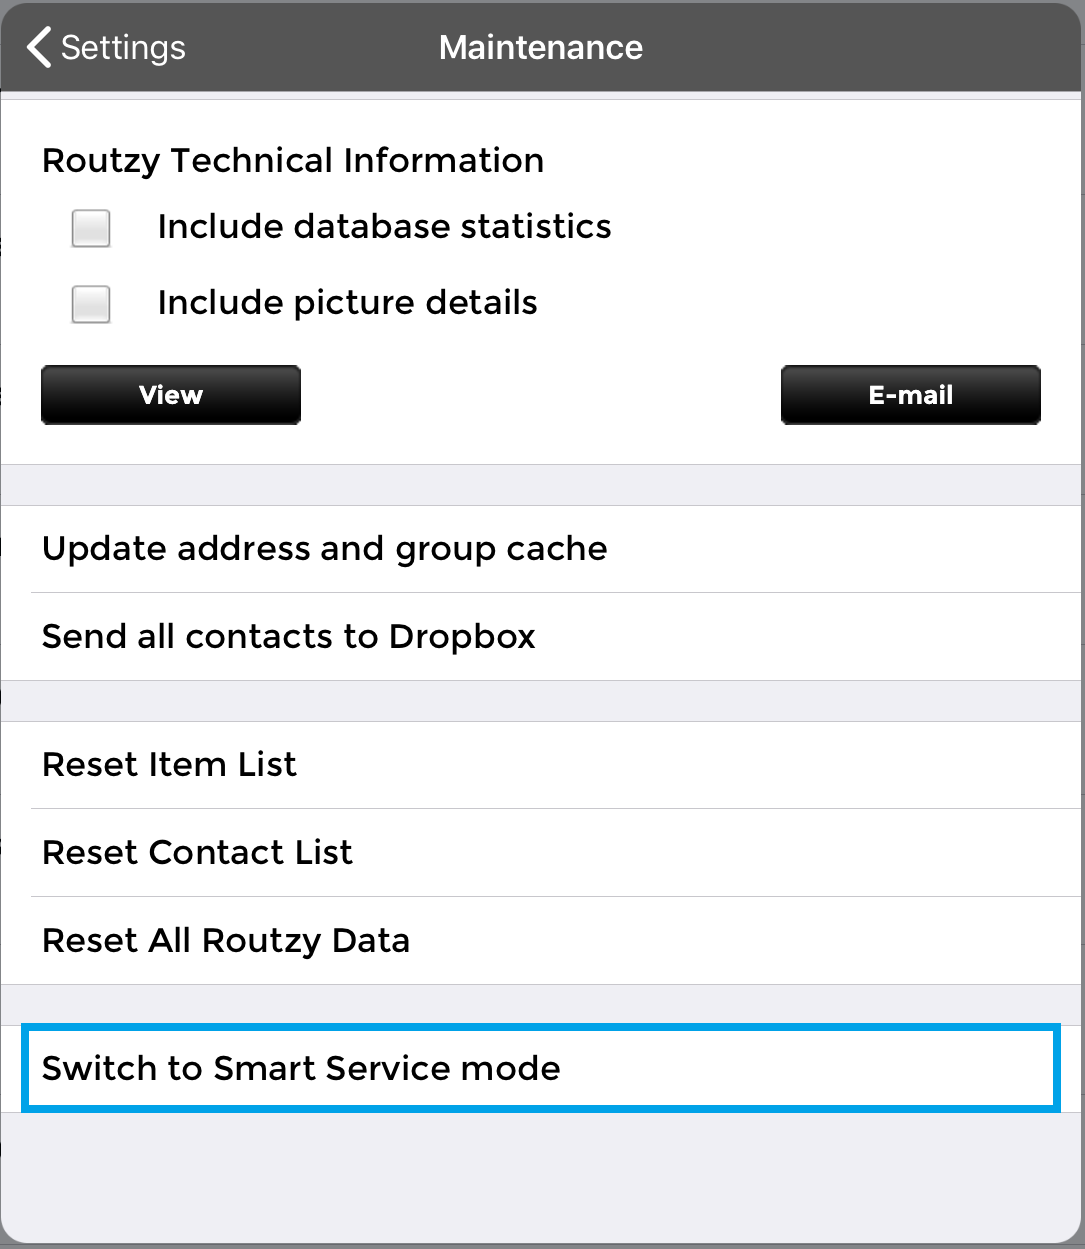
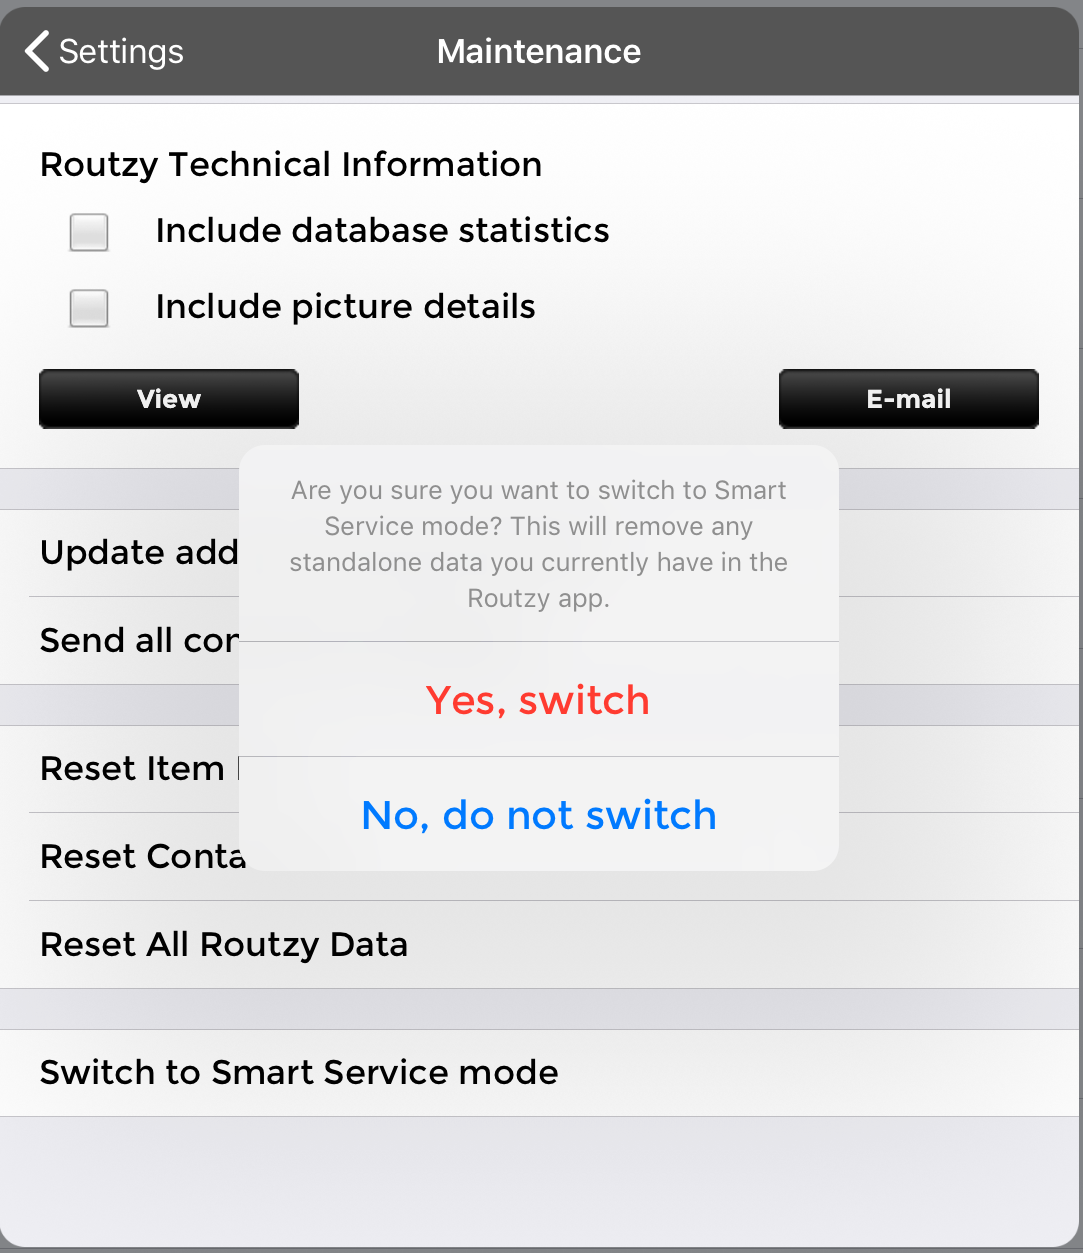
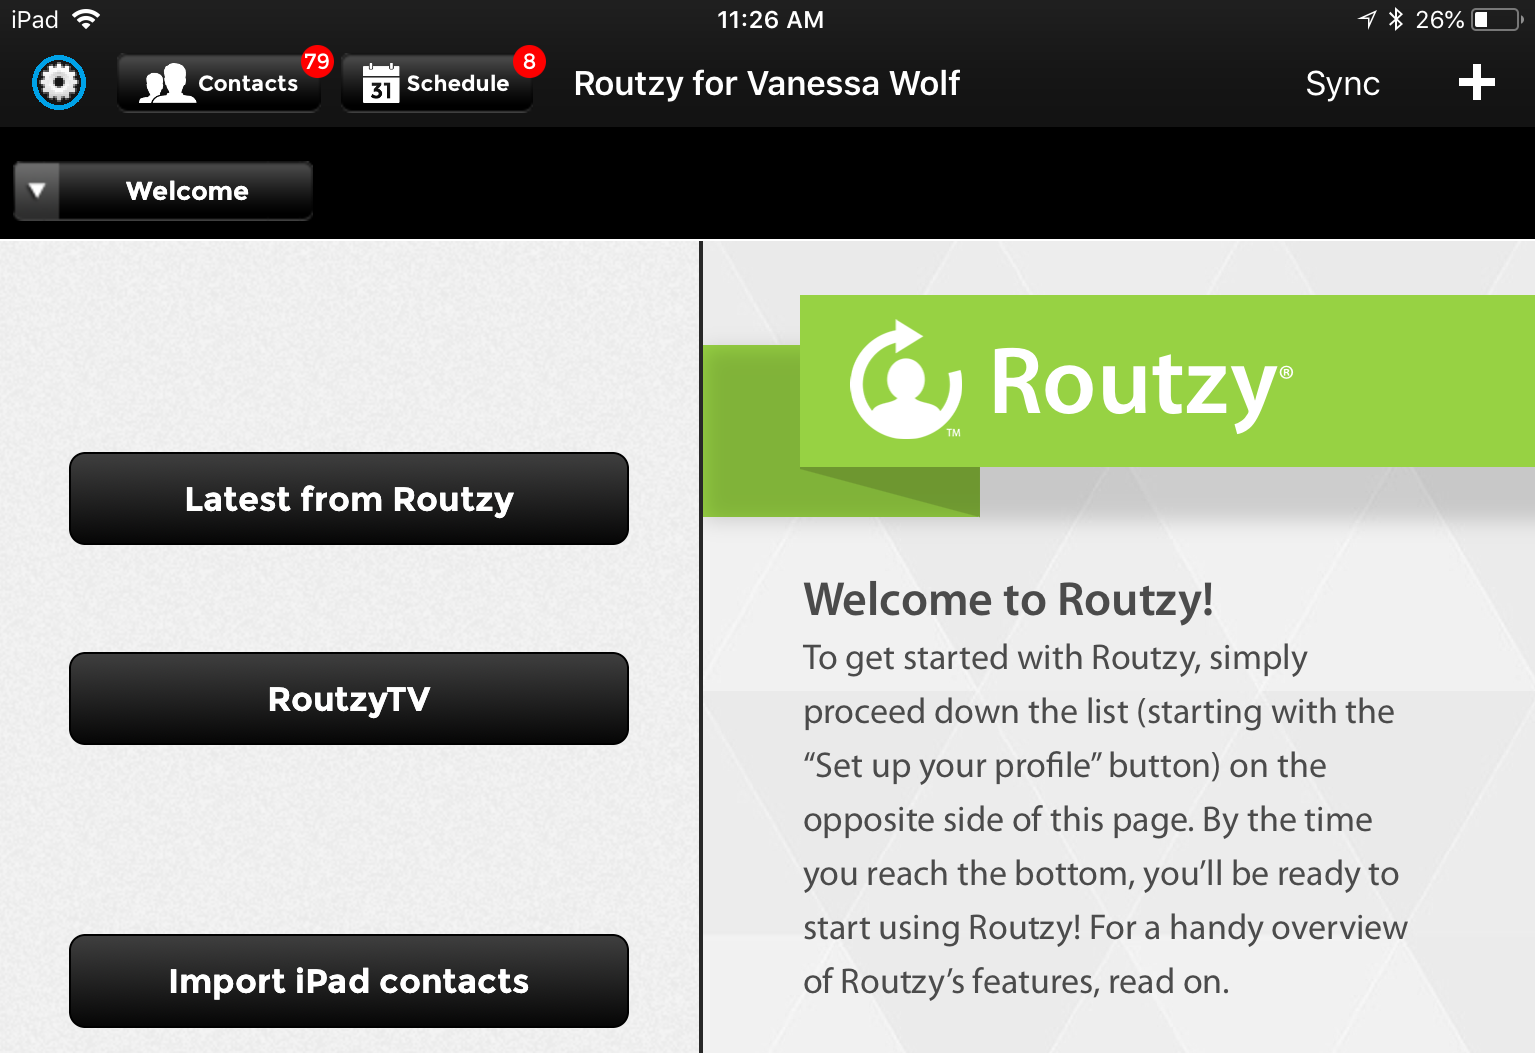
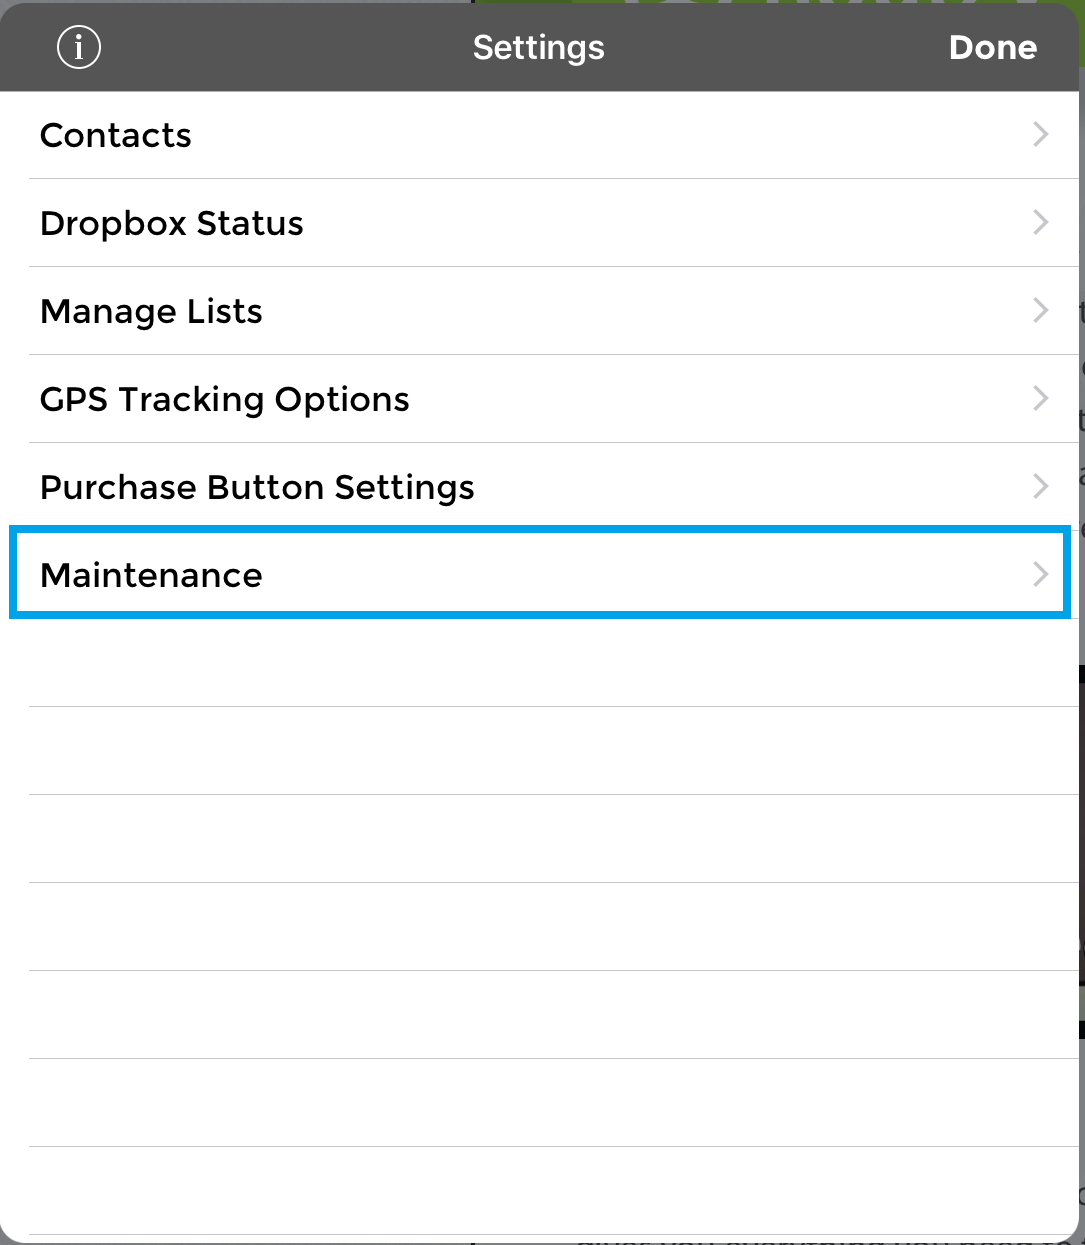
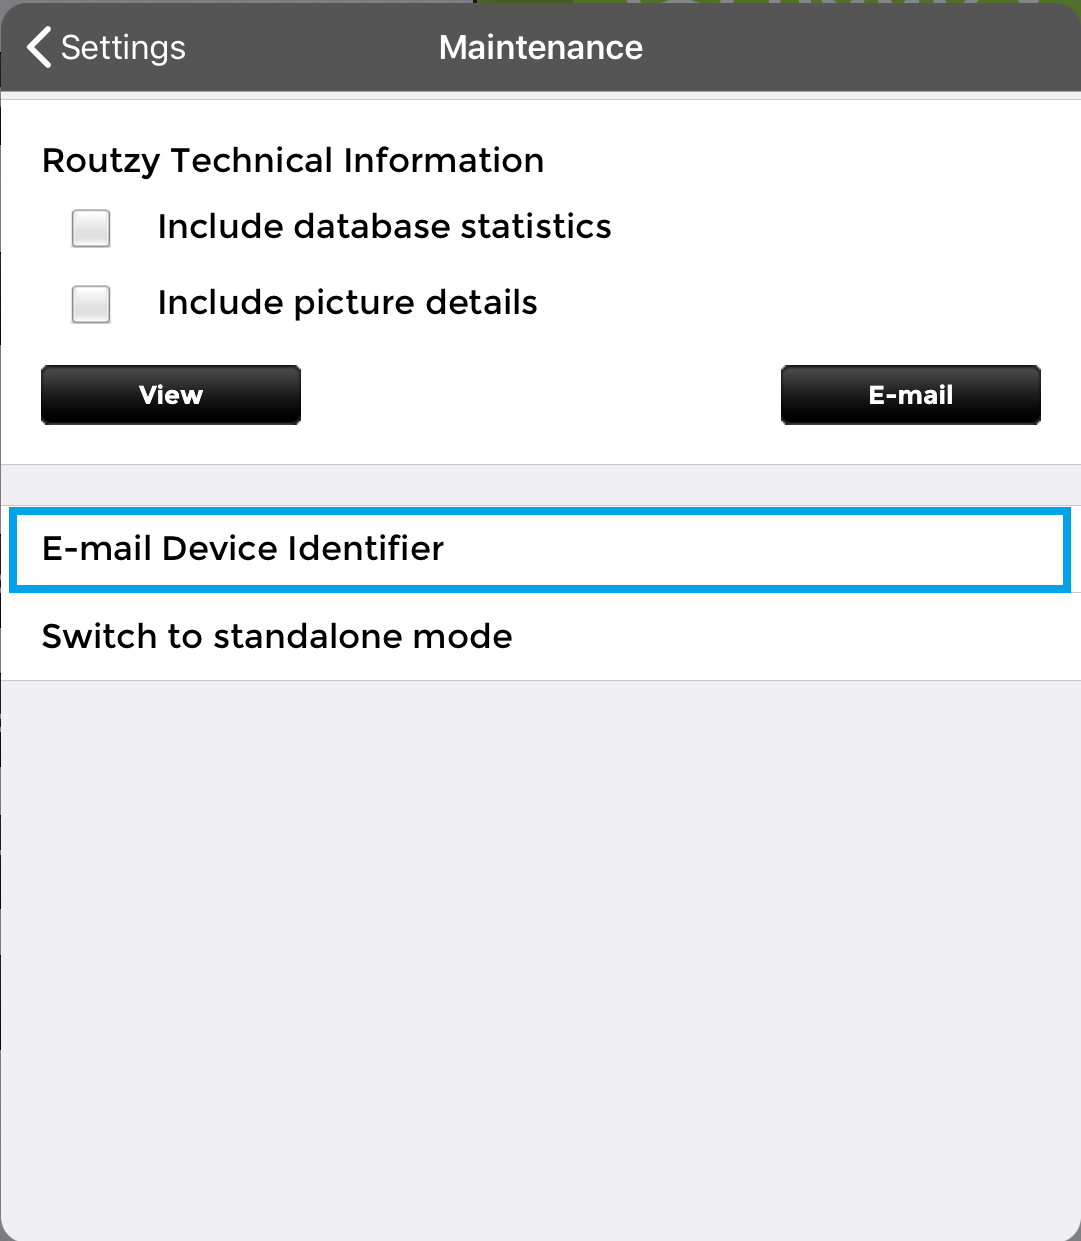
After you’ve purchased Routzy, it’s time to download the app from the Apple App Store. Once you have the app, tap the tiny gear at the top left-hand corner to open Routzy’s settings. Since Routzy was a standalone app before integrating with Smart Service, tap “Maintenance” and choose “Switch to Smart Service mode”.
Now that you’re in the right version, tap on the gear again, choose maintenance, then “Email Device Identifier”. This should open your default email client and allow you to send your device ID to the office. The idea is that you email the ID to an office user with access to Smart Service to avoid manually entering the ID.
Since Routzy is designed for sales reps, your new user must be set up as a sales rep in QuickBooks Desktop. You can check out this article from the Intuit Community on creating sales reps in QuickBooks. Just make sure to run a “Get Lists” to import your data into Smart Service afterwards.
If you’re a QuickBooks online user, sales reps are not available in your version of QuickBooks. The good news is that Smart Service will still allow you to create them!
Enter Smart Service Settings and click on the “Defaults” tab. Under the “Prospect / Customer Defaults” is a “Rep” field. Clicking the arrow on this field will give you the option to add a new sales rep.
Enter Smart Service Settings and on the first tab, click “Set Up Smart Service Add-ons” at the bottom. Within this section will be a “Routzy” tab you can click on to manage your Routzy users.
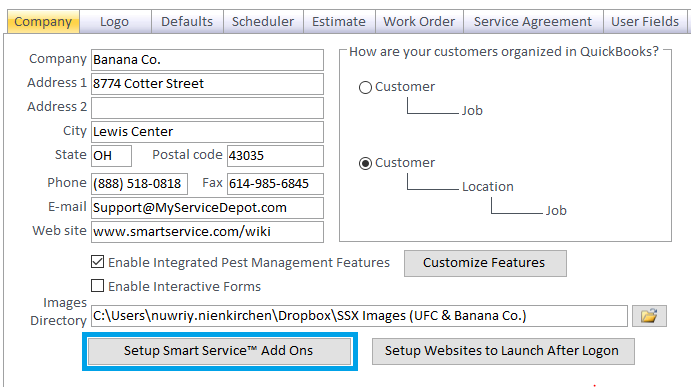
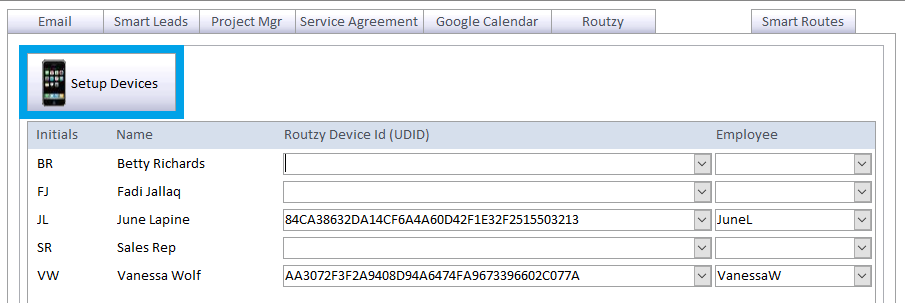
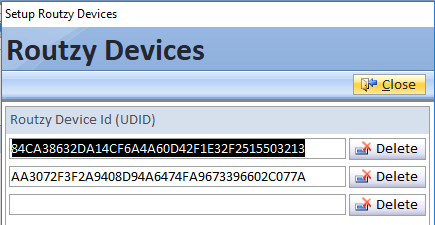

Click the “Set Up Devices” button and paste your device ID in the next available slot using the keyboard shortcut “Ctrl+V” to paste. When you’re done, close the window and in the previous window paste the ID using “Ctrl+V” again to assign the ID to one of your users. Once the ID is assigned, select the users Smart Service employee profile from the dropdown to the right.
Now that you’ve assigned your Routzy device to the proper user, Routzy will start sending data assigned to that user to their device. This process can take up to 10 minutes, and you can check the connection by tapping the “Sync” button in the top right-hand corner of the app.
Assigning Prospects to Routzy Users
Routzy users will be able to access prospects and estimates assigned to them from Smart Service, or create their own. Here, we’ll start out with assigning existing data from Smart Service to your Routzy user.
You can convert existing customers to prospects by opening the customer’s record and clicking the “Convert to Prospect” button at the bottom of your screen. This will create a prospect version of your customer which can be sent to Routzy in the next section.
Although there is a “New Prospect” button in the software, don’t use it if you already have an existing customer record for the client. Creating a new prospect (even if it has the same name as the customer) will count as a separate client entirely, which means awarded estimates won’t go to the right customer later.

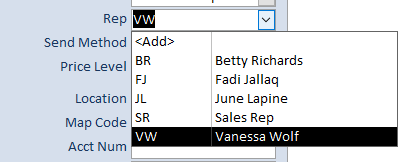
Once the prospect is created, you need to assign the Routzy user as their sales rep. Assigning the Routzy user on the prospect will ensure that this client is available on the device indefinitely, whereas assigning the rep on the estimate level will cause the client to be removed from Routzy once the estimate is completed.
Syncing & Sharing Information
When it comes to passing information between Routzy and Smart Service, there are a few key points to keep in mind. A general overview of the process is that Routzy creates activities for prospects, which will be sent back to Smart Service. You can find these activities in the prospect’s “Correspondence” tab.
Activities and estimates are sent to and from Routzy when the Routzy user taps the “Sync” button in the top right-hand corner of Routzy. You can create correspondence reports in Smart Service’s reporting section to check in on your sales rep’s activities.
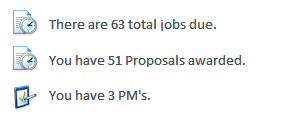
Smart Service also notifies office users when estimates are marked as awarded from Routzy or iFleet. You can check on these recently awarded estimates by visiting your Home Screen and clicking on the “you have # estimates awarded” option.
Using Routzy
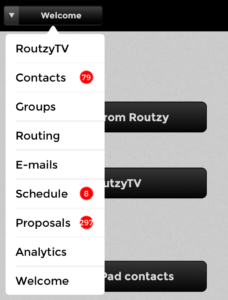
Every sales team’s process is unique and Routzy’s features are flexible enough to be performed in the order your process requires. For this section of the guide, we will outline the available features so you can adapt the software to your process.
Each of the following screens can be found in Routzy’s feature menu. You can find this menu in the top right-hand corner of the screen. Follow each section below to get a better understanding of each section and the features therin.
Contacts
Any contacts that have been assigned to you will appear in this section. When new contacts are sent from the office, a red dot will appear notifying you of the number of new contacts. From the photo above, my new Routzy user has 79 new contacts.
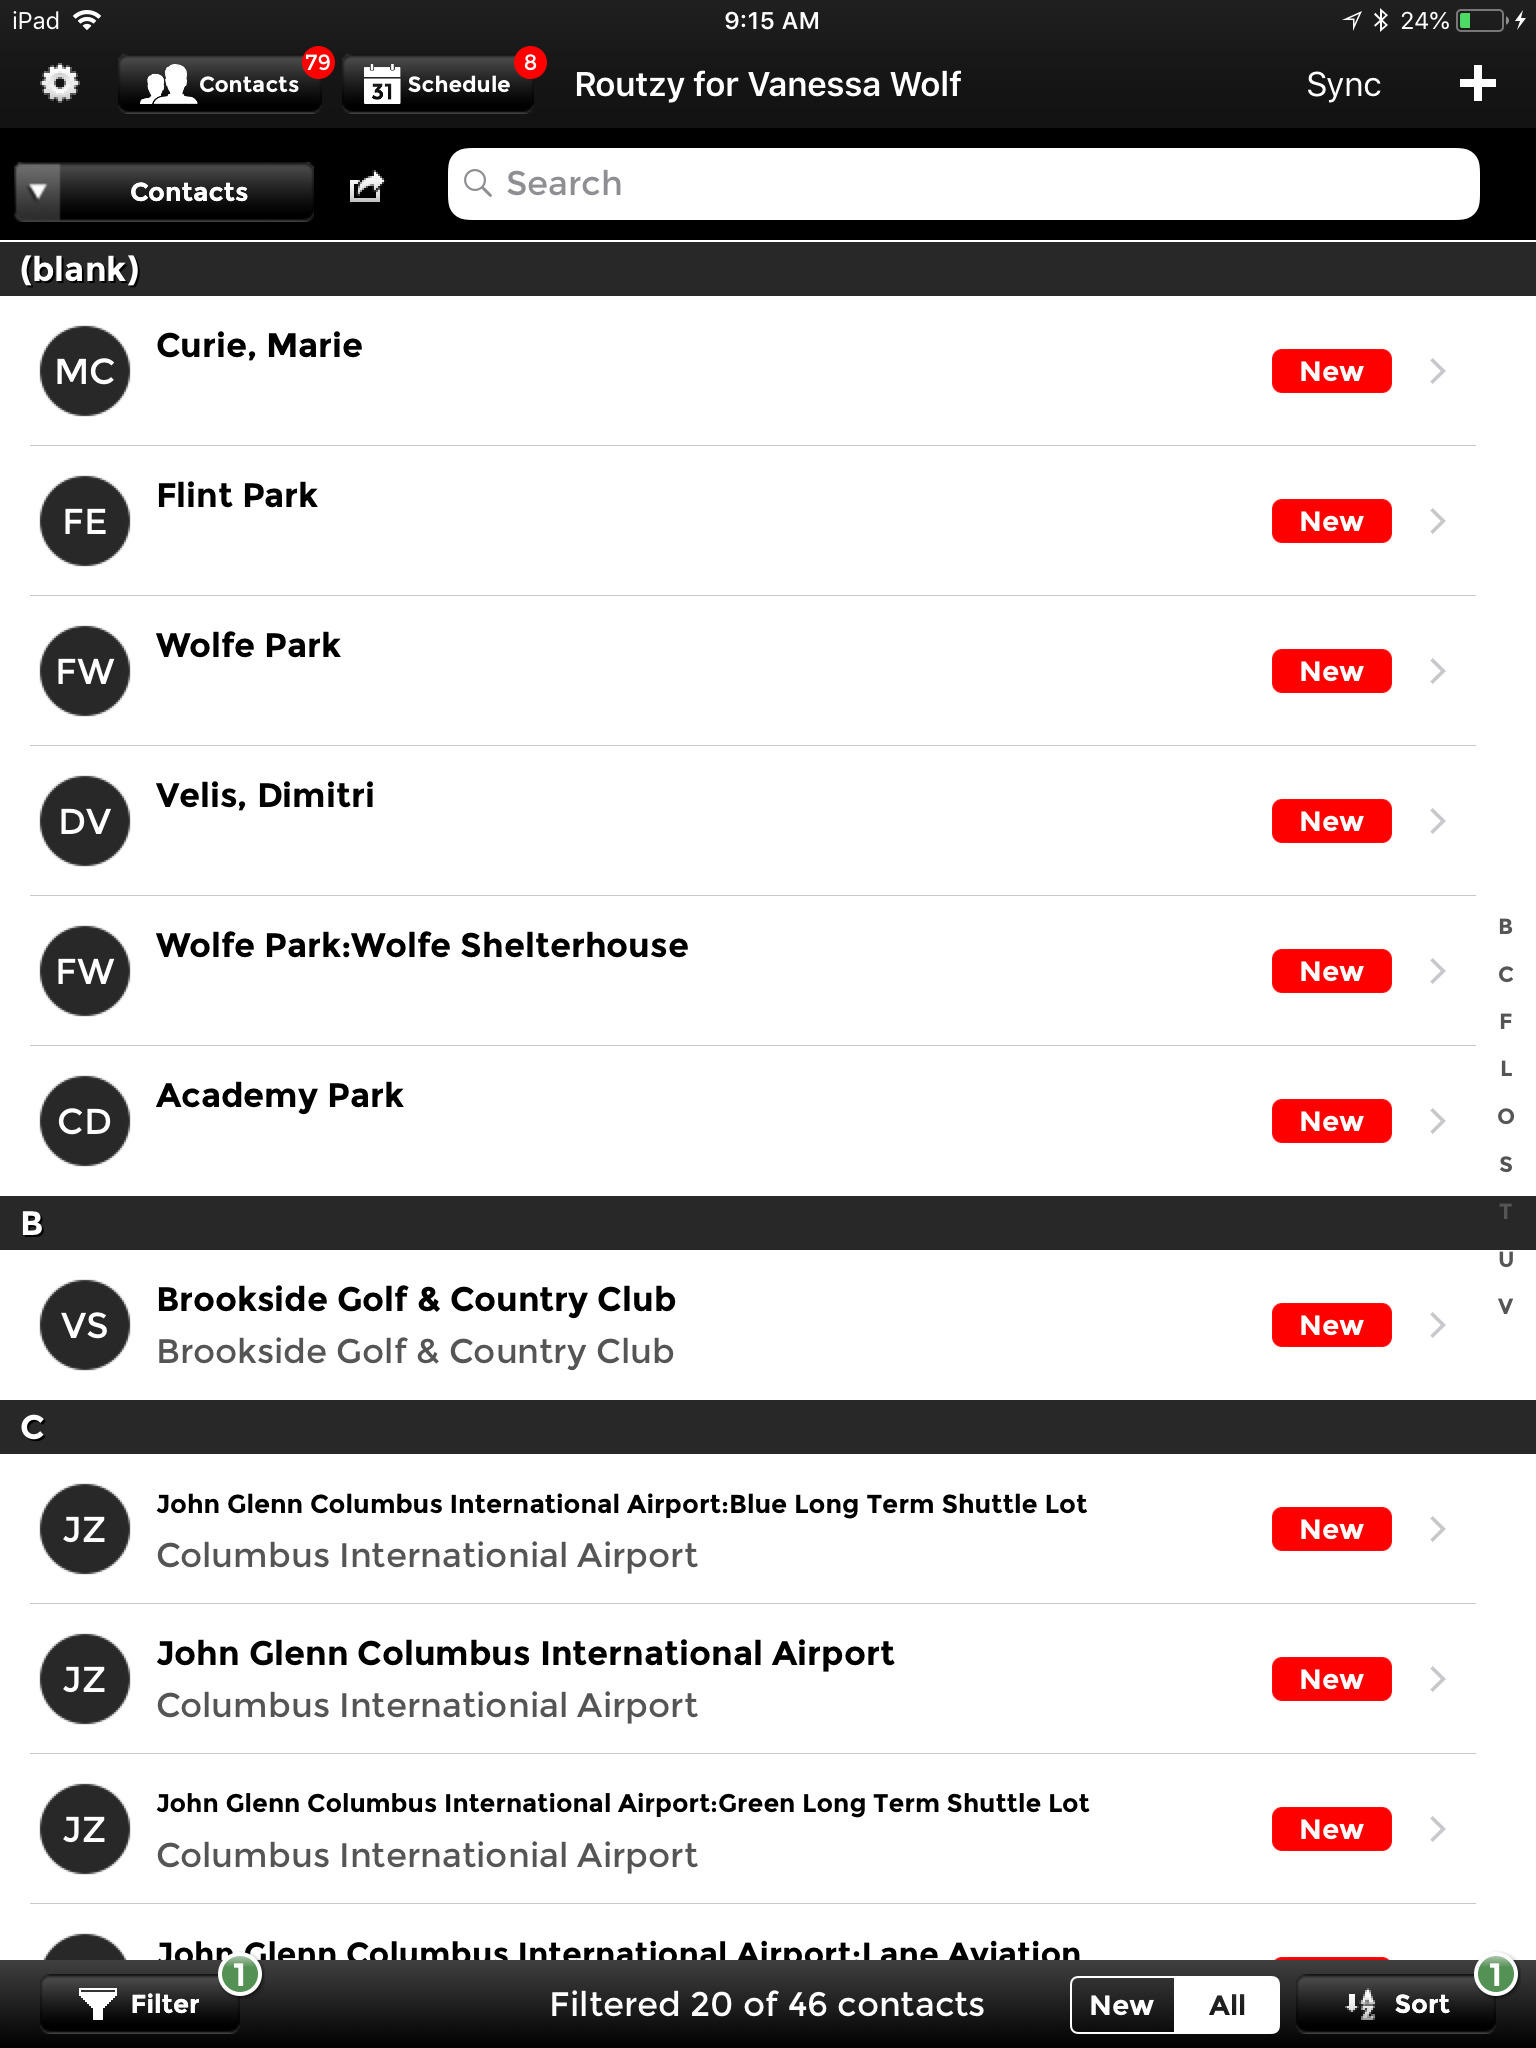
You can search for a contact by using the search bar at the top of the screen. Each new contact will have a “New” label to the right.
You can tap on one of your contacts to see their address and contact information. Once inside you can add activities to their record. In Routzy, photos, emails, proposals, drawings, etc. are all considered activities. These activities will also be noted back in Smart Service.
The “+” symbol at the top right of the screen can be used to create a new contact. When a new contact is created, a copy of their information will be sent back to Smart Service in the office for reporting and other future uses.

Applying Filters
You can apply filters using the filter option at the bottom left-hand corner of the screen.

Sorting Contacts
You can order your contacts list by adding a sort at the bottom right-hand corner of the screen
Creating Contacts
The “+” symbol at the top right of the screen can be used to create a new contact. When a new contact is created, a copy of their information will be sent back to Smart Service in the office for reporting and other future uses.
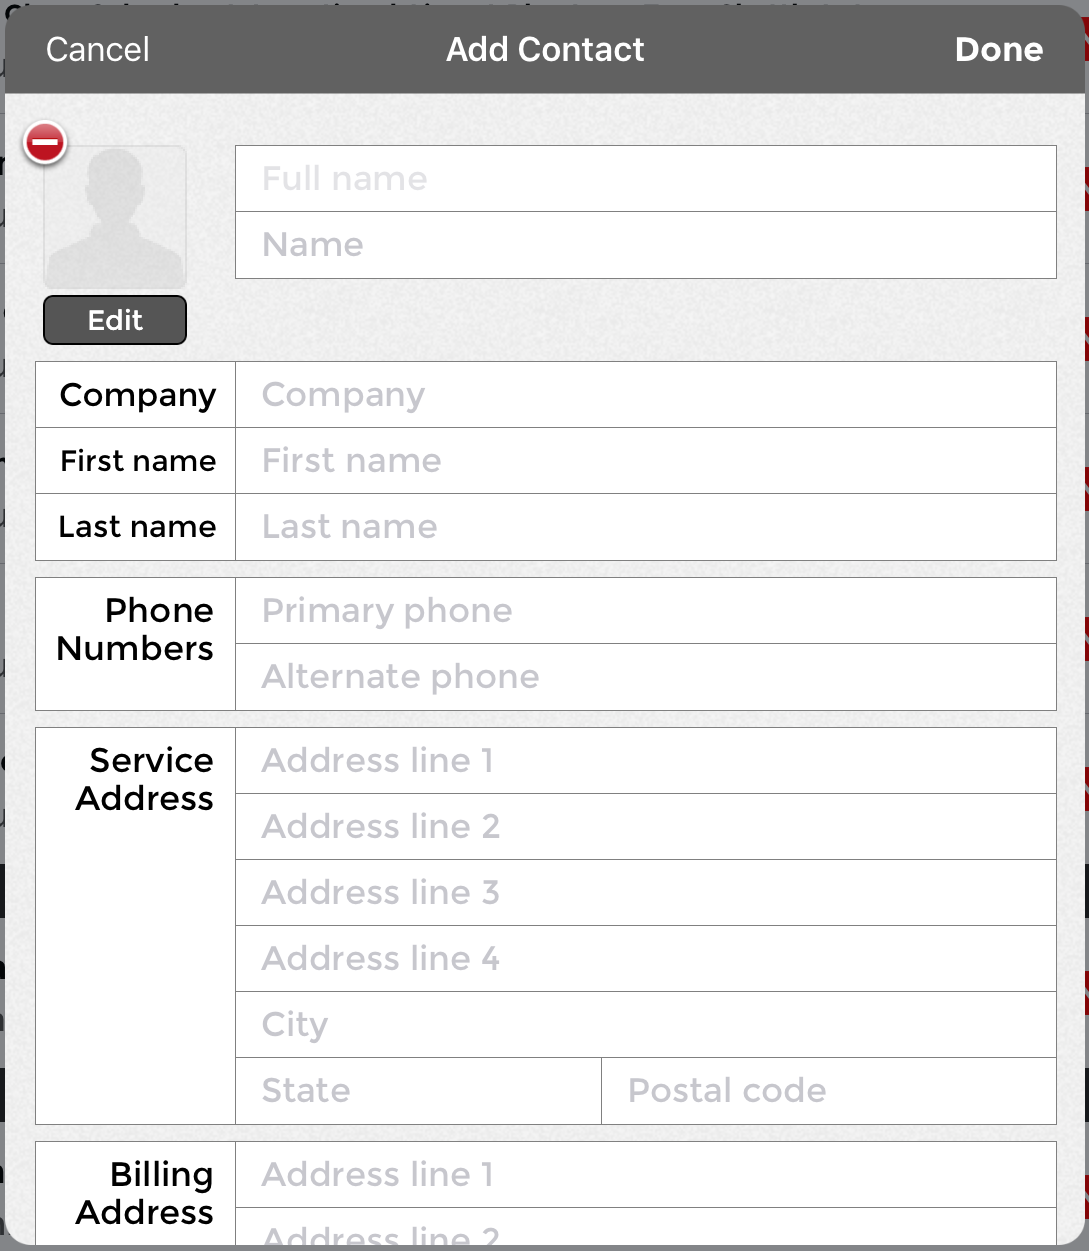
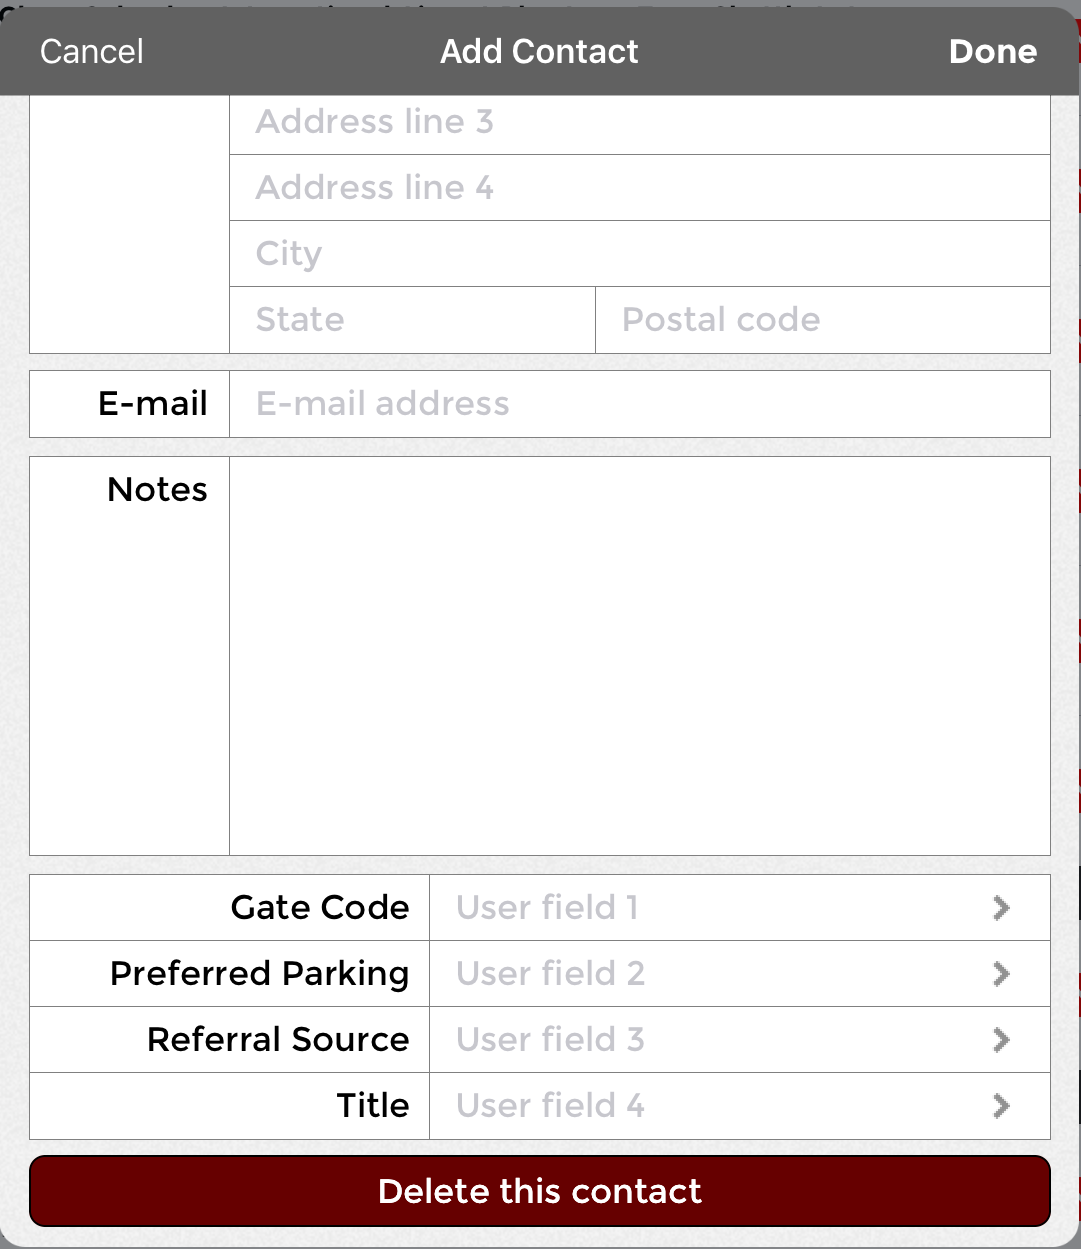
When you create a new contact in Routzy, you can use the photo box at the top to store a picture of your client. Without a picture, their initials will be displayed for their contact. Try to gather as much information as possible on your contact since this information will hopefully be used later to schedule jobs by the office.
Any prospect user fields created in Smart Service will be displayed at the bottom of the screen. You can learn about creating these user defined fields in Smart Service’s settings.
Once you’ve completed your contact, tap the “Done” button at the top right-hand corner.
Creating Activities
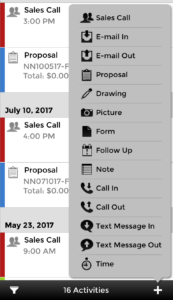
Every email, photo, and proposal are considered “activities” in Routzy. When you open one of your contacts you have the option to add new activities to their record by tapping the “+” symbol at the bottom right-hand corner.
There are several choices when it comes to Routzy’s activities, you can familiarize yourself with these options below.
Several of these activities have an “Add to calendar” feature. Tapping this option will add the reminder to the default calendar in use on your device. This is a great feature for not only receiving push notifications from your favorite calendar app, but also for sharing your calendar and these appointments with your coworkers.
A sales call differs from a call in / out because a sales call tracks objectives. Choose the sales call activity and you’ll see the option to add objectives to your call. This activity will return to Smart Service as a phone call correspondence.
Use this option when receiving an email from your customer. You can copy and paste the email text into this section to record your correspondence. This activity will return to Smart Service as an email correspondence.
This activity will help you send an email to your customer, when finishing the activity, your email can be sent to the customer directly from Routzy. This activity will return to Smart Service as an email correspondence.
Proposals are the main activity in Routzy, when you’re ready to make an offer to your client, you’ll need to create a proposal. For more information on using the proposal feature, check out the next section of this article. This activity will return to Smart Service as an estimate.
You can create drawings in Routzy which will return to Smart Service as pictures. You have the option to annotate images, use multiple colors, and snap lines to the grid. Alternatively, you will have these same options on photos.
You can take photos using Routzy which will return to Smart Service as pictures. You have the option to annotate images, use multiple colors, and snap lines to the grid. Alternatively, you will have these same options on drawings.
You can create and integrate your own customized PDF forms with Routzy, for more information on this process, click here.
A Follow Up is the equivalent of a reminder from Smart Service. When you need to check back in with your customer at a certain time / date, create a follow up.
Notes are the equivalent of a post card from Smart Service.
Create a call in when a customer calls you. Here you can store any information that was discussed on the call. This will return to Smart Service as a phone call correspondence.
Create a call out when you call a customer. Here you can store any information that was discussed on the call. This will return to Smart Service as a phone call correspondence.
Create a text message in when a customer texts you. Here you can store a copy of the message. This will return to Smart Service as a text message correspondence.
Create a text message out when you text a customer. Here you can store a copy of the message. This will return to Smart Service as a text message correspondence.
This is a timer attached to a notes section to track any time spent with the customer when needed. This is the only type of activity that does not return to Smart Service.
Creating Text Blocks
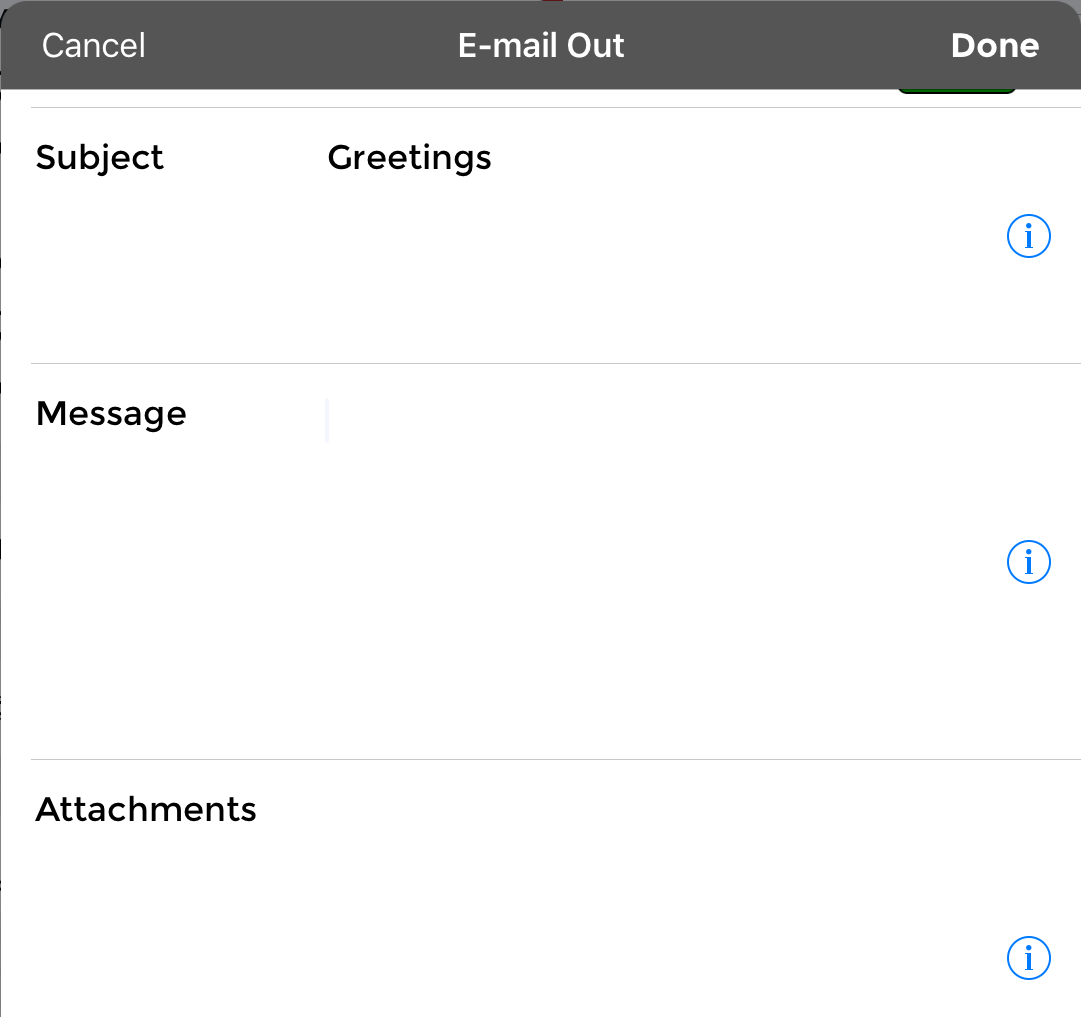
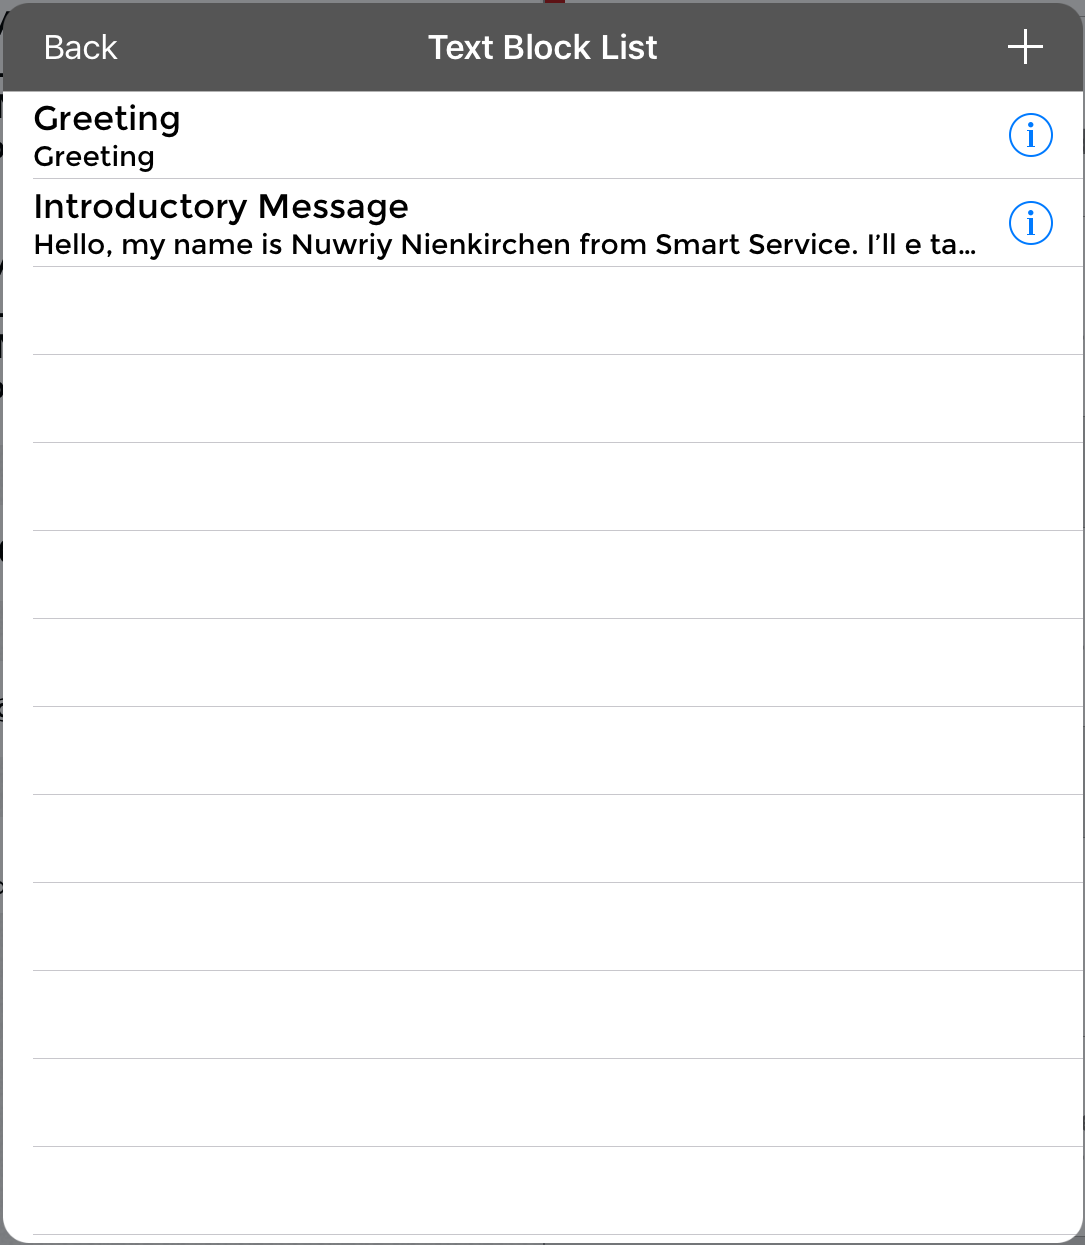
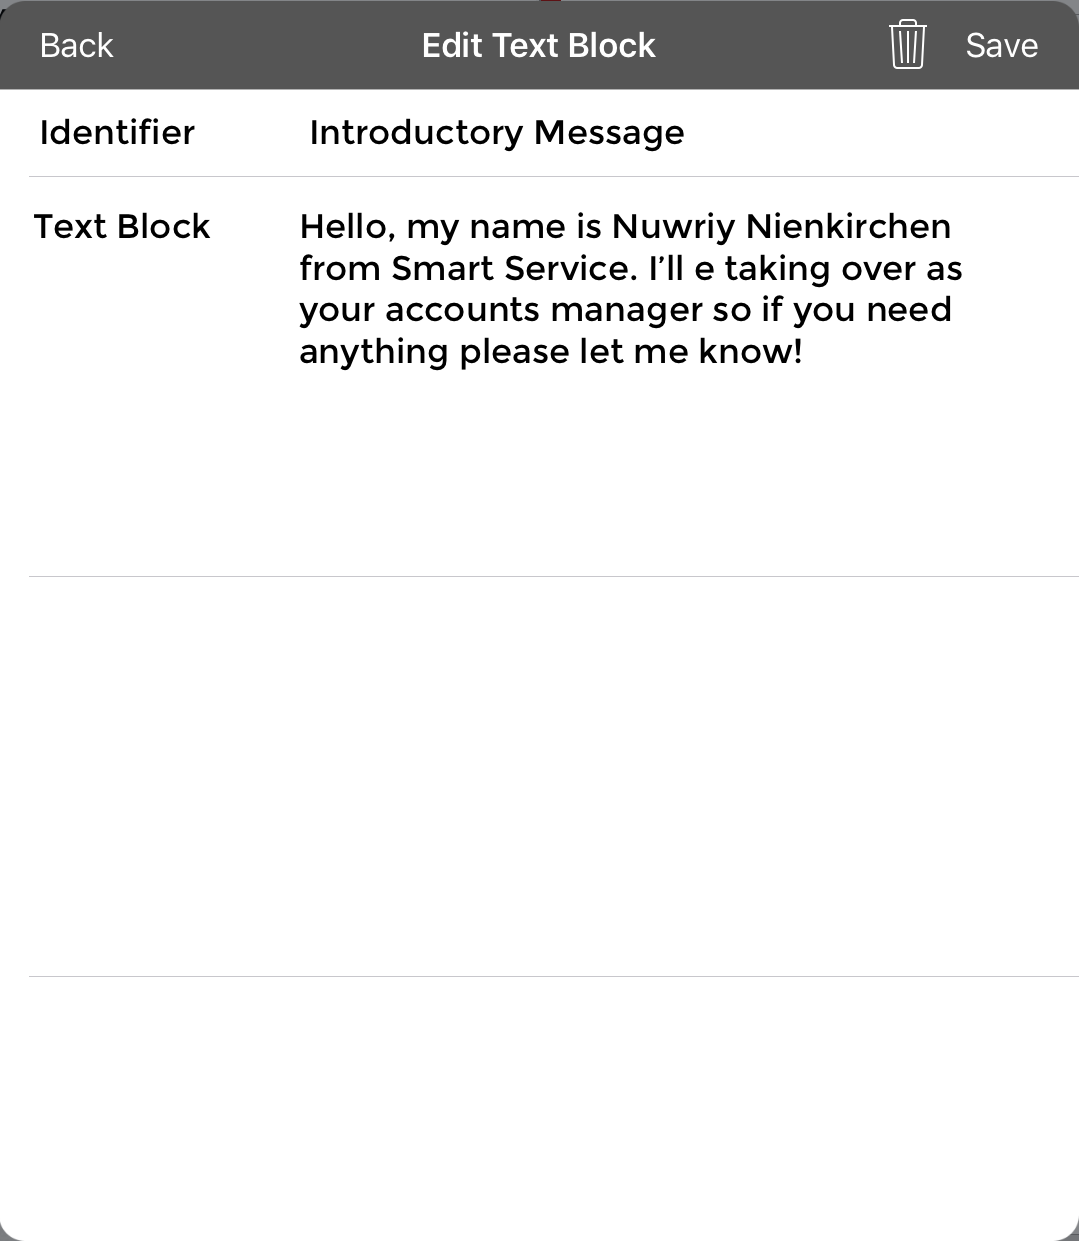
You may have noticed an information symbol next to the text boxes on each activity. Tapping on any of these icons will bring you to the “Text Block” screen. A text block is a template text you can add to your correspondences. If you have a follow up email template, its worth setting up some text blocks to avoid typing that message out every time you need it.
To create a text block, open any correspondence and tap the “i” symbol on the right. This will display all of your available text blocks, but you can create a new one by tapping the “+” symbol at the top right of the window.
Creating Proposals
Routzy’s most important feature is the ability to create proposals for any of your clients without interaction with Smart Service. A proposal is an activity type, so enter the client profile and tap the “+” symbol at the bottom right-hand corner to bring up your activities list.
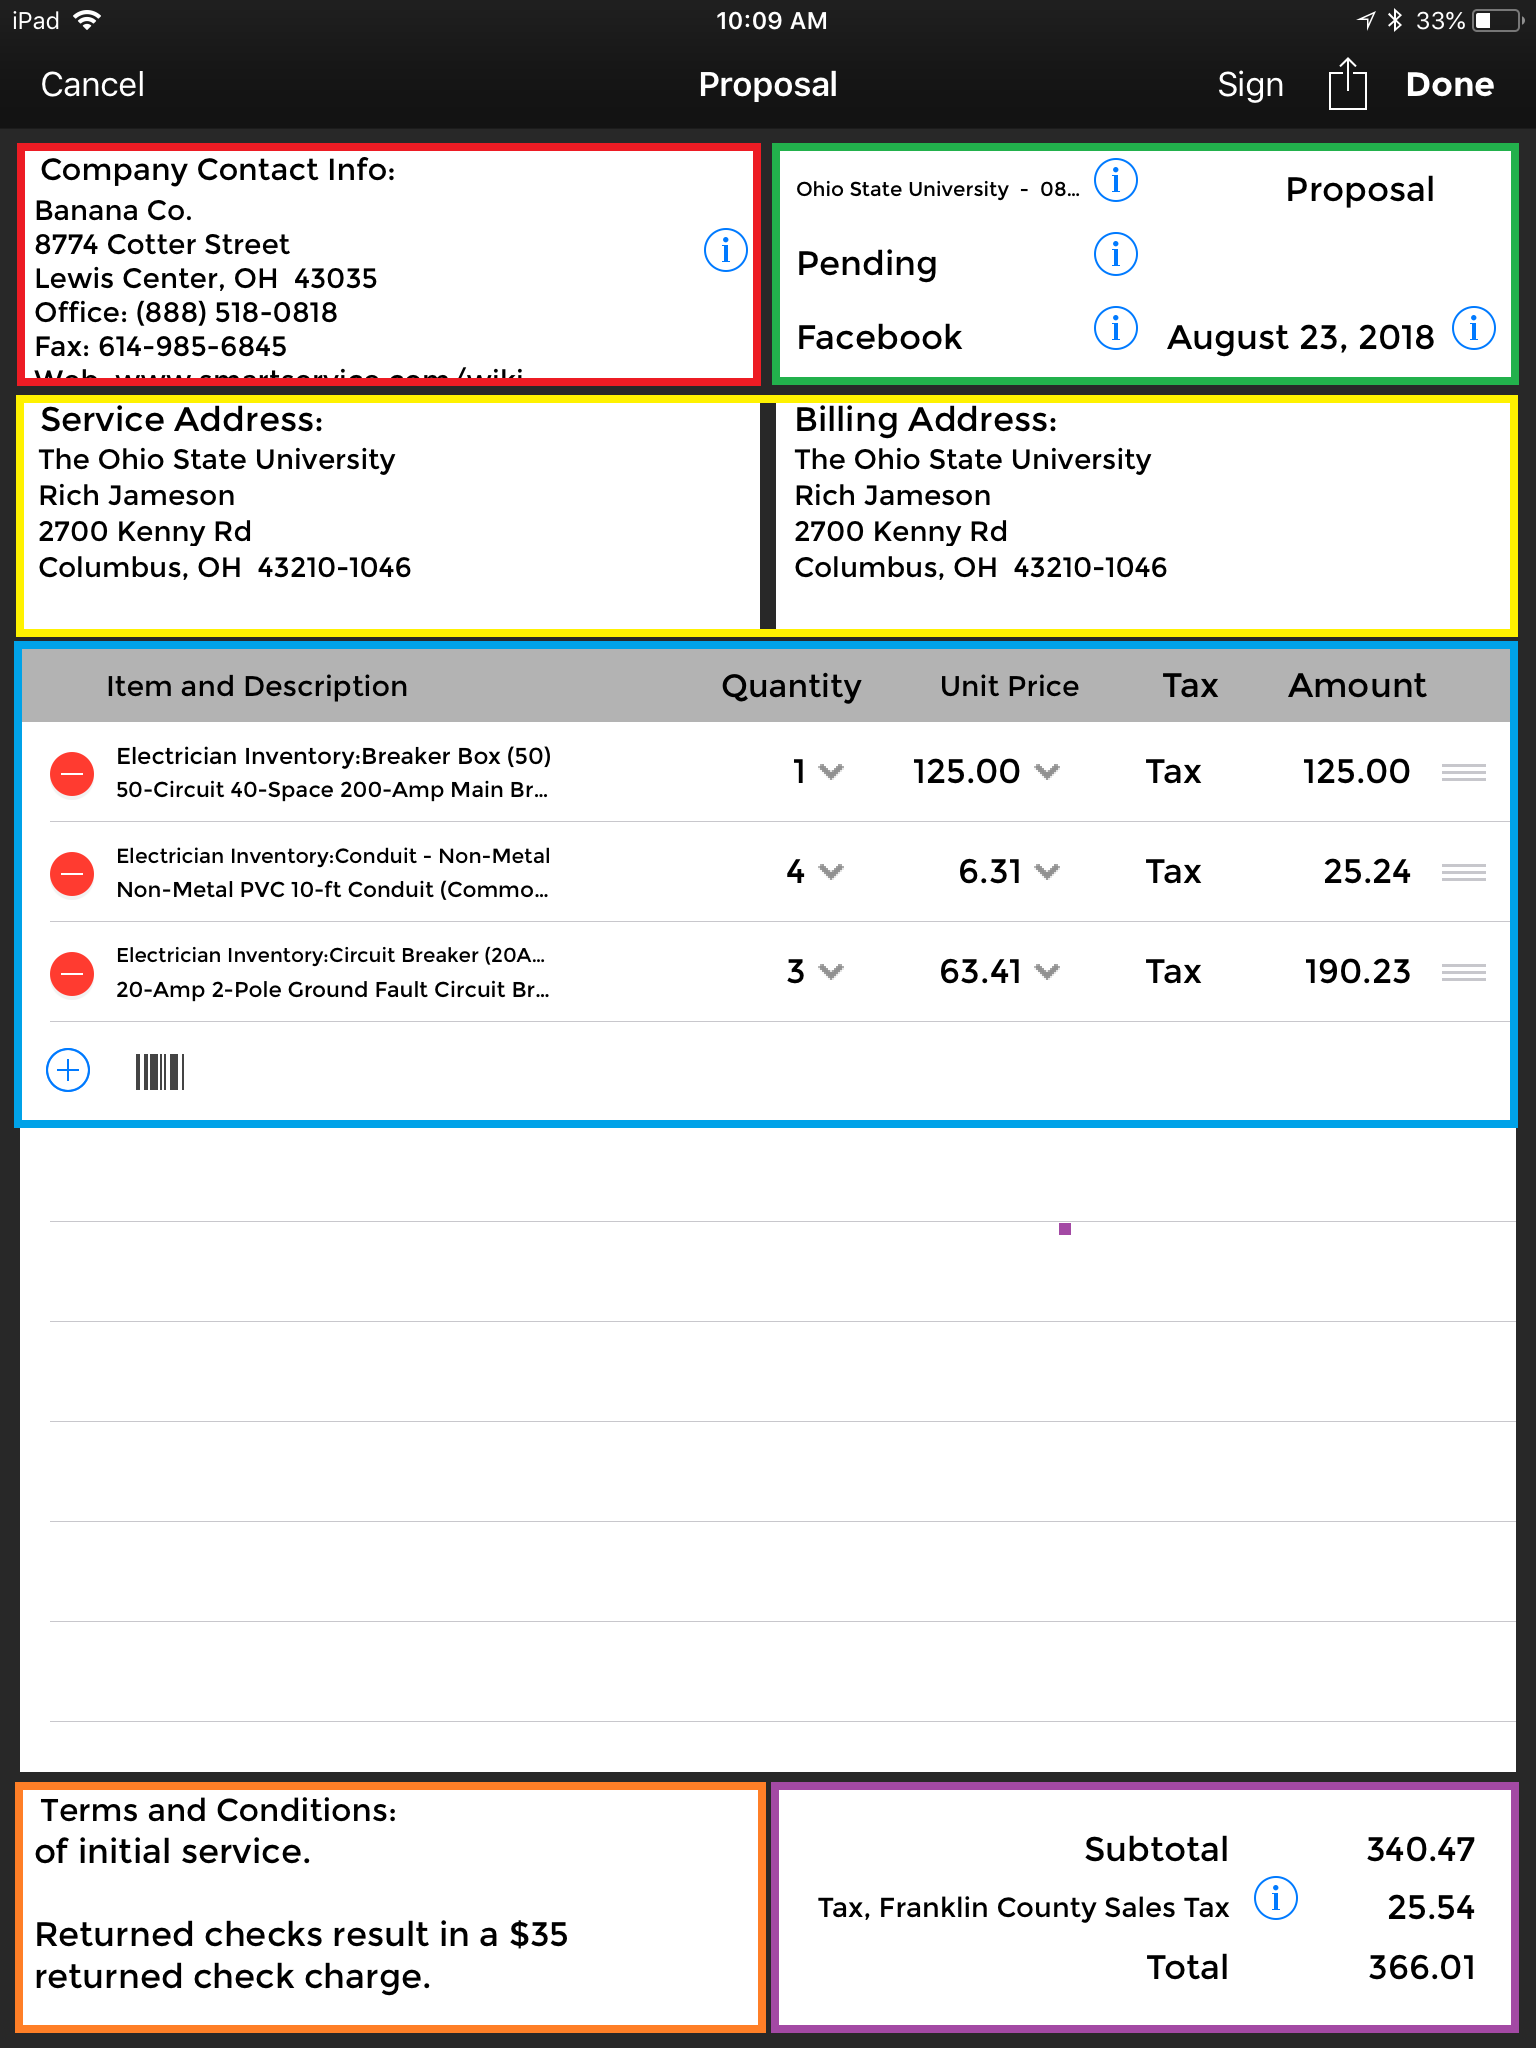
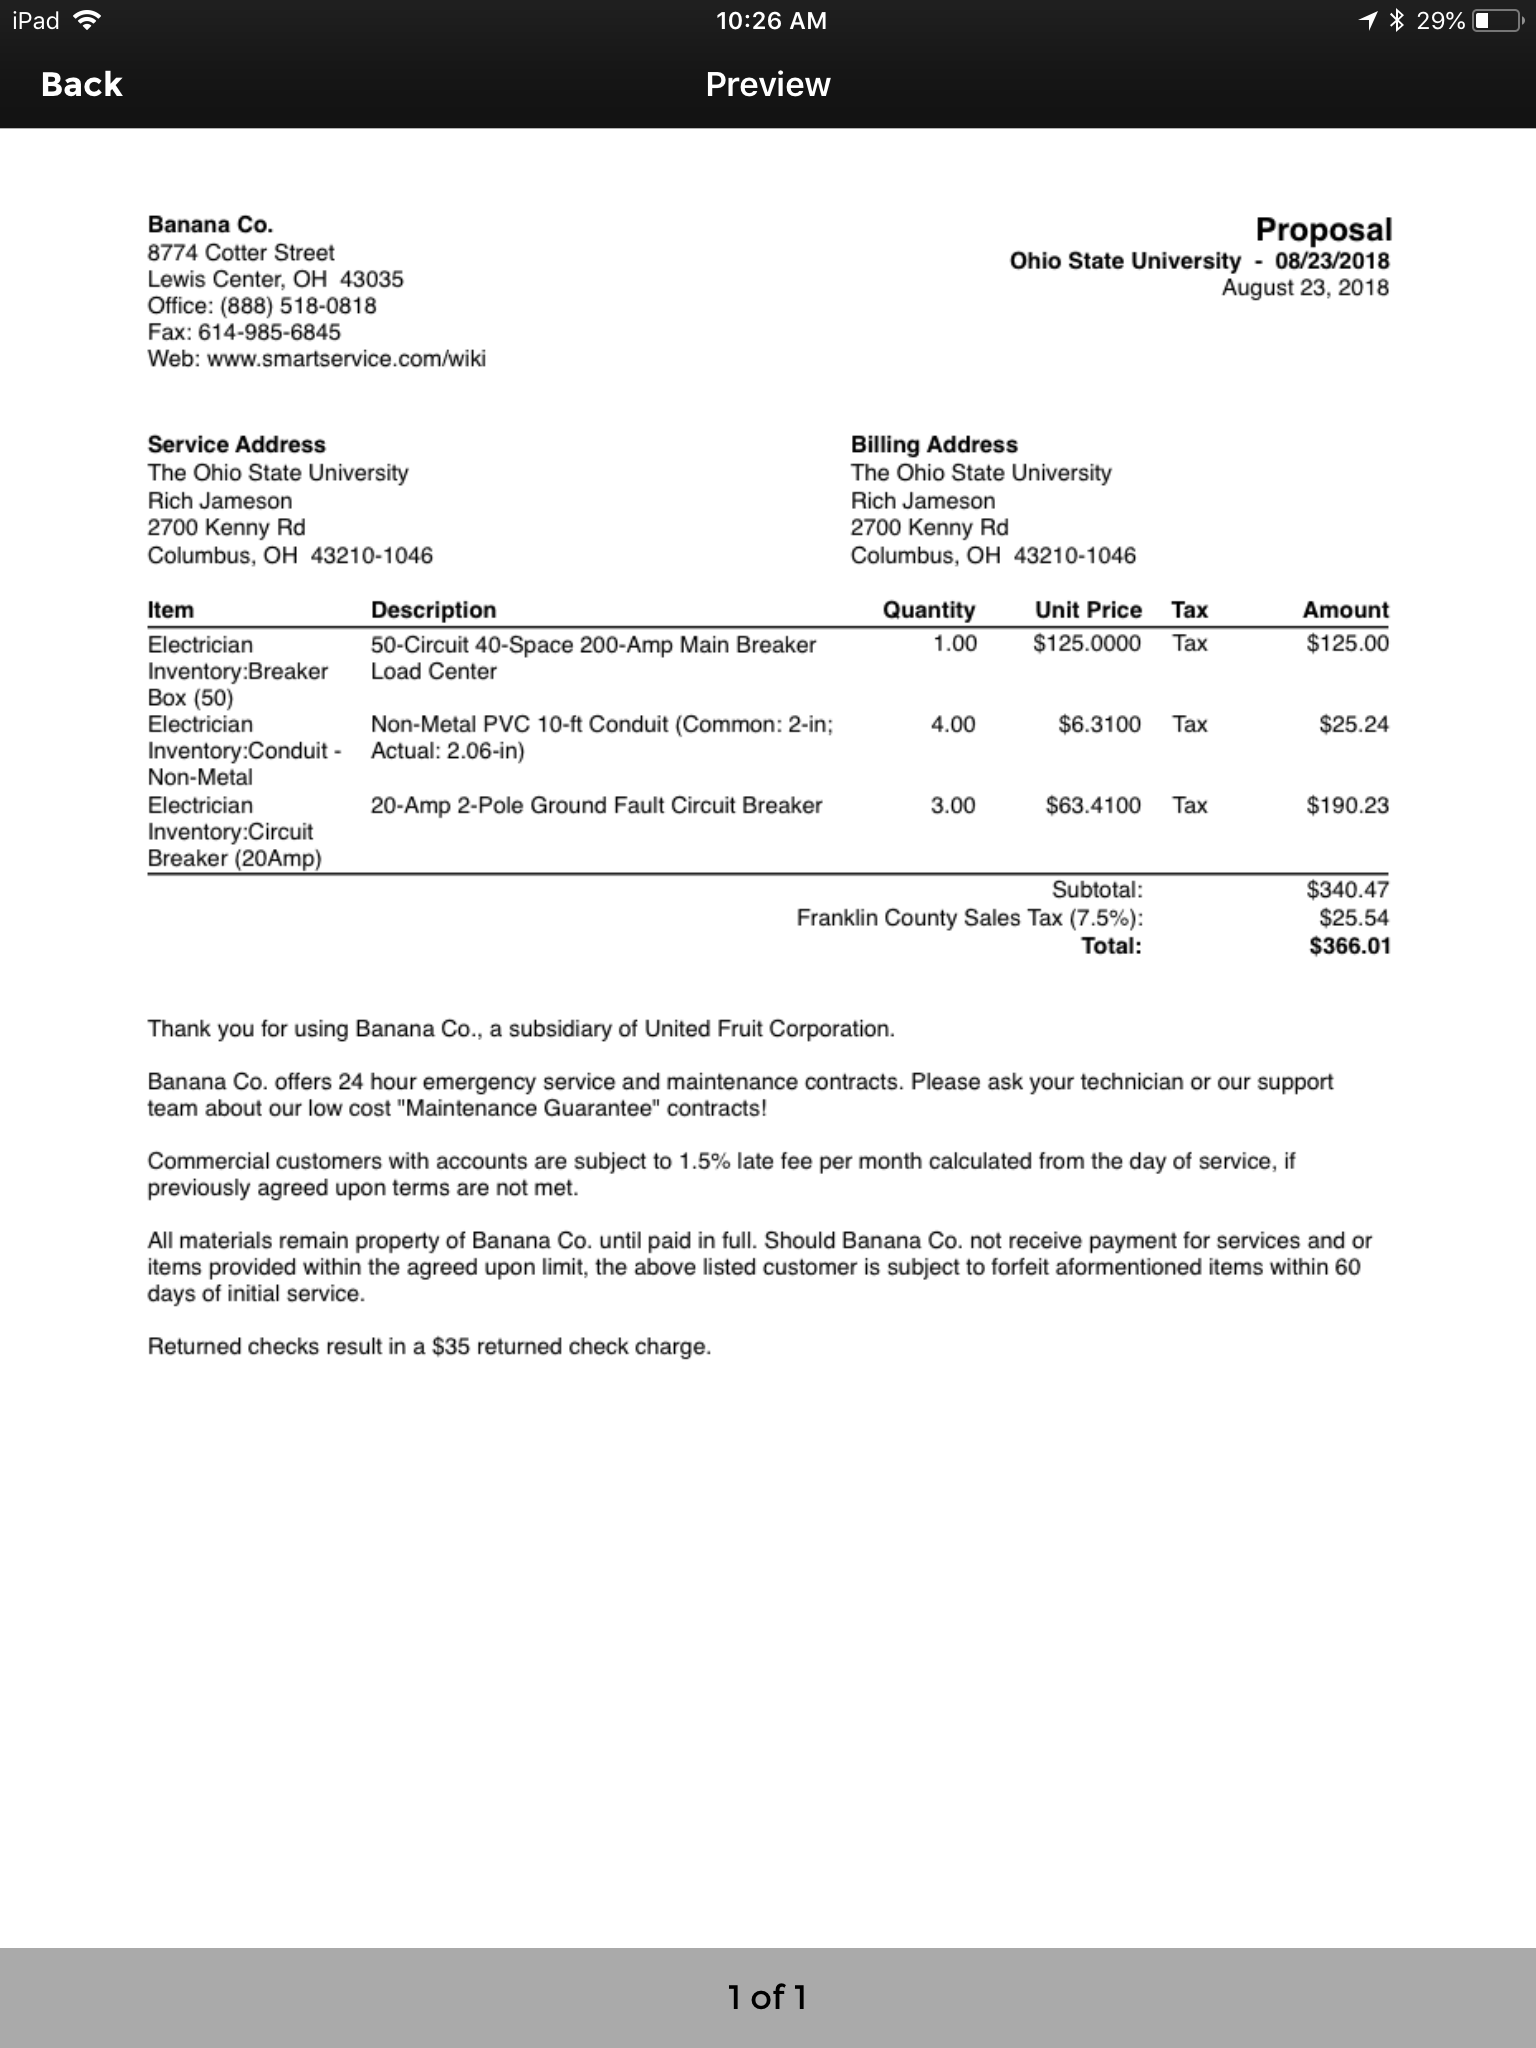
On the left, you have an image of the proposal form available in Routzy. The first image is the proposal activity that you will fill out, the second image is what the customer would receive when a proposal is sent.
Since there are several options and sections in each piece of this proposal, we have broken down each section and added color coding to help you navigate the features discussed in this article.
When creating proposals in Routzy, make sure each one of these sections is reviewed before sending your proposal off to the client
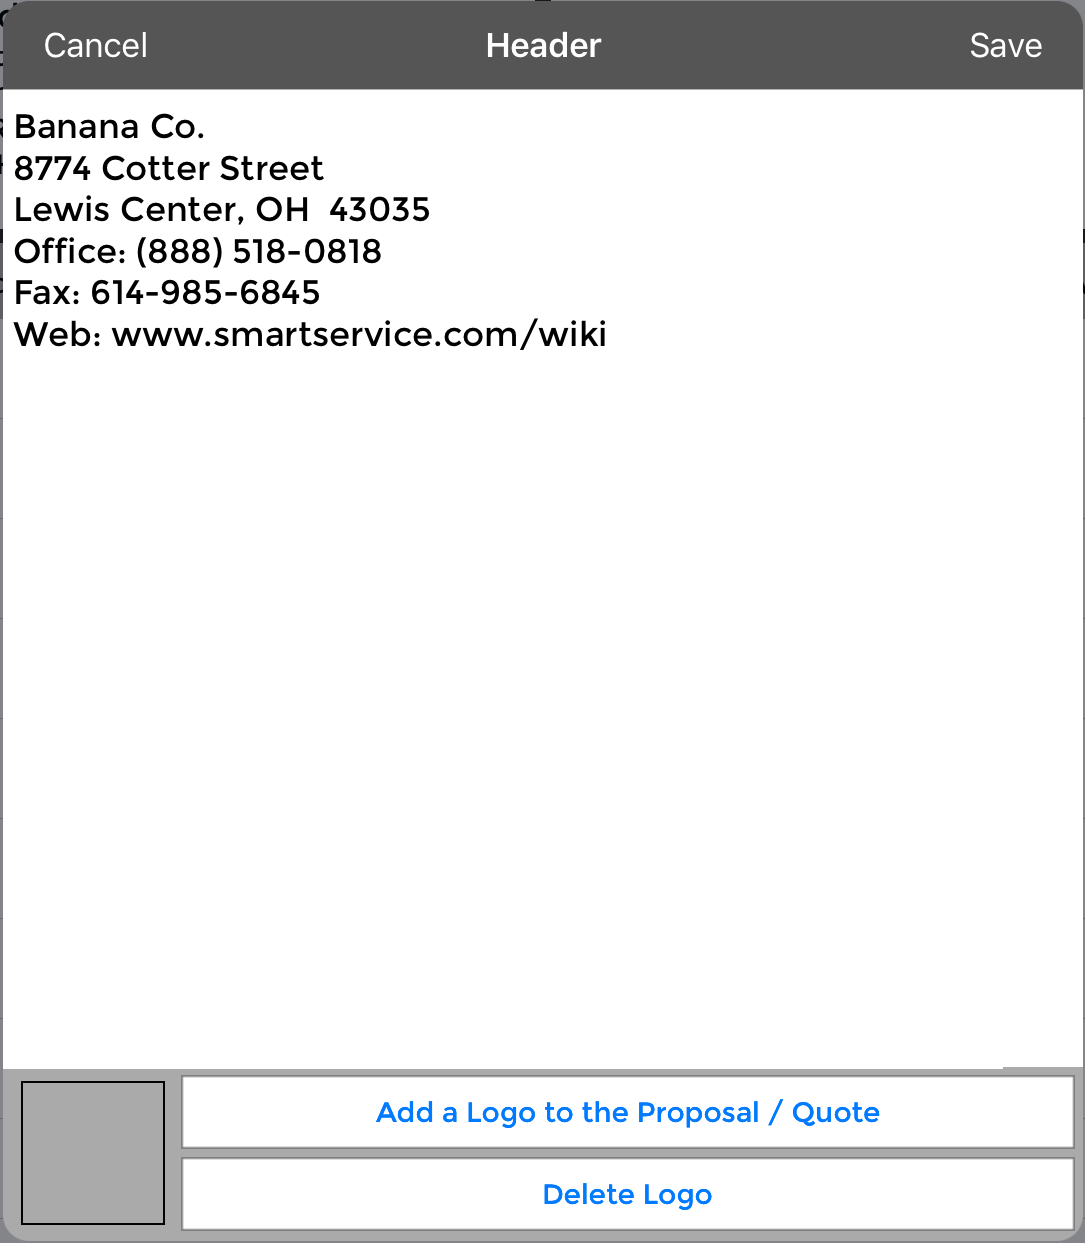
Company Contact Info
After you’ve entered this information on at least one proposal in Routzy, it will be copied to all future proposals. You can include either your company’s information or some of your contact information depending on how your company runs things.
You have the option of adding a logo at the bottom by tapping “Add a logo to the proposal / quote”. The logo must be an available image on your device to perform this action.
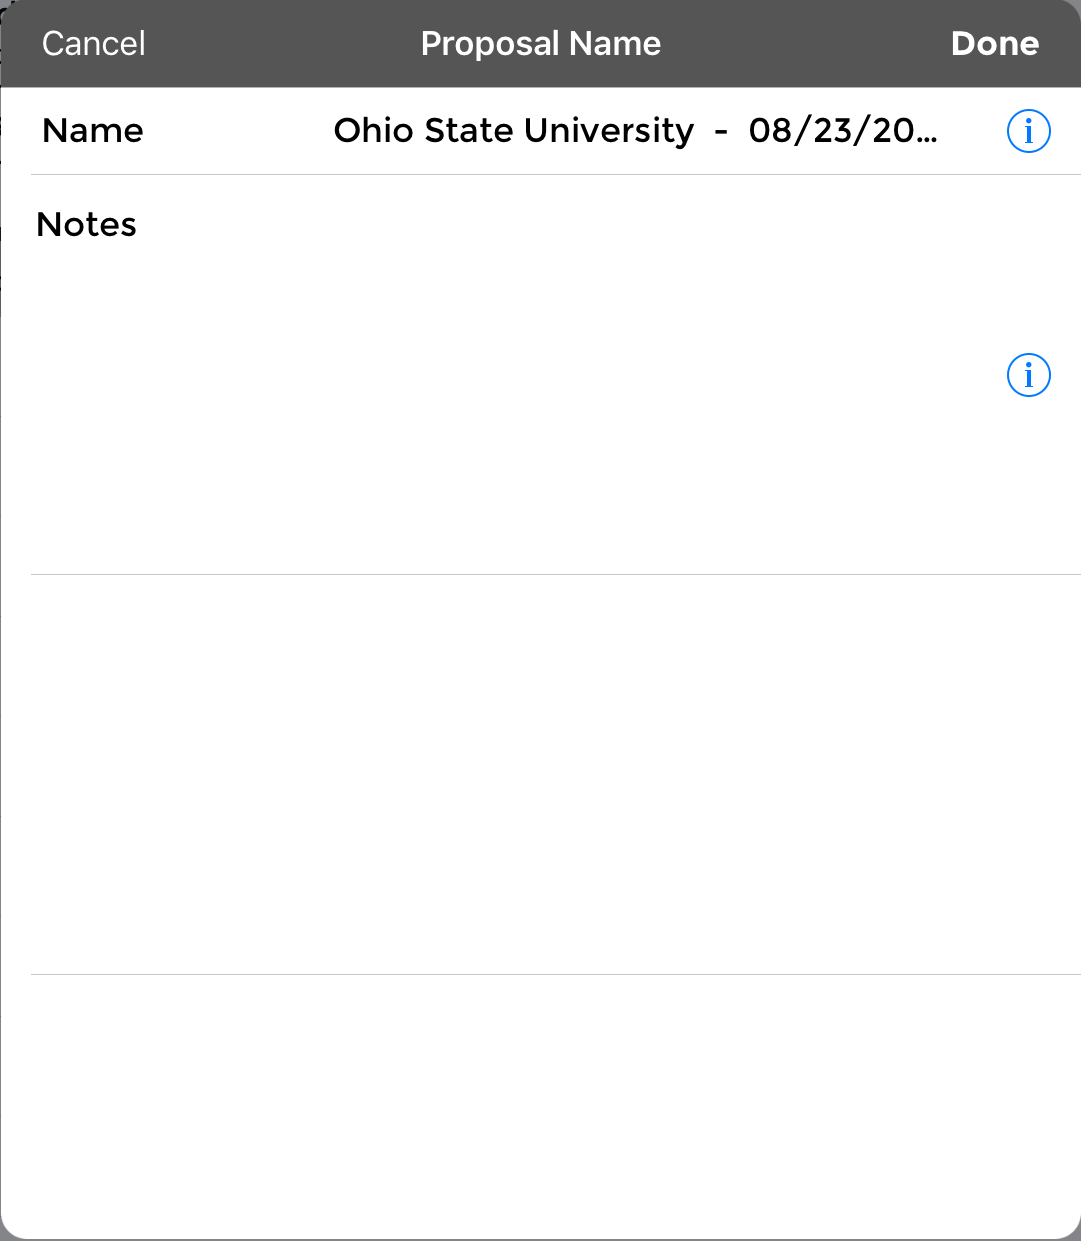
Proposal Detail
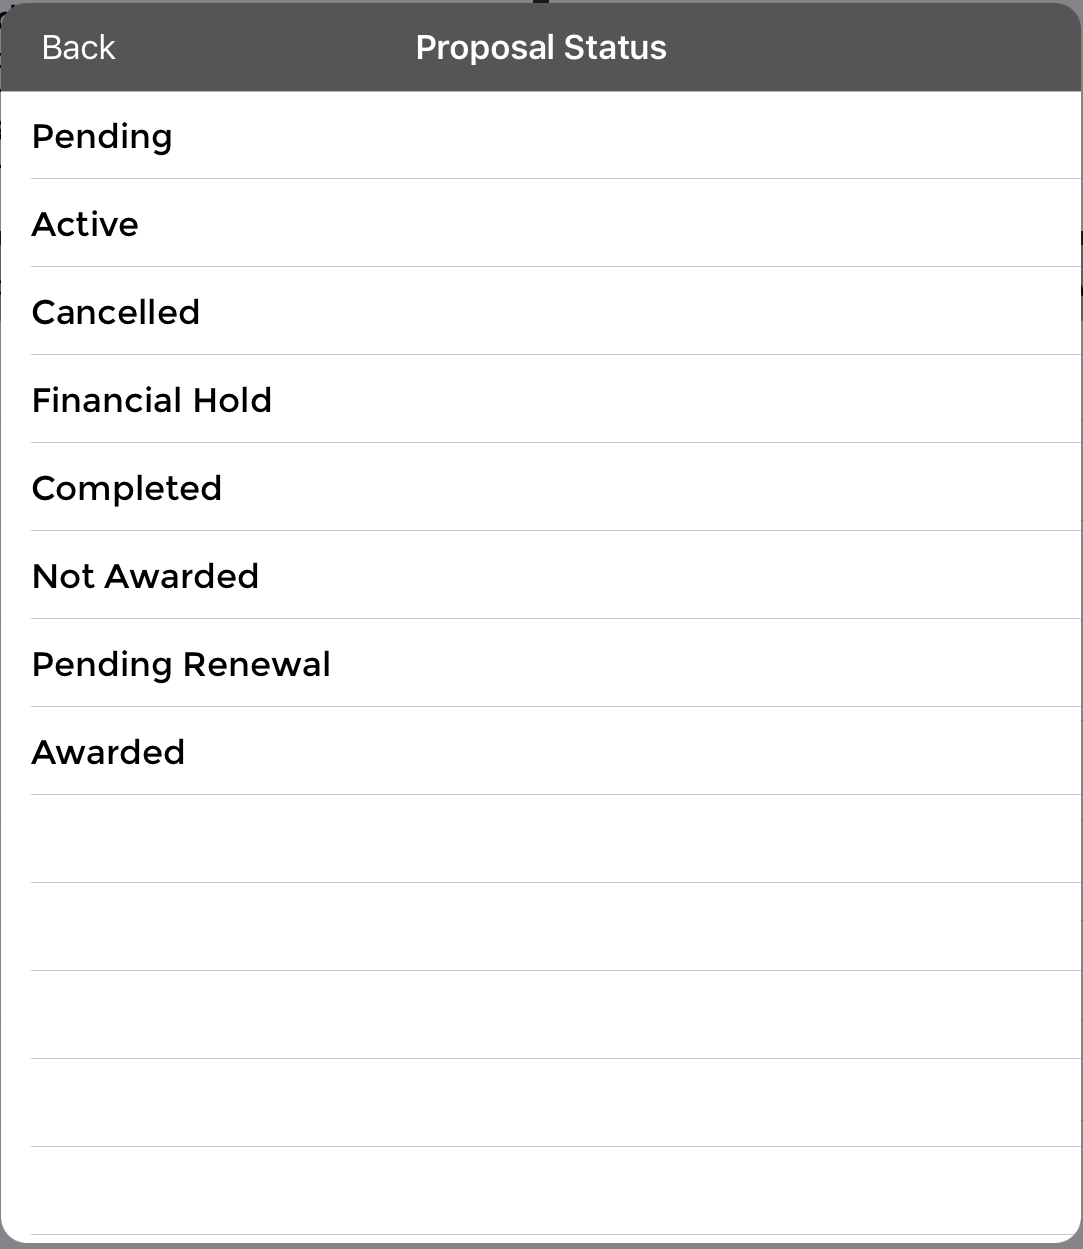
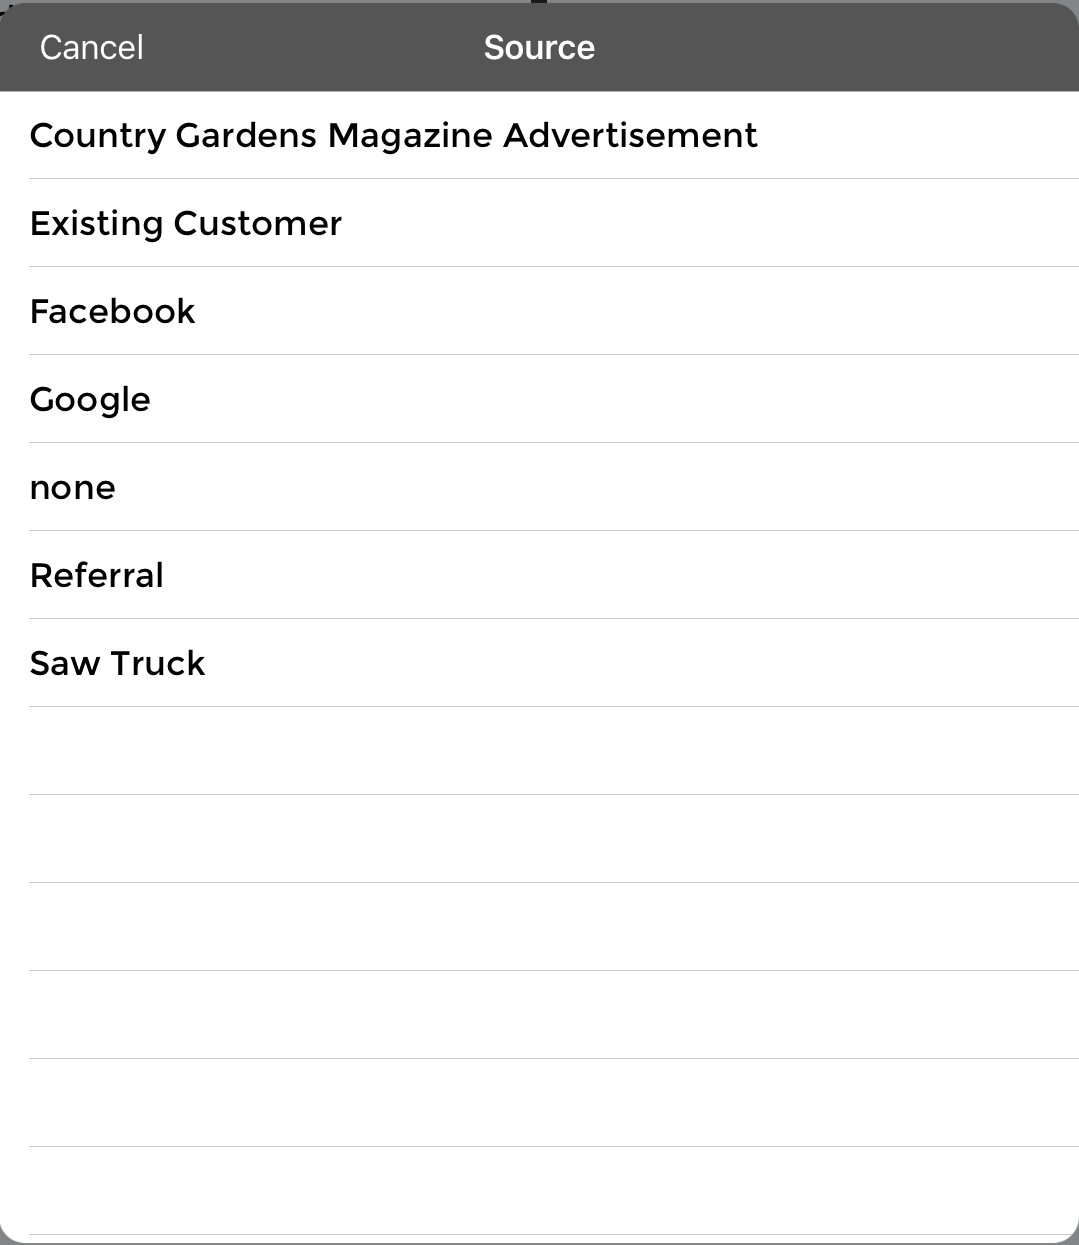
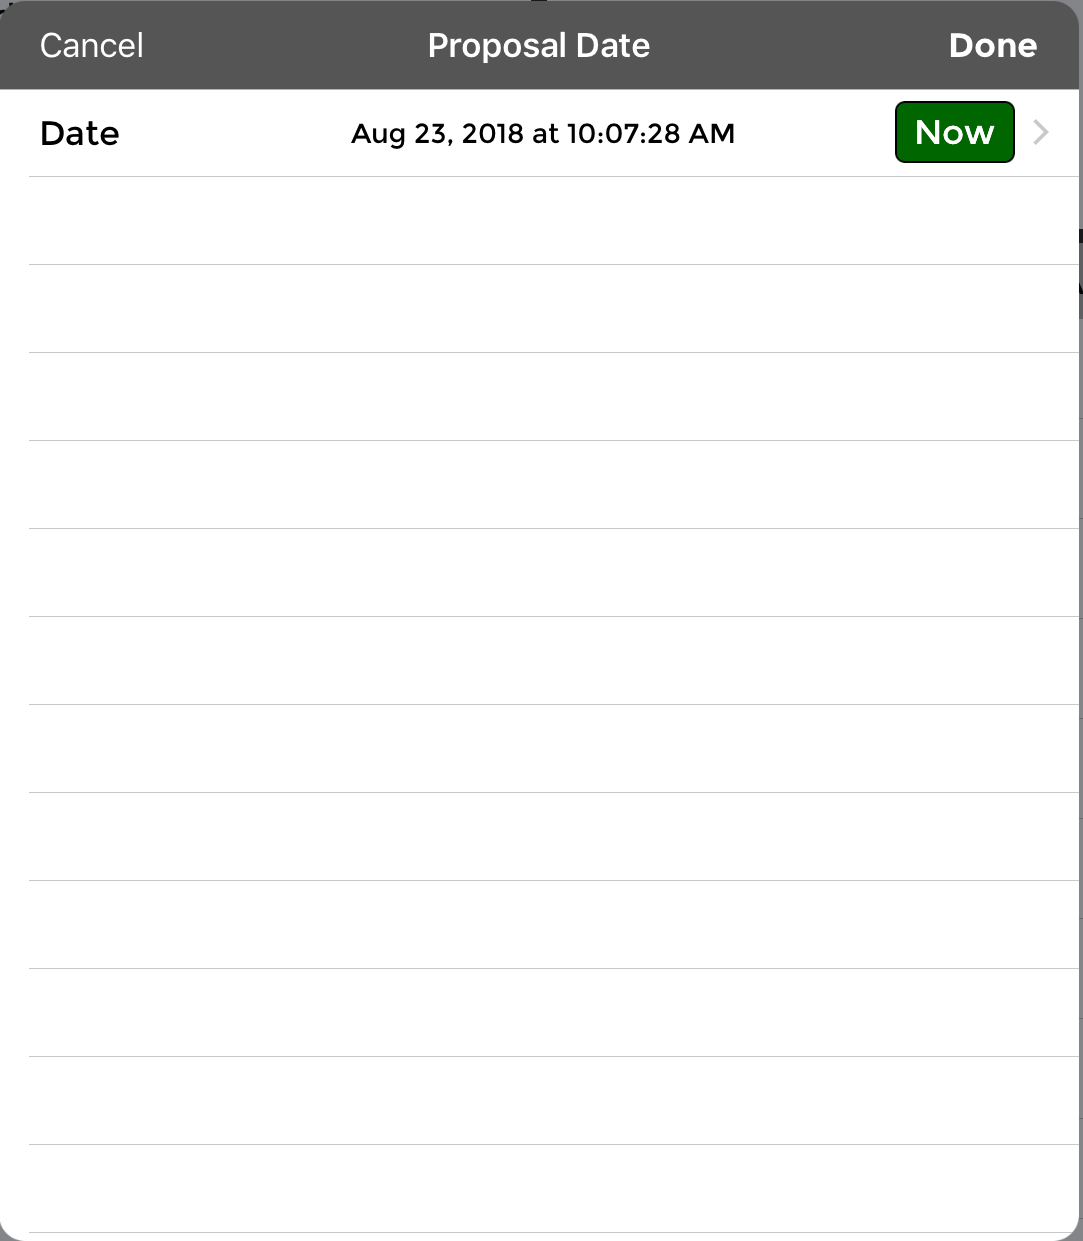
Listing the features in order of appearance, you have: the proposal name and notes, current status, lead source, and date of the proposal.
Remember when adding notes that those notes can be displayed to the client on your quote, so be careful what you add!
When you create a proposal, it will default to a pending status. You will switch the proposal to “Active” when its live and being sent to your customer. Once you hear back from them, you should switch your proposal to “awarded” or “not awarded” depending on the customer’s response.
The lead source is how the client heard about you, it’s Routzy’s equivalent to Smart Service’s Marketing Campaigns. Routzy receives the campaign list from Smart Service, but cannot create its own list. You can use the date field to enter the proposal’s date. This will become its “scheduled date” back in Smart Service.


Service & Billing Address
The service address is where the work will be performed, whereas the billing address is where the invoice will be sent. Sometimes these addresses will be the same, depending on the size of the customer. These addresses were entered on the client’s profile.
Proposal Items
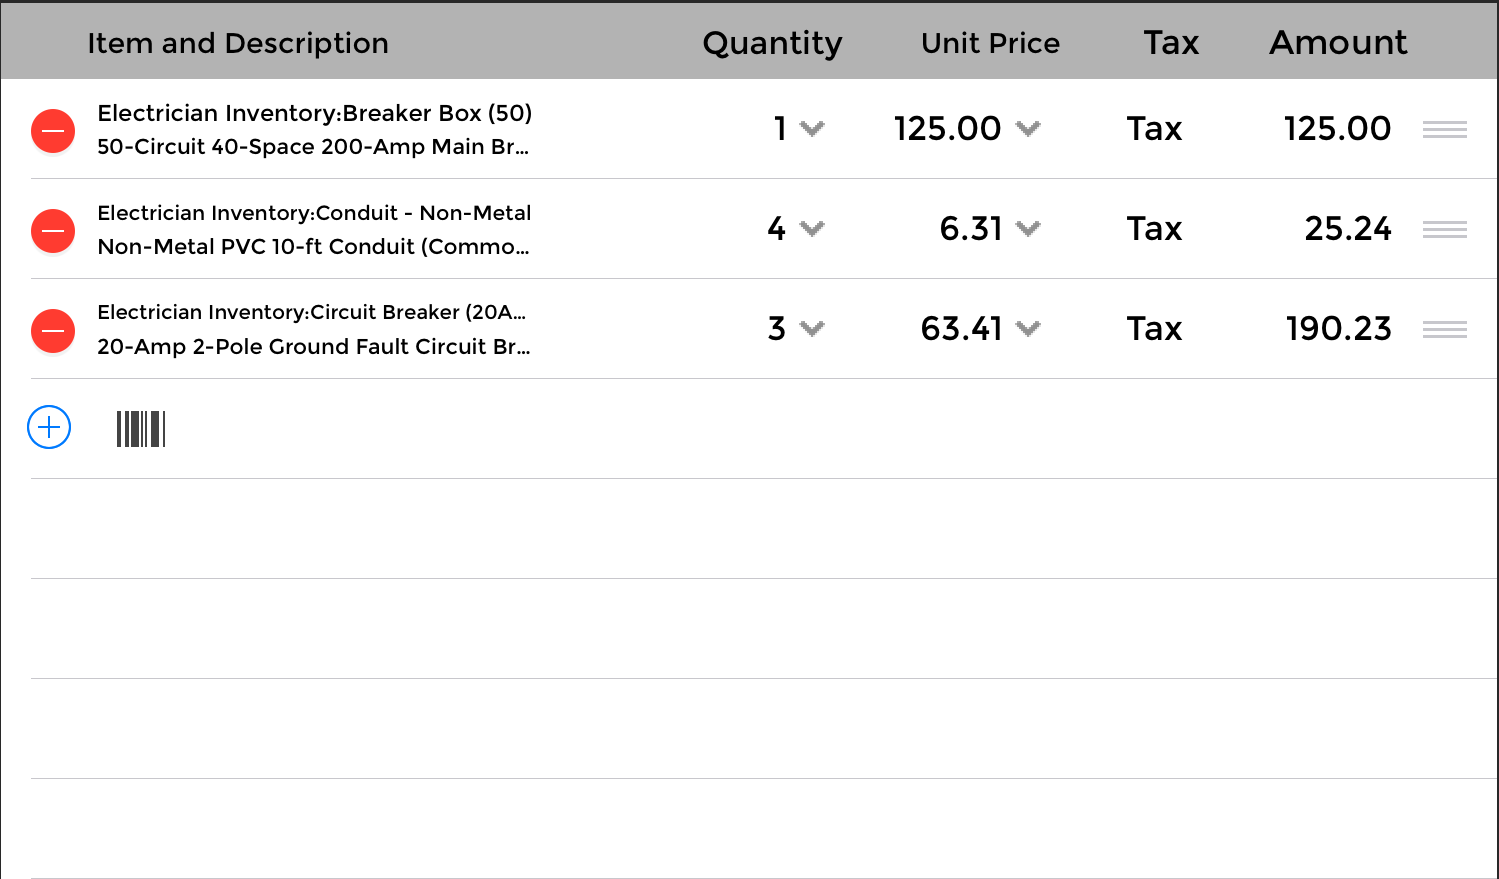
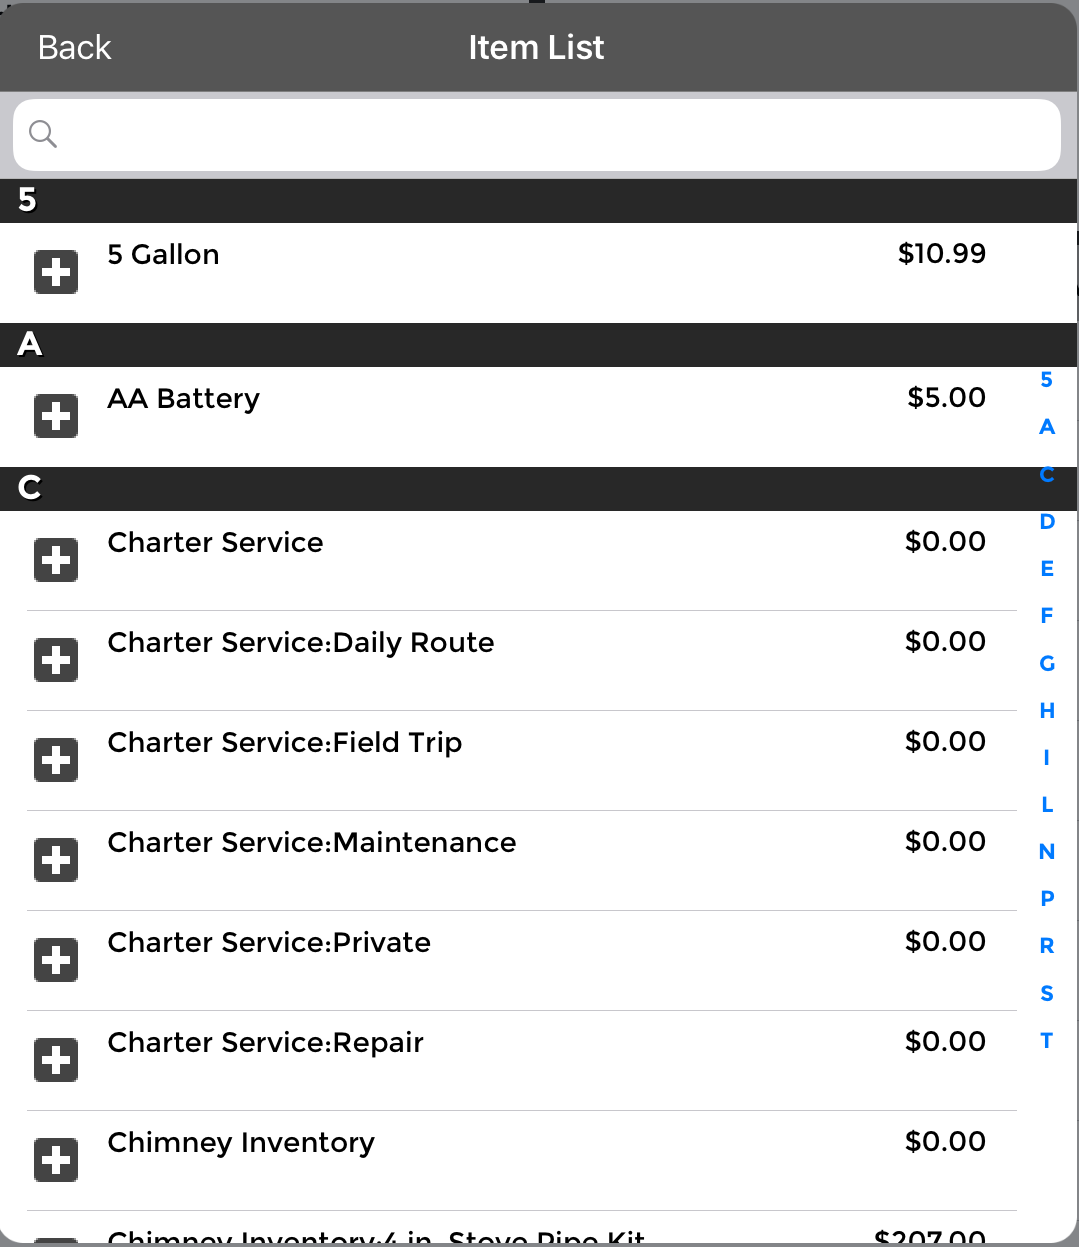
Anything you plan on selling to the customer will need to be listed in the proposal items section. Tap the “+” symbol in the next available space
