What’s in Marketing?
The marketing section of Smart Service lets users create and maintain marketing data. Once you have customers tied to these campaigns, you can use Mail Merges from Microsoft Word to send mass emails and letters.
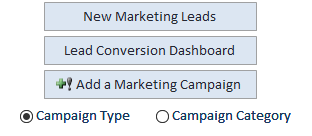
The “New Marketing Leads” and “Lead Conversion Dashboard” features are part of Smart Leads, an additional module available for purchase which connects a contact form on your website to Smart Service.
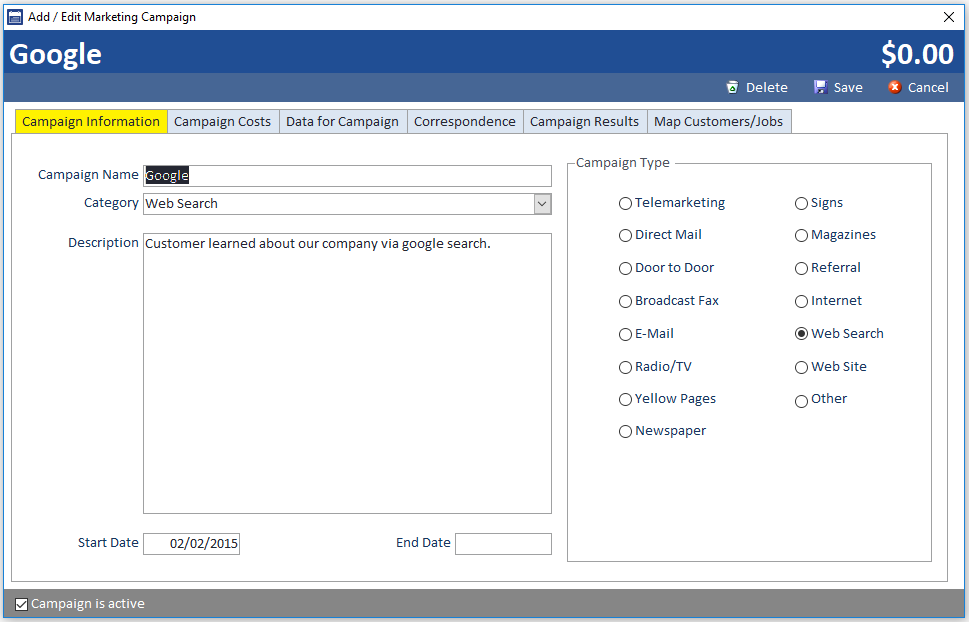
You only need to enter a campaign name and type before adding your campaign to the list. If you have several campaigns it might be beneficial to create some categories.
You can add a custom name to your campaign, make sure to check through your existing campaigns to make sure yours doesn’t already exist. Make sure that the name you choose easily identifies the campaign so other users know which one to use.
Category is a user definable field where you can create some options for sorting your campaign list. We would recommend categories that further break down the “Campaign Type” selections. Most users will only use the category field if they have several campaigns of the same type.
You have the option of writing a description for your campaign. You could also use this section to make a note of any goals for the campaign.
You can add a start and end date for campaigns that will expire after a certain period of time. Once you’ve hit the expiration you will want to return to this window and inactivate this campaign.
Use these options to select a campaign type. You can use this or the “Category” options to better organize your campaigns.
Attach Customers / Jobs
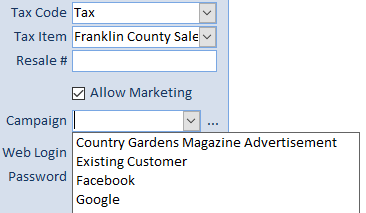
From any customer or job, you have the option of selecting how the customer heard about you by selecting an item from the marketing campaign dropdown. You can also click the ellipses to the right to create a new campaign.
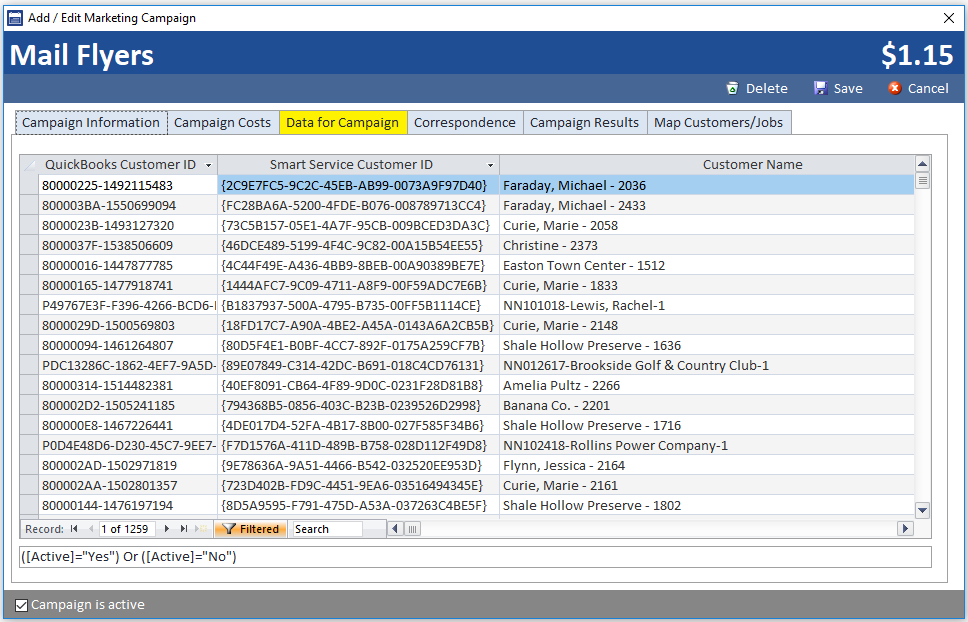
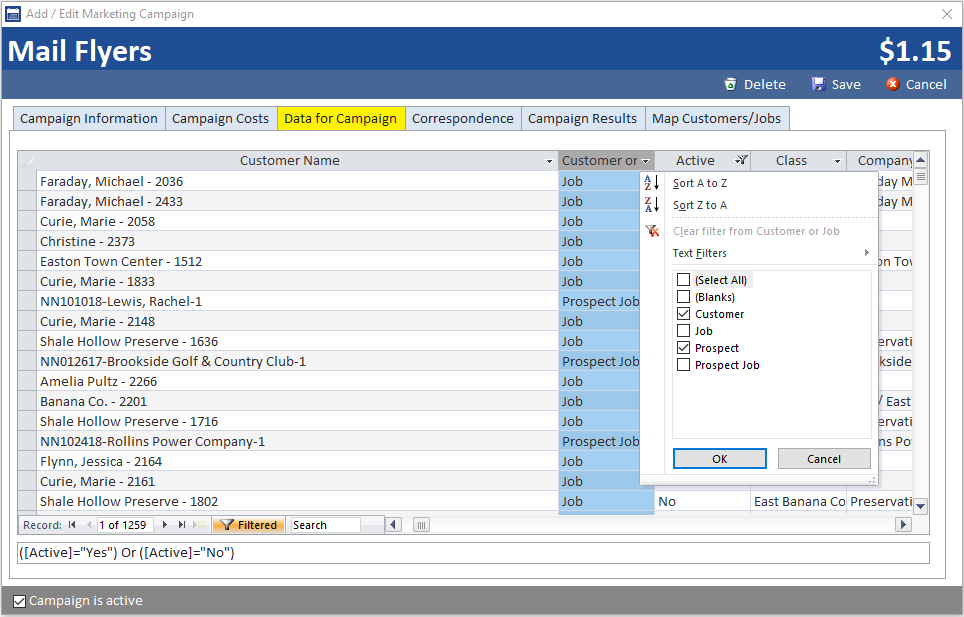
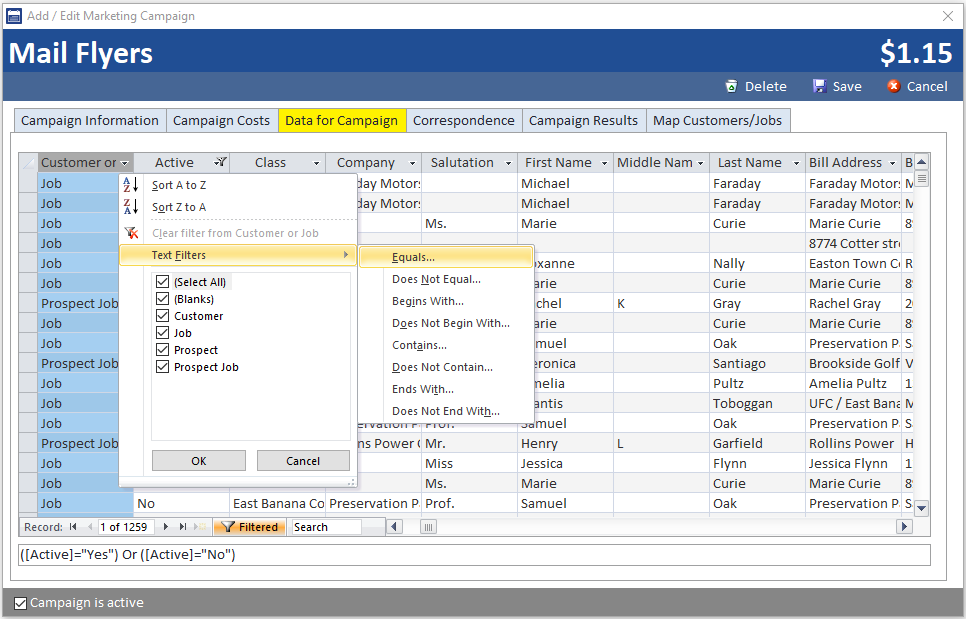
To filter your data, click the down arrows in the headers to access the filter options. Here you can filter to specific types of records or filter out records missing information. Here’s some helpful filters you should consider using:
- Customer or Job: Filter down to just one type of record, preferably customers. If you run the merge with the list as is, customers will get the message for their record and one for each job, etc.
- Active: Consider filtering out your inactive customers, depending on why your company inactivates customers. You could also market directly to customers you haven’t seen in a while.
- Addresses: Targeting a specific city? Use the billing or service addresses to select the right areas.
- Email: Filter out records missing emails, or if you’ve been writing “[email protected]” for customers who don’t wish to be emailed, filter out that option.
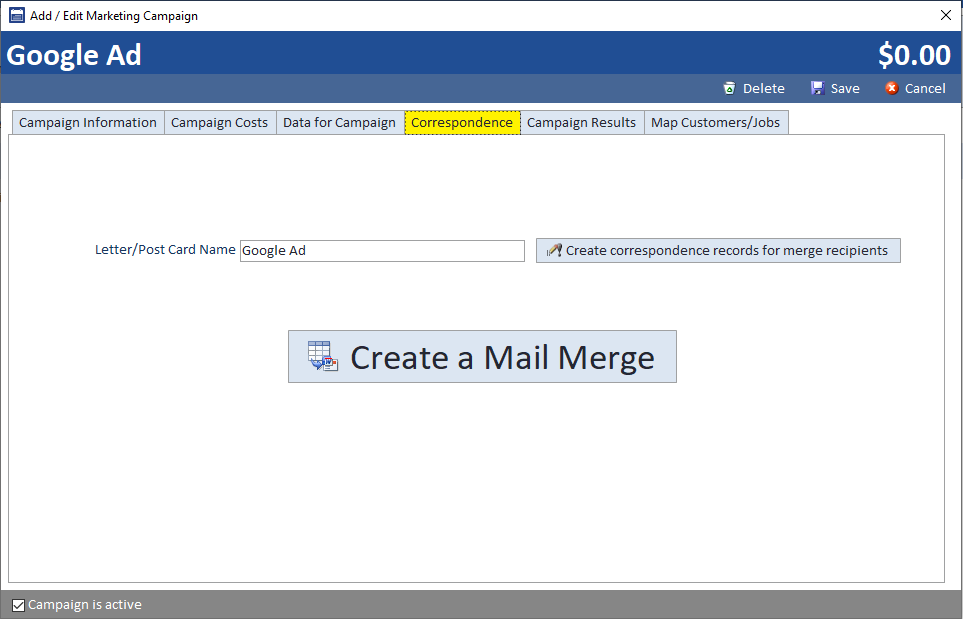
After your desired filters are applied, head to the “Correspondence” tab to begin the mail merge. If you close the marketing campaign window your filters will reset.
Correspondence
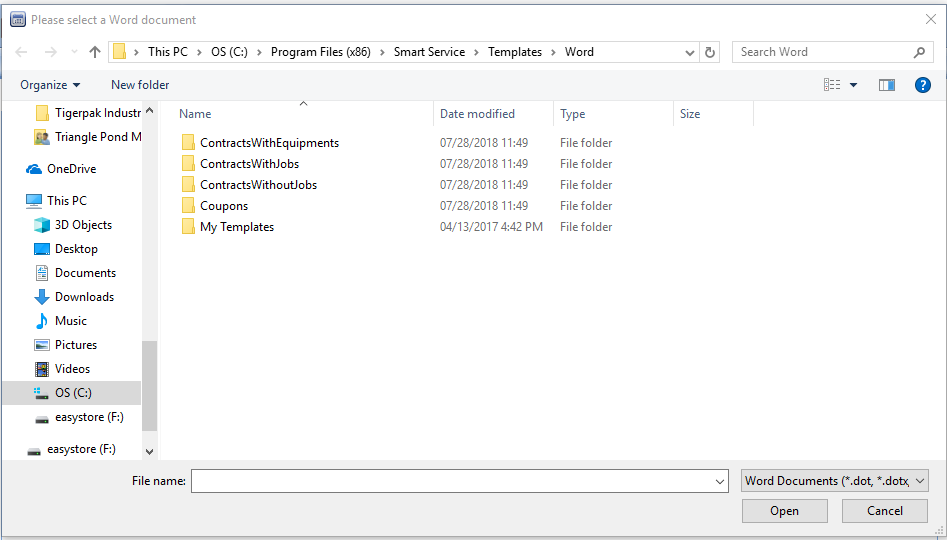
When ready, click the “Create a Mail Merge” option in the center of the screen. Word will display a window asking for a template from a previous merge. If you don’t have one, click “cancel” to start a new template. You should see Microsoft Word open on your toolbar, maximize Word to continue.
If you’re unfamiliar with Mail Merges, the idea is to create one template letter and use special “Merge Fields” where you want customer information to appear. For example, instead of writing “Dear Valued Customer” you can use a merge field like “Dear <<First_Name>>” which will be replaced with the customer’s first name when sent.

To access your possible merge fields inside Word, click on the “Mailings” tab and choose the “Insert Merge Field” option. If you’re unsure of whether or not you have the right field, you can click the “Preview Results” option to the right to see what your customer will get.
Continue writing your letter an inserting merge fields as needed. Make sure to occasionally use the “Preview Results” button to make sure your merge is going as planned. If one of your customers is missing information for a merge field, a blank space will be displayed instead of data.
When you’re finished, click the “Finish & Merge” option on the right-hand side of the ribbon. This will display options for executing your mail merge, whether that be emails via Outlook or printing and mailing letters.
Need Help Creating Your Mail Merge?
We got you covered! Click the icon to the left to visit our article on the best practices for creating and sending mail merges from Smart Service.
Return to the correspondence tab and click “Update customer that correspondence was sent” to add an email correspondence record to the recipients of the mail merge.

