Creating Records in iFleet
With the proper permissions on your employee profile back in Smart Service. In iFleet, a user can create customers, locations, jobs, prospects, prospect locations, and estimates out in the field. These permissions can be set per iFleet user and each record type can be permitted individually.
This is a great feature for businesses that give their field users more freedom in acquiring new customers and leads, or those who provide after-hours service. This feature was not intended to add scheduling from the field to iFleet, rather the purpose of this feature is to allow technicians to create their own tickets in the field or provide service to a new customer without needing to contact the office first.
Required Permissions
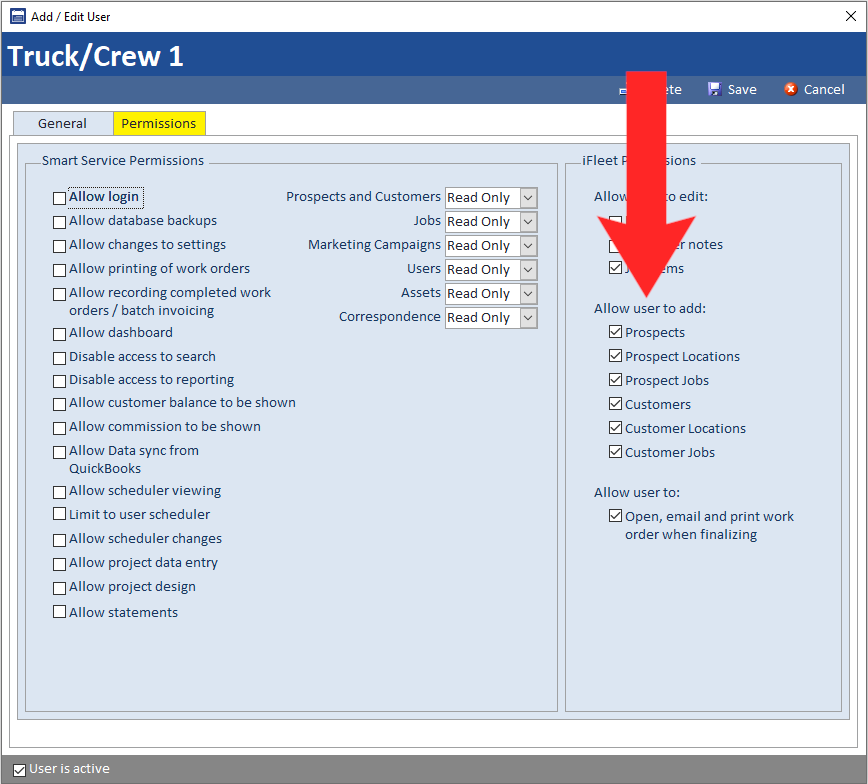
Back in Smart Service, you’ll need to assign permissions to the iFleet user in question via your Settings. If you haven’t accessed Settings before, you can view our article on the Settings section here. You can assign each record type to a given iFleet user by using the checkboxes on the iFleet side of the permissions window.
You can think of a prospect as a “lead” in Smart Service. Creating someone as a customer would create them in QuickBooks, which you might not want for a lead. So instead of creating a customer you could create a prospect and promote them to a customer later.
If you have a new, potential client who wants an estimate, creating them as a prospect rather than a customer is the way to go for now.
If your prospect has multiple locations, you can create locations for them in the same way you would for a customer.
A customer is a person or business that will be paying for the services you provide. This is a more suitable option than a prospect when the entity is requesting a work order instead of a quote.
If your customer owns multiple properties, each property can be entered as a location under that customer.
A job is a work order, service ticket, or otherwise a document that will result in an invoice once the service is complete. This is the best permission for iFleet users who take after-hours service calls.
Managing Records Created in iFleet
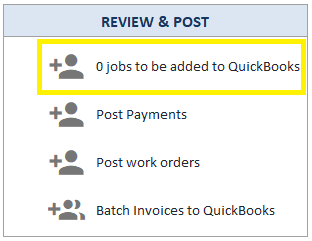
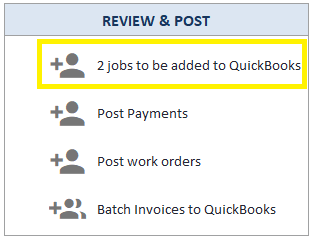
The “Review & Post” section of the Office area will have the “Jobs to be added to QuickBooks” option. Use this to access the list of jobs added by iFleet users.
The count of new jobs will adjust based on what has been added to the list.
Your office should make a habit of checking this section daily so you can review records created by your iFleet users!
Add To QuickBooks Screen
Filter by the type of record (Customer, Location, or Job), Employee that added record from iFleet, date range (both pre-sets and custom date ranges), by job type. Filter Dates by date completed to find jobs that were already marked as complete by the iFleet users and date scheduled for jobs that have been entered, but have not been completed by iFleet users.
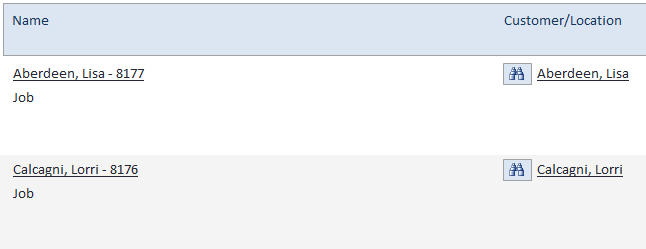
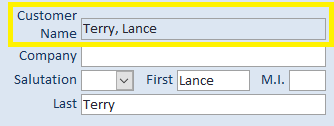
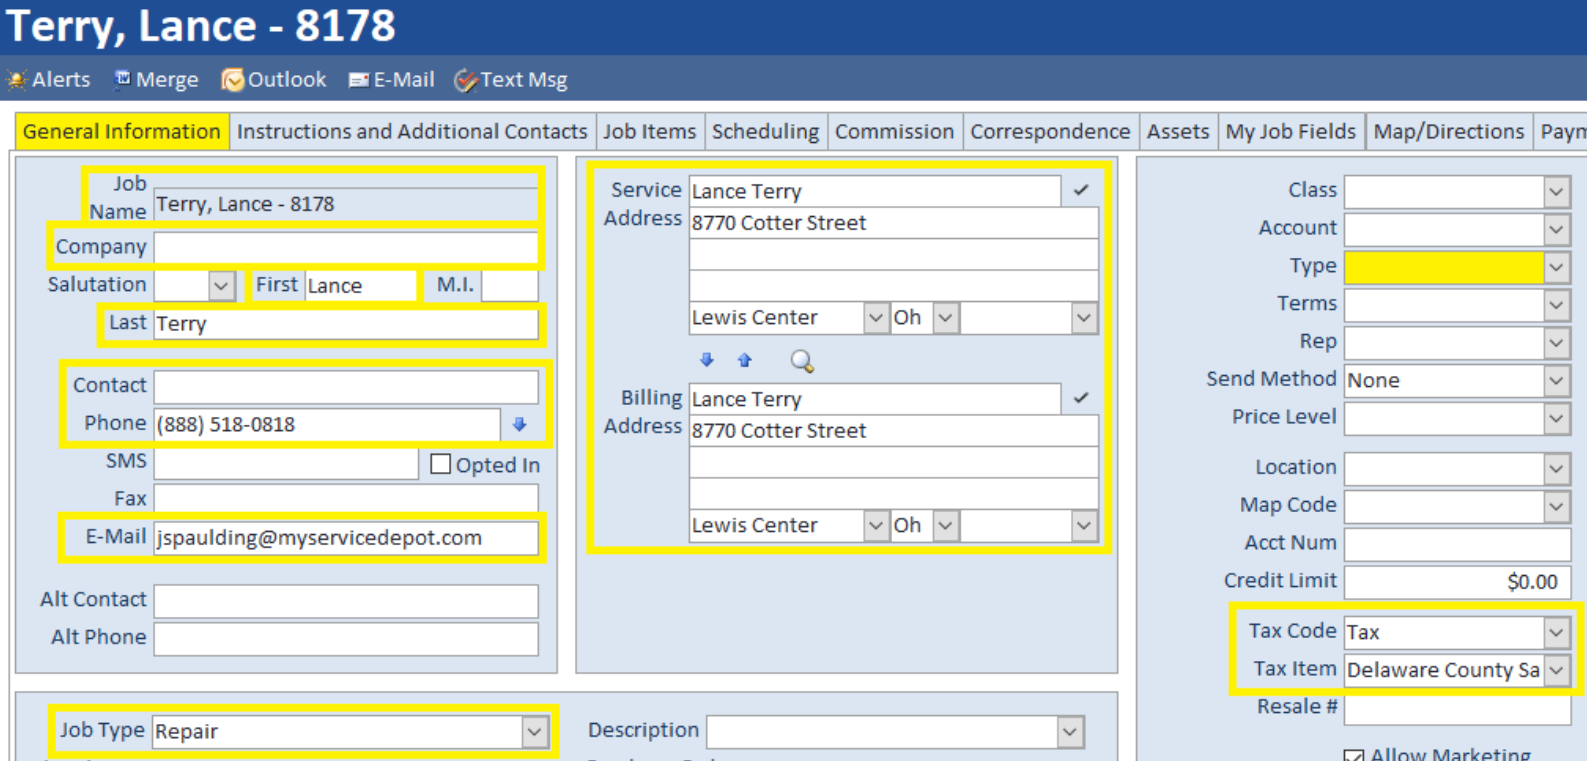
The Name and Customer Name/Location indicate the name of the job and the customer or location the job belongs to. These can be clicked on to access the record.
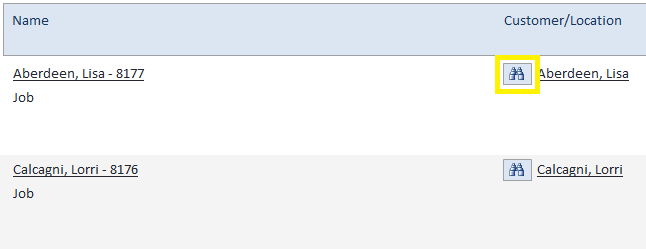
The binocular button will allow you to move a job, should it be added to the wrong customer or location, or if the customer or location added from iFleet are duplicated records.
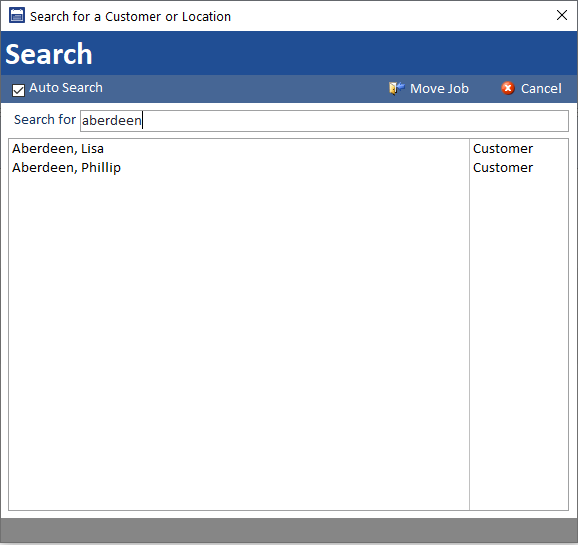
Search for the customer in the provided dialog box, select the name from the list, and use the “Move Job” button.
accessing the record and making the changes needed. The iFleet user will also fill in the scheduled date and time. This may need adjusted, and should be assessed by the office on a case by case basis to reschedule jobs as needed.
An iFleet user can also complete the job that they have added, which is useful in emergency service or after hours situations, where the standard practice is to use a fillable PDF form, which is emailed back to the office and entered into the system.
Upon completing a review at the Smart Service level, the office user will need to add the record to QuickBooks using the “Add to QuickBooks” option.
- Until the record is added to QuickBooks, it will have limited QuickBooks functionality, such as the ability to post or view Quick Reports. Reviewing and updating the records before adding to QuickBooks will ensure accuracy and reduce the need for future corrections.
Customer & Location Records
Customer and Location records that are added from iFleet will be found in Smart Service until the “Add to QuickBooks” step has been completed.
are accurate before transitioned into a more “permanent” QuickBooks record. At this stage, the Customer Name or Location Name fields can be updated, allowing for spelling fixes without the need for a “Sync Names”.
Upon adding to QuickBooks, this field is locked and can only be changed in QuickBooks.
Job Records
date, time, and the technician’s name. These details can be updated by the office at their discretion.
In some situations the job may also return with a completed date, in the event it was completed by the iFleet user. If the iFleet user does complete the job, the Smart Service user should also review the job as they would normally, followed by adding the job to QuickBooks, which will allow you to access the “Complete” button, or post the job for an invoice.
Adding Jobs in iFleet
Getting Started
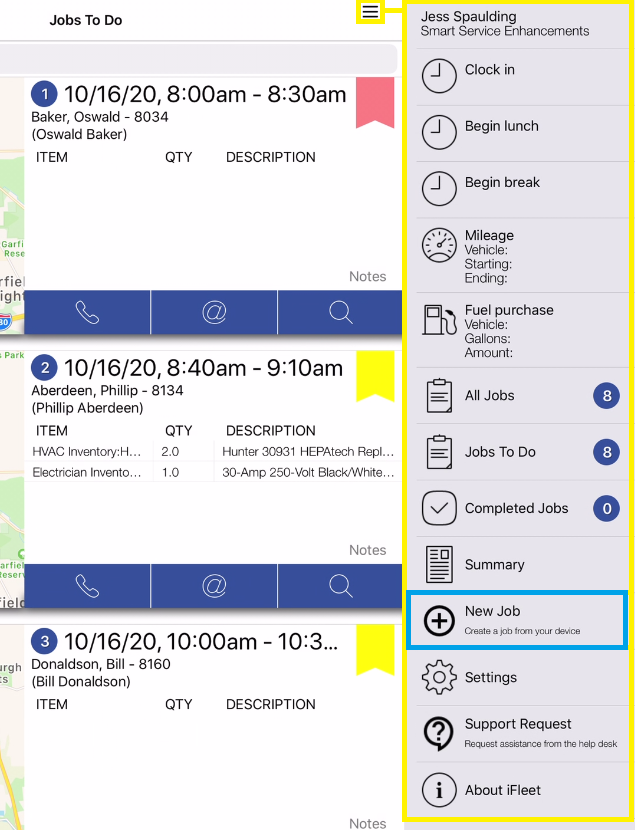
To start the process of adding a new job to iFleet, open the iFleet menu. If you’re using an iOS device, this option will be the three horizontal lines at the top right-hand corner of iFleet. If you’re using an Android device, check the top left-hand corner instead.
Upon opening the menu, tap the “New Job” button.
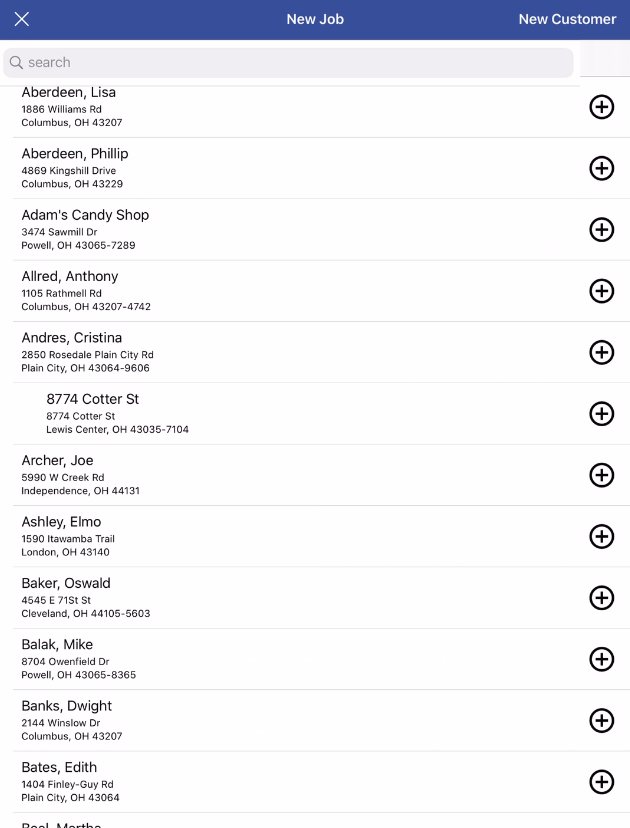
In the following screen, the iFleet user can add new customers, locations, or jobs.
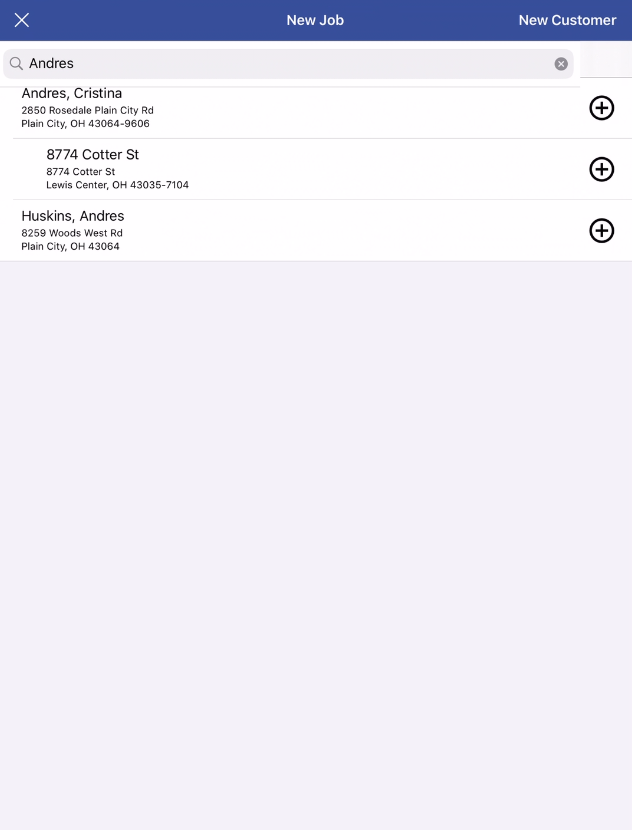
A quick search when adding new jobs will save time! Address and contact details may already be filled in for an existing customer.
Search, Select, Add
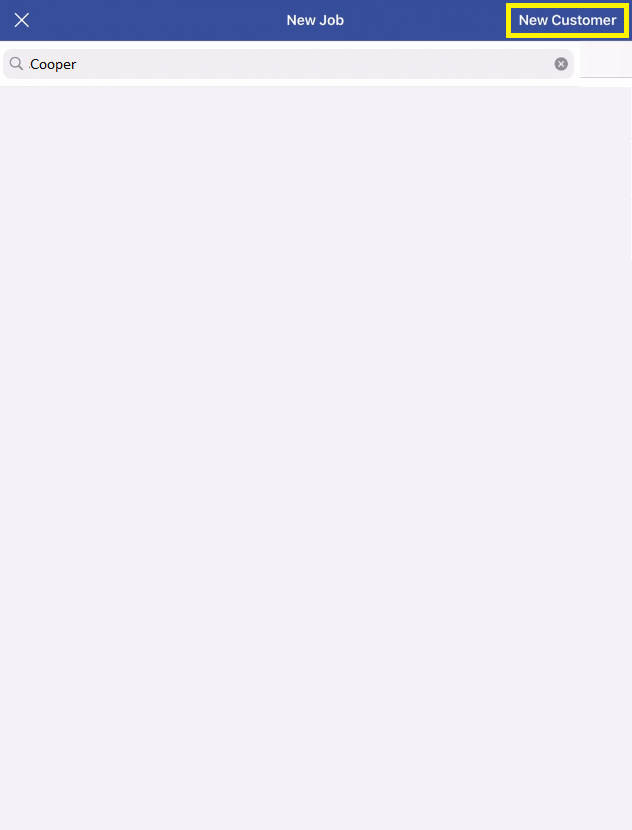
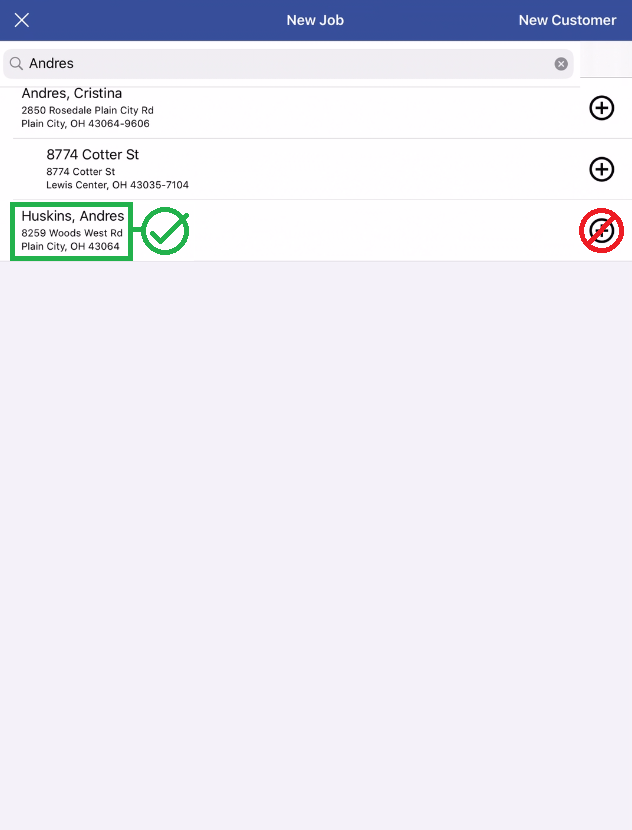
Before adding new customers from iFleet, make sure you search. The customer list as entered by Smart Service will be present in iFleet, so try searching by the customer’s name or address before you create a new customer of your own.
If you can’t find the customer in question, that’s ok too! The office can merge your new copy of the customer with the original.
To add a new location, use the “+” button.
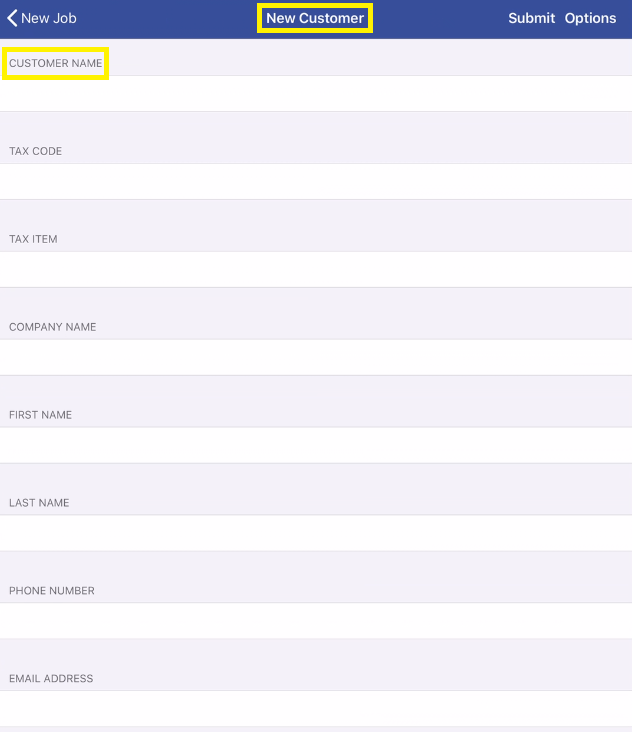
To avoid issues, make sure you read the labels of the new record you have started to create.
New Customers & Locations
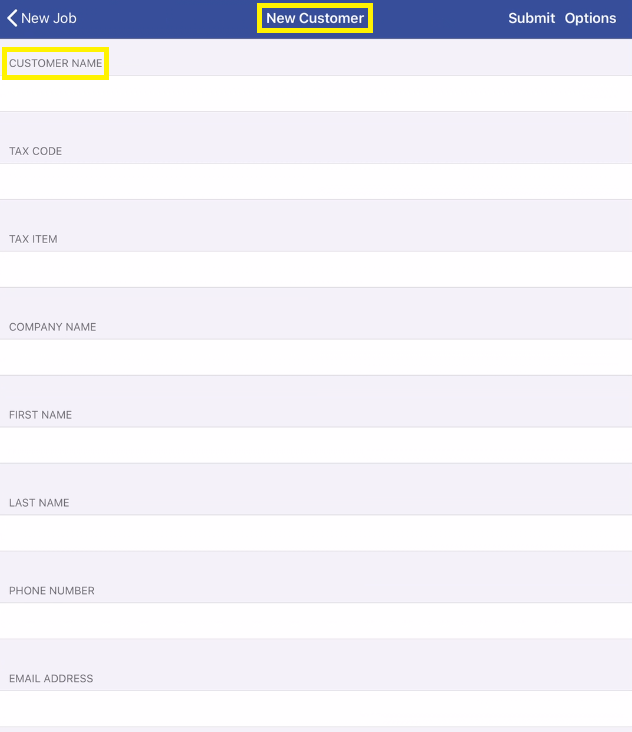
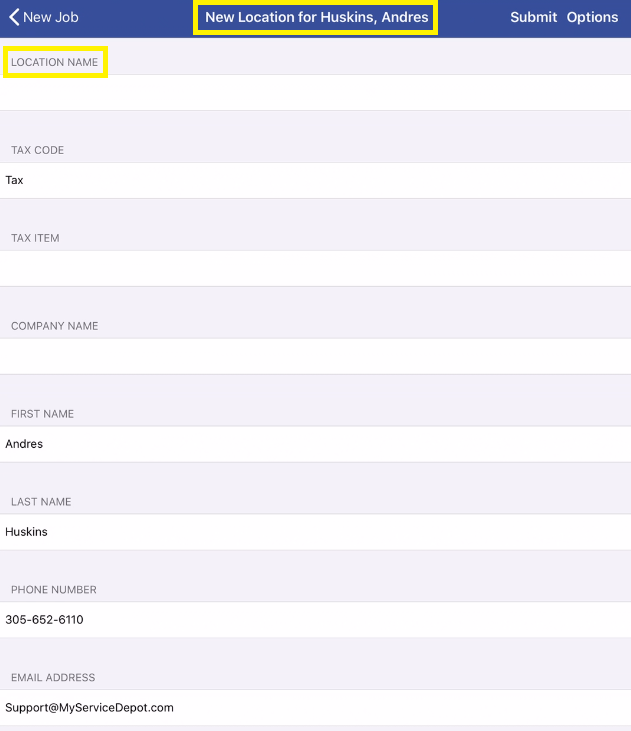
Watch your labels to avoid going into the wrong record type as you’re adding from iFleet.
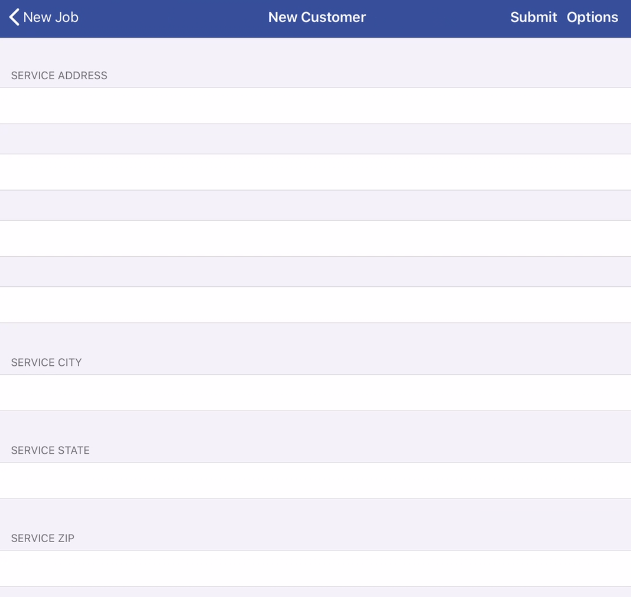
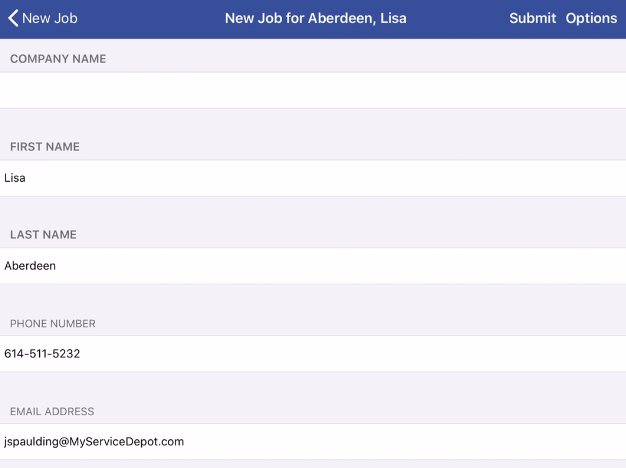
Note that new customer records start blank, giving the user the ability to fill in basic contact information and taxability.
The location will be populated with the existing information from Smart Service. This information can be updated by the iFleet user if needed.
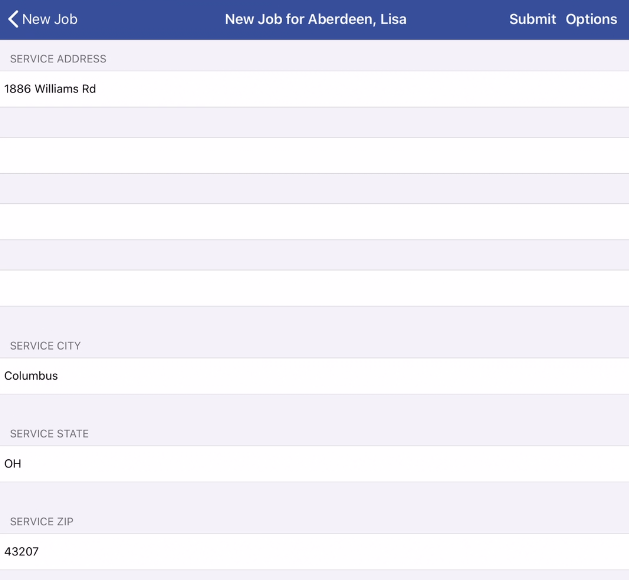
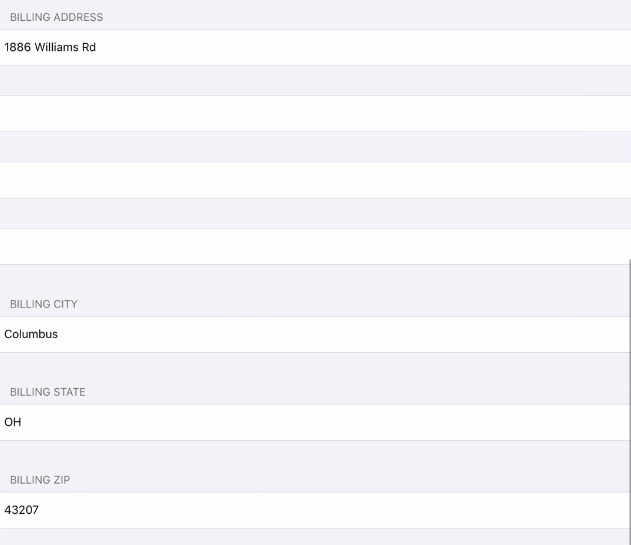
Along with the contact information, the iFleet user can enter service and billing addresses, including 4 lines for street address, suite, apartment numbers, city, state, and zip code.
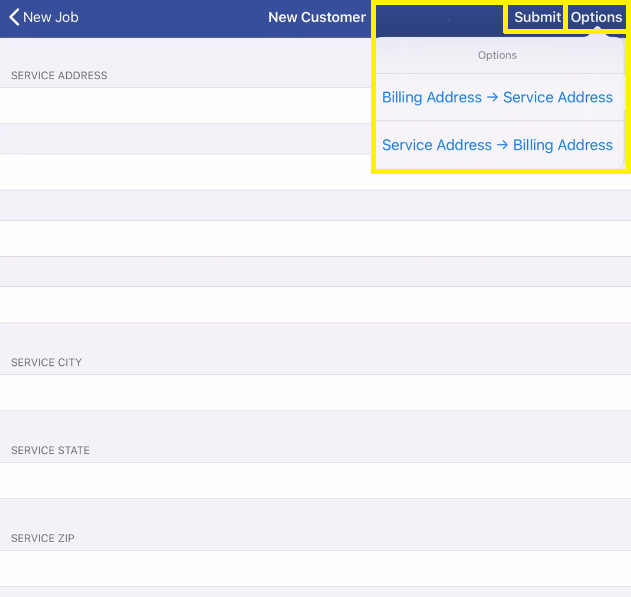
Using the options button will allow you to copy addresses from one set of fields to another.
Once the information is filled out, tap “Submit” to add the record to the list to create a new job.
New Jobs
Once you have located the customer/ location you are working with or you have added them to the list by submitting in the last step, tap the customer name in the list.
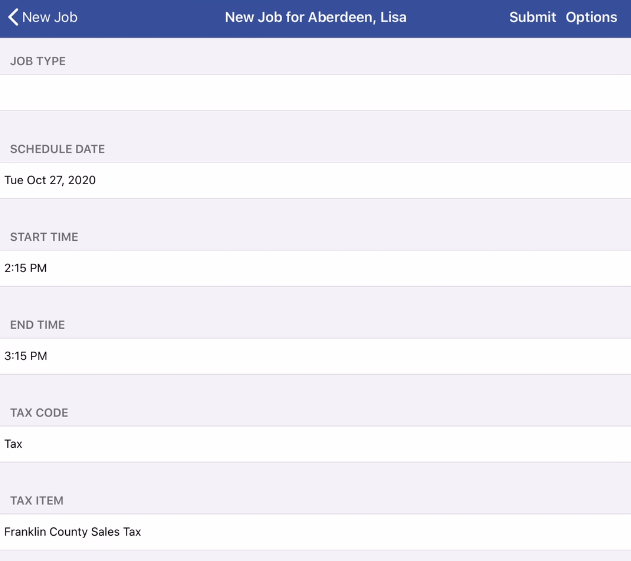
Enter the job type from the choices in your dropdown. Consult your office if you need clarification for their uses.
Enter a schedule date, start time and end time. These can be used to indicate that a job is for a future date or to create a job to complete at the current date and time.
Update the customer information as necessary, as phone number or email may have changed since the last time the information was accessed. Adjust the address information as necessary to clean up bad information.
After entering all of the relevant information in the new job, use the submit button to send the job back to the office.
If you are planning on completing the job, once you are returned to your job list after you submit the job, sync your device and the job will appear in your list.
Completing Your Newly Added Job
If you need to complete the work you’ve just set up, make sure you’ve synced iFleet. When the sync is complete, Smart Service will have the new records you created and the job will appear in your list.
At this point, the job will behave like any other job in iFleet. You can enter time for payroll and billable labor or travel, add notes to the job, parts and materials to bill for, take photos, add forms, update user fields and job exceptions.
As with any other iFleet job, you should finalize each day, using the job exceptions and notes to indicate back to the office that more time will be needed. From iFleet, you do not have the ability to set up recurring patterns or set up additional schedule dates.
Once you have finalized, sync your iFleet to send back any photos that may have been added to the job that was created.

