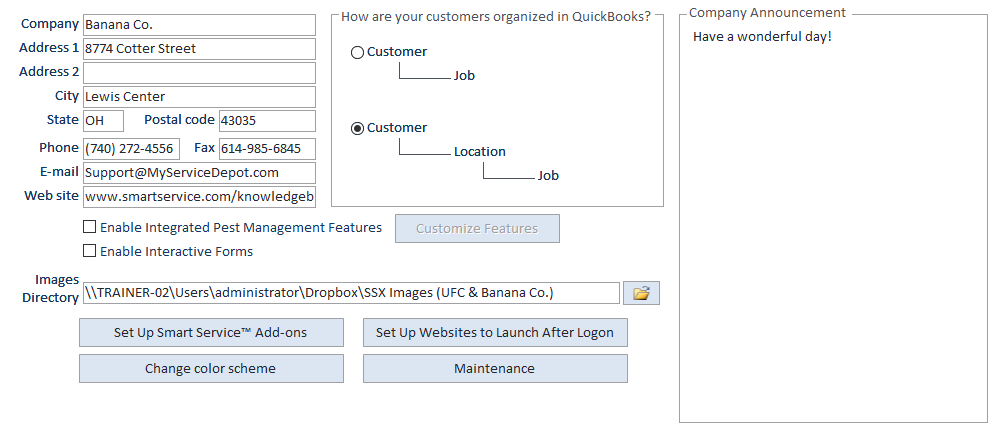
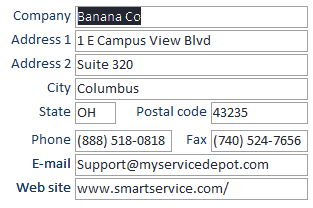
The company tab of settings stores your business’ address information, options to make adjustments to the customer-facing email templates, and other general program settings.
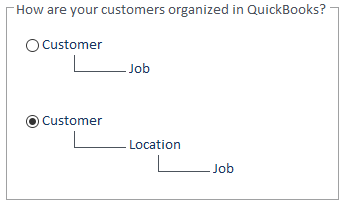
By default, this will be set to the top option, however, if at least one of your customers has more than one address they might request service at, be sure to switch this option to the Customer>Location>Job tree. If you are used to working in QuickBooks, you are not familiar with the term “location” as this is something new Smart Service has introduced.
A location is a child record under the customer, typically used to represent one of the buildings a customer owns. This way, service history and work created for that building can be stored under that building, rather than being combined with other building’s history. If you are unsure about this setting, we would recommend checking it just to be safe, as having this option enabled will not change or limit either QuickBooks or Smart Service if it is not used.
The company announcement is a user-defined message that will pop up for users when they log into Smart Service. You can use this information to post your holiday hours, a reminder of the new office policies, or any other internal messages you would like to display.
If a user would not like to see the message each time they log in, they’ll have the option to dismiss the message which will prevent the popup. However, when that user updates Smart Service, they’ll receive the popup again on the updated workstation but will again have the option to dismiss the message.
Enable Integrated Pest Management Features
This feature is intended to help pest control companies use paper work orders. Activating this option and entering the “Customize Features” option will allow you to customize a small spreadsheet that contains your target pests. From there, you can customize what those pests are, products commonly used, treatment location, and treatment methods.
Please note that this feature is intended to create a checklist for your technician to use, all billable items must also be noted in the “Job Items” section if you intend to bill the customer for them or subtract them from inventory.
Images Directory
The images directory is a folder that lives on your server and houses all of your pictures and forms. While you access the photos and forms from within customers, jobs, etc. this section of settings is used to designate a location for the directory.
We would generally discourage you from making alterations to this link without the assistance of your IT or our support team. However, users looking to integrate Dropbox will need to update this section with the new location of the directory.
Set up Smart Service Add-Ons
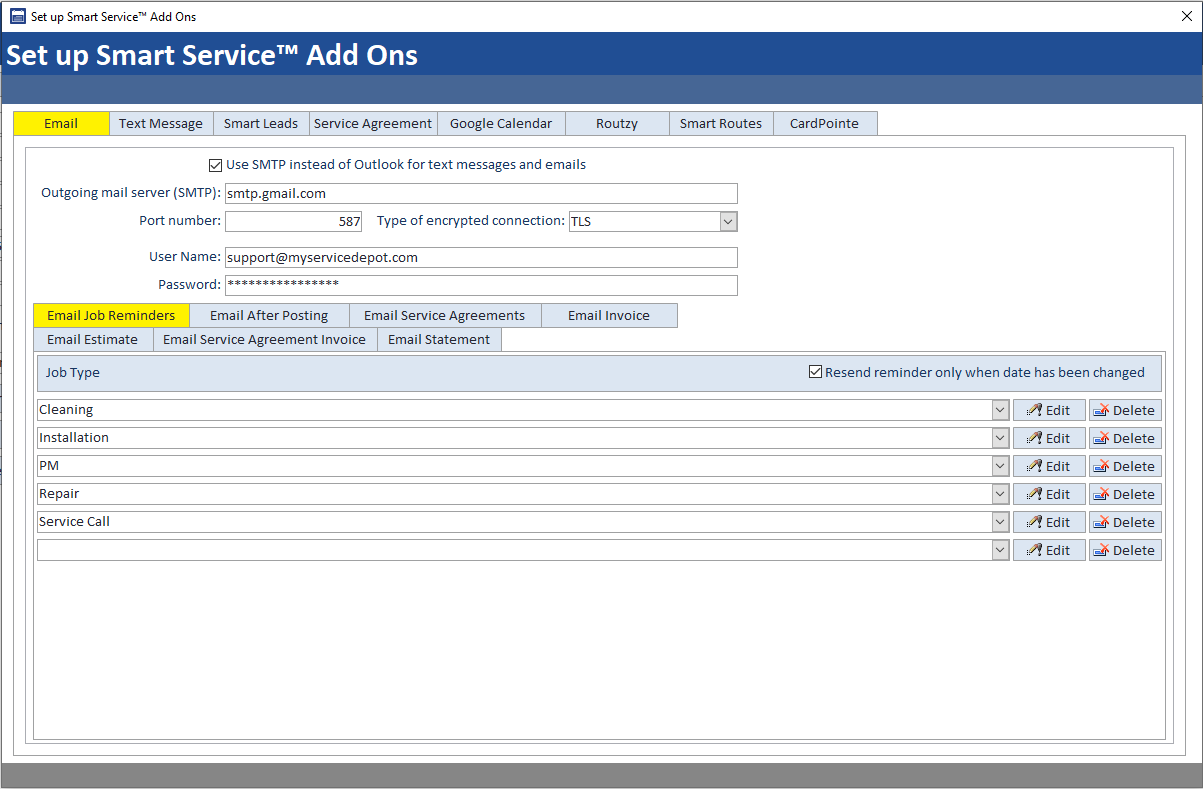
The Add-Ons section contains settings for individual supplemental features such as email and text reminder templates, CardPointe, Smart Routes, and various license key entry spaces for our support team. In this section of the article, we’ll address each section that you can customize and skip the spaces for entering license keys.
The first section controls the email templates sent from Smart Service exclusively. This includes reminder emails, invoice emails, statements, and other custom-facing emails. All of the emails sent from Smart Service will be sent from the email account on file at the top of this section. Smart Service will require the SMTP, user, and password information for the desired email account to send out emails on your company’s behalf from that email account.
While you can set up this feature of Smart Service on your own using the information below, please reach out to our customer support team for assistance when you need it!
You will need an email address associated with Smart Service. We highly recommend this isn’t someone’s personal work email to ensure that replies from customers can be seen by as many eyes as possible. If you don’t already have a generic “Info@”, “Service@”, or similar already, it’s never too late to create one.
This next image displays the most common SMTP information for the most popular email services. You will need to enter the corresponding SMTP information for the email service of your choice. Afterward, the “user name” and “password” is the email account and password for the email account.
Gmail Users May Require 2-Step Verification
Google's 2-Step Verification helps keep your Google Account secure by giving your third-party apps (Smart Service, in this case) limited access to your account. In most cases, either this feature or "Allow Less Secure Apps" must be enabled to prevent Gmail from blocking connections from Smart Service. Once enabled, 2-Step Verification will provide a password you can enter in place of your actual email password in Smart Service.
Click here to learn more about enabling 2-Step Verification.
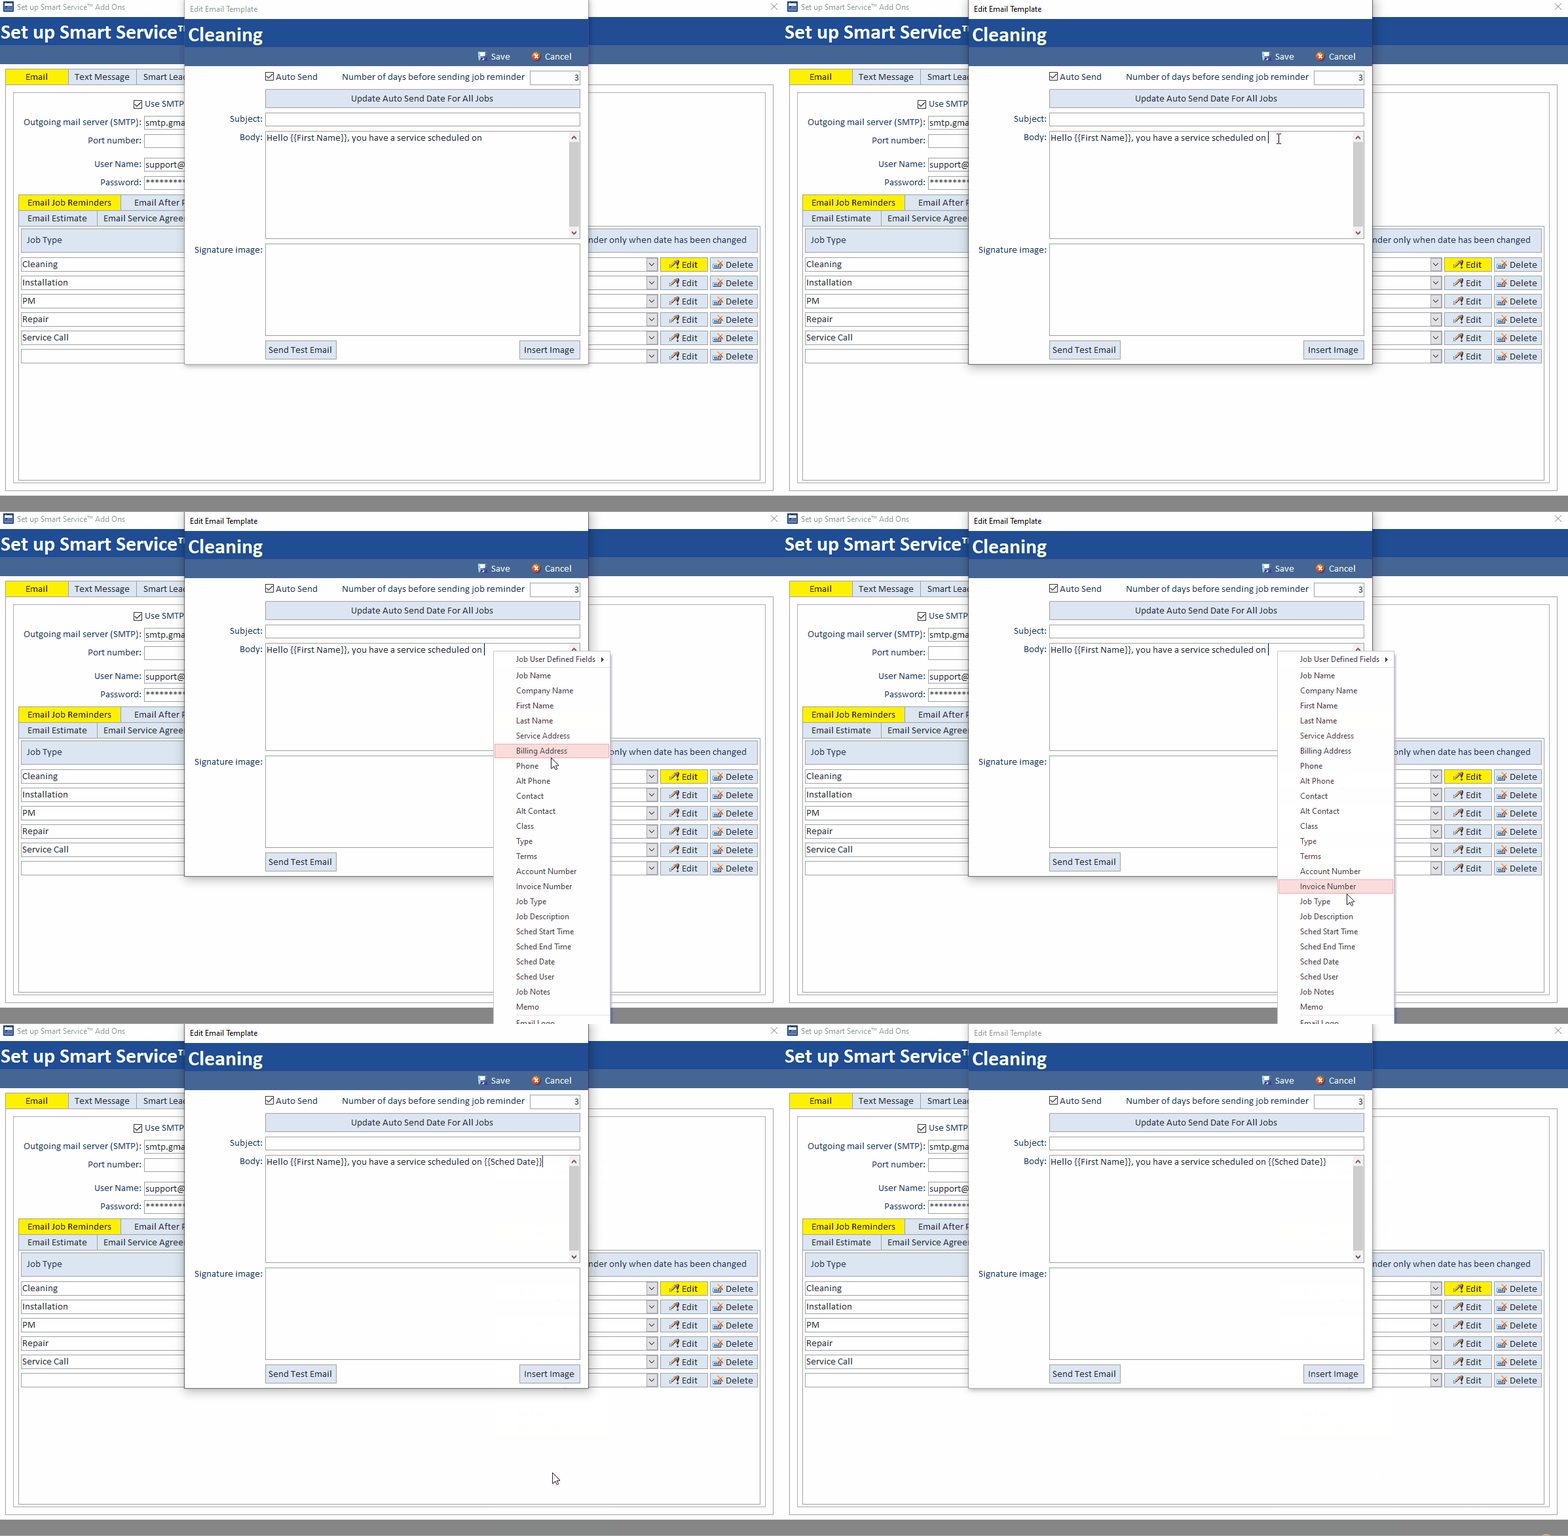
The email templates are set up in a similar way. You’ll be able to create a subject and body among other options to determine when and what will be seen by your customer. For the body of your emails, you can right-click to insert merge fields that will pull the desired information from the customer’s record when sending the email. But be careful, if the information is missing from the customer record, the merge field will show up as a blank space instead.
Since this is a popular feature, it has an article of its own here! You can set a different message to be sent to the customer based on the type of job they’re requesting. In addition to that, you can also set these reminders to automatically be sent to the service email address listed on the work order the day of or a few days before the scheduled date on the work order.
This option will automatically dispatch an email to the customer upon posting a work order to QuickBooks, it will not include a copy of the invoice or work order like the “Email Invoice” option below, however. This option is generally used to email the customer a survey link or to thank them for their business. If you would like to use this option, ensure that ‘Send Email After Posting” is checked in Post Work Orders.
You have the option to email the customer this template from the service agreement module’s screen. You could use this to send out informational messages about their service agreement or a welcome email.
Not only can you enable the automatic email of the invoice to the billing email address listed on the work order here, but you can also design the subject and body of the message that will accompany the invoice!
You’ll use this template when emailing an estimate from the office to the billing email address listed on the estimate. You can send the estimate to the customer by opening the estimate in Smart Service and clicking the “send estimate” button above the service address.
When you send a service agreement invoice to a customer from the Service Agreement module, this email will accompany the invoice attachment.
This is part of our CardPointe integration features. A statement is an “account summary” you can send to your customers to collect their account balance. Since these features have their article, here’s a link!
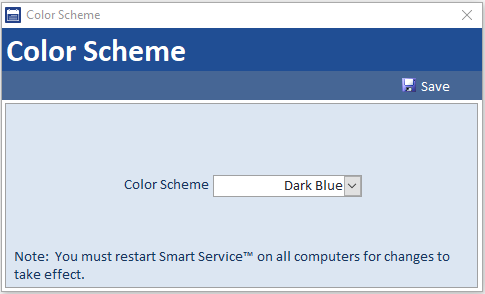
Change Color Scheme
Set Up Rounding for Billable Items
There are a few other settings that will need to be enabled in order to make use of this setting. You’ll need to create a labor line item (or equivalent service item) in QuickBooks and preferably assign that item as the default charge for a given employee’s time, which you can do on their employee profile here. You can also choose the appropriate service item on a per-job basis and don’t need to set a default if you would prefer.
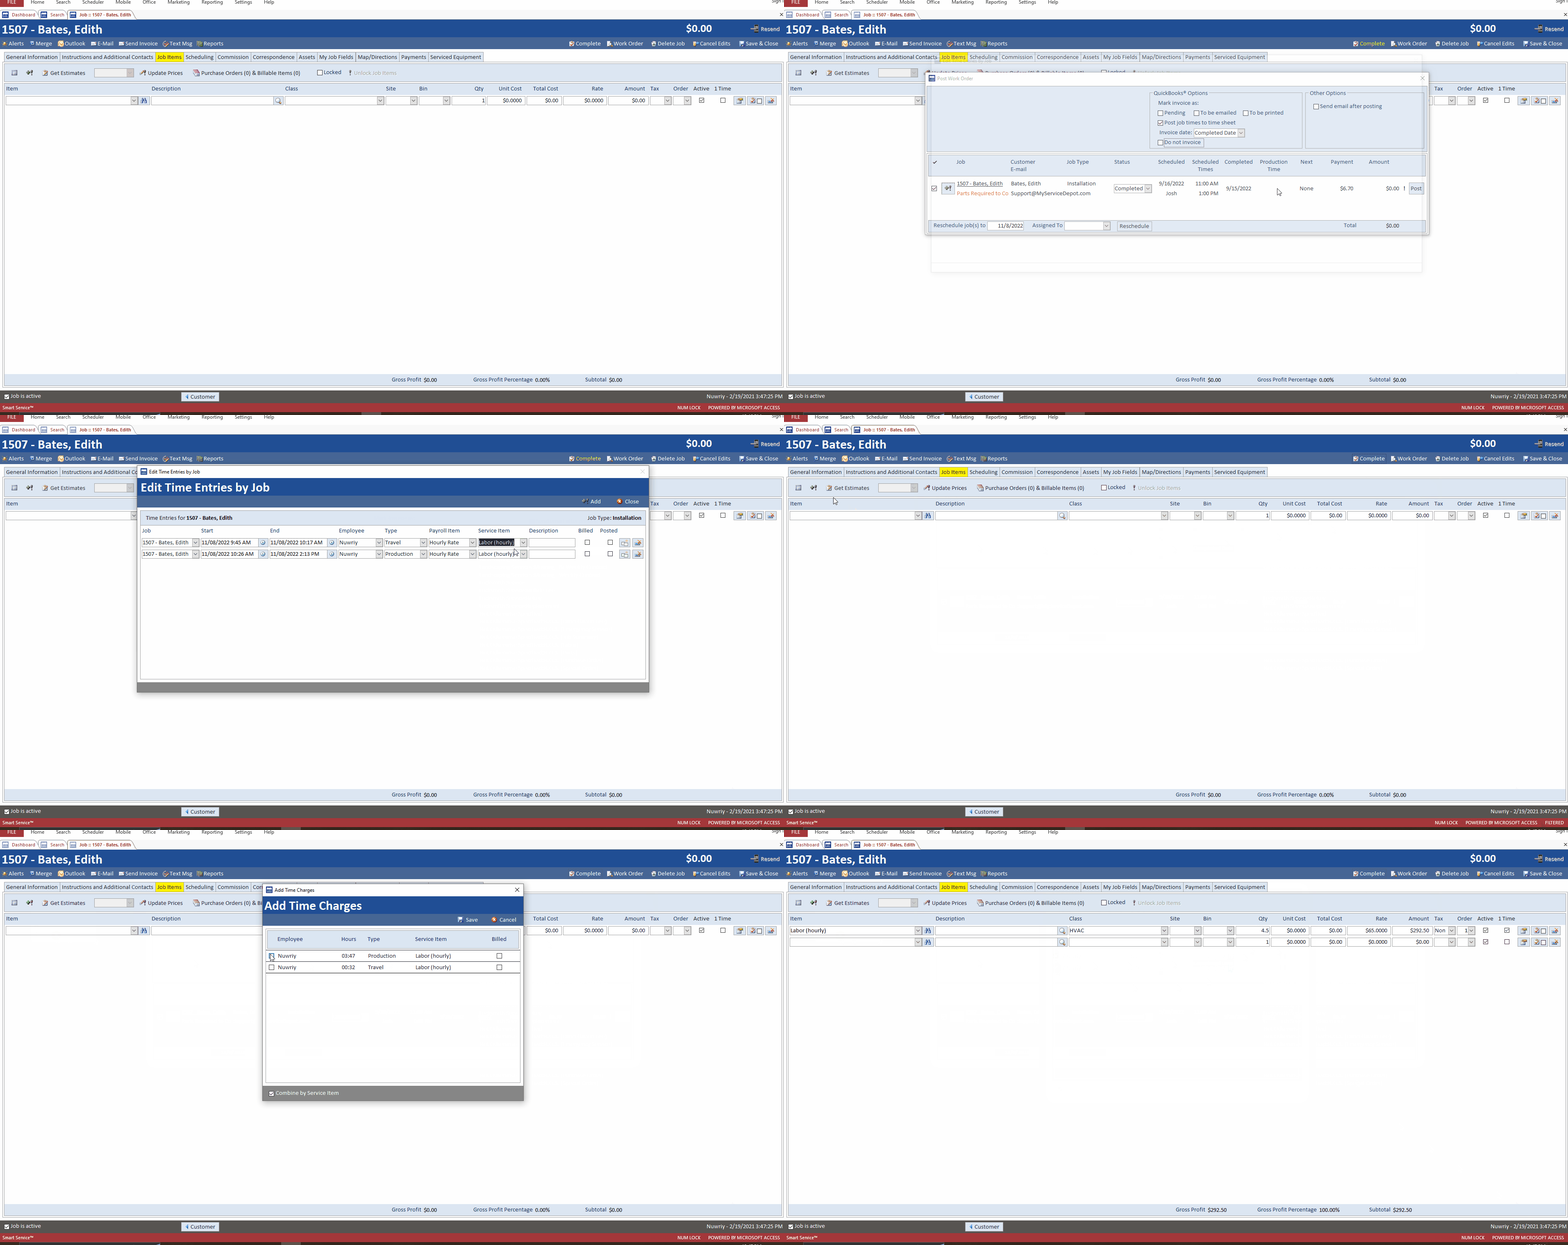
Either way, you can see an example of this function working below. After verifying the times on the work order, the next step occurs in the job items tab. By clicking on the +! symbol, you can use the timestamps from the work order to create a billable line item for the work order. This option will check the settings in the “Set Up Rounding for Billable Items” section and alter the line item quantity accordingly. Once added, further changes can be made if desired.
Longitude / Latitude
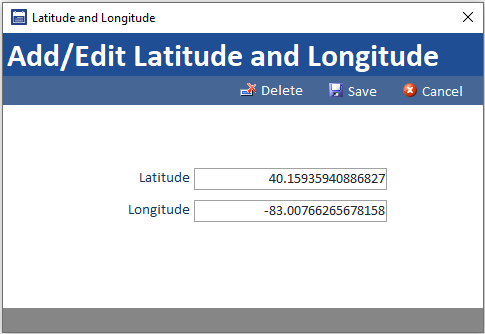
If your business uses Smart Routes you can designate an alternate starting/ending point for your business here. If this coordinate section is set to a value other than zero, these coordinates will be used as the starting and ending point of the route instead of your company address above. You can also designate custom start and/or end point on a per-employee basis here.
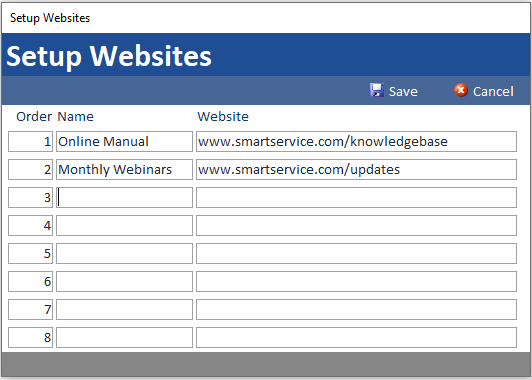
Setup Websites to Launch After Logon
This option is for customers who would like a favorite website to become a tab in Smart Service. By entering that website’s URL into this section, upon logging into Smart Service next time you will see the desired website in its own tab next to the “Help” tab at the top left-hand corner of the screen.
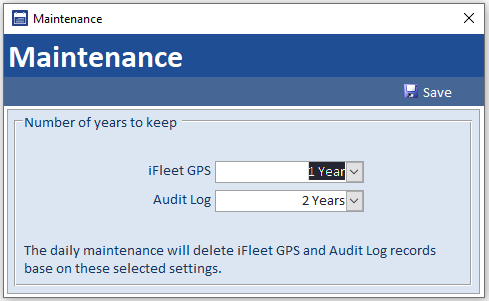
Maintenance
We would advise that you make changes to this section only with the assistance of your IT team or our support team. Here you can delete your old GPS pins and audit log entries after a specified amount of time. Once they’re gone, they’re gone! Please consult our support team for additional information on this feature.
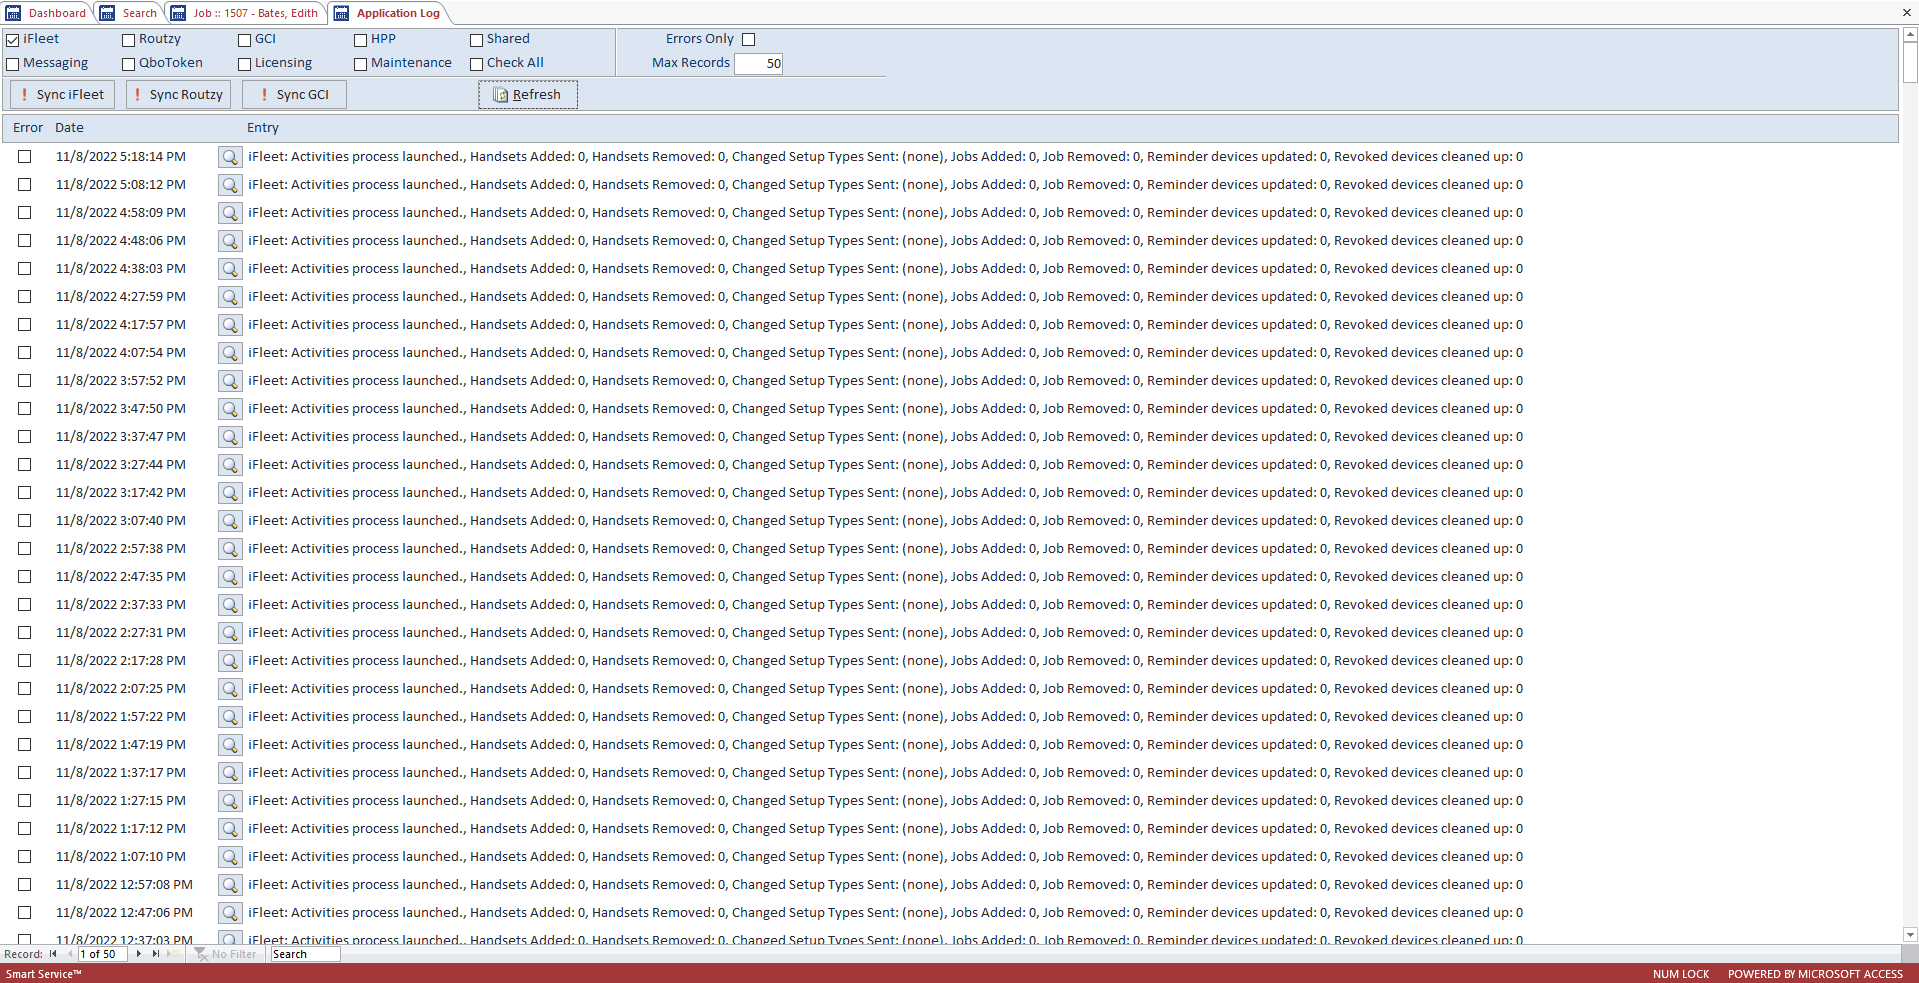
View Application Log
For those who would like to email from Smart Service, including job reminders to customers and texts to employees. This module comes with the base program.
For users who would like leads generated by your website to populate Smart Service. Click here to learn more about Smart Leads.
For those who have service contracts with customers and preventative maintenance agreements which are billed separately from service. You can check out this popular module here.
For those looking to view their Smart Service schedule on the go, Google Calendar will ensure any items placed on your Smart Service schedule are displayed in google on your mobile devices. If you already have iFleet, you can learn about Google Calendar here.
Routzy is the sales CRM counterpart to iFleet. What sets Routzy apart is its ability to create and schedule prospects and estimates from the field. Routzy also allows a user to create and manage their own correspondences and events. Click here to check out Routzy.
For companies looking to find the most efficient driving route through all of their stops, we have a product for you! Click here to learn more about Smart Routes.
Smart Service has its own inventory tracking system available for truck inventory. You can learn more about this feature by clicking here.

