Device Requirements
Before you get started with iFleet, make sure your device is up to spec. Although cellular service is not required to operate iFleet, a data plan of 1GB+ is recommended. Without a data plan, technicians will only be able to send and receive job information when connected to Wi-Fi.
- Device must be an iPhone, iPad, or iPod Touch
- Operating System must be iOS 11 or above (iPhone 5 or above, iPad 4 or above, iPod touch 6th generation or above)
- Device must have 8GB storage space available
New Device Setup
If your device just came out of the box, Apple has a helpful guide for setting up your device. Afterwards, visit the Apple App Store and search for “iFleet 4 for Smart Service”. Once you have downloaded the app, you may want to enable a few of the following permissions via your device’s “Settings” widget.
iFleet will require access to your location in order to use maps, drop coordinates, and track your device’s current location. Under Settings>Privacy>Location Services, make sure iFleet 4 is set to “While Using the App”.
To enable GPS tracking, go to Settings>iFleet 4 and set “Auto send GPS data” to yes. This feature will use more battery, but will cause GPS tracks to be sent back to the office every 5 minutes when cellular service is available.
If you plan on taking pictures with iFleet, the application will need access to your camera. Go to “Settings>iFleet 4” and make sure iFleet is allowed access to your camera in the “Allow iFleet 4 to Access” section.
The next section in the list, “Photo Settings” will allow you to choose a resolution for pictures taken with iFleet and choose if and when pictures should be sent to your customer on their work order.
When you open up the app, iFleet will ask if you are a potential or existing customer. Make sure to tap the “Already a customer? Tap here!” option to continue. Once inside the app, follow the on screen directions by tapping the three horizontal bars at the top right of your screen. Choose the “Settings” option (second from the bottom) then tap “Email Device Identifier”. This should open up your email app and allow you to email the device ID to your Administrator. If you haven’t enabled email on this device yet, iFleet will instead display your device ID. Each download of iFleet has a unique ID which must be entered into your Smart Service database, so make sure the person you’re sending your ID to has access to Smart Service.
If you’re the individual setting up the device ID’s sent to you by your iFleet users. Click here for a guide on linking those devices to your users back in the office.
Uploading Your Logo
Each iFleet device must be sent a copy of your logo via email and uploaded to the app. To do this, obtain a copy of your logo in .PNG format and rename the file to “logo.PNG”. Right click the file and choose to send it to a compressed (.zip) file. At this point, your logo should be named “logo.zip”. Next, create an email and attach the .zip file, then send the email to the device.
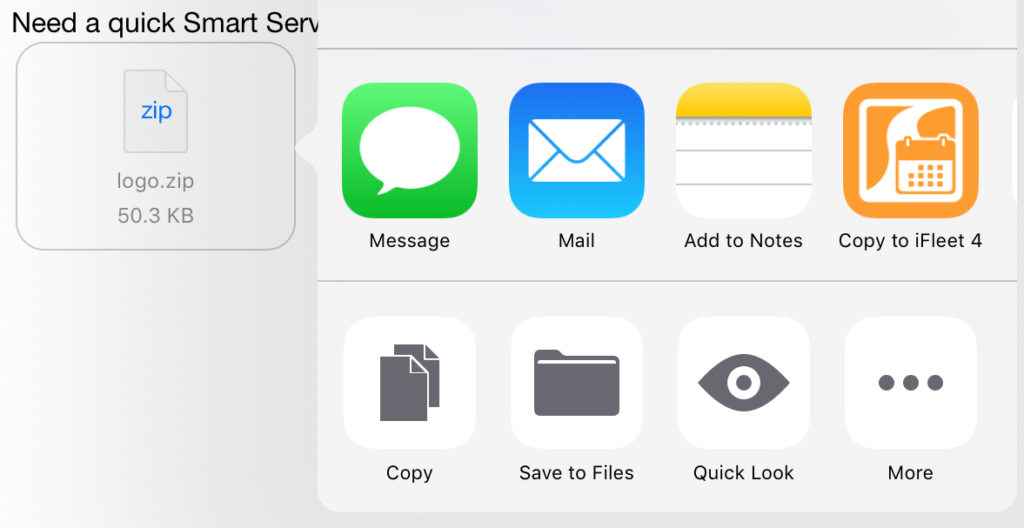
Once you have the email open on your device, tap the attached file which should present you with options for which app you’d like to open it in. Choose “Copy to iFleet 4” and if the file was named correctly, iFleet will open and you should start seeing your logo when you send work orders to the customer.
PDF Forms
You have the ability to create and integrate your own PDF forms into iFleet, which can be used on any service calls or estimates performed with the system. Don’t have a PDF form yet? Check out our article on creating forms here.
If you already have a form, your first step is to email the form to each device that needs access to it. If you’d prefer a video tutorial, click here. Open the email on your device and long press (press and hold) on the PDF attachment, which should bring up this menu below.

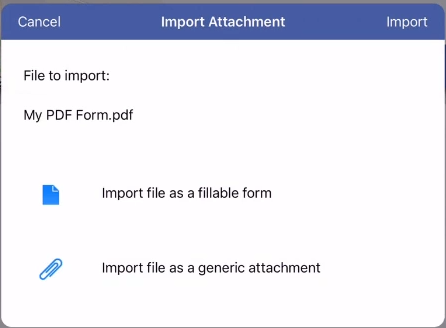
This should bring up the “Import Attachment” window. For PDF forms, choose the “Import file as fillable form” option. The second option for generic attachments is useful for flyers or other documents you want to attach to iFleet’s emails.
Once you’ve added your PDF form to iFleet, a new “Forms” header will appear under the job items section on any job in iFleet.
A few important notes on PDF forms:
- Information updated on the form does not update iFleet, make sure you add info to iFleet first.
- If you use the PDF form, then update something for that job in iFleet, the form will not be updated. Only add your form once everything you need is in iFleet.
- Once a form has been completed, you can grab a copy from Smart Service in the documents section of any customer’s “History / Docs” tab.
Management Notifications
iFleet has the ability to send email notifications to the office which are triggered by events in iFleet. These notifications are sent via email only.

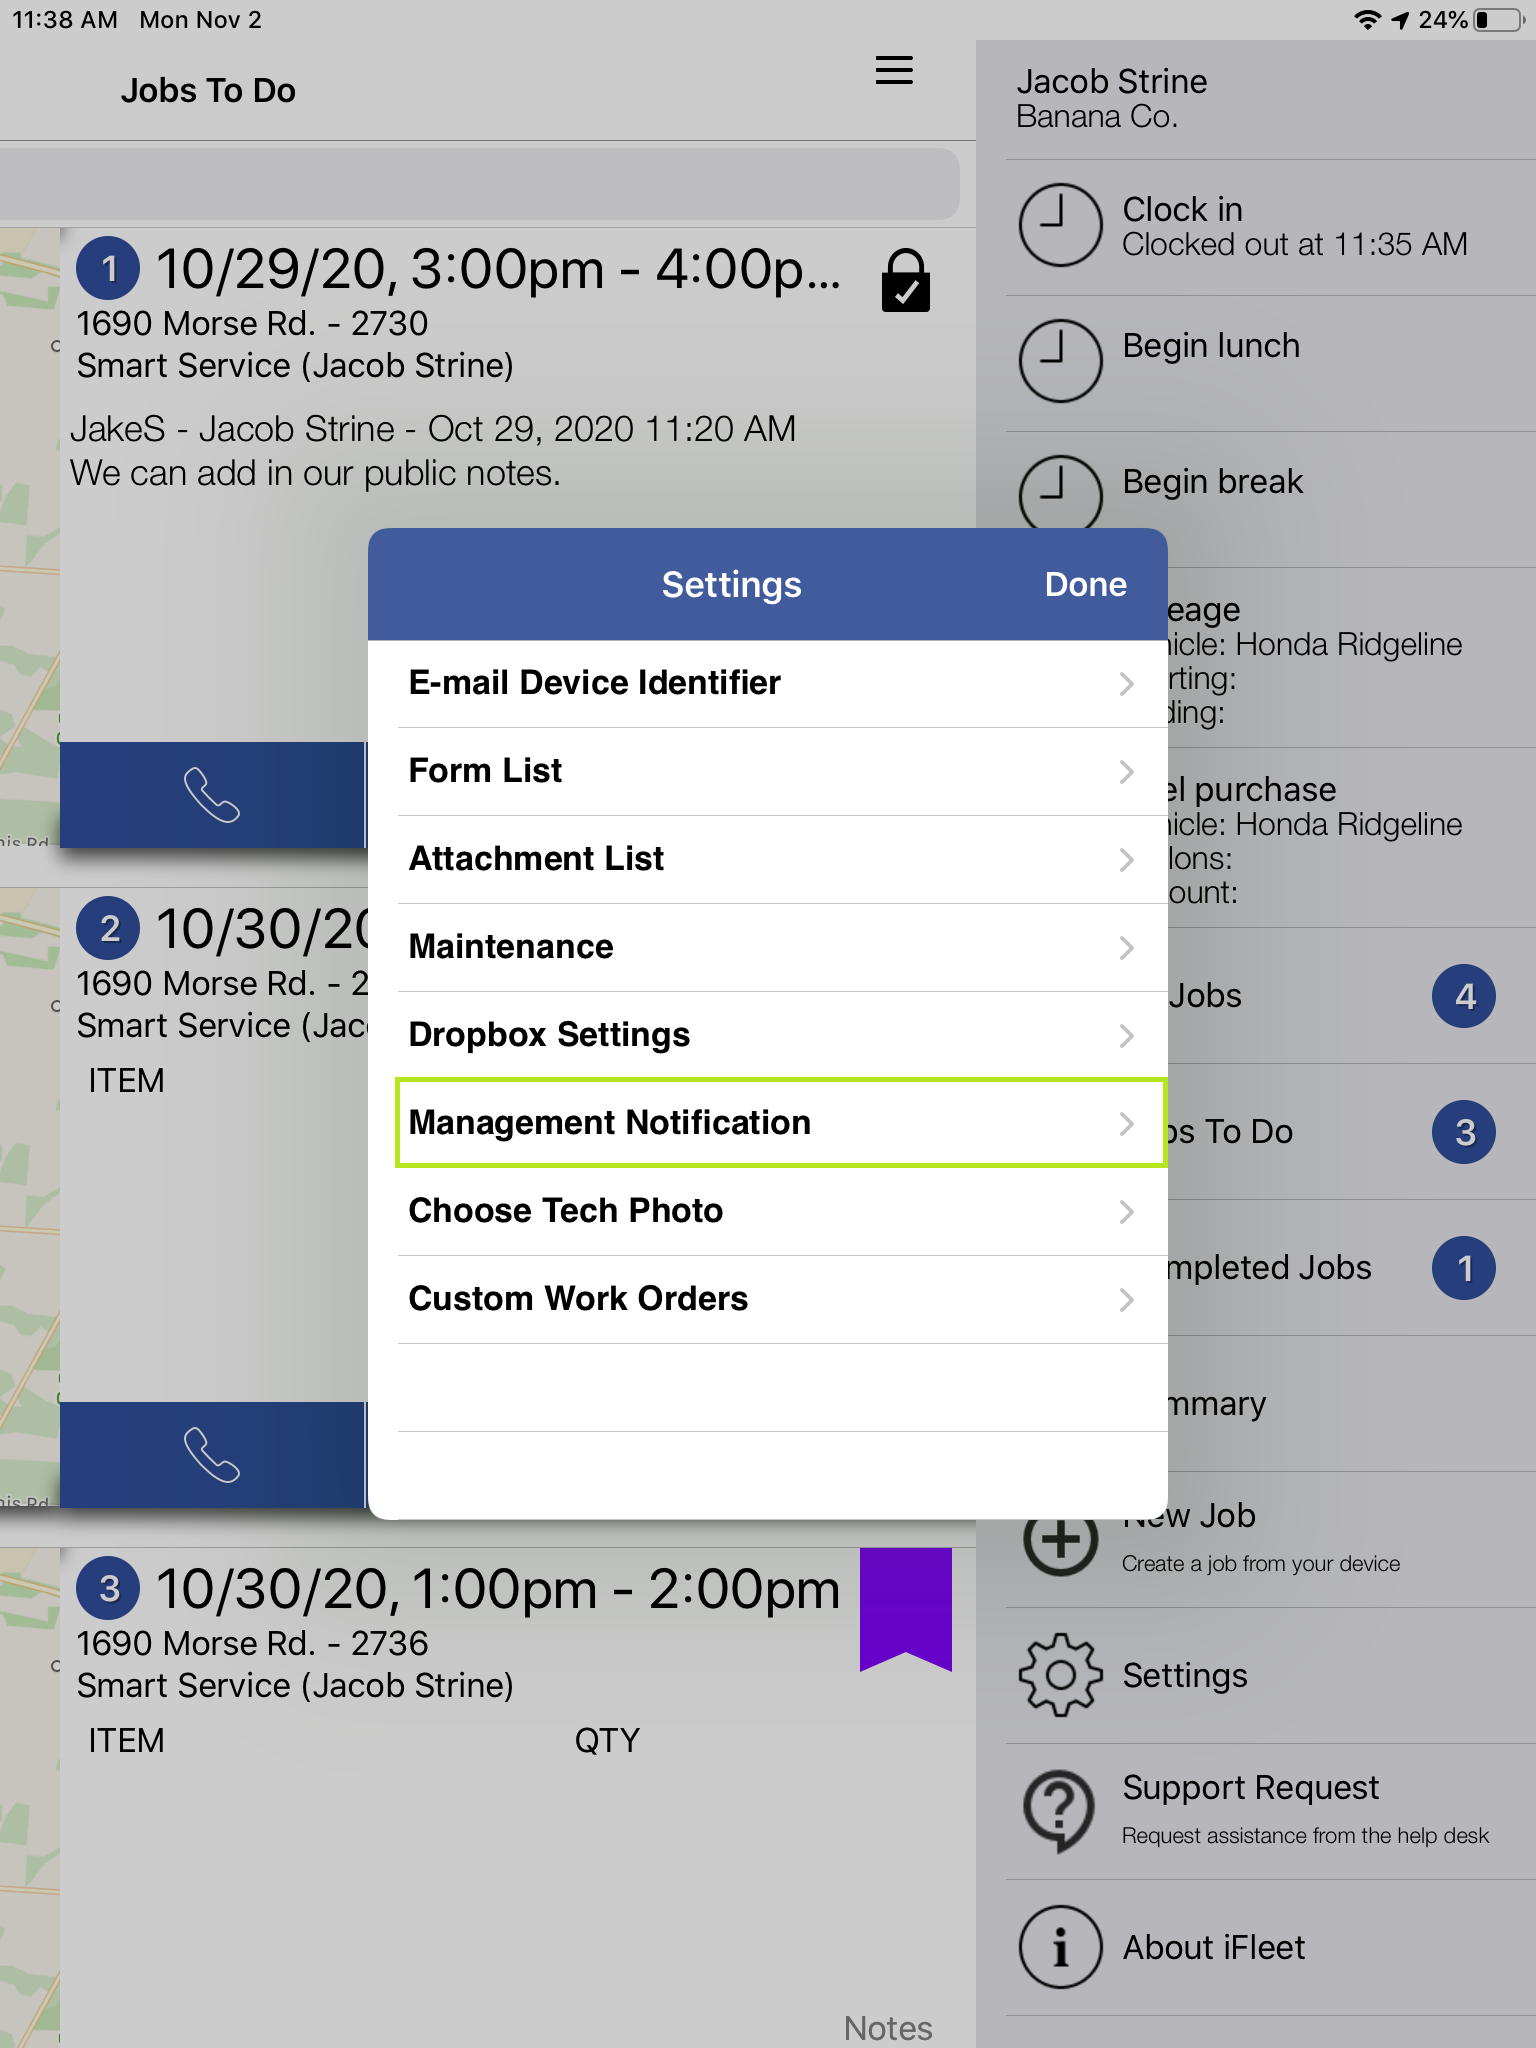

You can send management notifications to the office alerting them when a technician clocks in, starts a job, takes lunch, etc.
This is a useful feature for supervisors on-the-go. You could receive a notification on your iFleet user’s activities as those actions are taken. This is also a good way to make sure everyone is clocking in for the day.
You can enable this feature in iFleet settings under the “Management Notifications” section. Tap the sliders to select which action triggers a notification and add the email or phone number of the notification recipient. In order to use a phone number, the recipient must be stored in your contacts.
Using iFleet
The rest of this article contains all of the iFleet’s features listed in the order your technicians would use them. We have also included an iFleet tutorial video which covers all of the information available in an iFleet class. If you’re using a phone instead of a tablet, all of the features below will be available albeit in a more compact display.
Starting Your Day
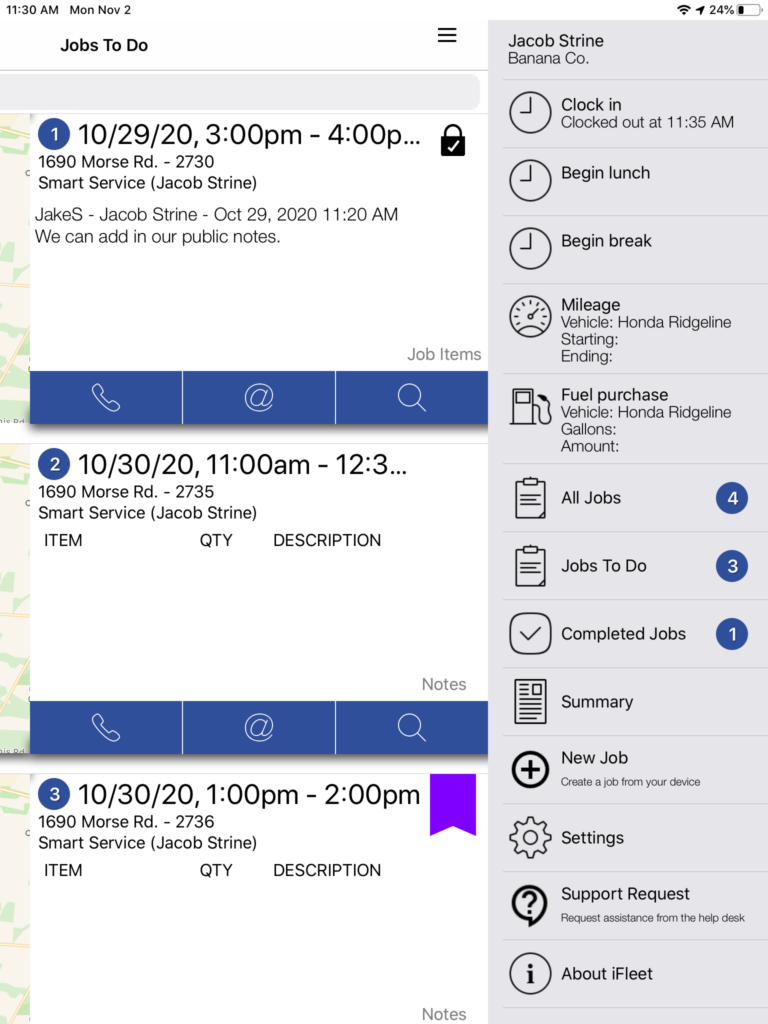
Afterwards, tap on the three horizontal bars in the top right-hand corner of iFleet. This section is called your iFleet Dashboard and will contain all of your starting options for the day.
Users can clock in and out, record lunches and breaks, track mileage and fuel purchases, and review the schedule using this dashboard.
Users can take advantage of these options multiple times in a given day if your lunch needs to be split into two sections or if you are allowed multiple breaks.
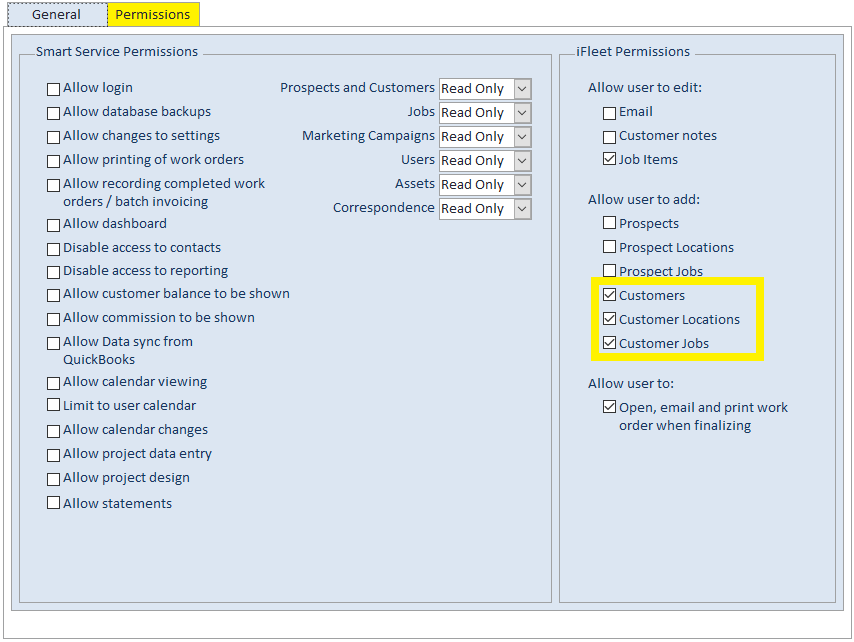
Users now have the ability to add a job, customer and location from within iFleet as well. If you are interested in learning more, click here
Tap on this option to clock in or out for the day. For those companies who are not using iFleet’s time tracking capabilities for payroll, it is still recommended to have technicians enter timestamps to track efficiency, confirm location, and compare to your primary time tracking software.
Lunch times entered will be automatically subtracted from your total clock time for the day. For those companies who are not using iFleet’s time tracking capabilities for payroll, it is still recommended to have technicians enter timestamps to track efficiency, confirm location, and compare to your primary time tracking software.
Any breaks recorded as “unaccounted” time on your Smart Service timesheet. For those companies who are not using iFleet’s time tracking capabilities for payroll, it is still recommended to have technicians enter timestamps to track efficiency, confirm location, and compare to your primary time tracking software.
This feature requires the use of Assets. Users may select a vehicle and add the starting (and later) ending mileage for the day. Adding this information will help Smart Service notify you when your vehicle is due for maintenance.
This feature requires the use of Assets. Adding fuel purchases via iFleet makes them visible in Mobile Workforce back in Smart Service.
This option displays both complete and incomplete services assigned to the user. If the office has enabled the “display one job at a time” setting, this option will not be available on your device.
This option displays services assigned to the user which have yet to be completed.
Once a job has been finalized, it will be stored here until the office has posted the job to QuickBooks. While in the “Completed Jobs” section, the job may still be altered further. If the office has enabled the “display one job at a time” setting, this option will be the only option on your device
This summary will provide you with statistics on the number of jobs completed, total revenue, progress of jobs completed, and time spent traveling vs. working on-site.
This section allow you to customize iFleet by inserting custom notifications, PDF forms, and more. There are several settings options which will be covered in the rest of this article
Use this section to compare your version of the application to the store version. Our contact information is also available here.
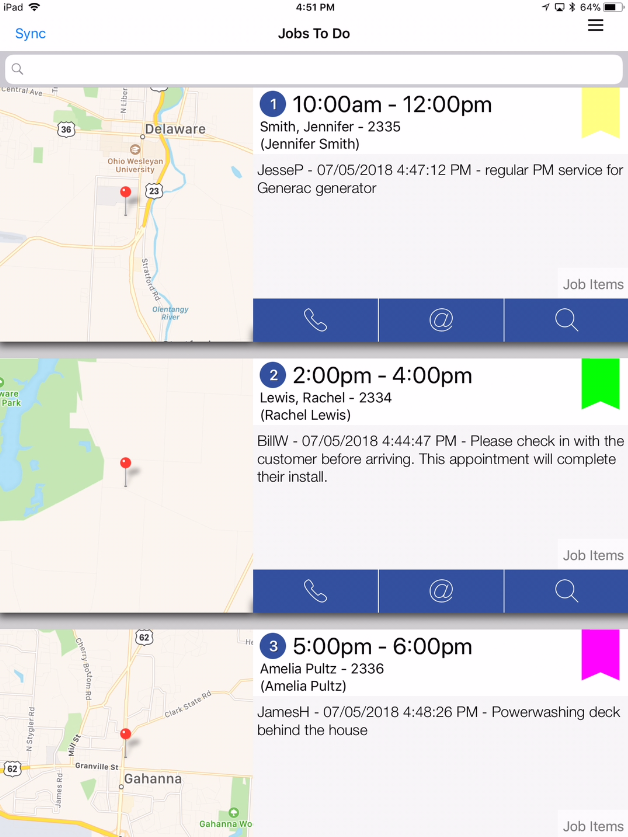
To get started on your services, you’ll want to be inside of the “Jobs to Do” section. This will display jobs in the order that they were scheduled, but also provide you with a search bar at the top of the screen.
Provided you have cellular service, each job should have a map. Tapping on this map will give you the option to navigate to your job site using the default mapping application on your device.
Below the information for each job will be a phone symbol, email symbol, and magnifying glass.
- The phone symbol will let you call the customer if you’re using a cellphone, otherwise it will provide you with the customer’s phone number.
- The email symbol will allow you to email the customer directly.
- The magnifying glass will open up the service.
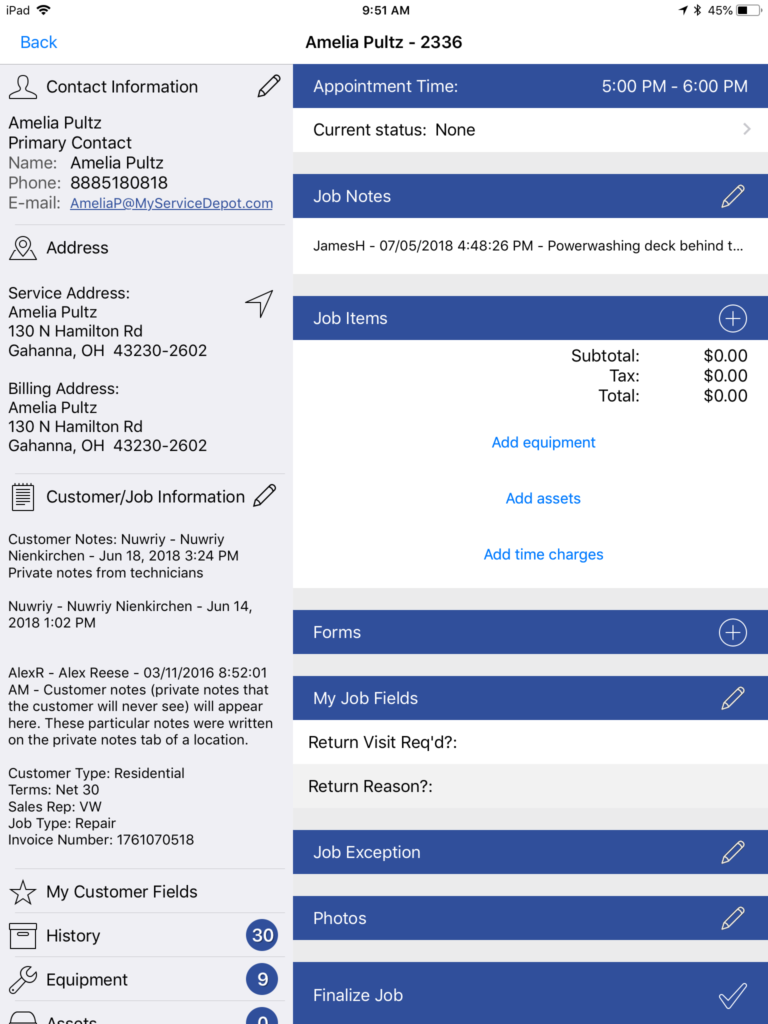
To continue with iFleet, tap on the magnifying glass of the service you wish to begin. Inside, you’ll notice that iFleet splits the job into two columns. On the left, you have additional information about the customer and site you’ll be working on; the information on the right is what creates today’s work order.
Remember, if you’re using this application on a phone, your screen will be more compact. Instead of a left and right side, mobile phones display a list of expandable headers with the same information.
Before moving onto the work order process, let’s discuss the additional information on the left.
Contact Information
Address
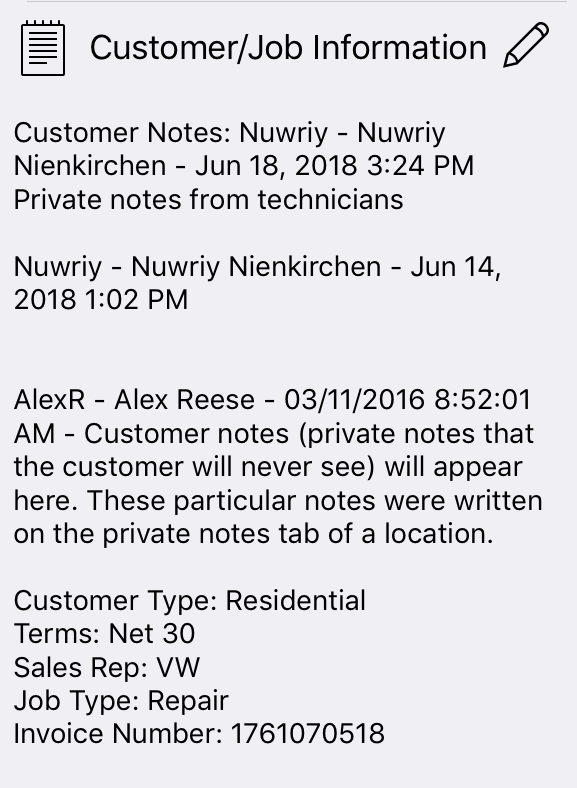
Customer/ Job Information
The contents of this section vary between customers. If you have private notes about the customer, those will be displayed first. If you have the pencil symbol, your device can edit the private notes about this customer. Below is the list of all other possible items to appear in this section in the order which they will be presented:
- PO Number
- Price Level
- Customer Type
- Sales Rep
- Job Type
- Job Description
- Invoice Number
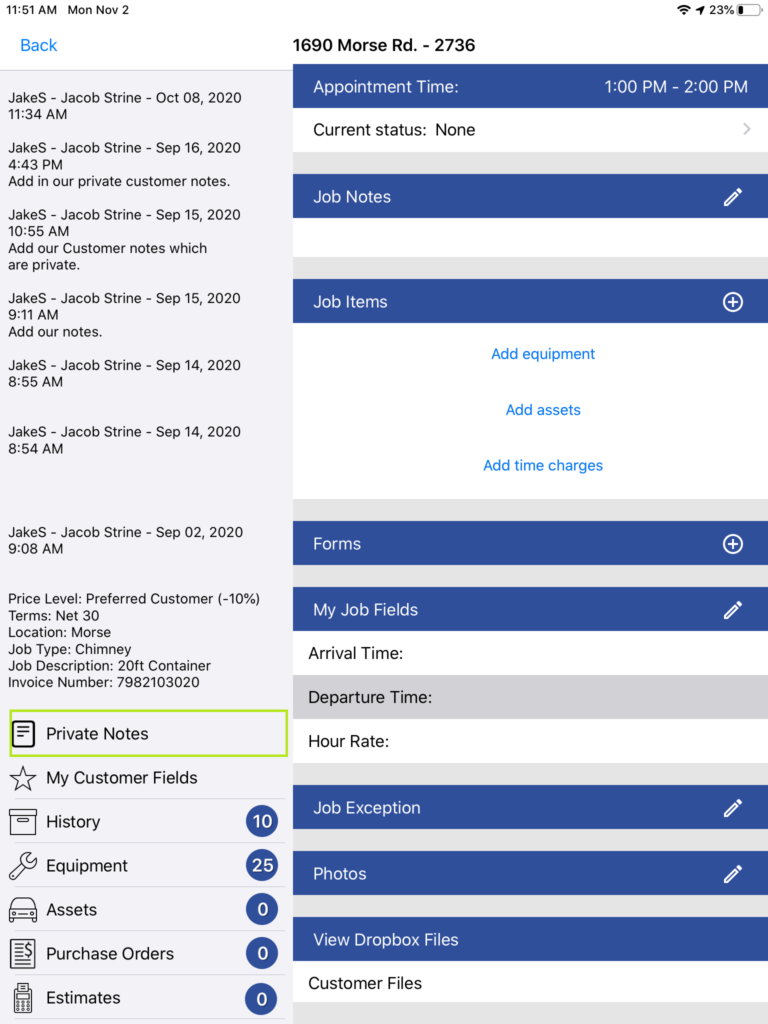
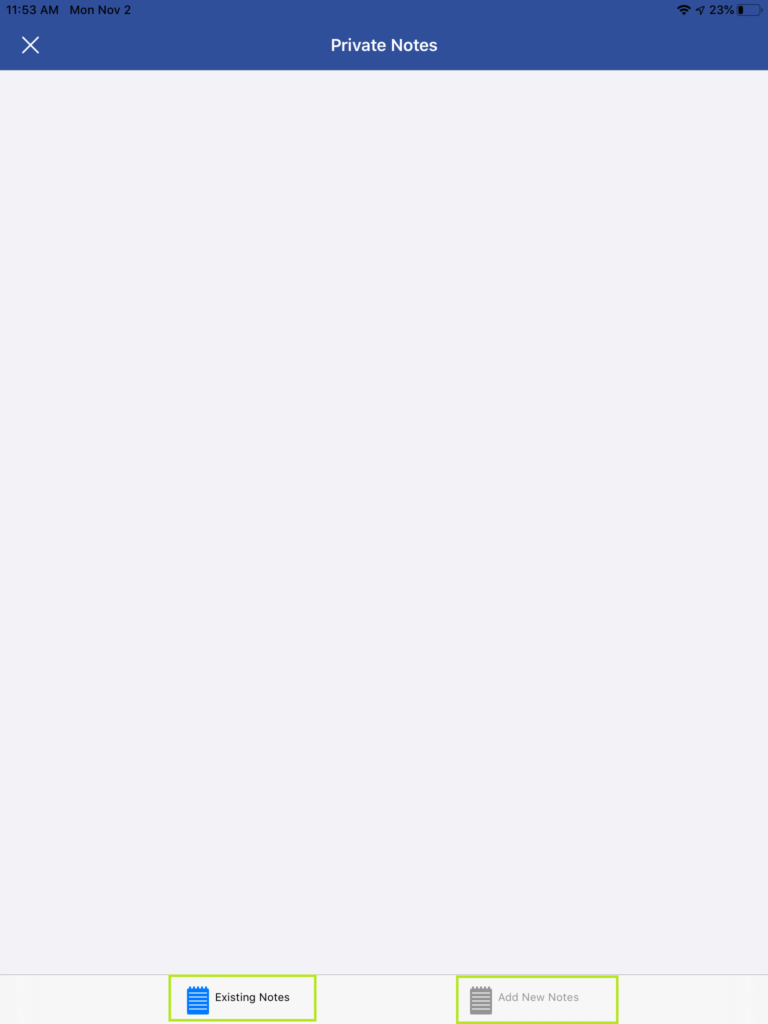
iFleet can also display private notes about this particular work order. This is so that you have the ability to add notes that are completely separate from Quickbooks. Much like our other notes fields (job notes, customer notes), you have the ability to see what is an already existing note and add new notes separately.
Private notes can be added to this one work order and typically contains information the field user would like to communicate to the office about the work order without alerting the customer.
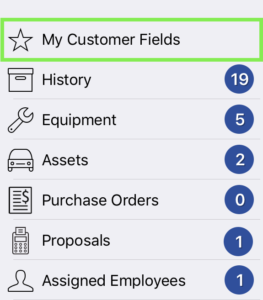
My Customer Fields
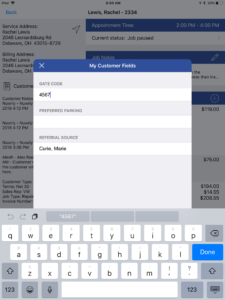
The contents of this section will vary for each company using Smart Service. The office has the ability to add their own user defined fields to the system. This way, if you need an extra space for important information, one can be created for you which will display here in iFleet.
Use these fields for storing information about your customer that you would want access to on each visit to the customer. Since this information belongs to the customer it will be visible each time you visit them.
Not sure how to create new user fields? Visit our article on Smart Service Settings to learn how! You can also check out this page of user fields every company can benefit from.
History
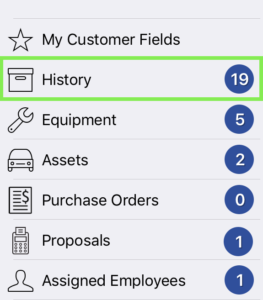
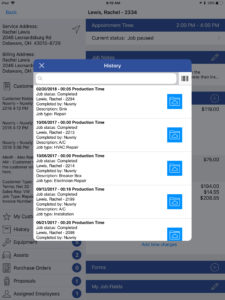
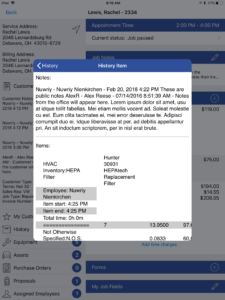
This section will display information about previous visits to this customer. In fact, you can see up to the 30 most recent services your company has performed for this customer or location.Tap on one of the services displayed to view any notes and job items added to that service. If you service equipment, you can search at the top using the search bar or barcode scanner for a particular unit’s model or serial number.
The blue folders next to the history records in the picture above only appear if you’ve integrated iFleet with your Dropbox account. This will allow you to see any photos and digital forms used on that particular date for this customer. You can check out this link to learn more about Dropbox Integration.
Equipment
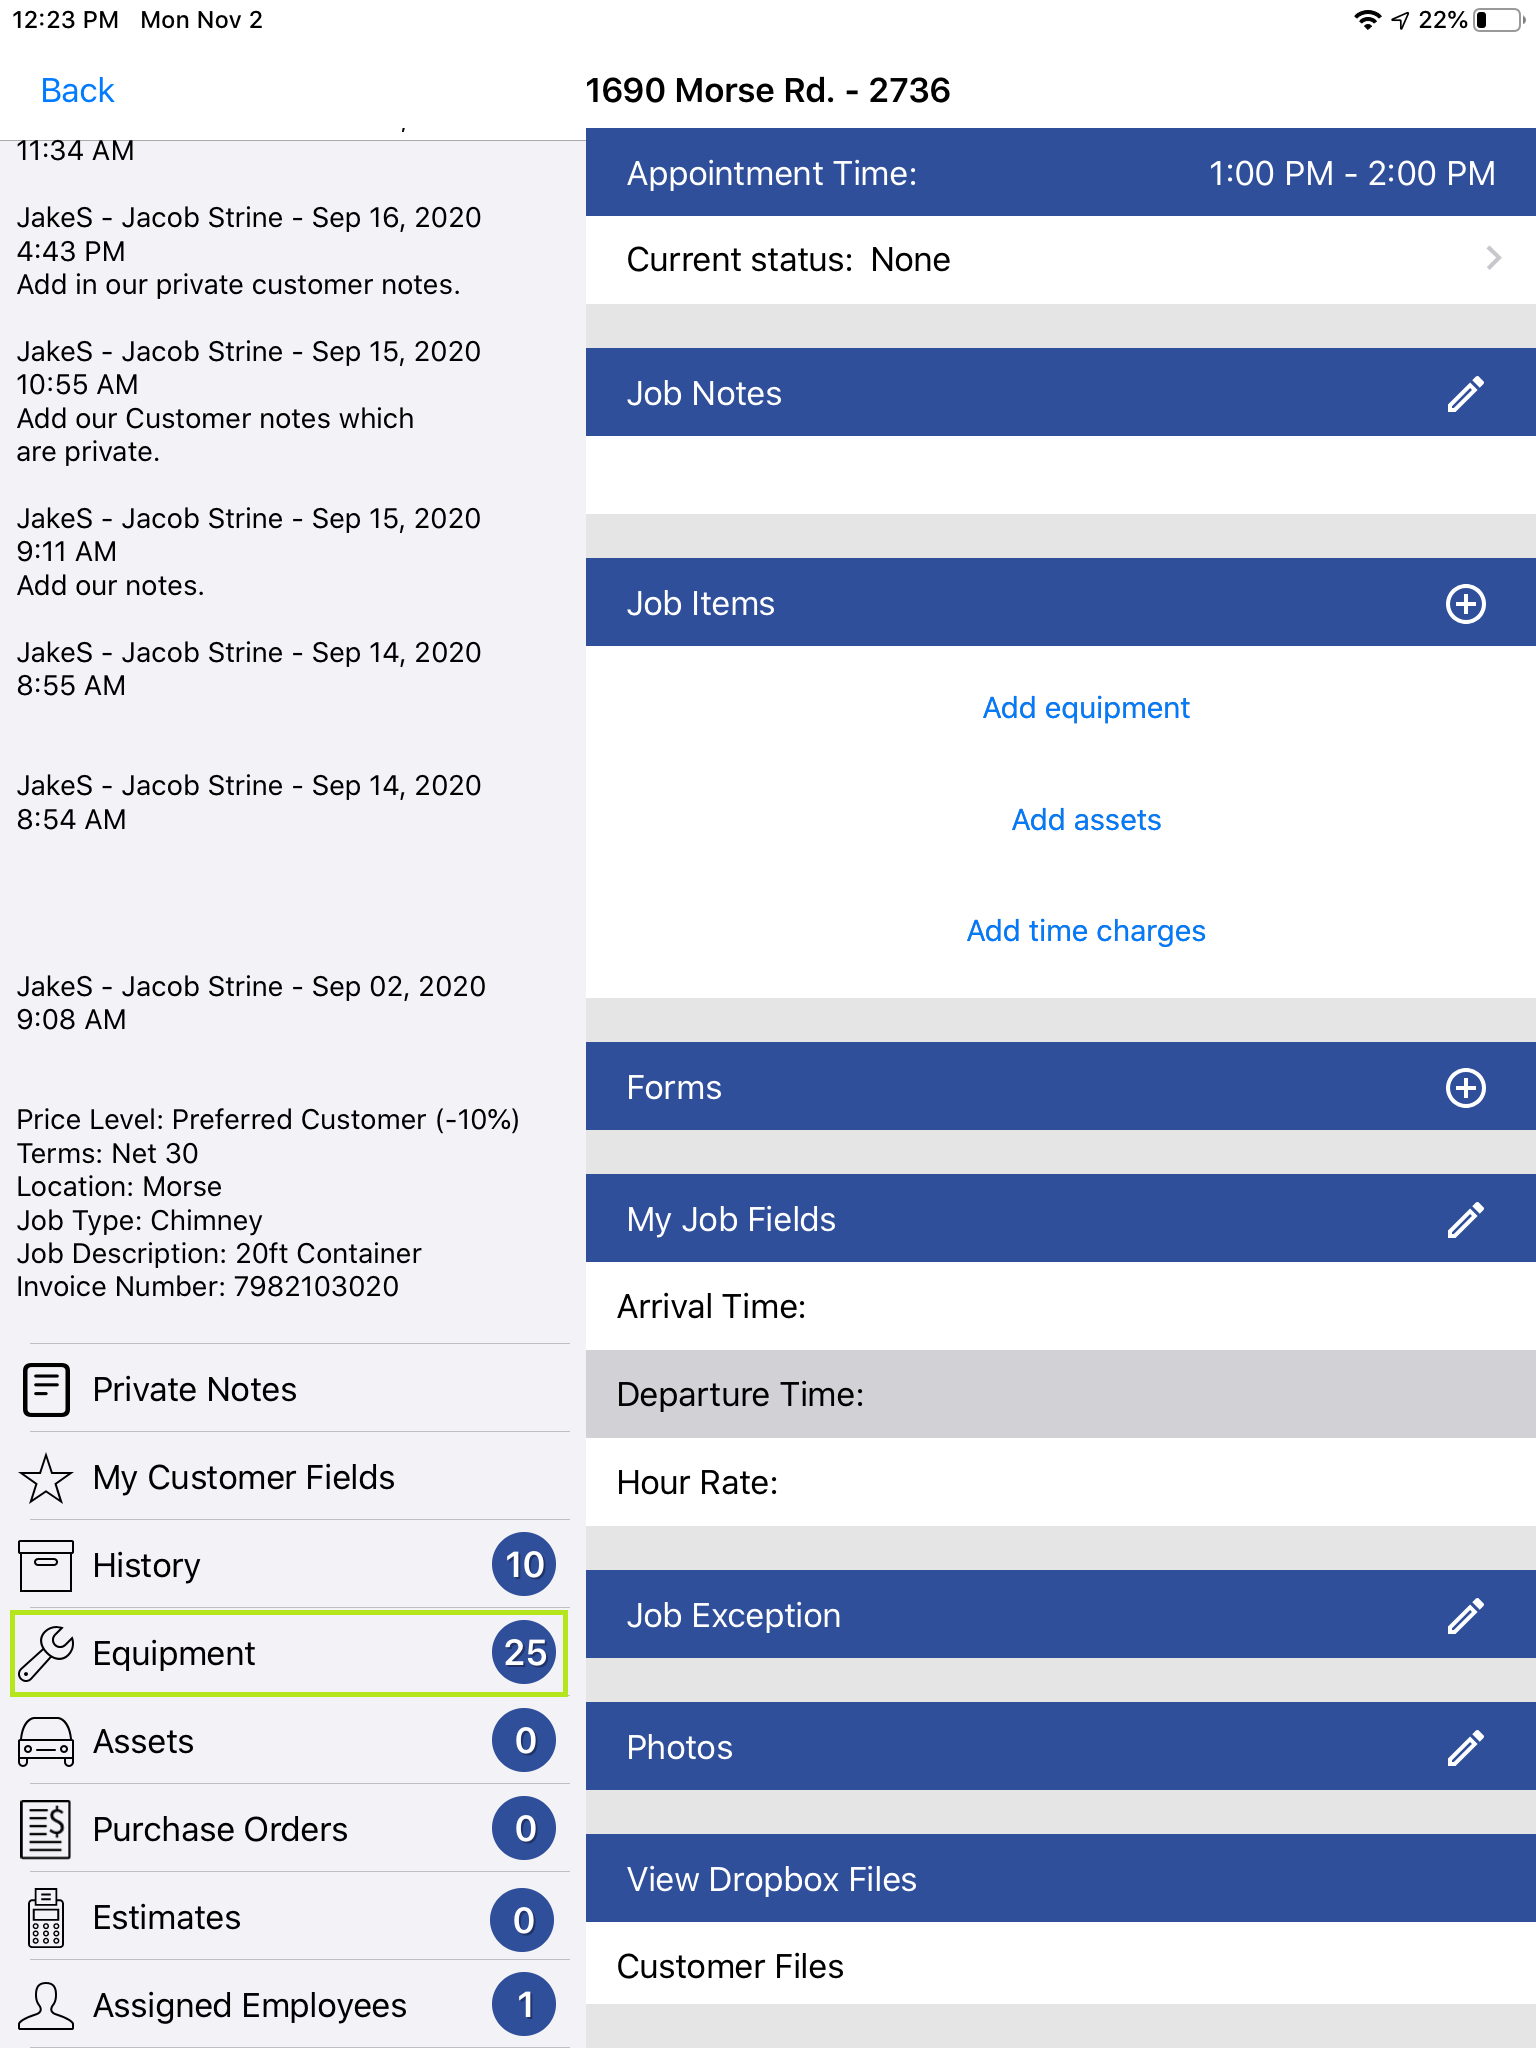
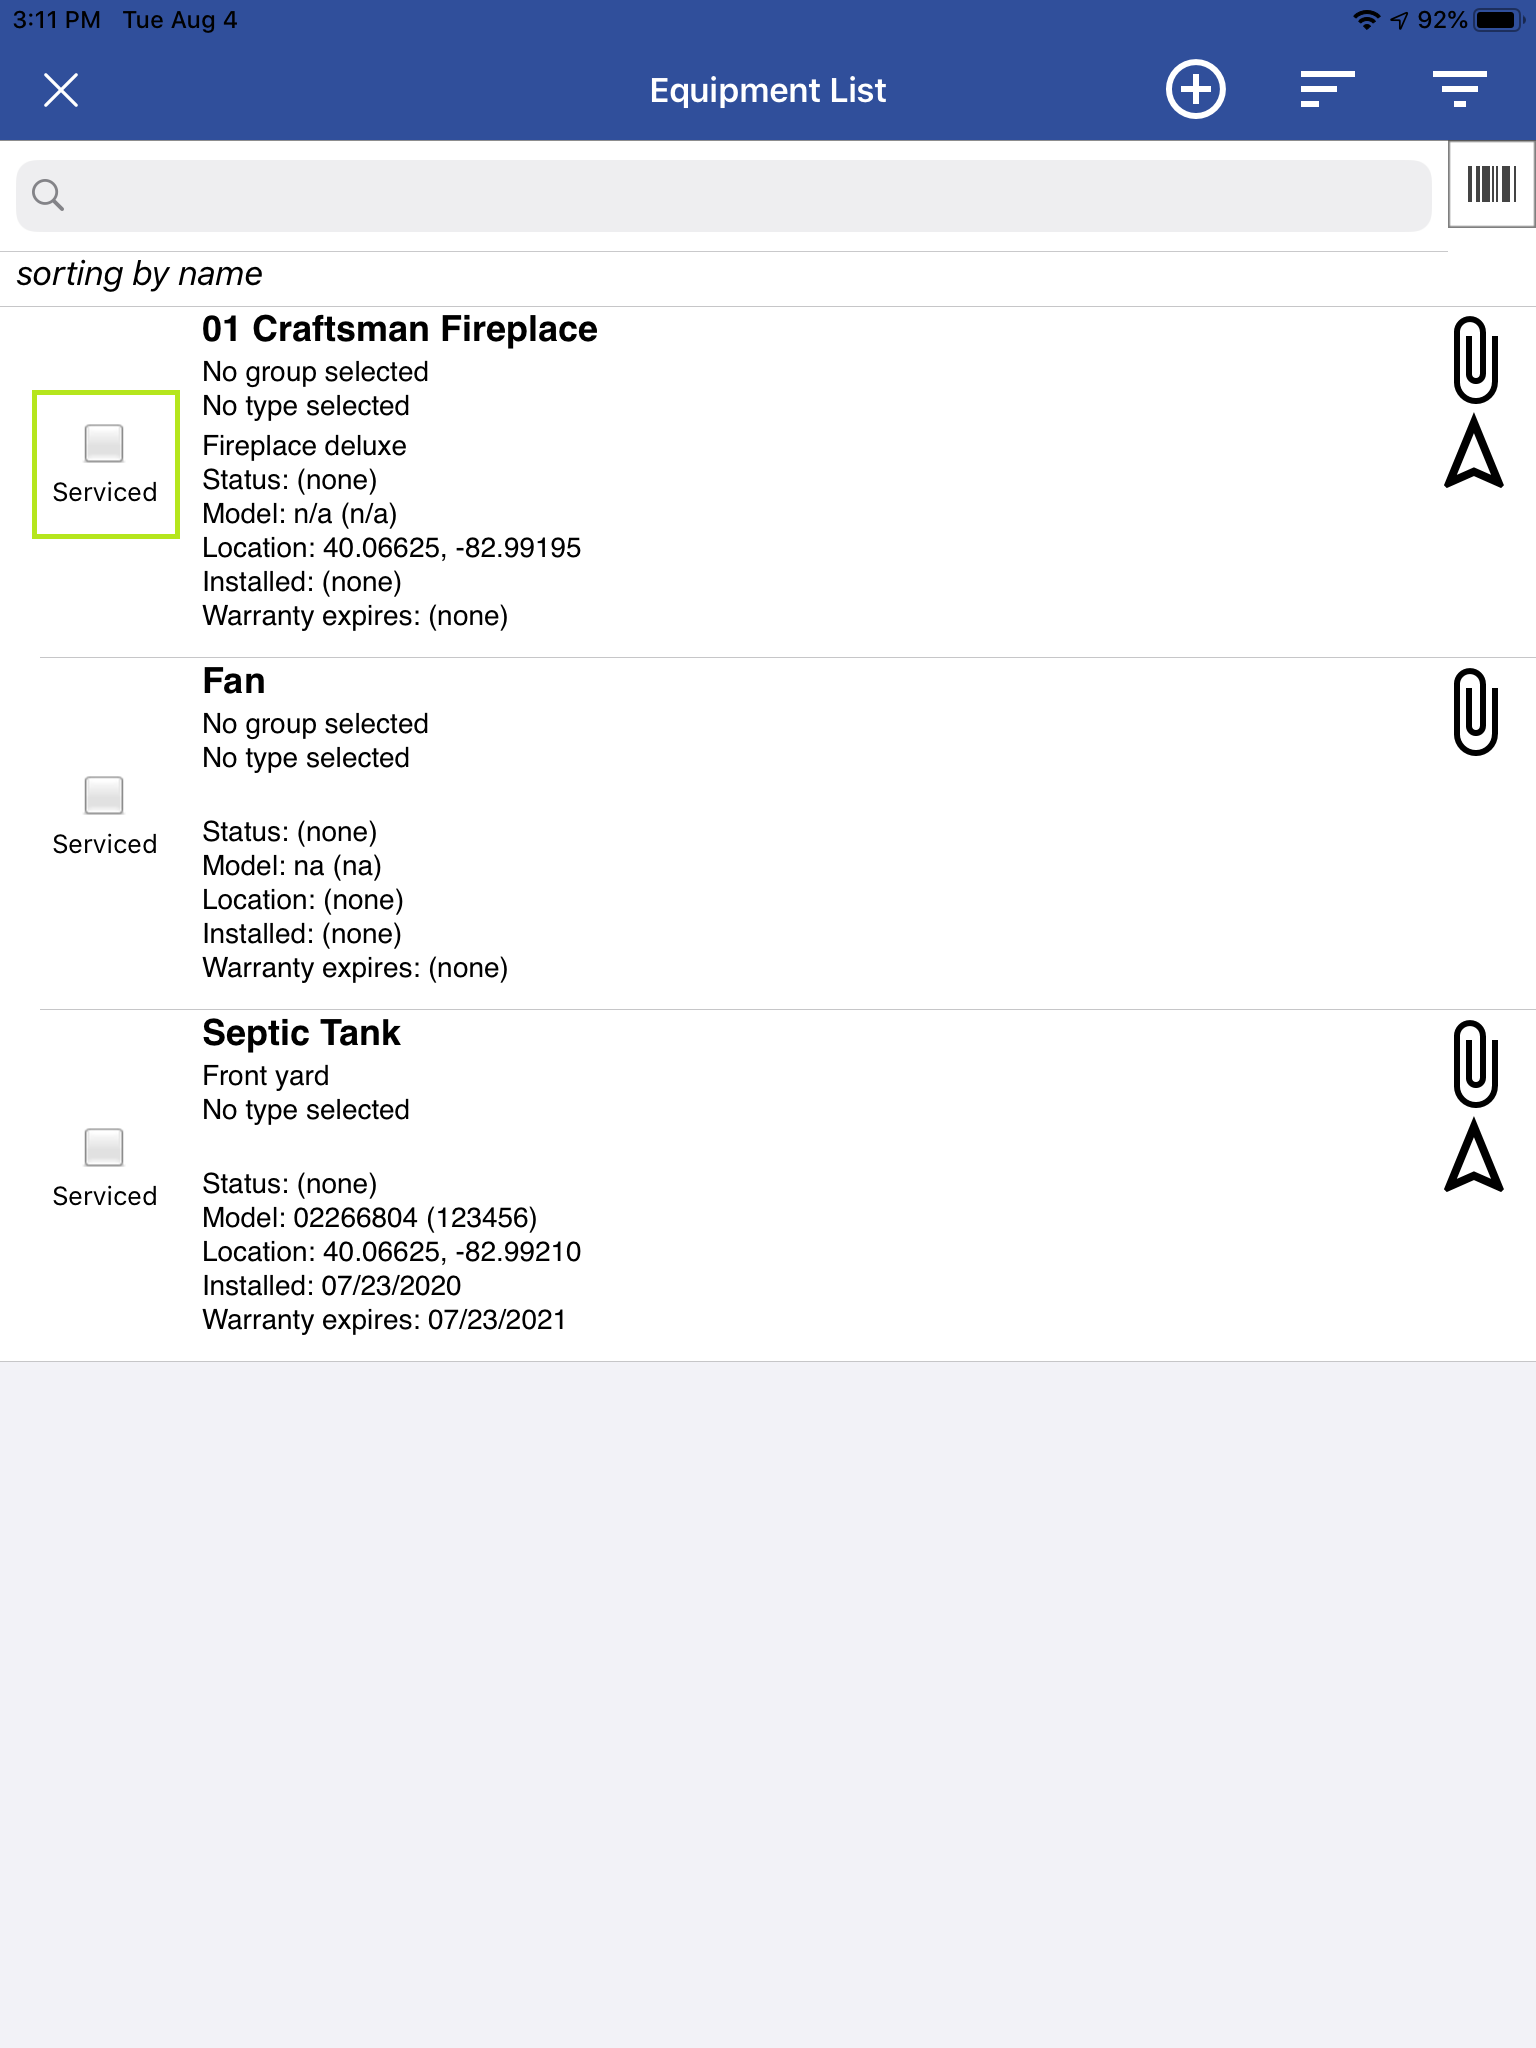
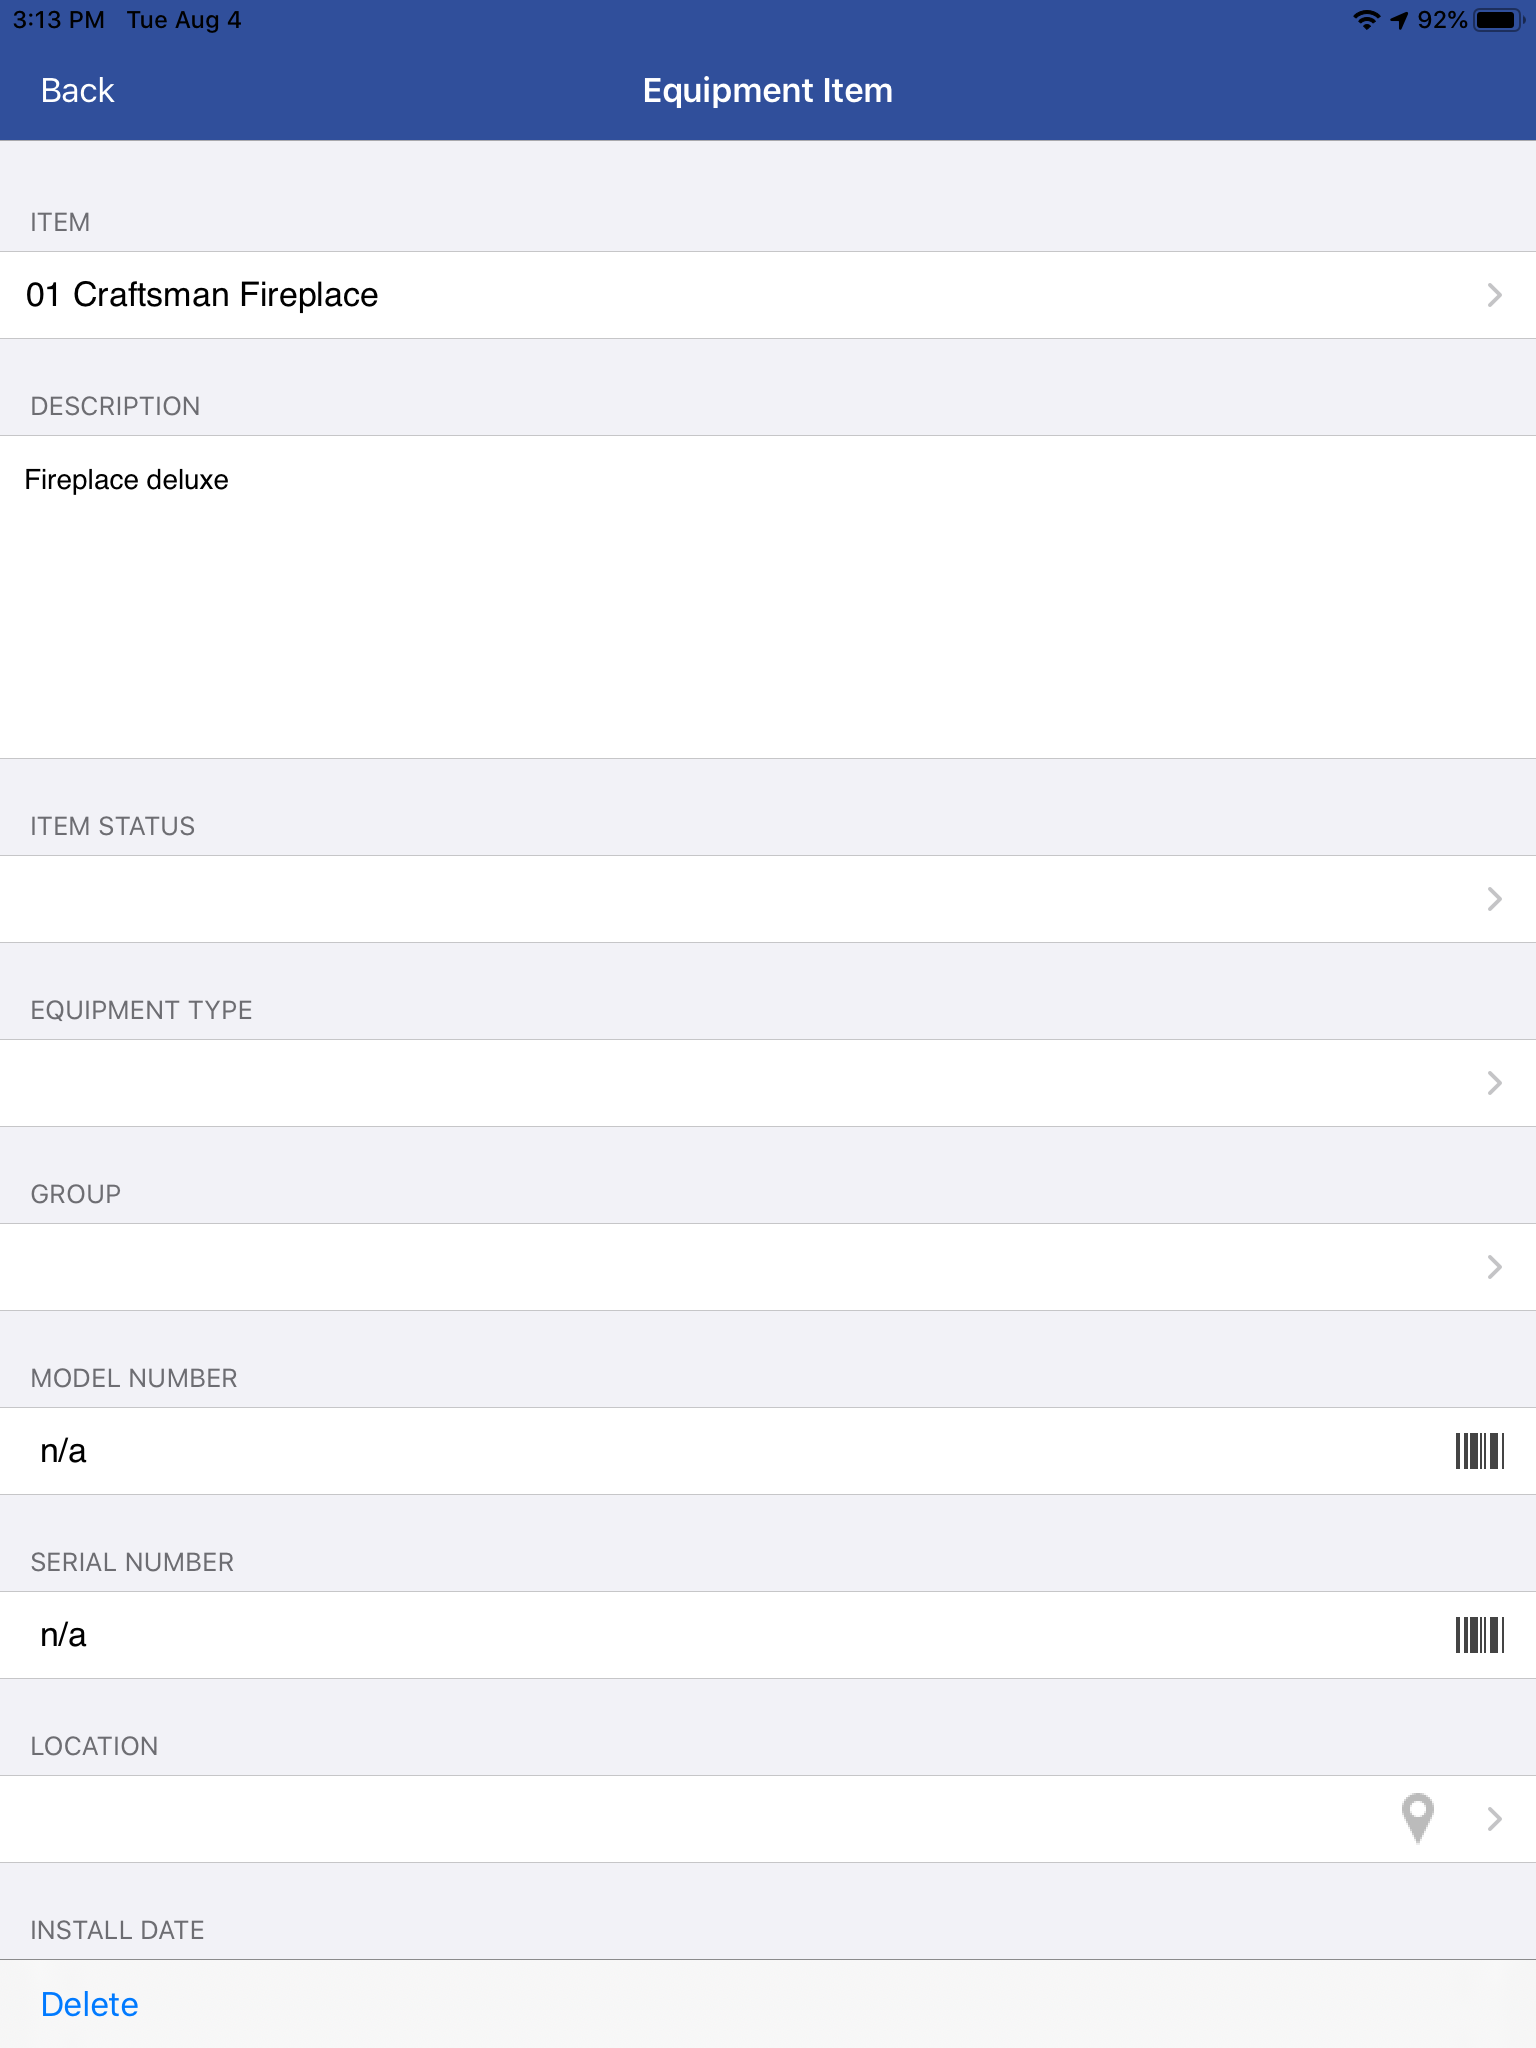
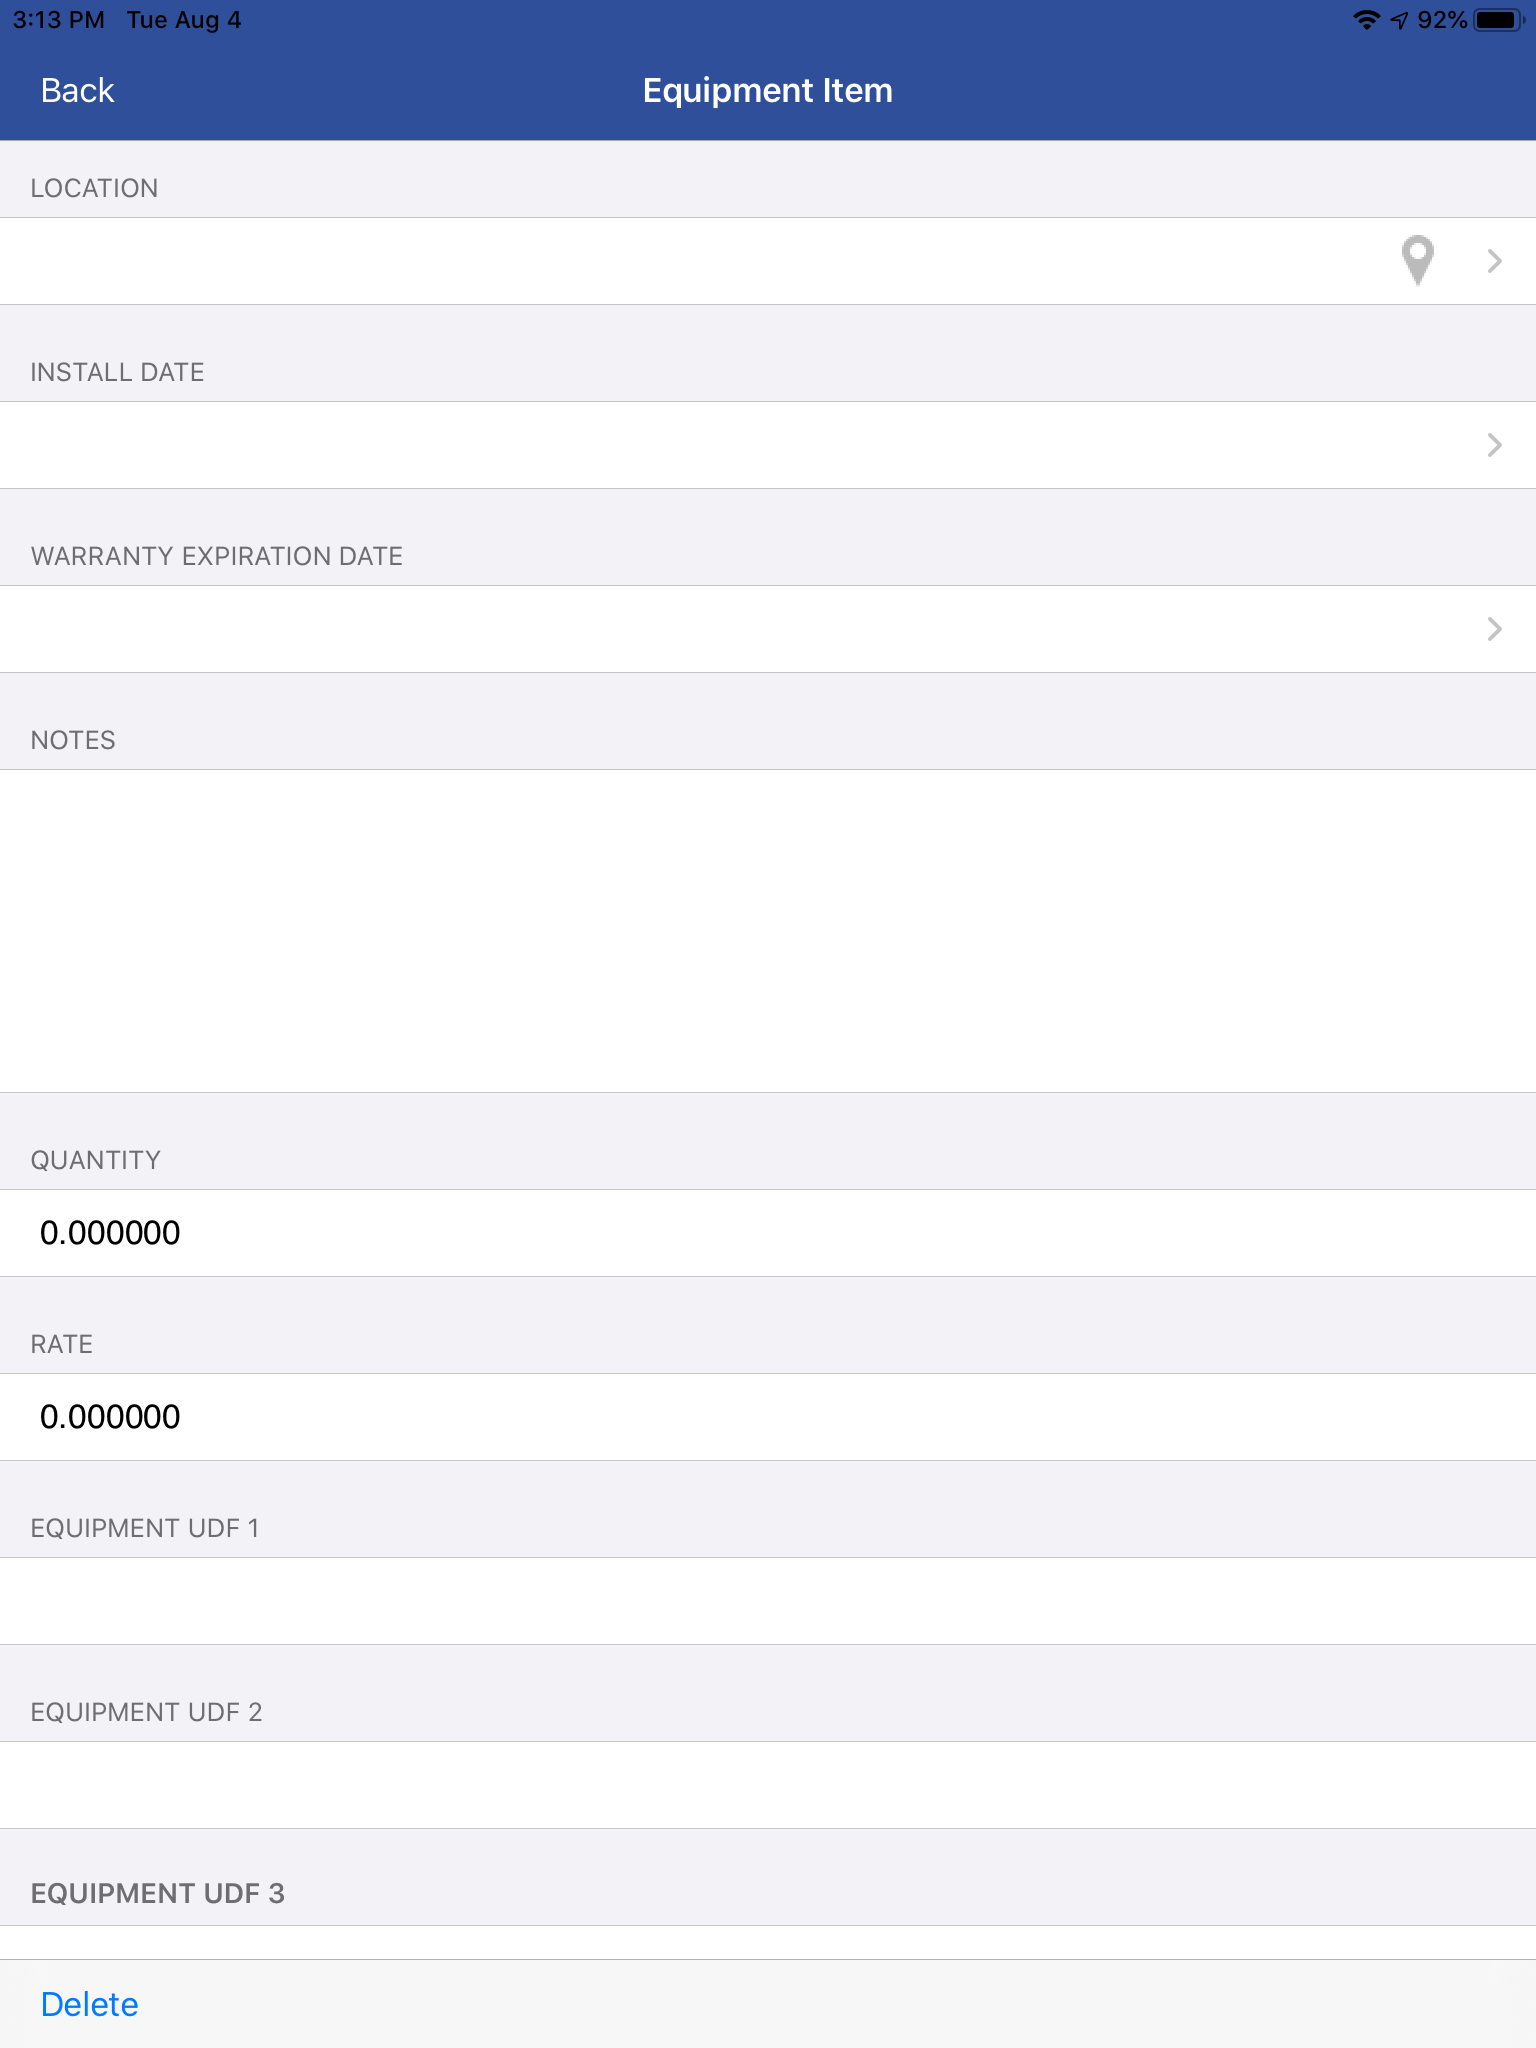
Equipment would qualify as anything your customer owns that you service. The purpose of recording equipment in iFleet is to store a model number, serial number, group, the location of the equipment, and to show a service record. Equipment can be added by either the field or office staff to a customer or location.
Where you see a barcode symbol , you can tap to scan the model / serial number when applicable.
The GPS pin will mark the coordinates of where you’re standing, allowing navigation to this spot later.
When entering equipment, it is important to remember that you do not have to fill the “Item” field with an entry from your QuickBooks list. You have the option of typing a name of your choosing into this space, doing so will only name this equipment record, not add the new name to your item list.
Additionally, you have the option in Smart Service settings to require an equipment model and/or serial number. Click here to learn more about this option.
Assets
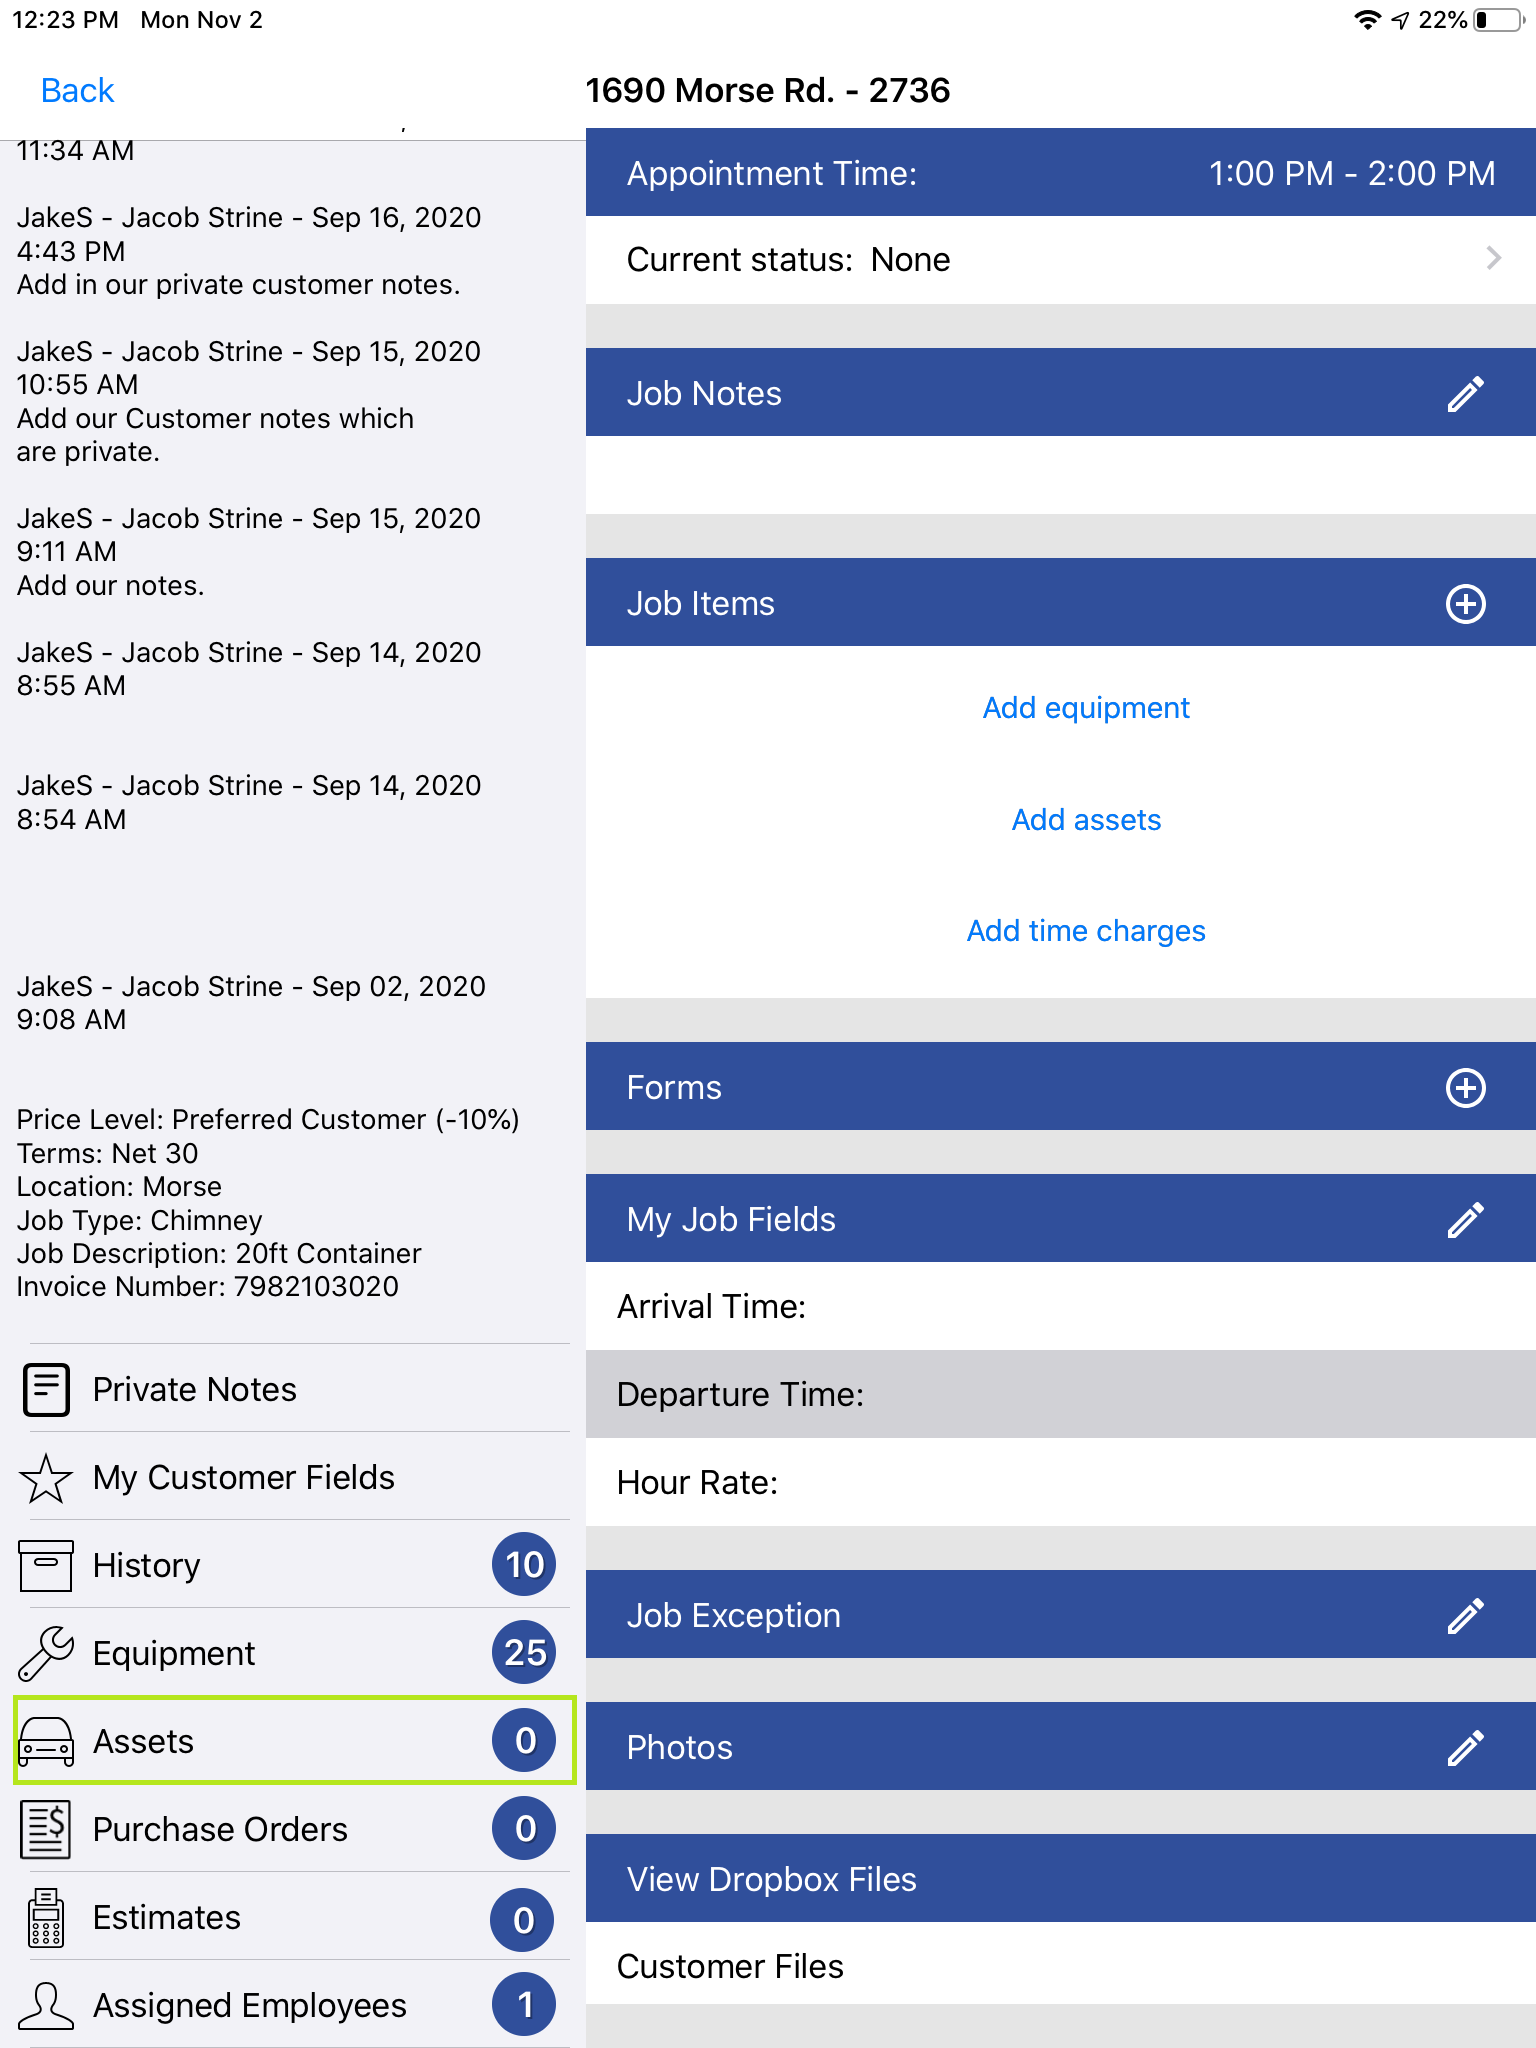
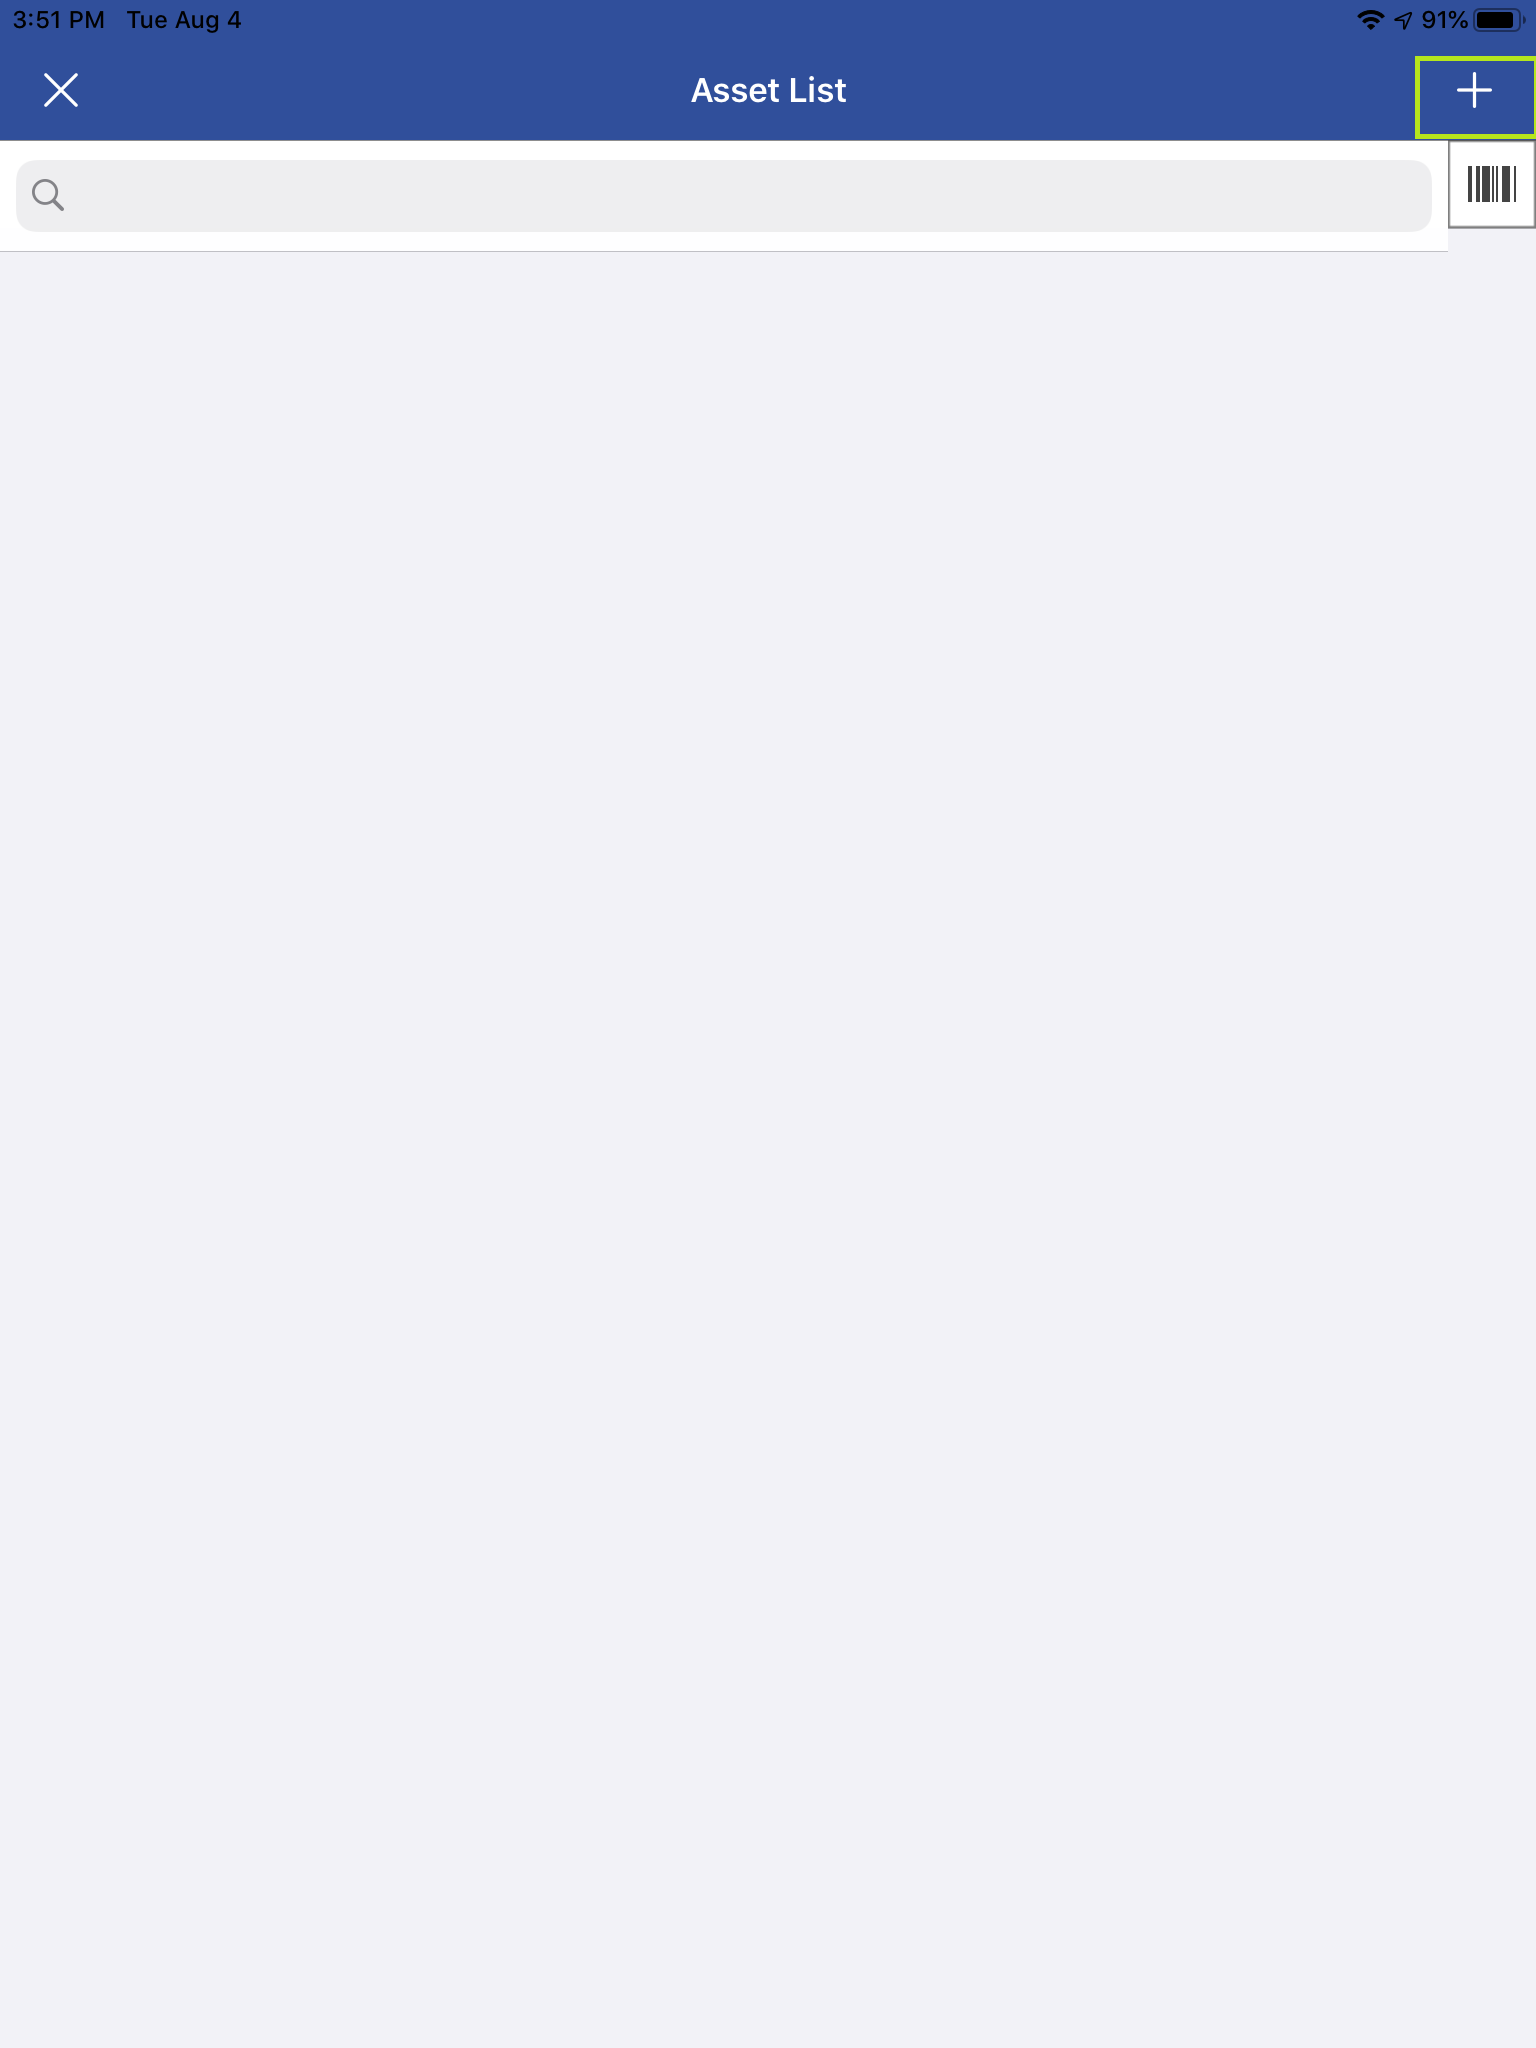
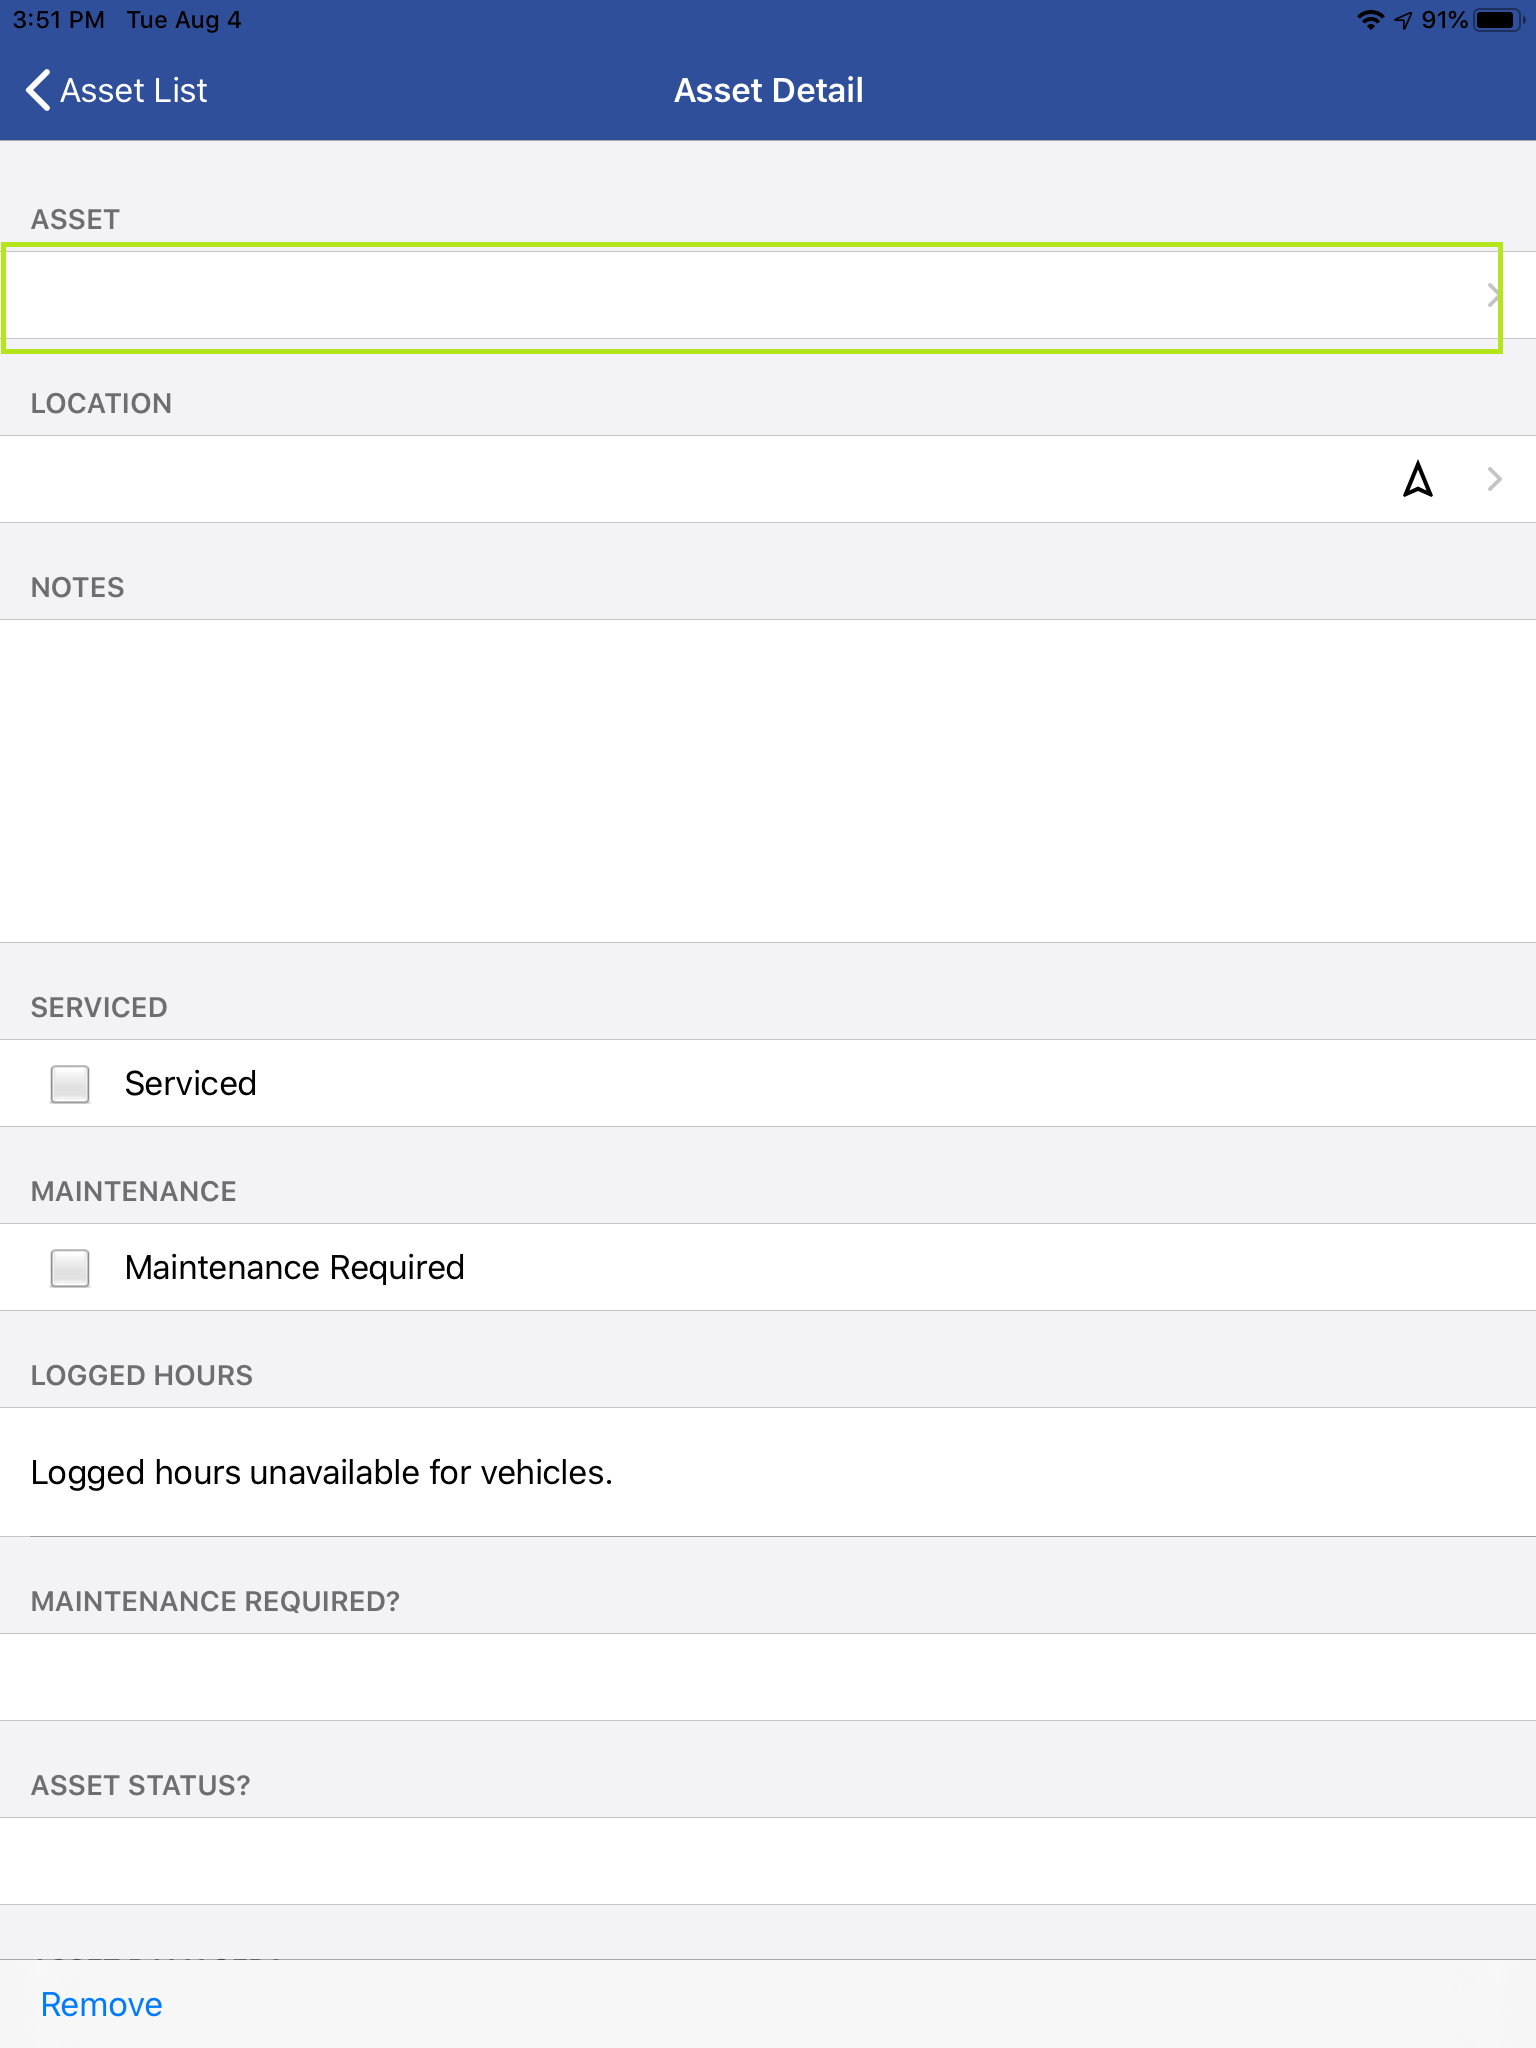
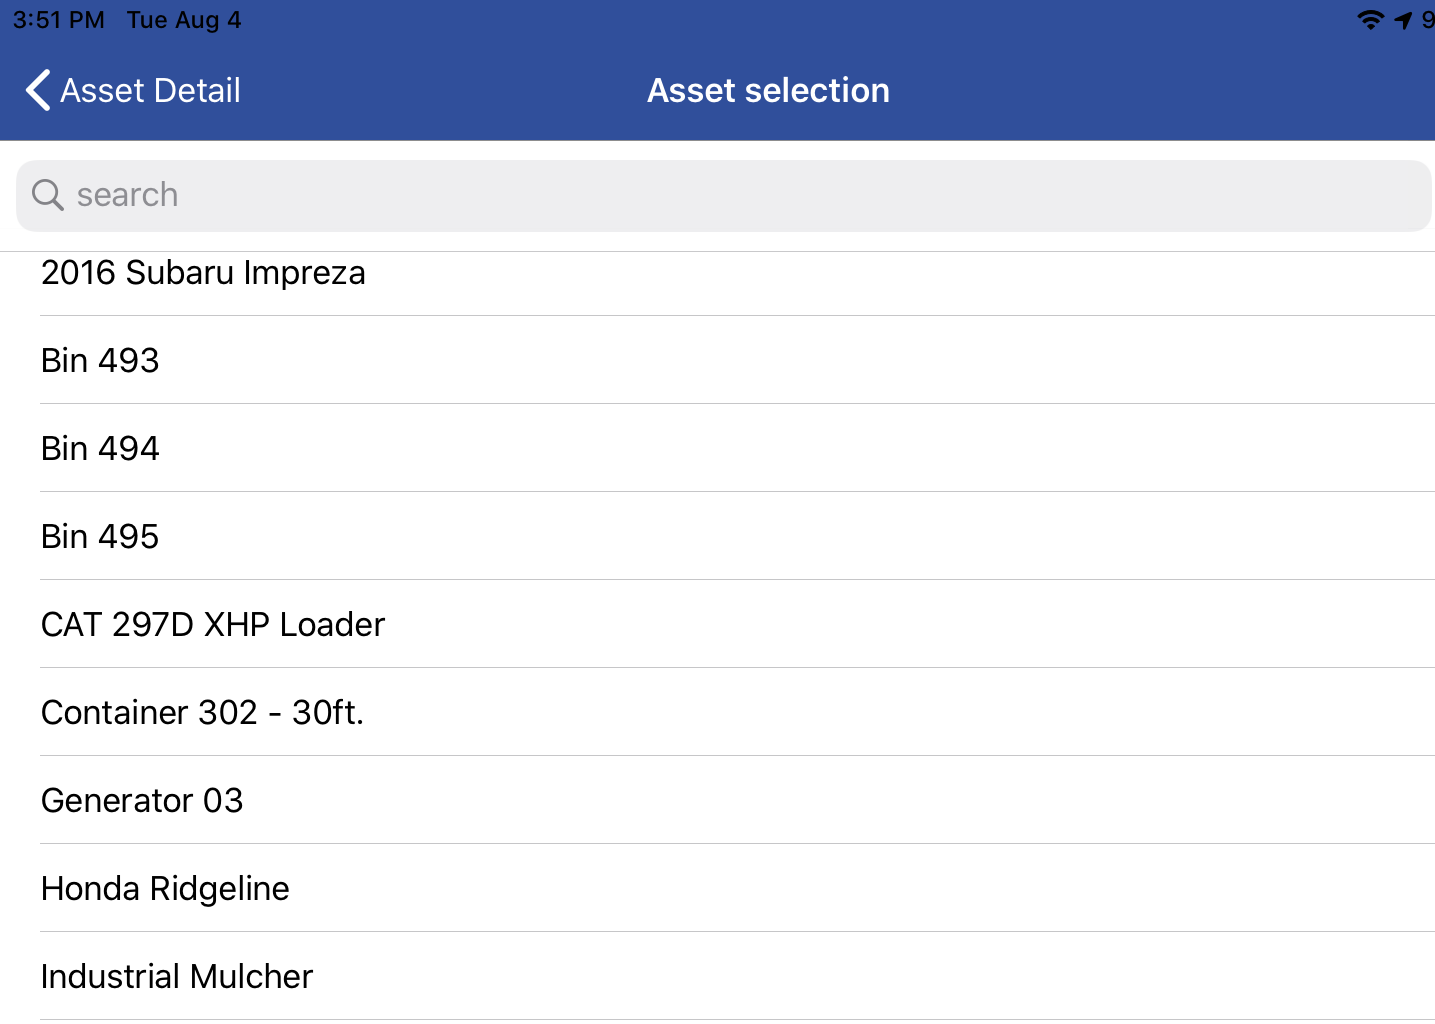
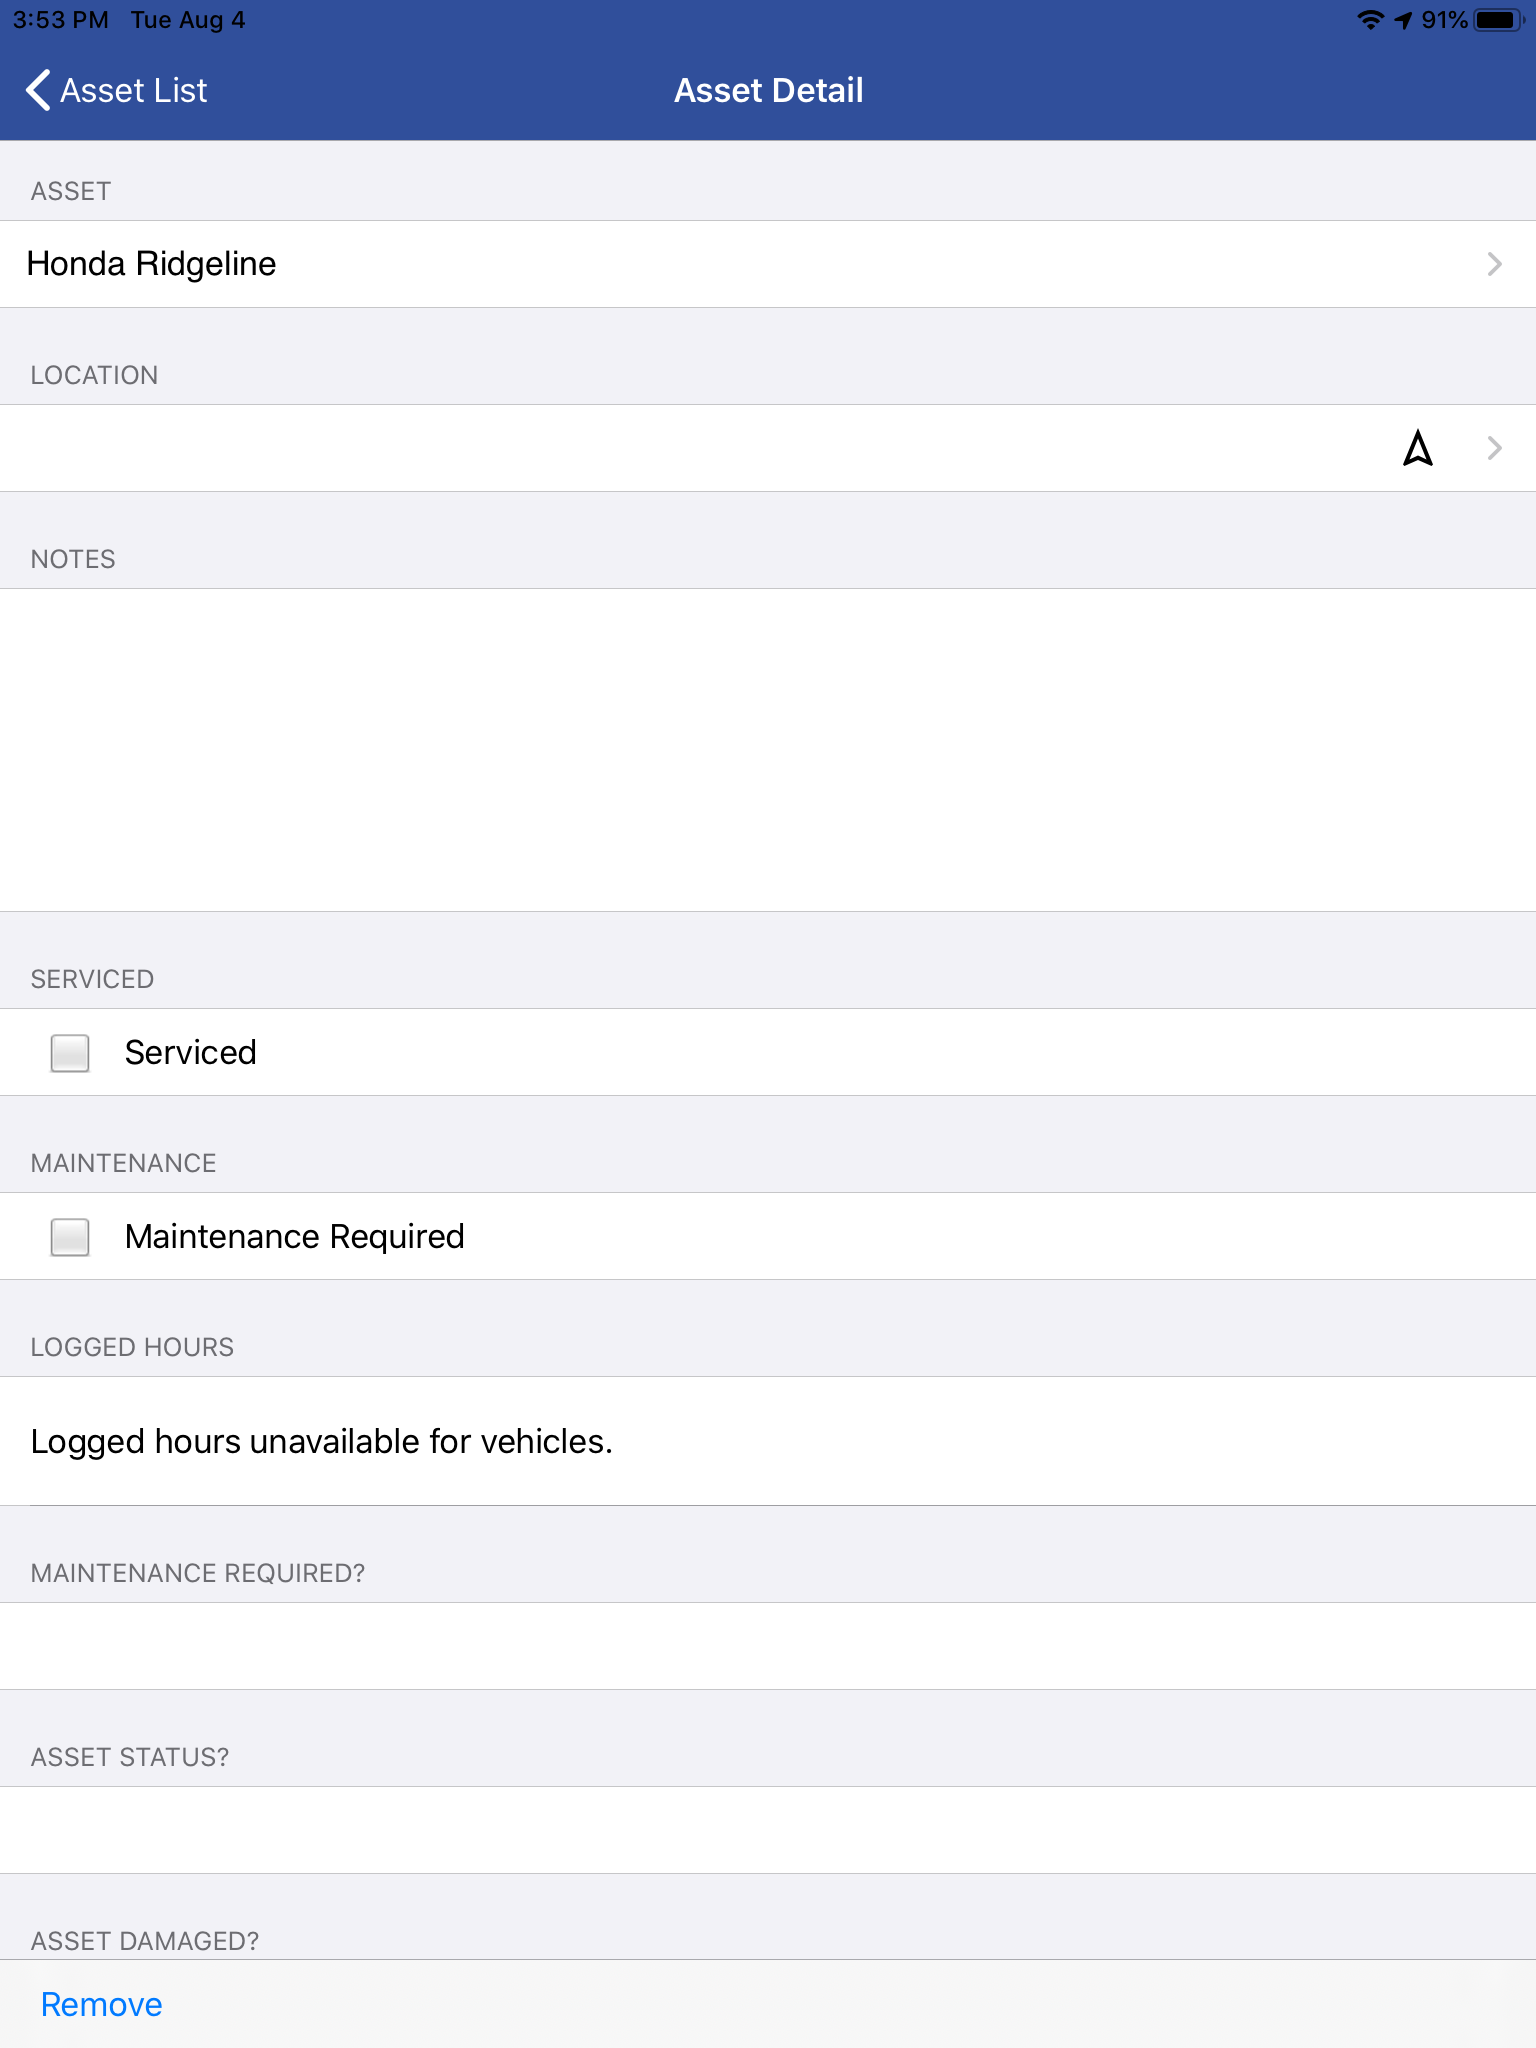
Smart Service defines assets as company owned equipment used on job sites or rented to customers. All assets must be created from the office, which is something you can learn about here. This section within iFleet will allow you to select which assets will be left on site with customer or will be required to complete this service.
Those of you who rent bins, dumpsters, or portables will benefit greatly from assets. You can set up barcode scanning to identify assets quickly, and track their current location within Smart Service.
Purchase Orders
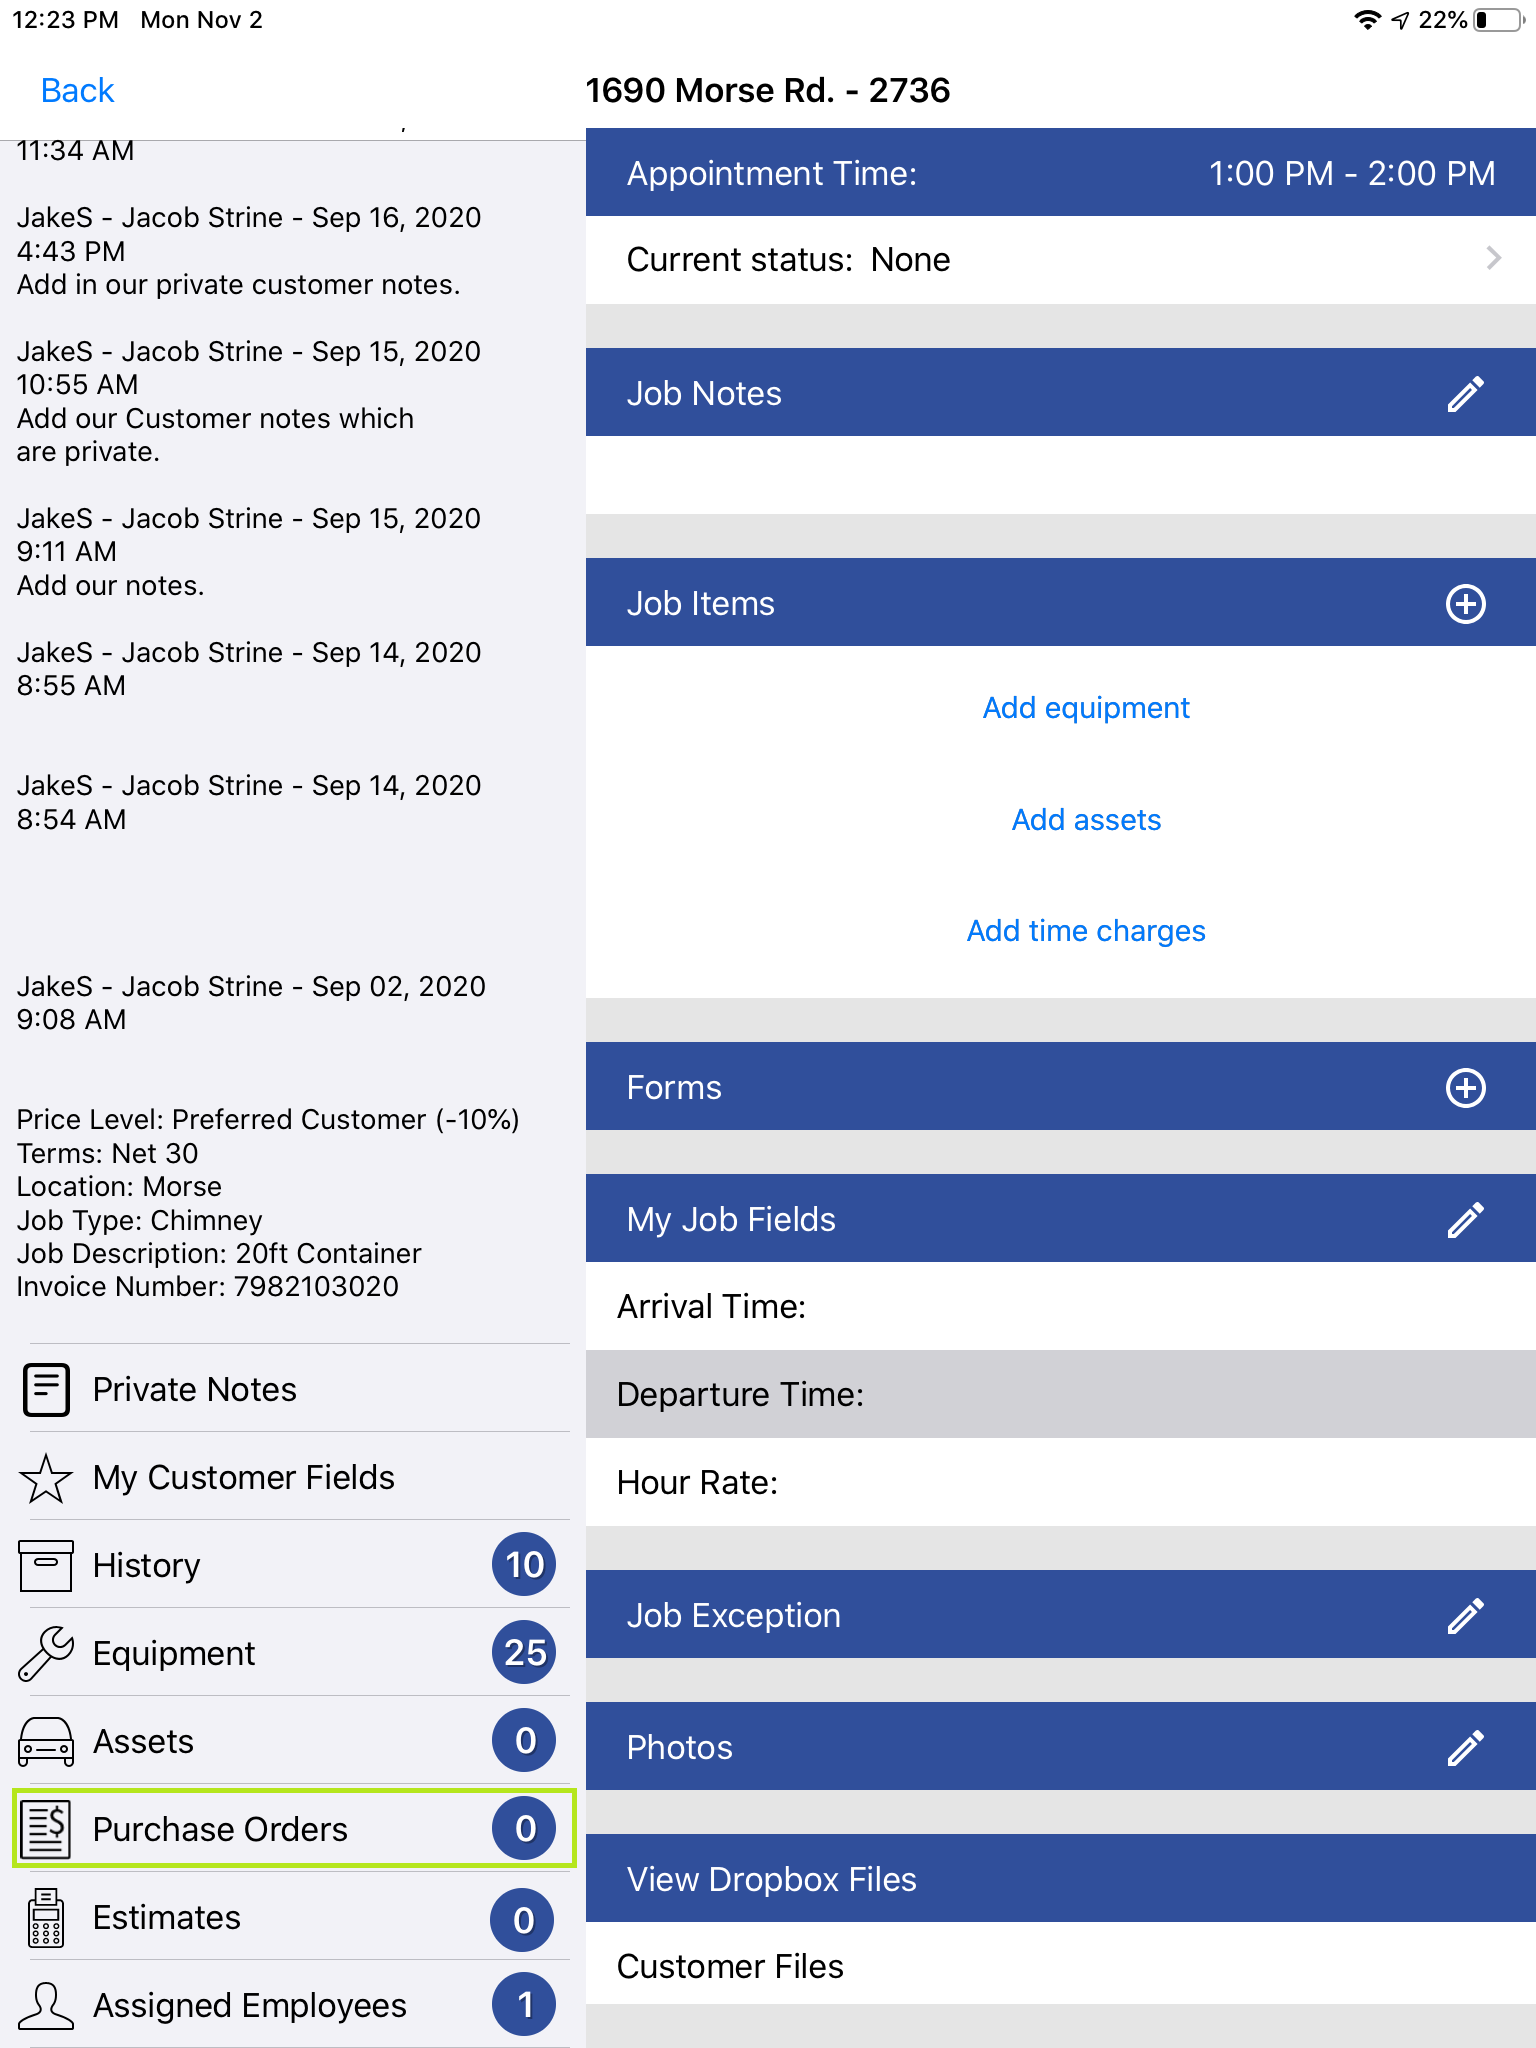
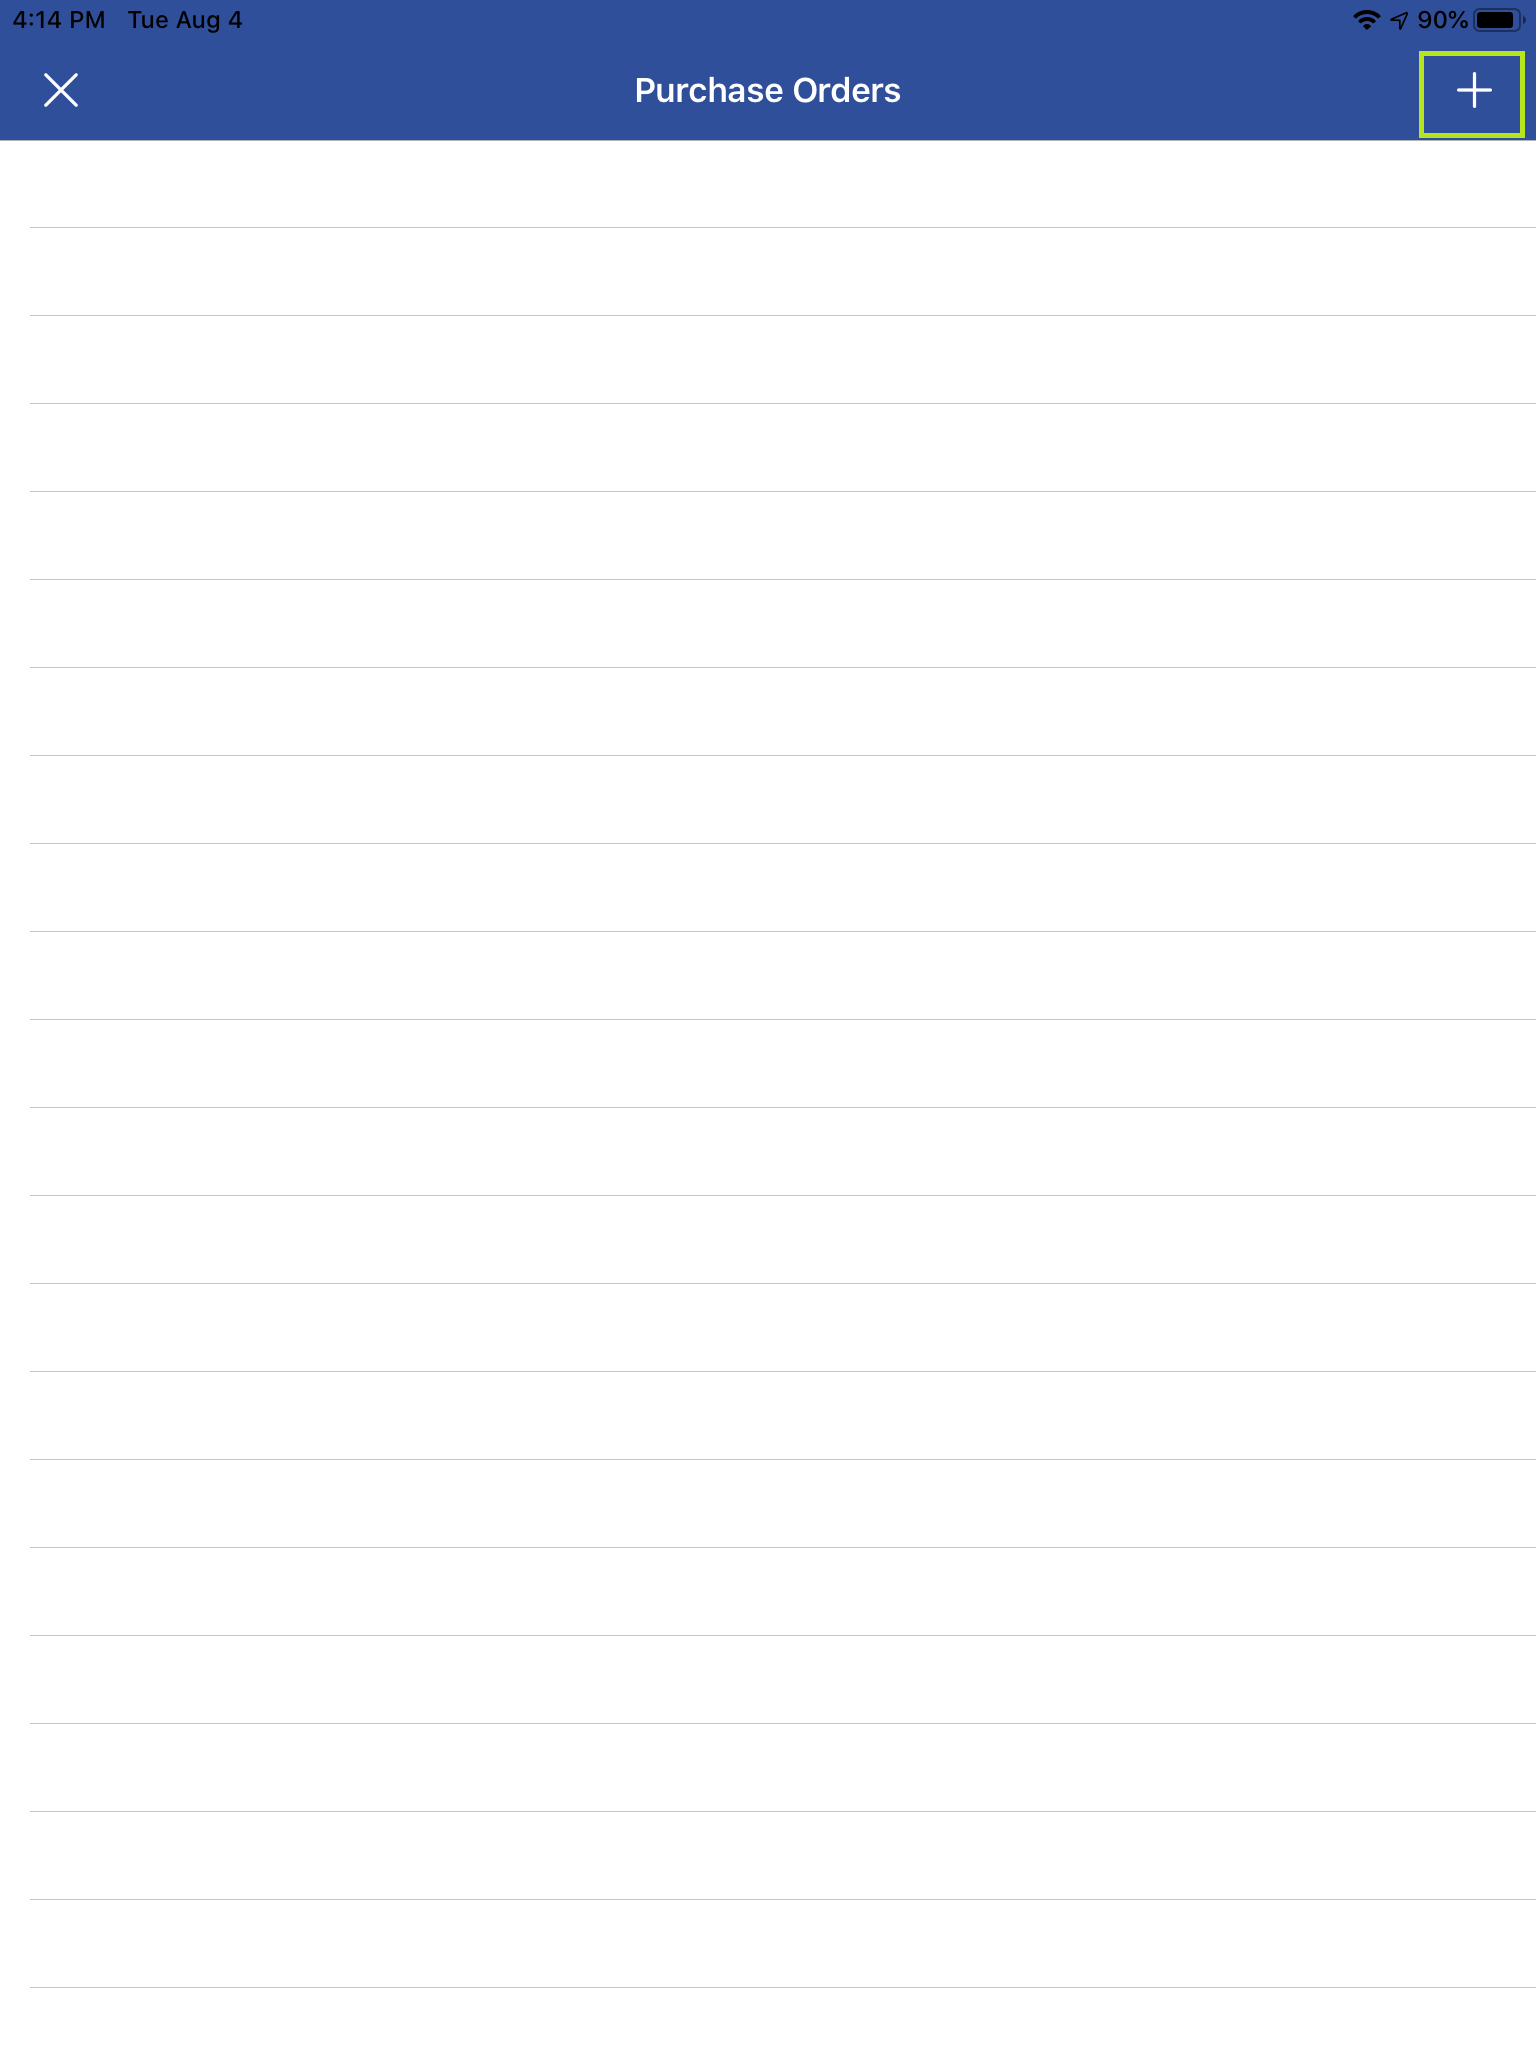
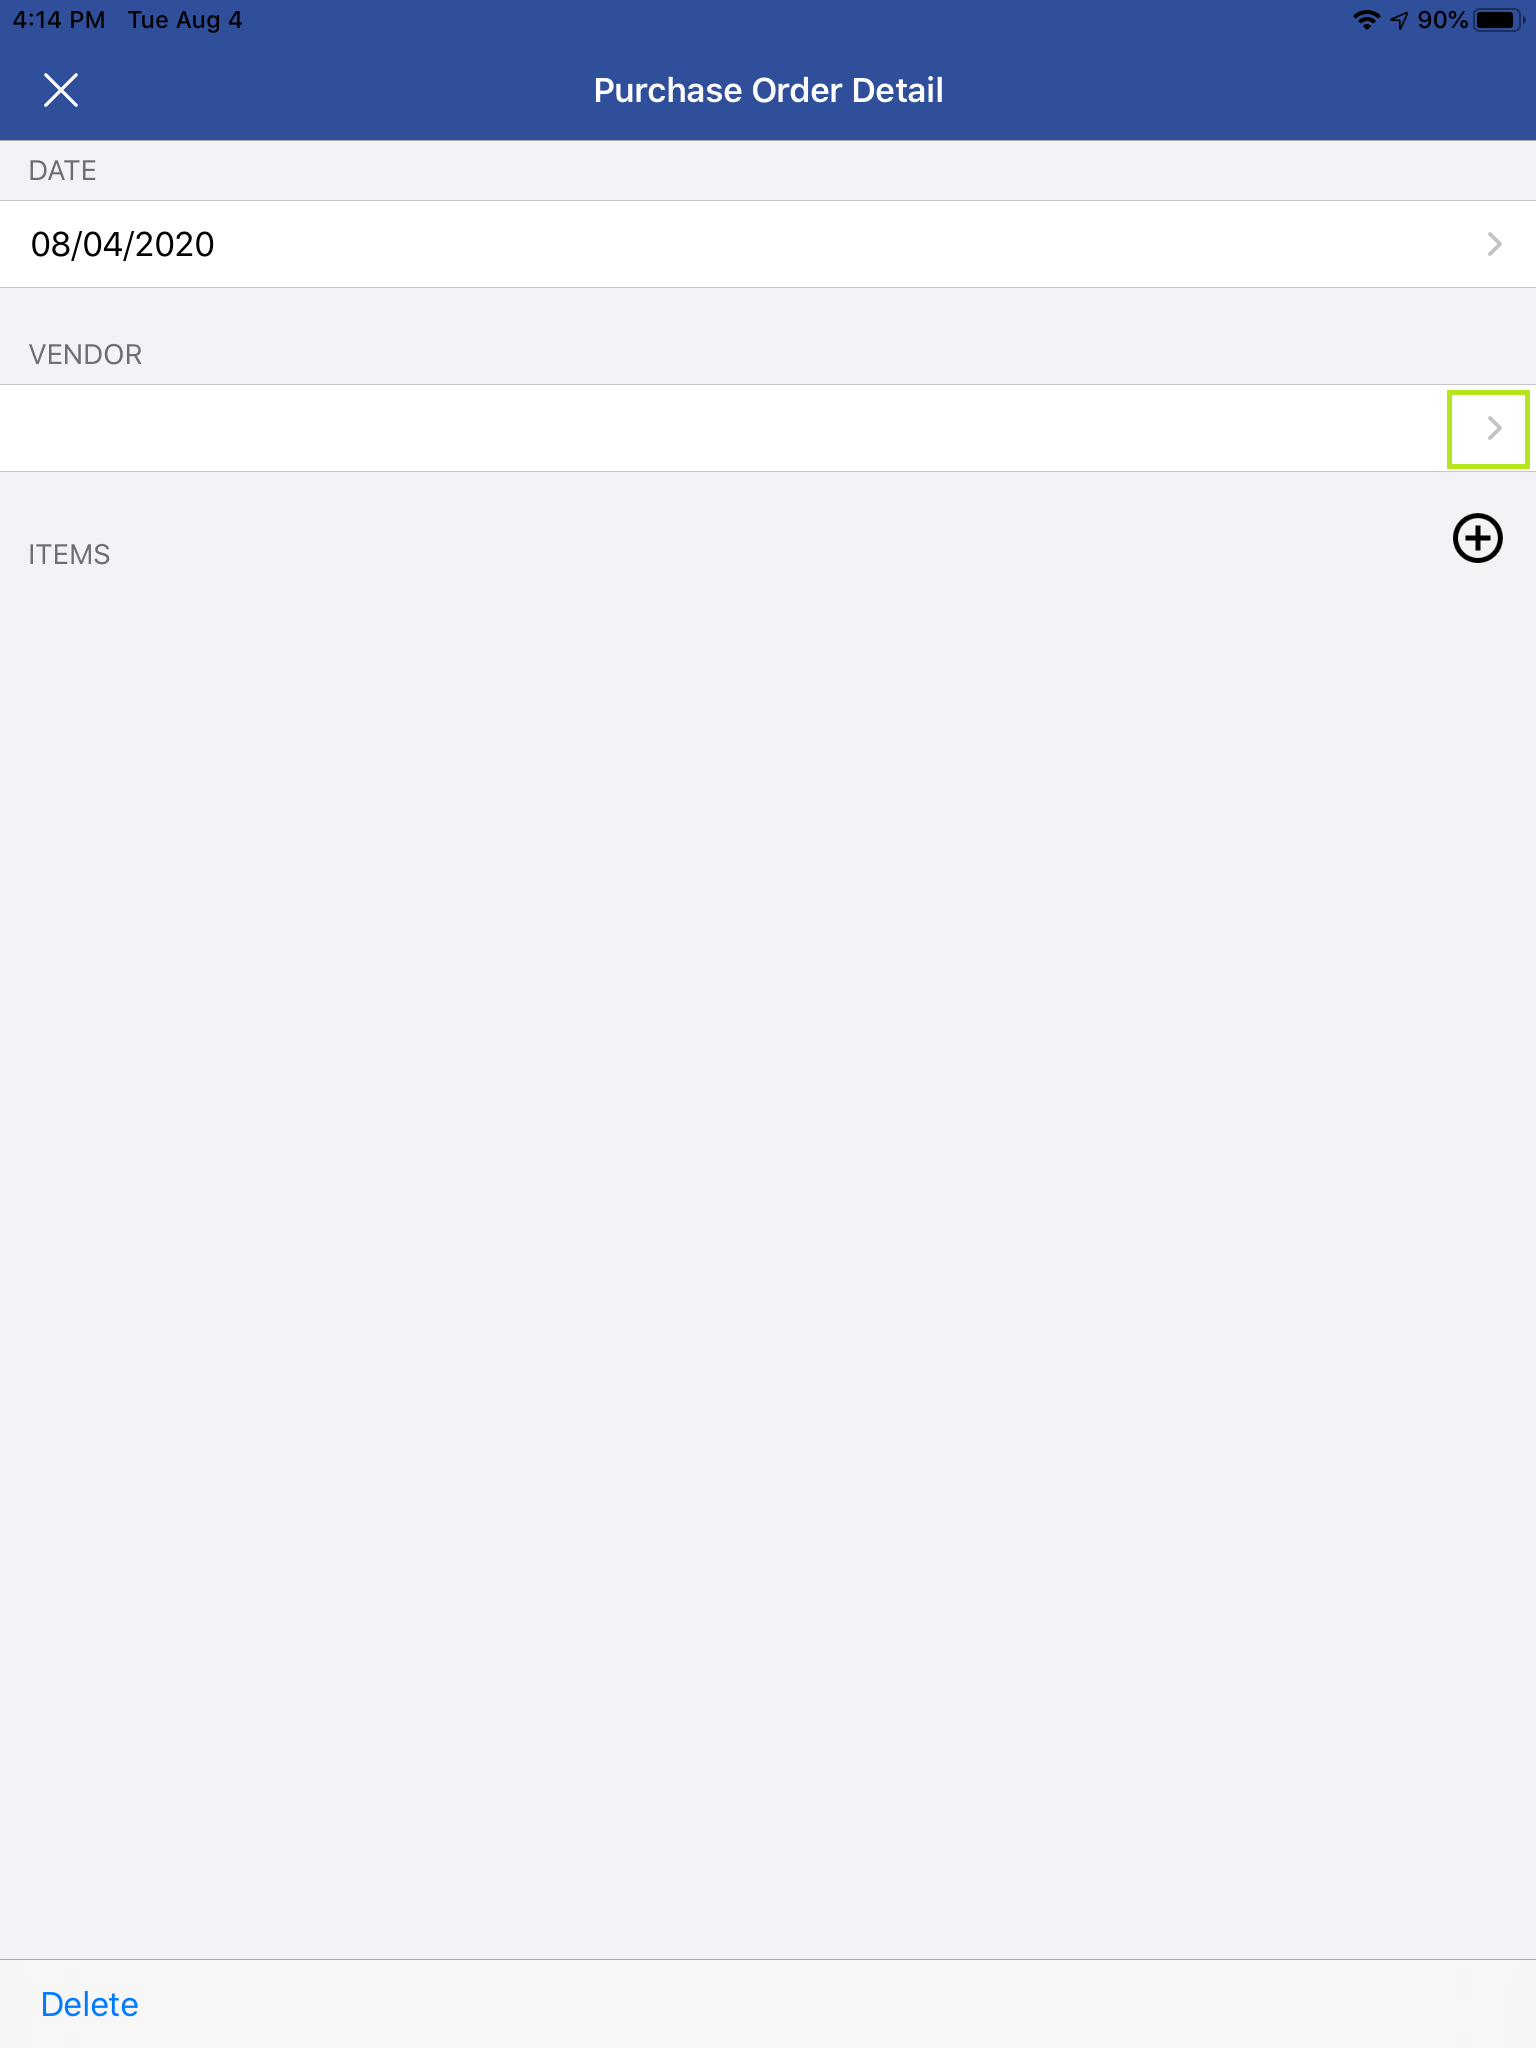
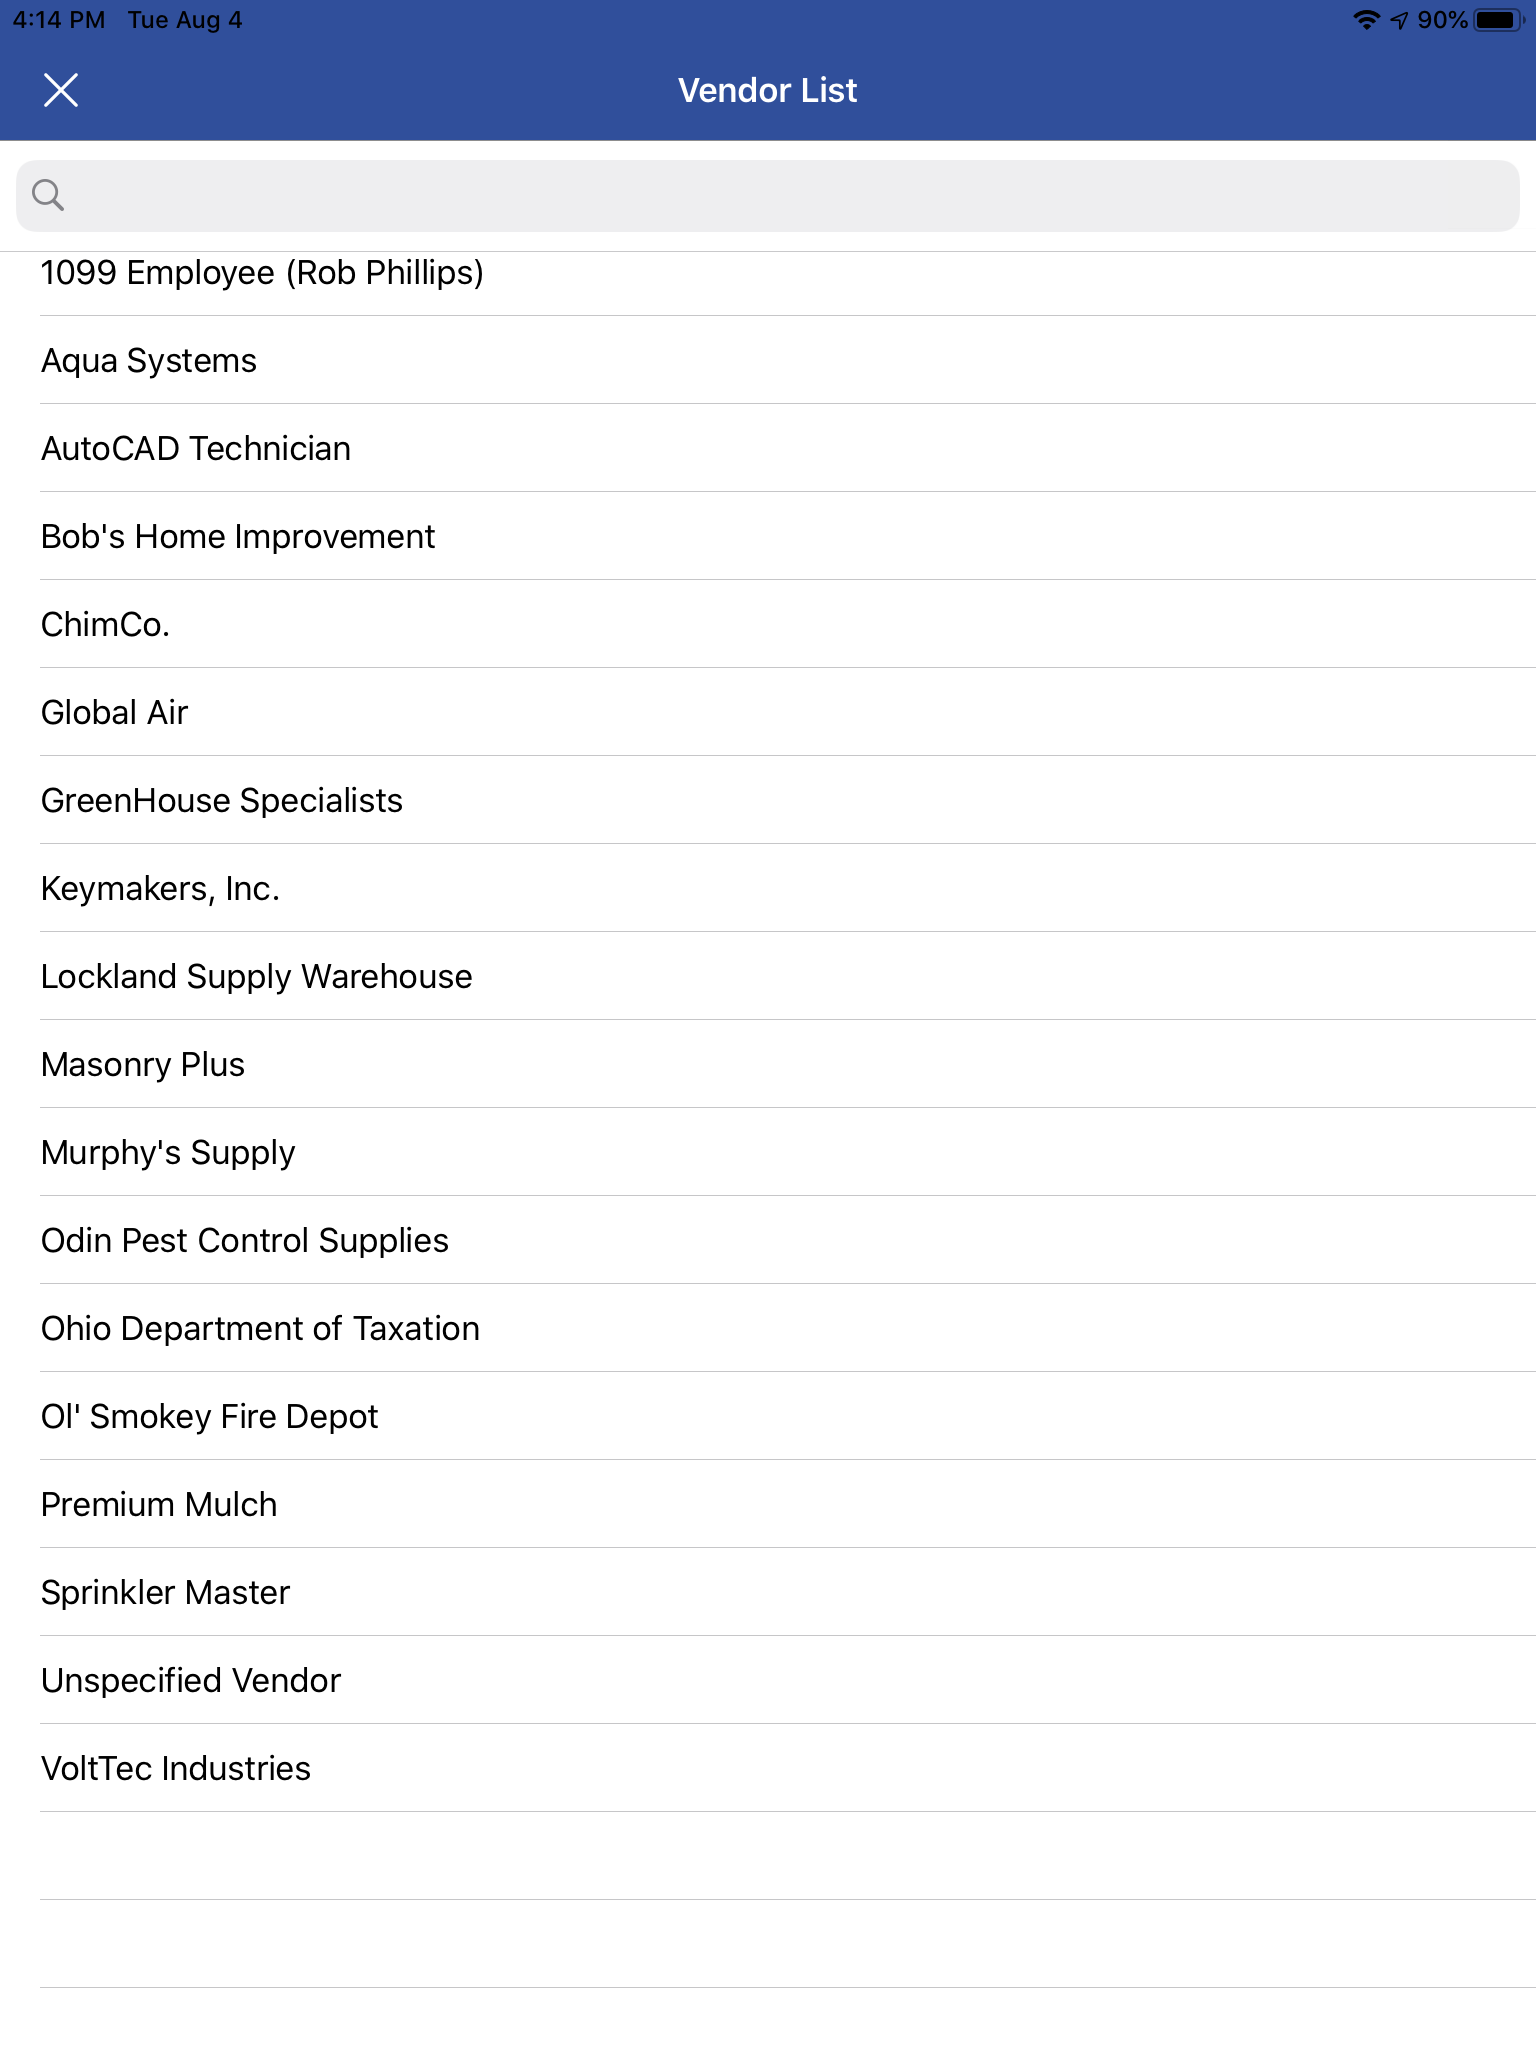
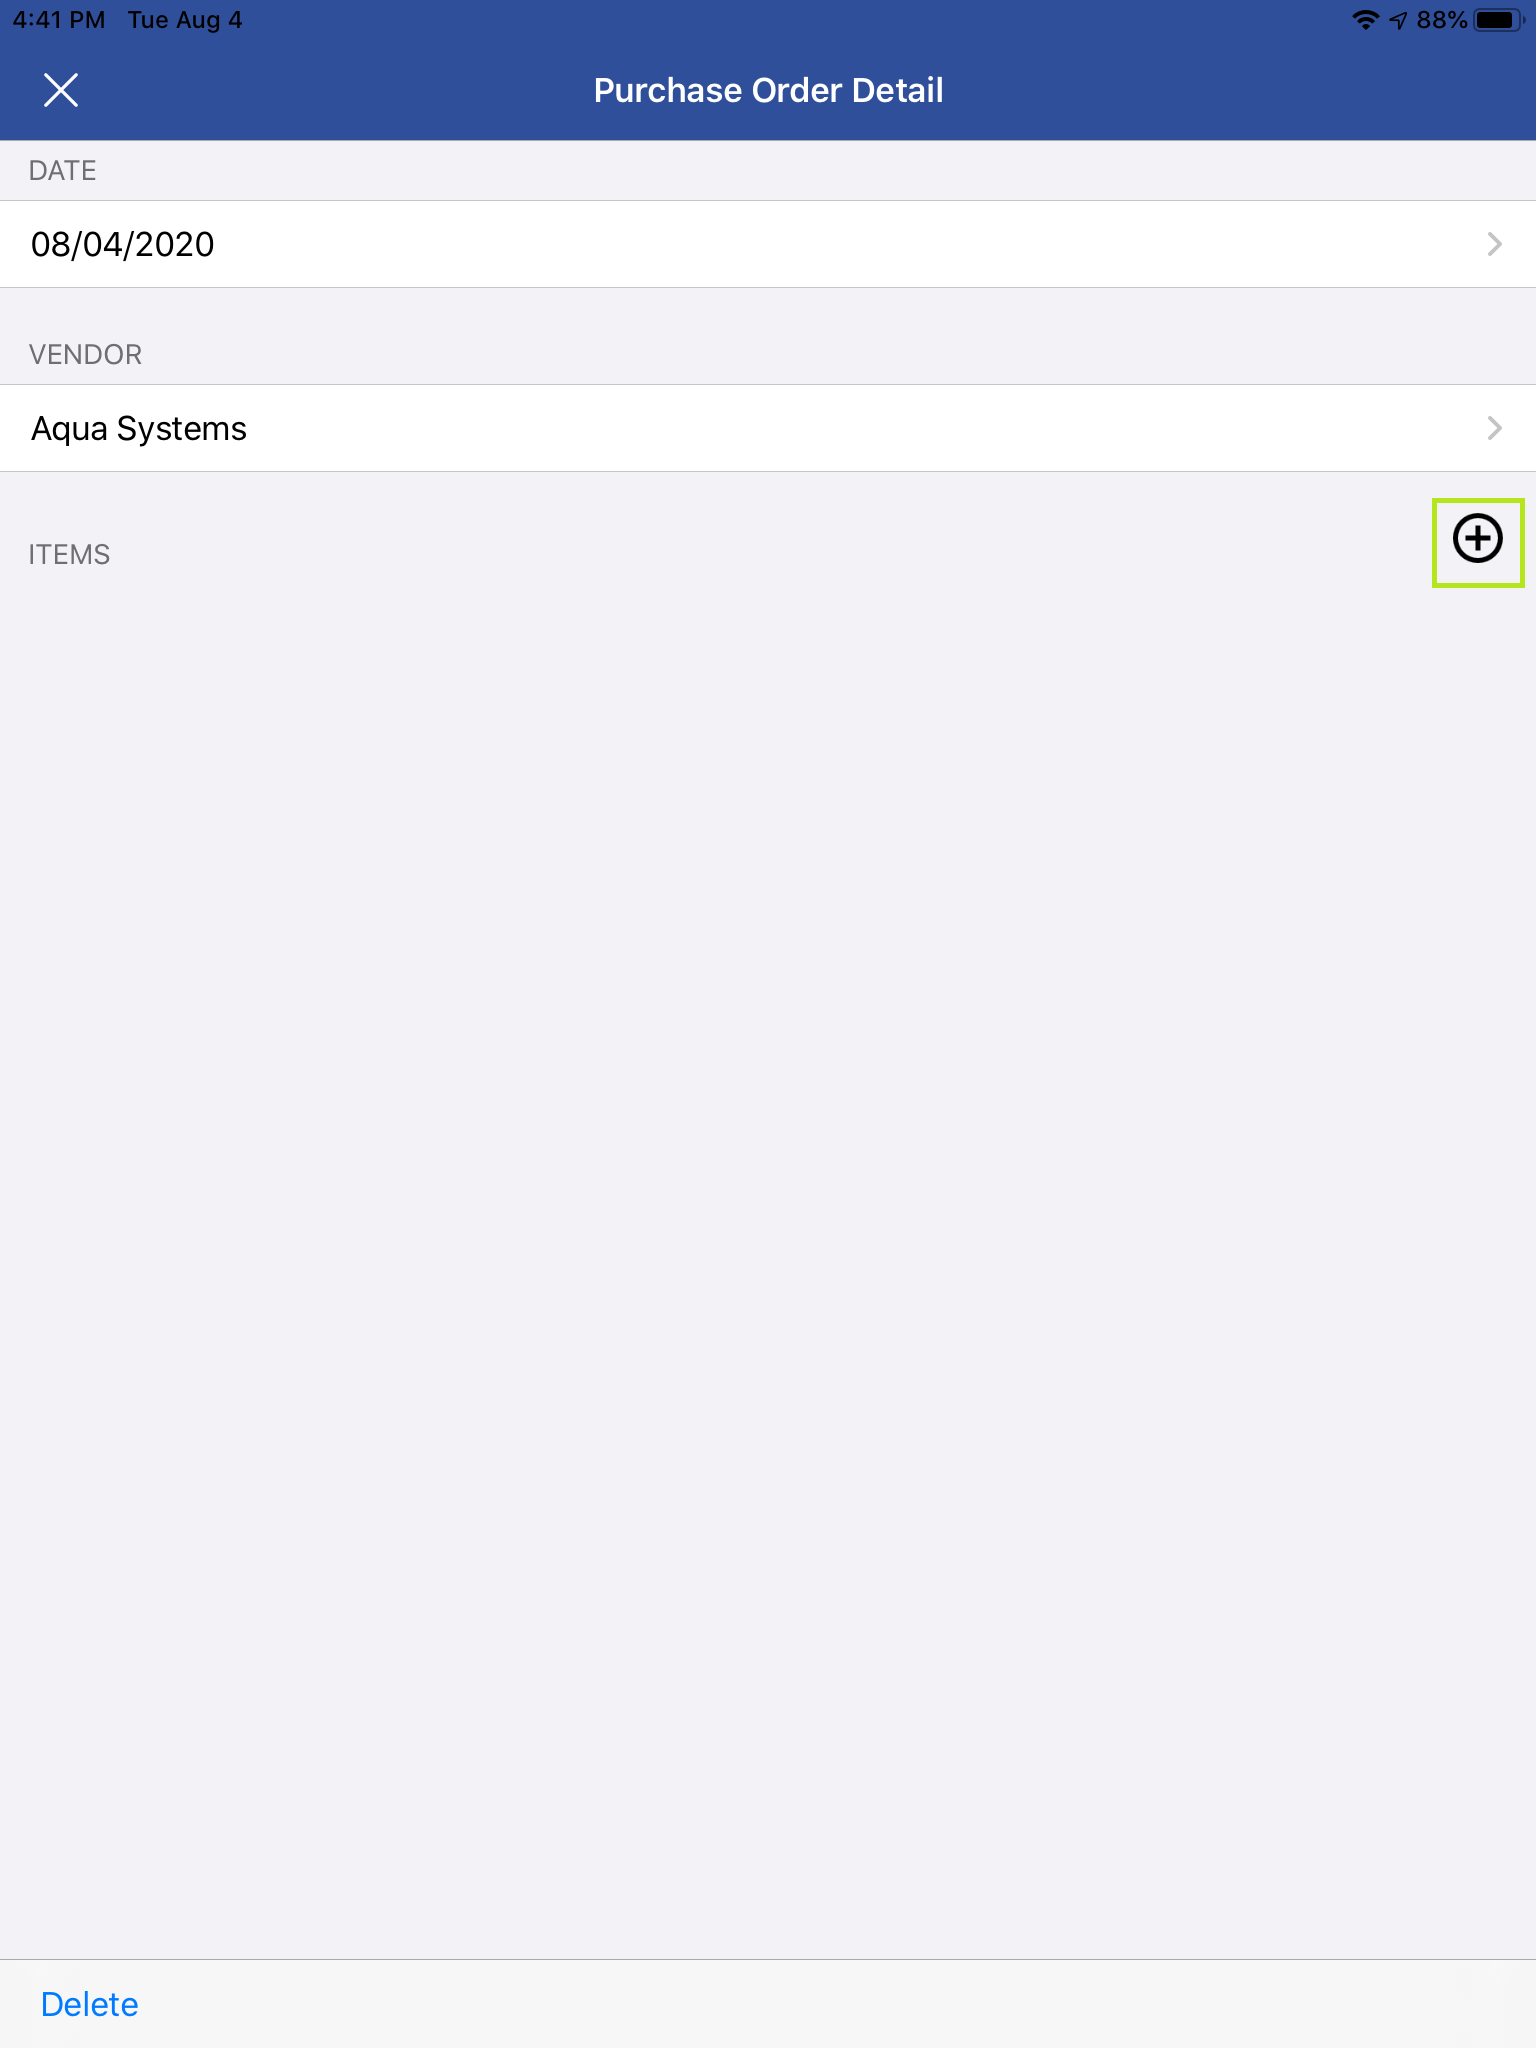
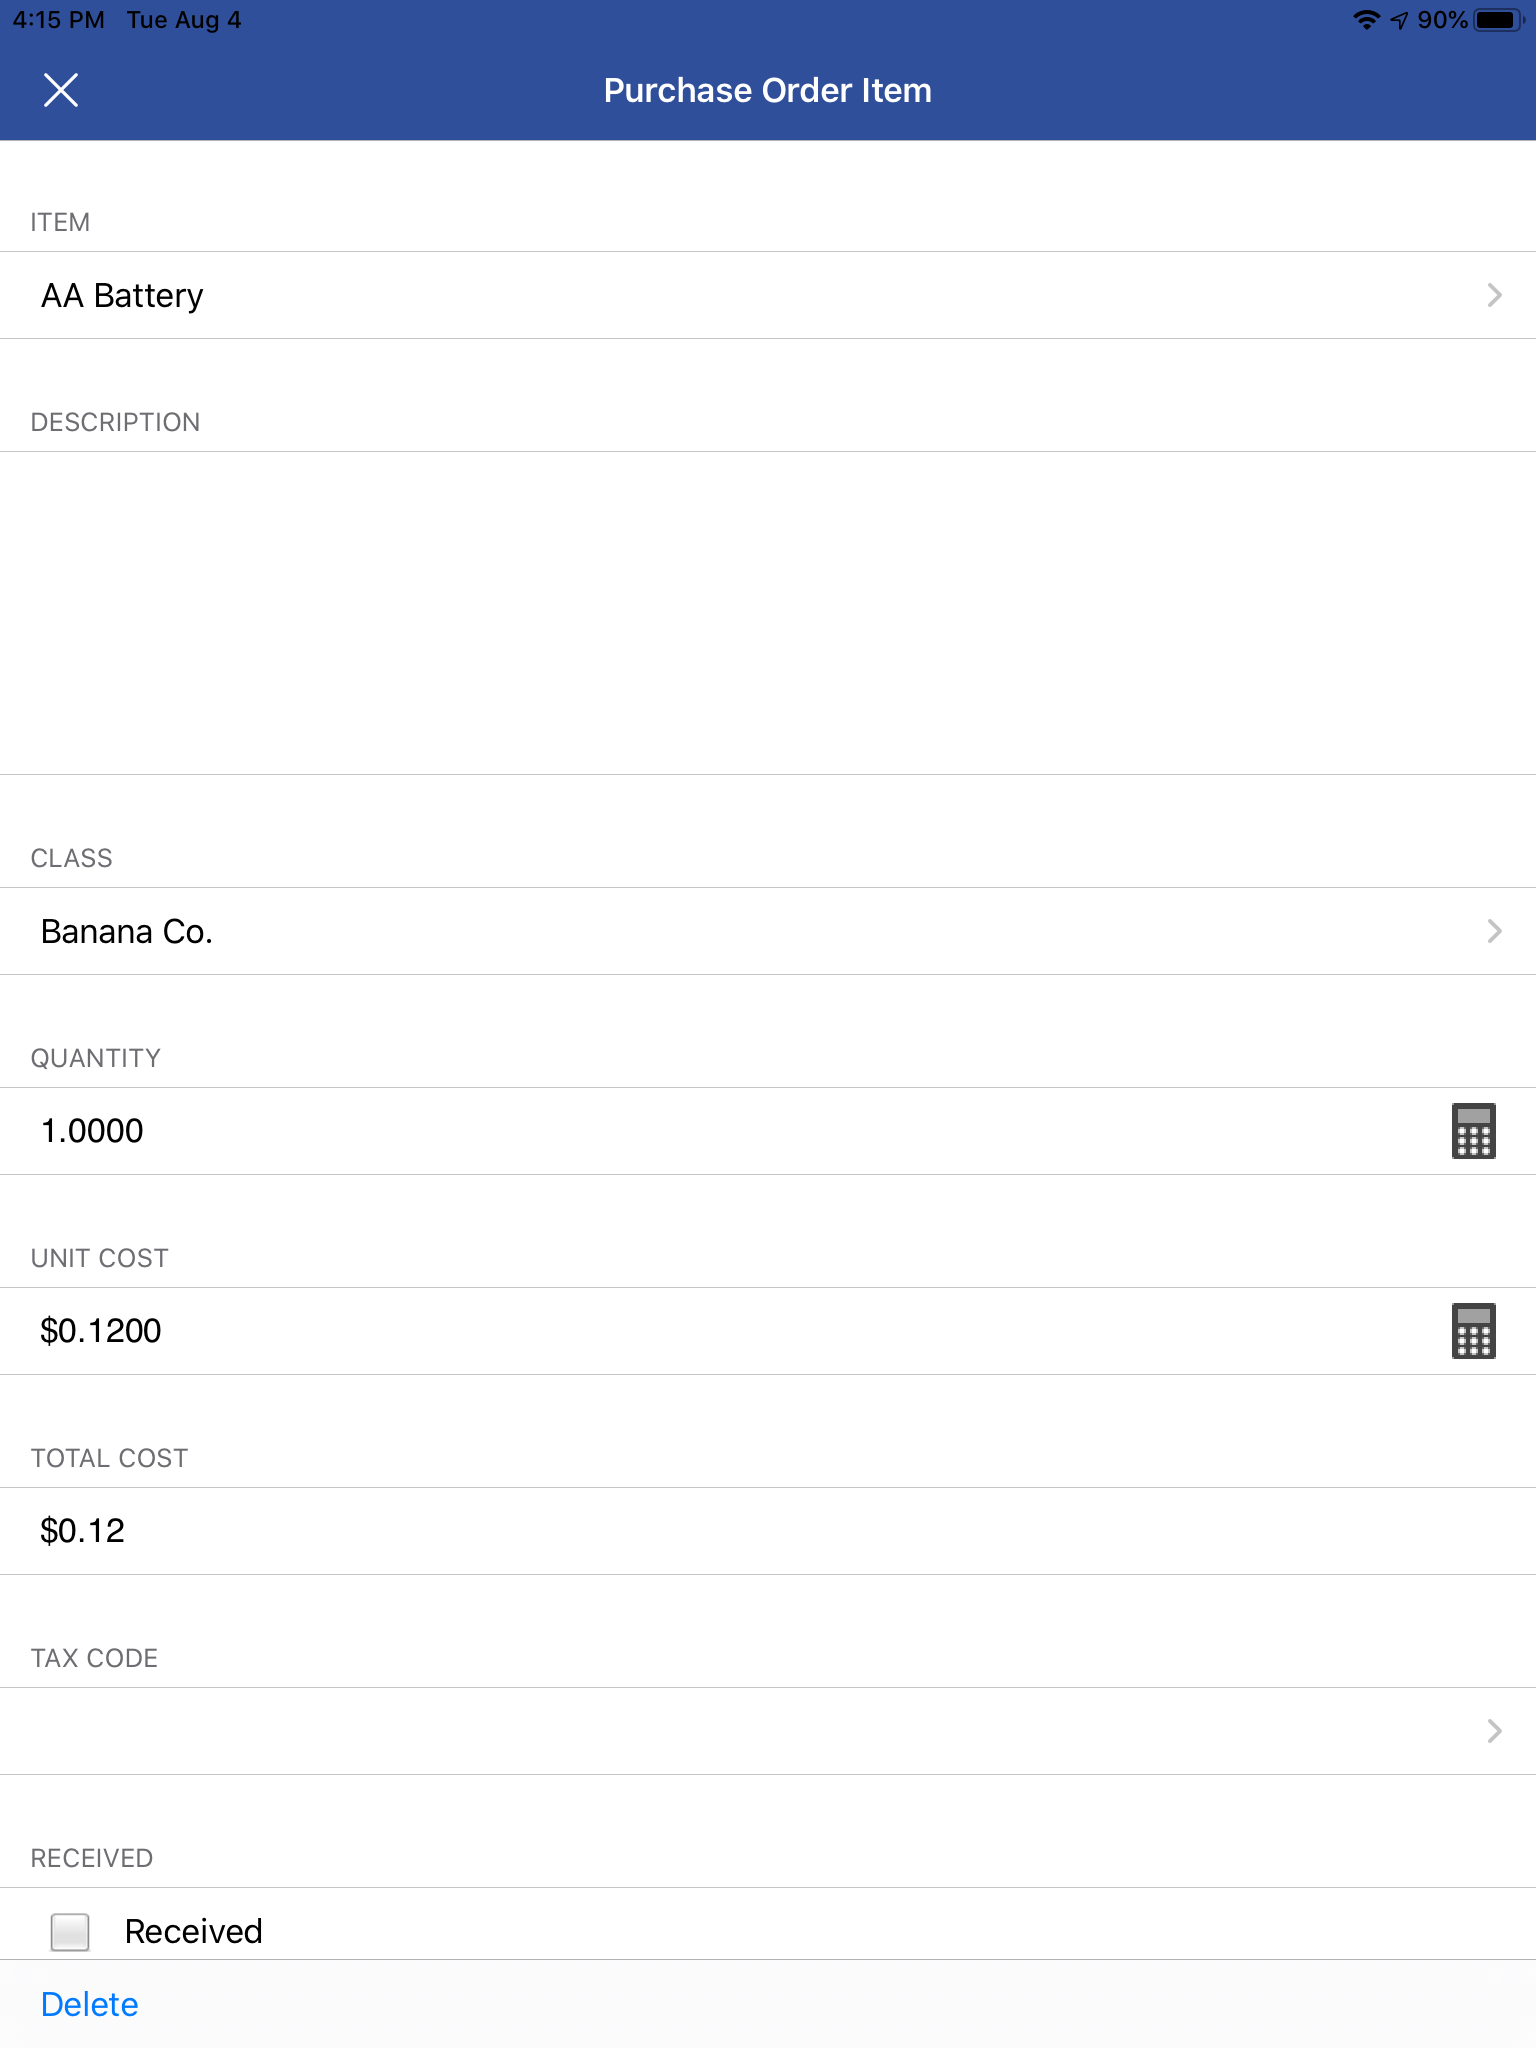
If you’ve elected to enable purchase orders for iFleet from setup, your iFleet users can track what materials they need or have ordered for their service call. This option does not allow your iFleet users to contact vendors or make charges on your company account; its purpose is to allow your users to essentially create a digital “shopping list” for the service which can be tracked in Smart Service and QuickBooks.
Purchase orders created in iFleet will be available for review within the “Job Items” tab of the job back in Smart Service. Office users have the option of modifying the purchase order before placing the order with the vendor if the iFleet user hasn’t already received the items.
A helpful tip here is to create a generic service item in QuickBooks called “Parts” or similar. Since iFleet can only add QuickBooks line items to the PO, they might not have everything they need in your QuickBooks item list. Using the “Parts” item will allow them to customize the item description and amount to relay what miscellaneous items were needed.
Estimates
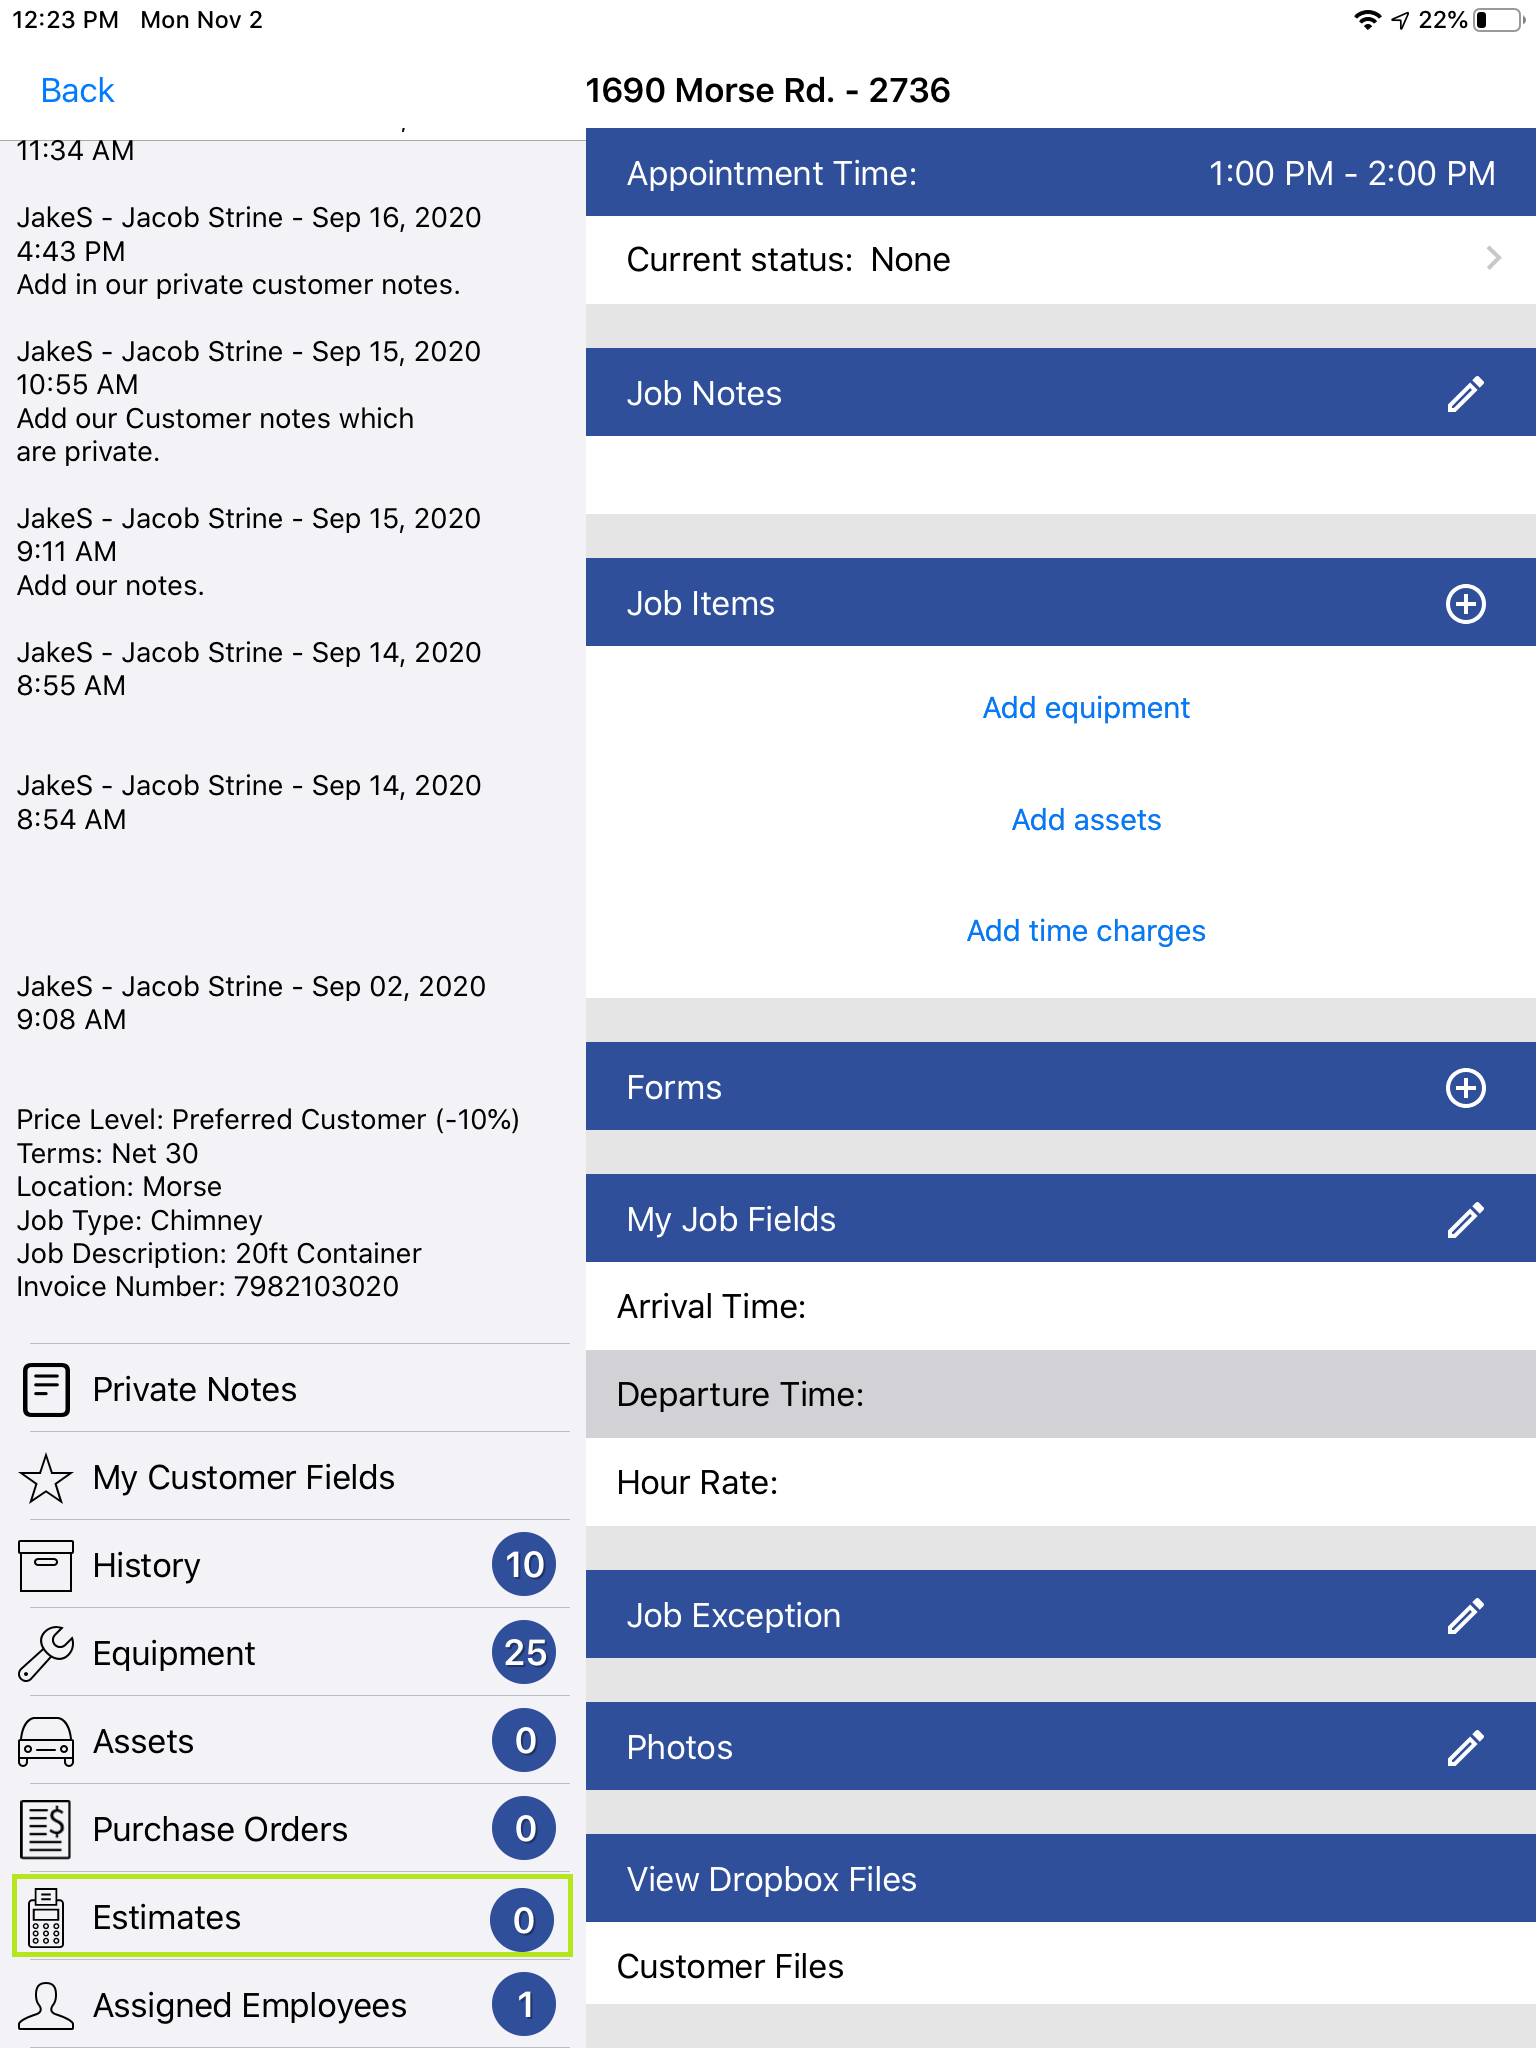
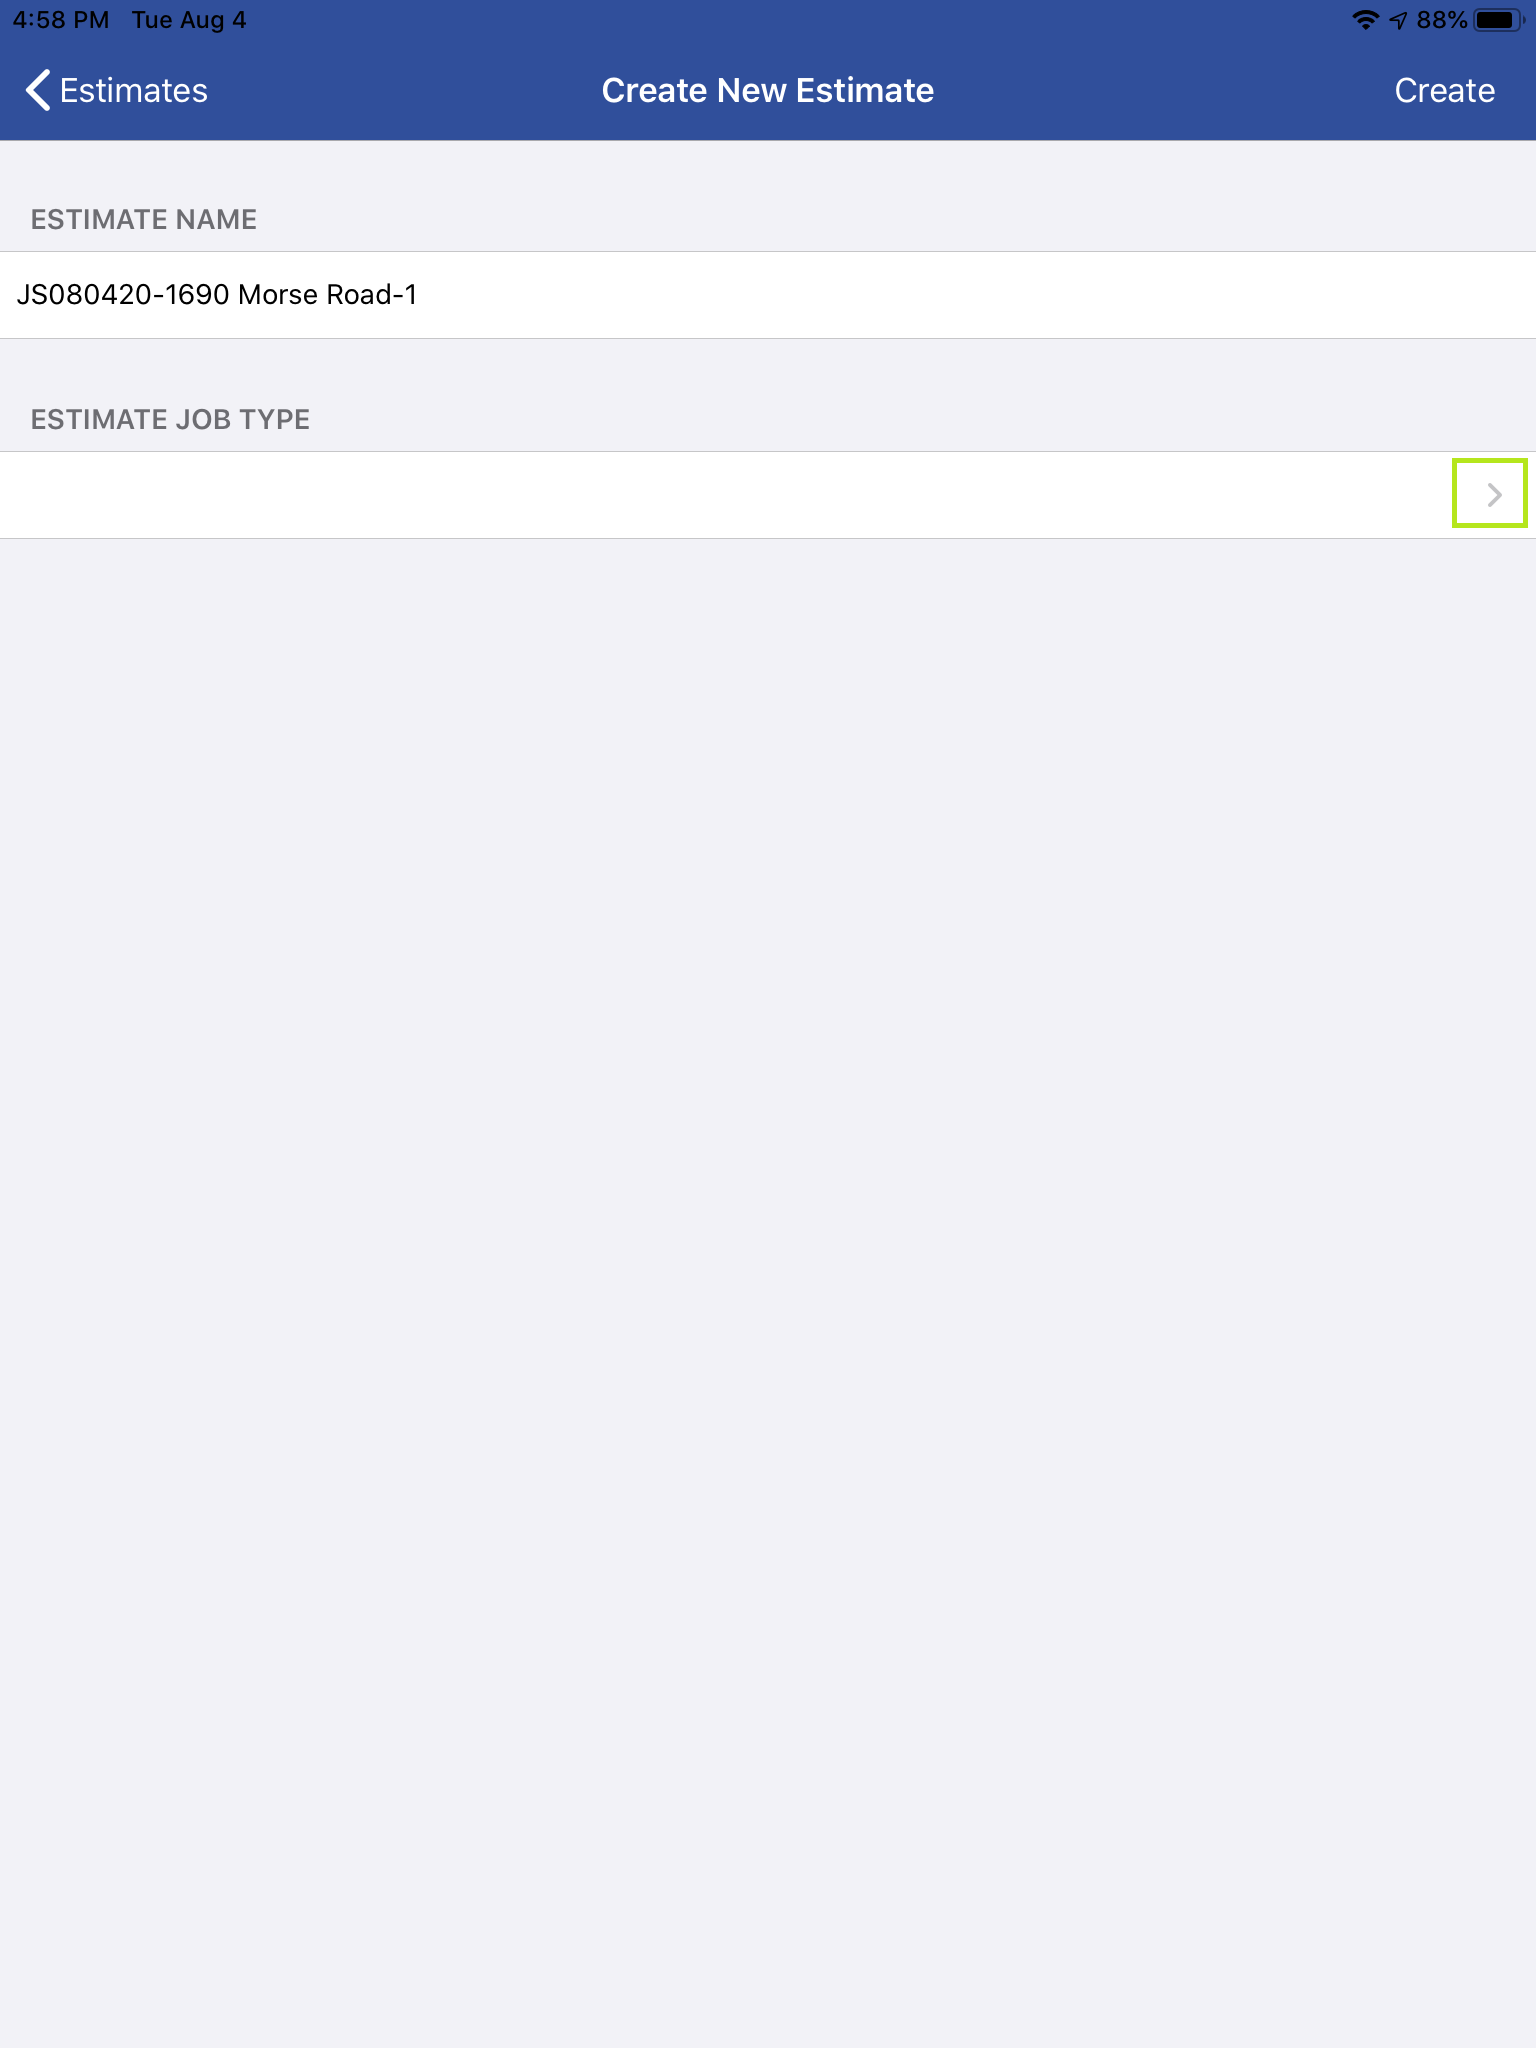
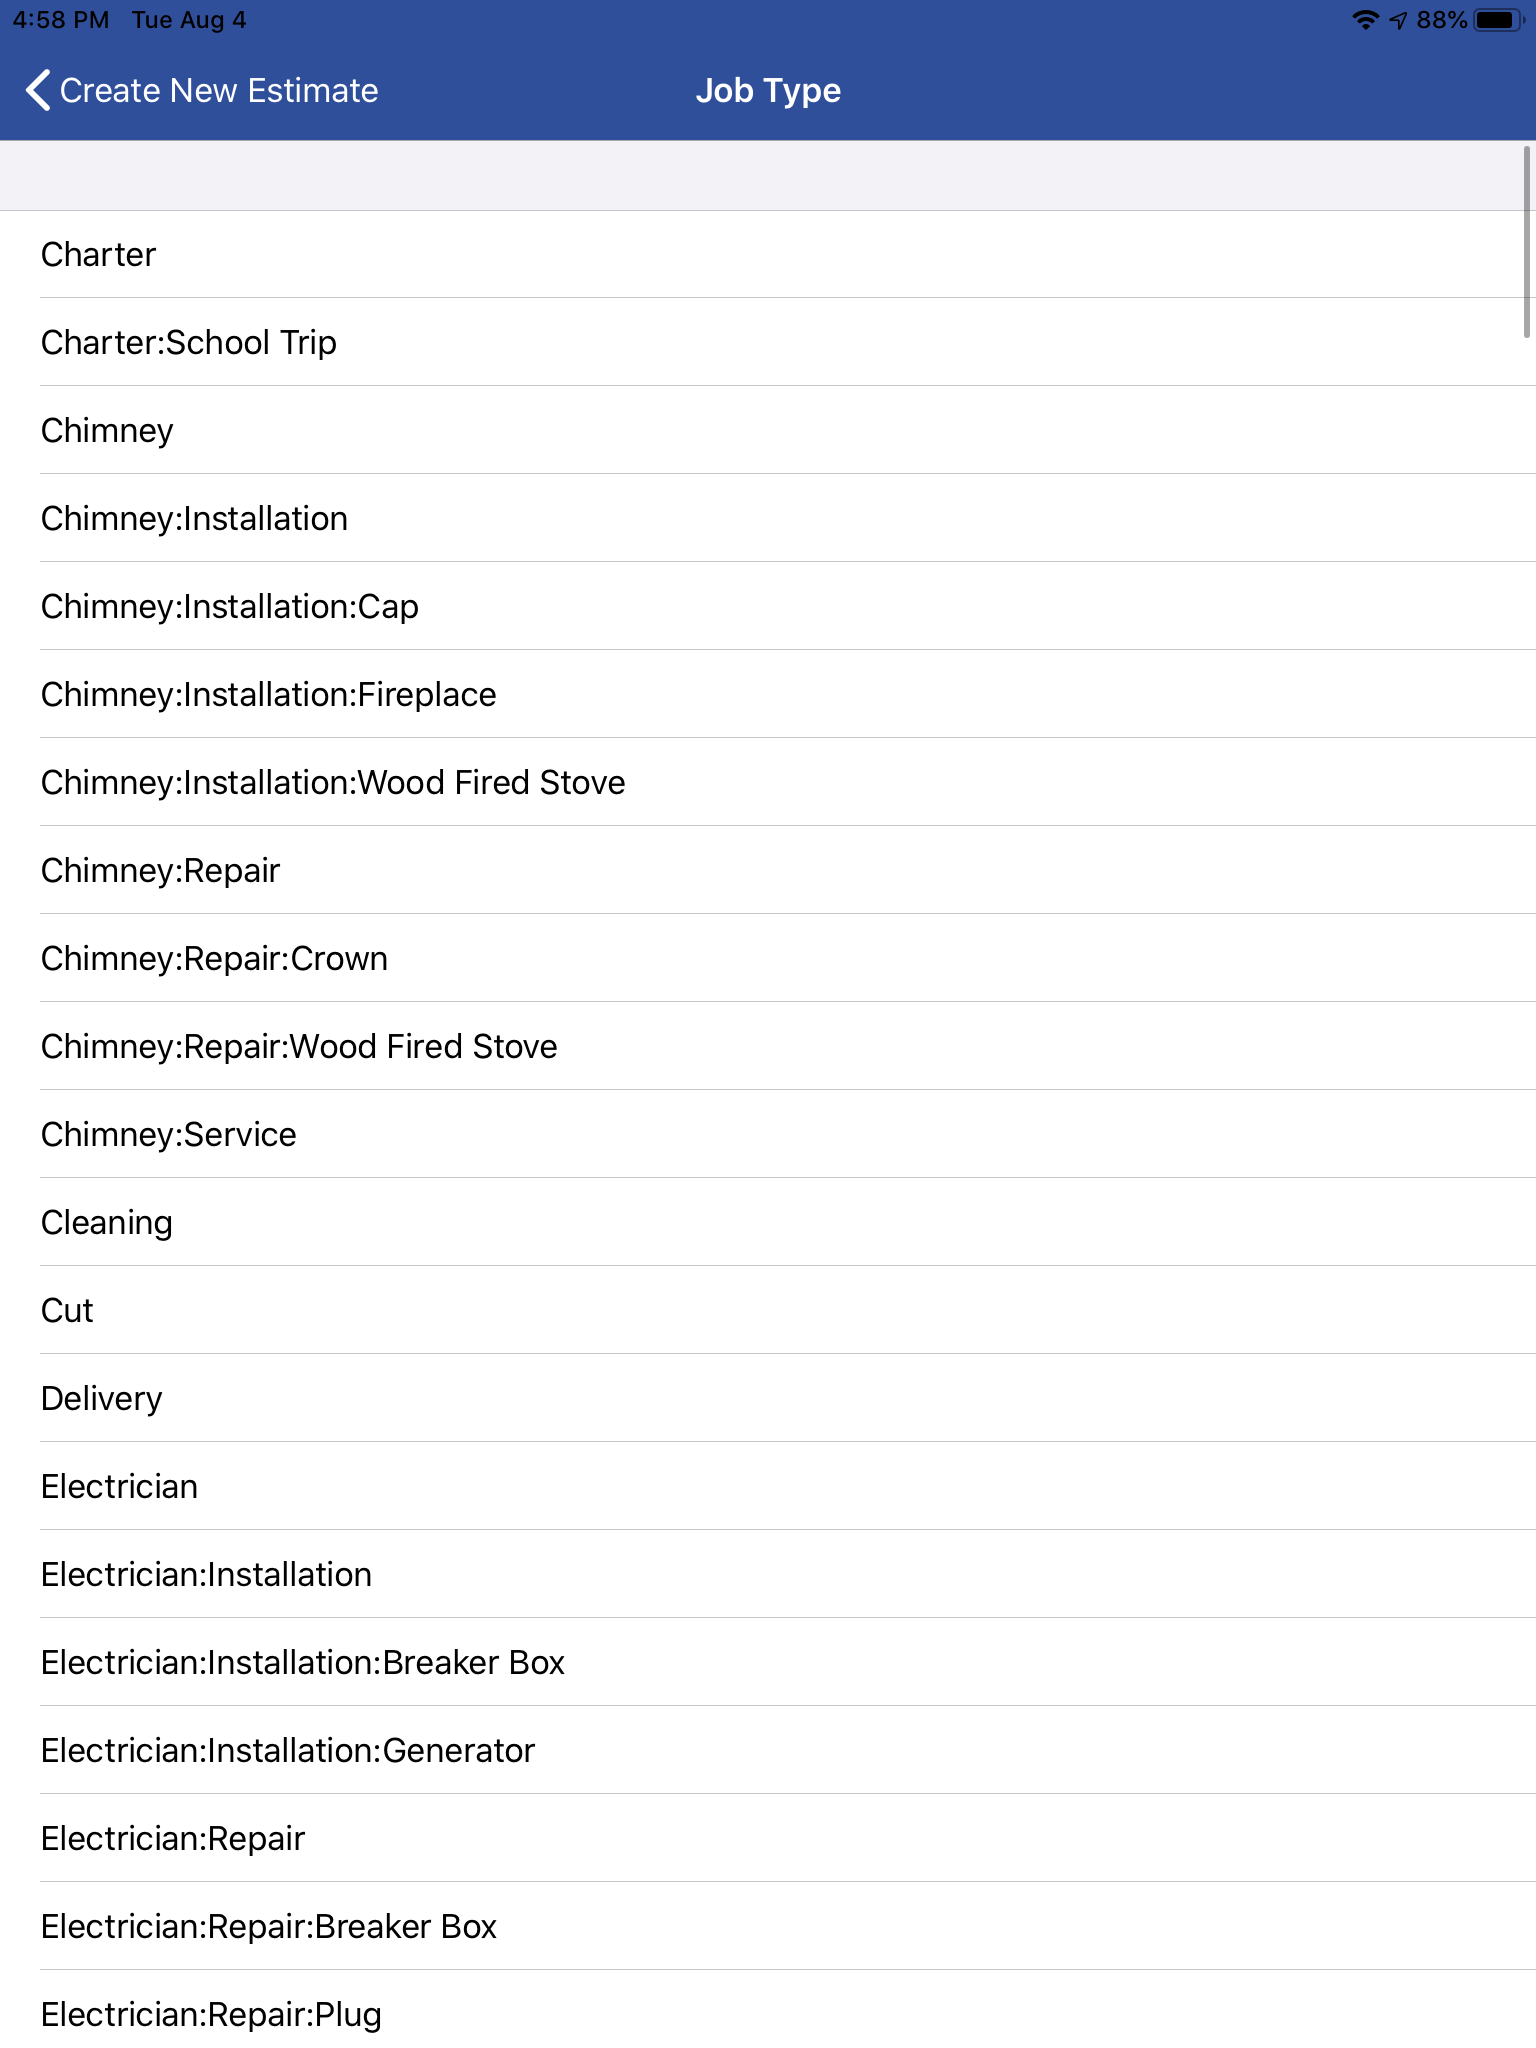
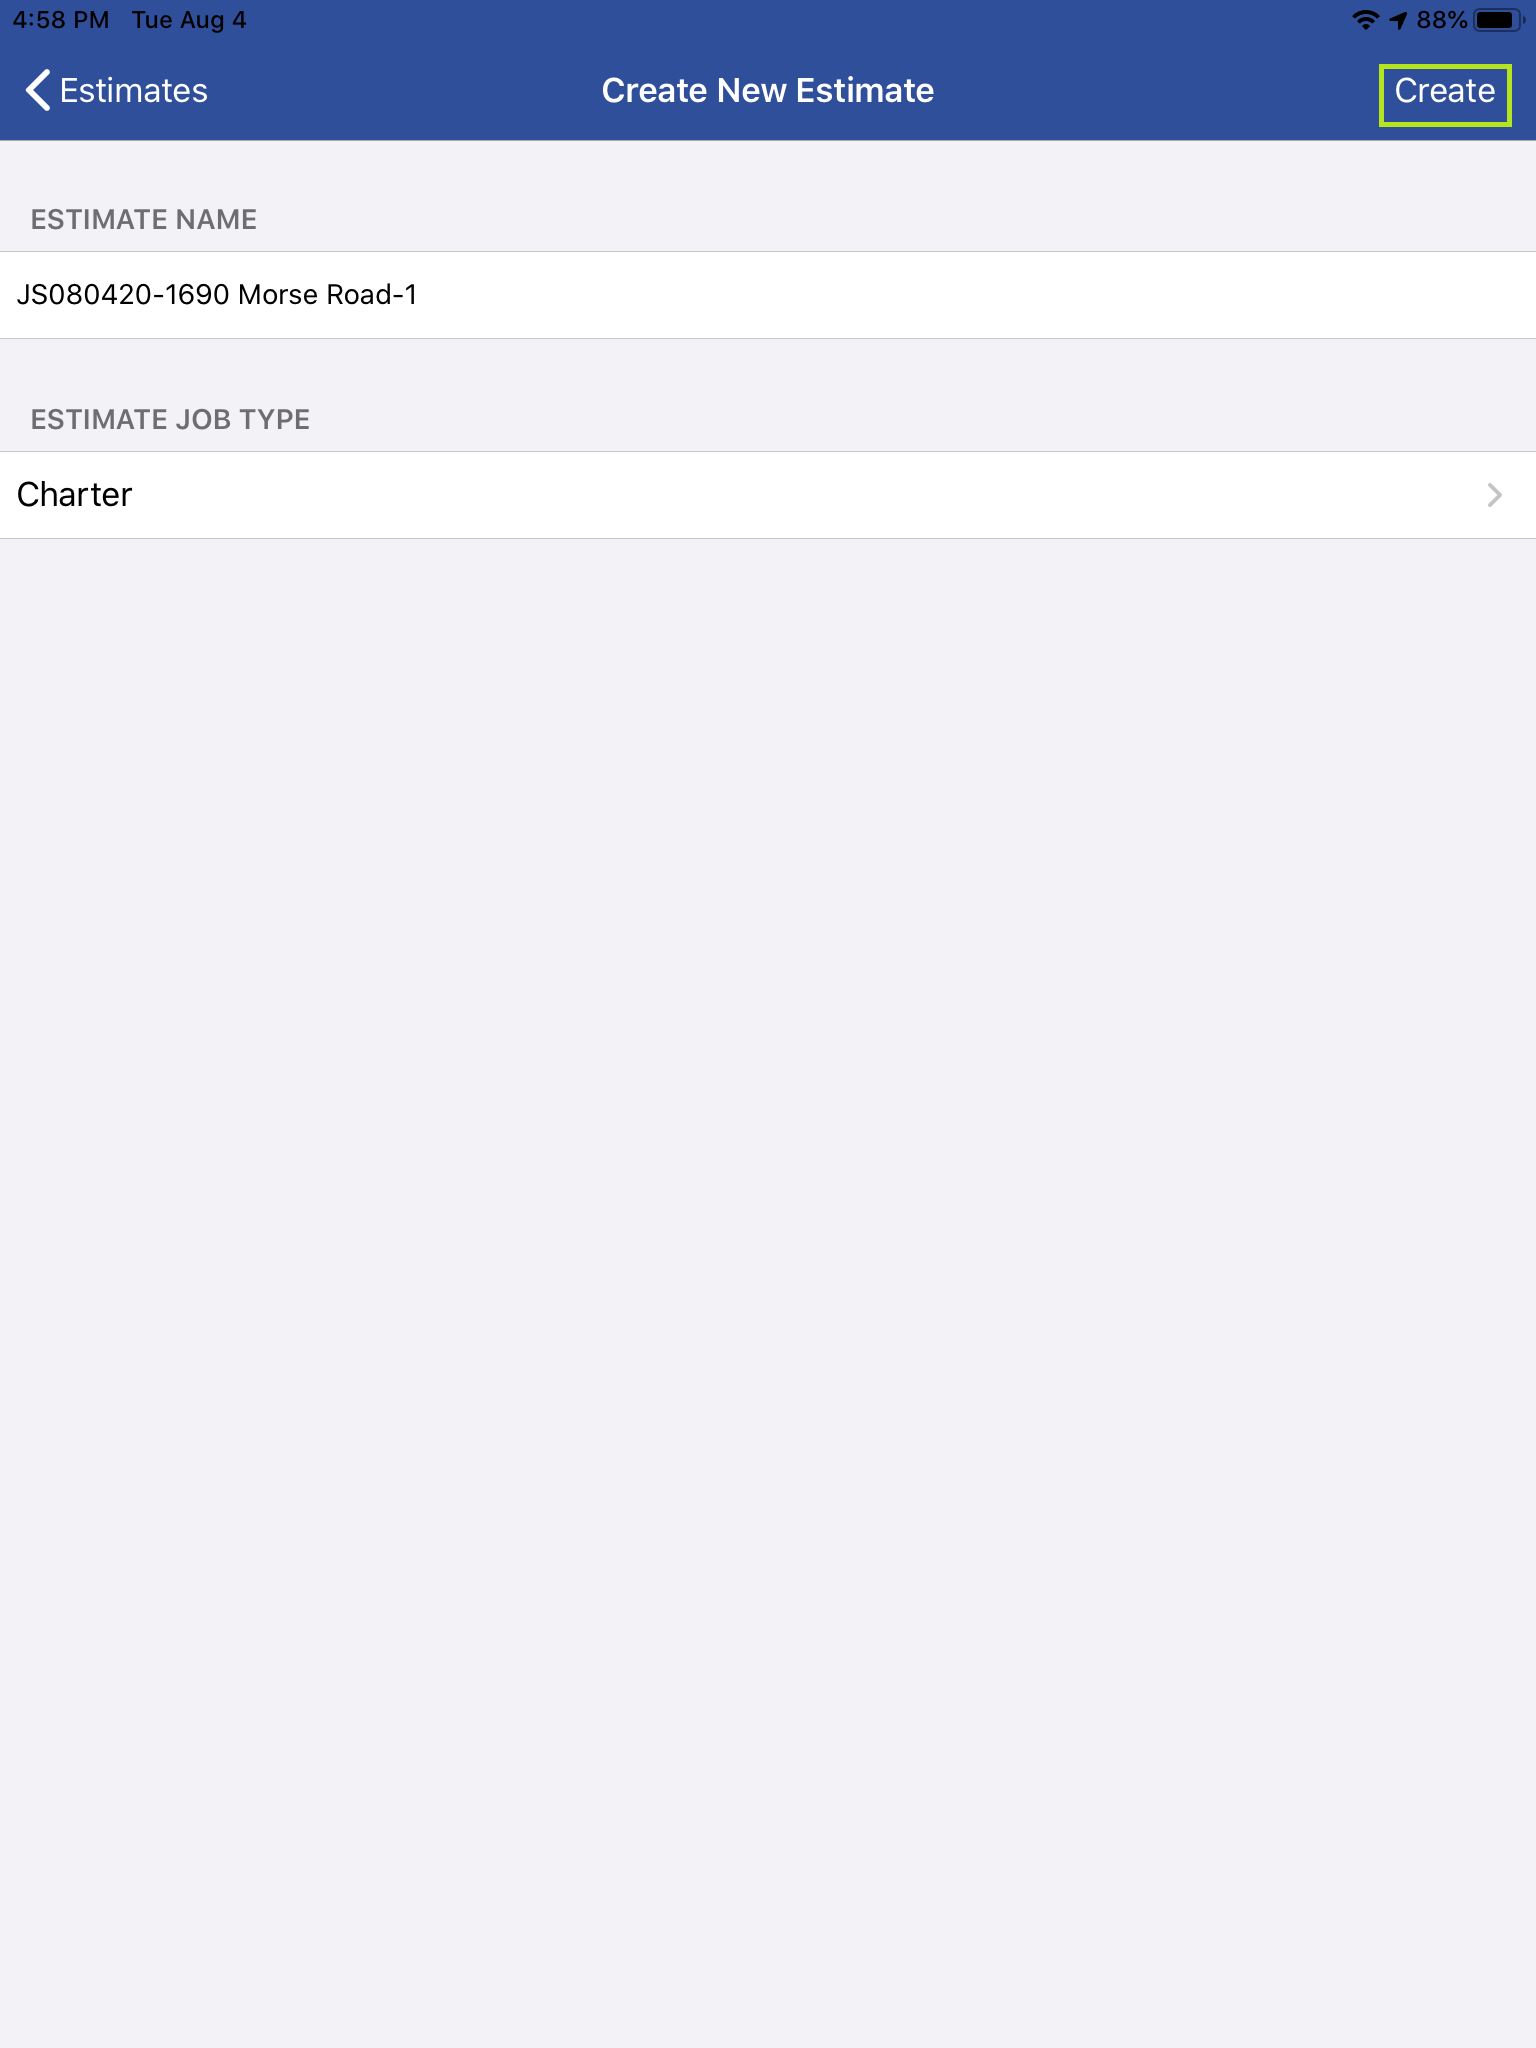
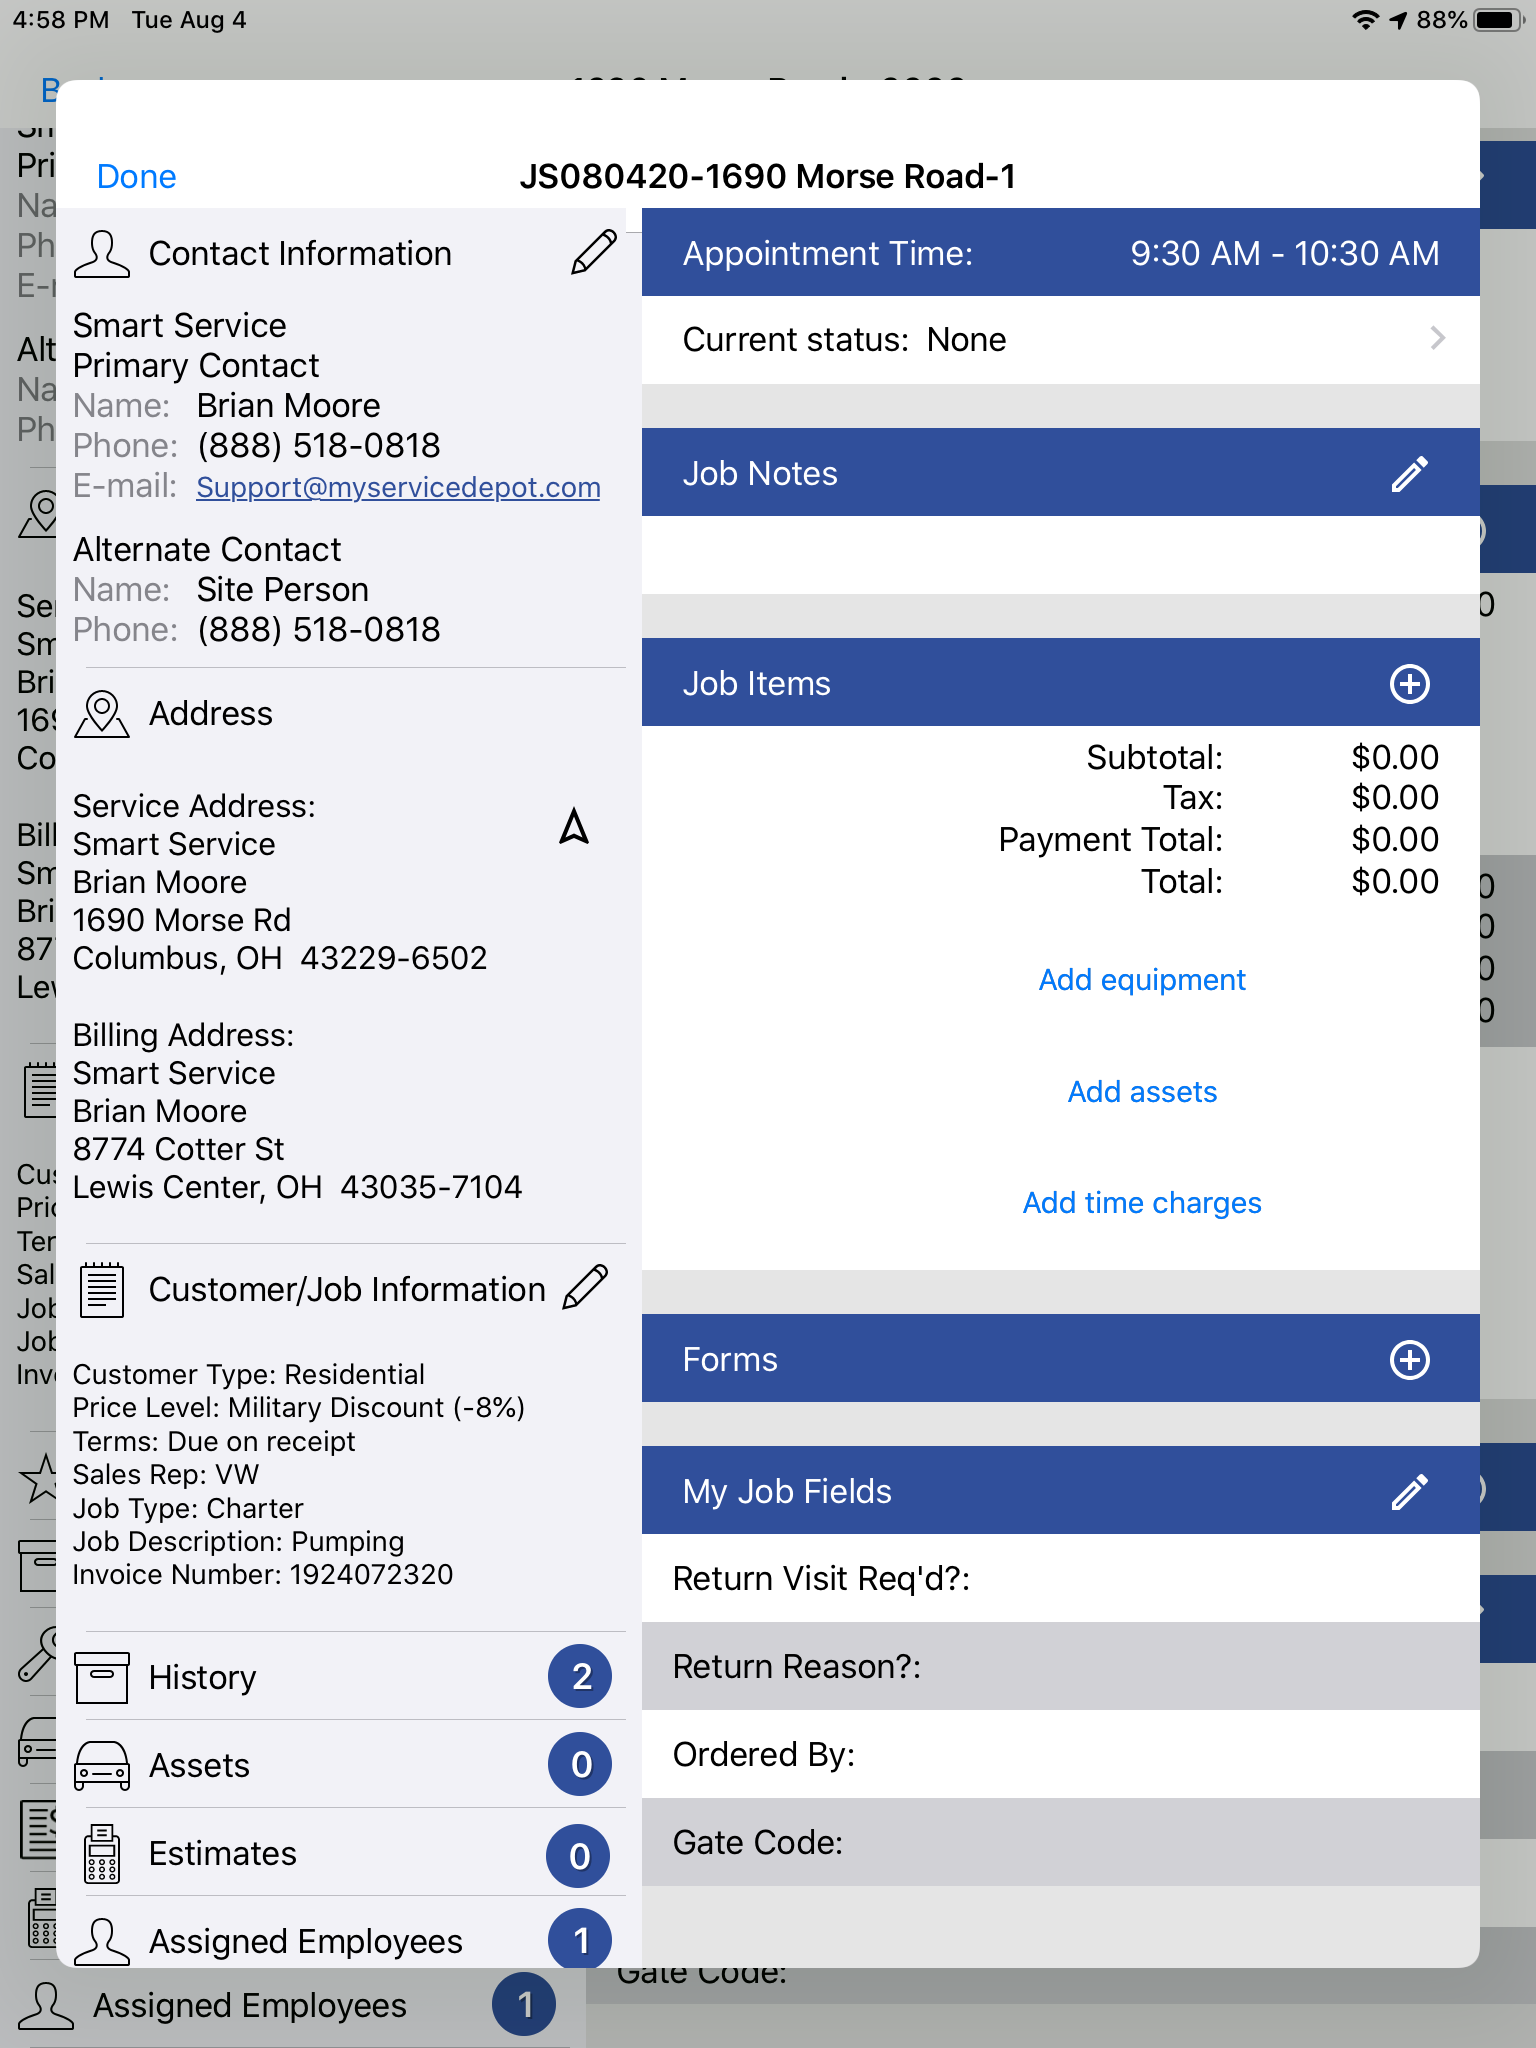
IFleet can be given the ability to create estimates from the field, provided they already have a scheduled service or estimate for that customer on their device currently. This ability can be set on a per user basis under that employee’s employee profile. Once given the ability to create estimates, they will have the option of creating as many estimates as necessary from within the job.
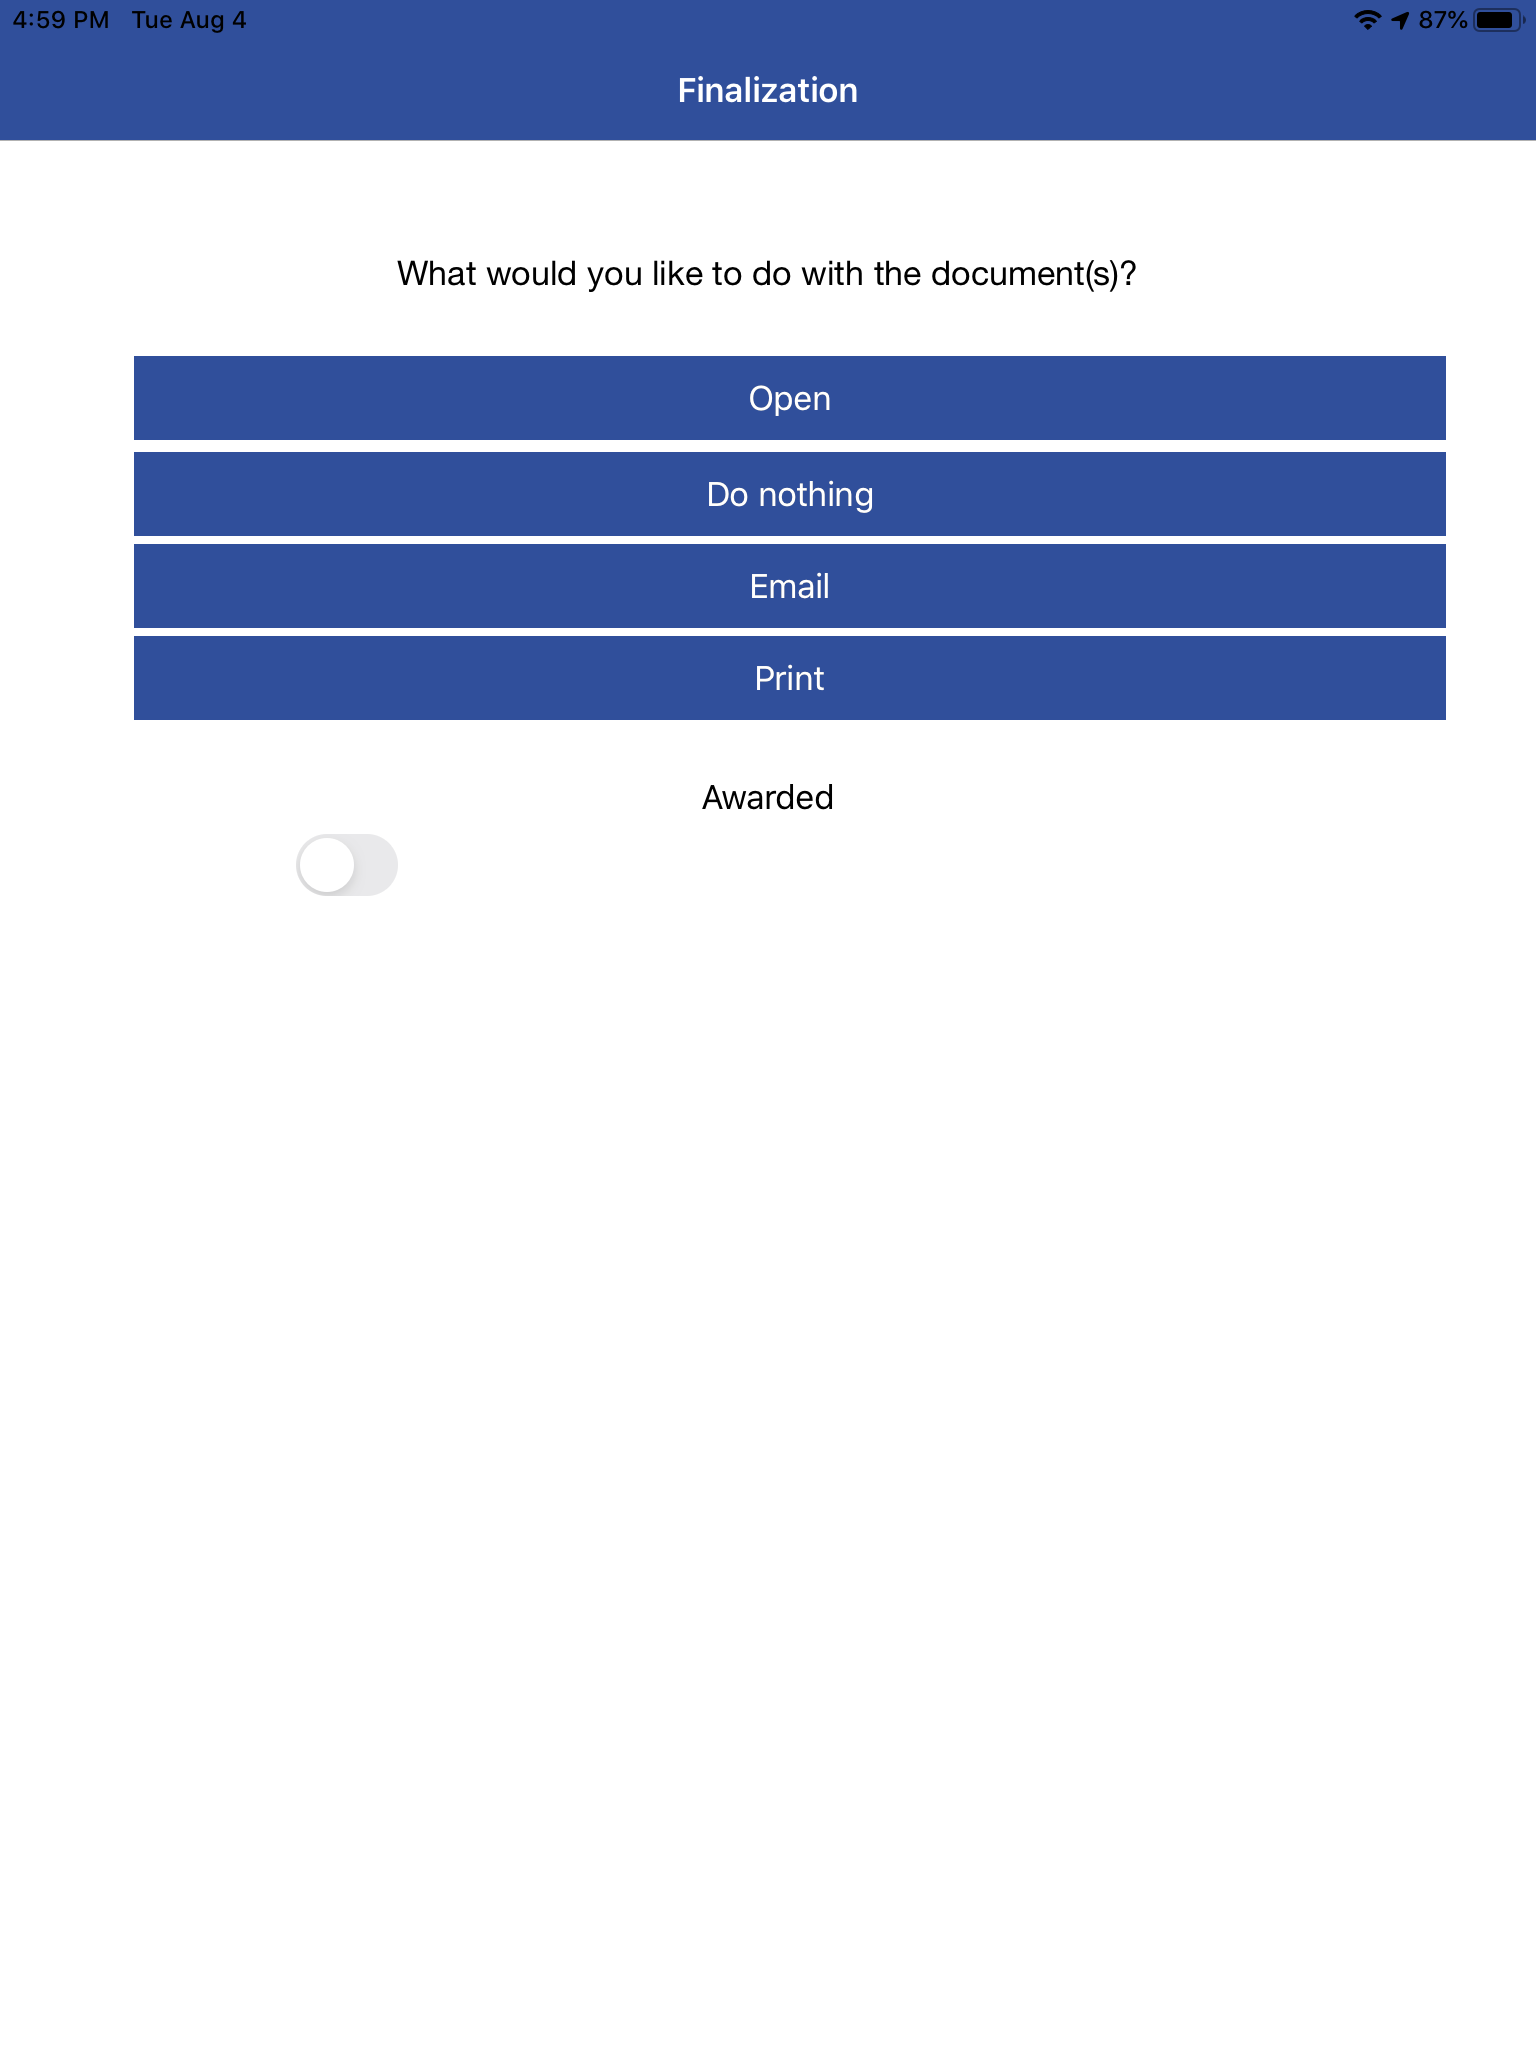
Just tap the estimates option, use the + symbol to create a new estimate or tap on an existing estimate to continue if one is available. When you finalize an estimate, you have the option to mark it as awarded. Doing so will notify the office to convert the estimate into a work order.
If you’ve chosen a name other than “Estimates” in settings, your header in iFleet will respect that preference. IFleet users have the ability to mark an estimate as “Awarded” during the finalization process if the customer has accepted the work in the field. Estimates not accepted immediately can be reported on in Smart Service. We have a great tutorial for this process available via our webinar collection.
Assigned Employees
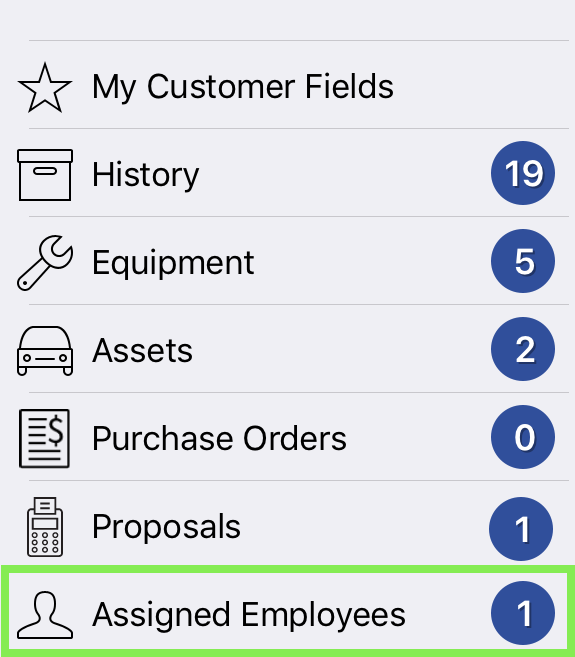
If you’re going to this job with a helper, you’ll be able to check who that helper will be from this “Assigned Employees” section.
You’ll always have at least one employee here, you, but if you see 2 or more listed you may want to check out who it is here.
If you need to add an additional employee, you can do so via the scheduling tab on the job in Smart Service. You also have the option of adding an additional employee from the field using “Additional Times” timestamps. However, the latter option will not cause the job to appear on the additional employee’s device. You can check out our scheduling webinar for more information on scheduling multiple employees.
Job Process
Once you’ve clocked in for the day and synced your device, its time to get started on one of your scheduled services. To begin the service, you need to use your timestamps to indicate that you’re traveling to the job.
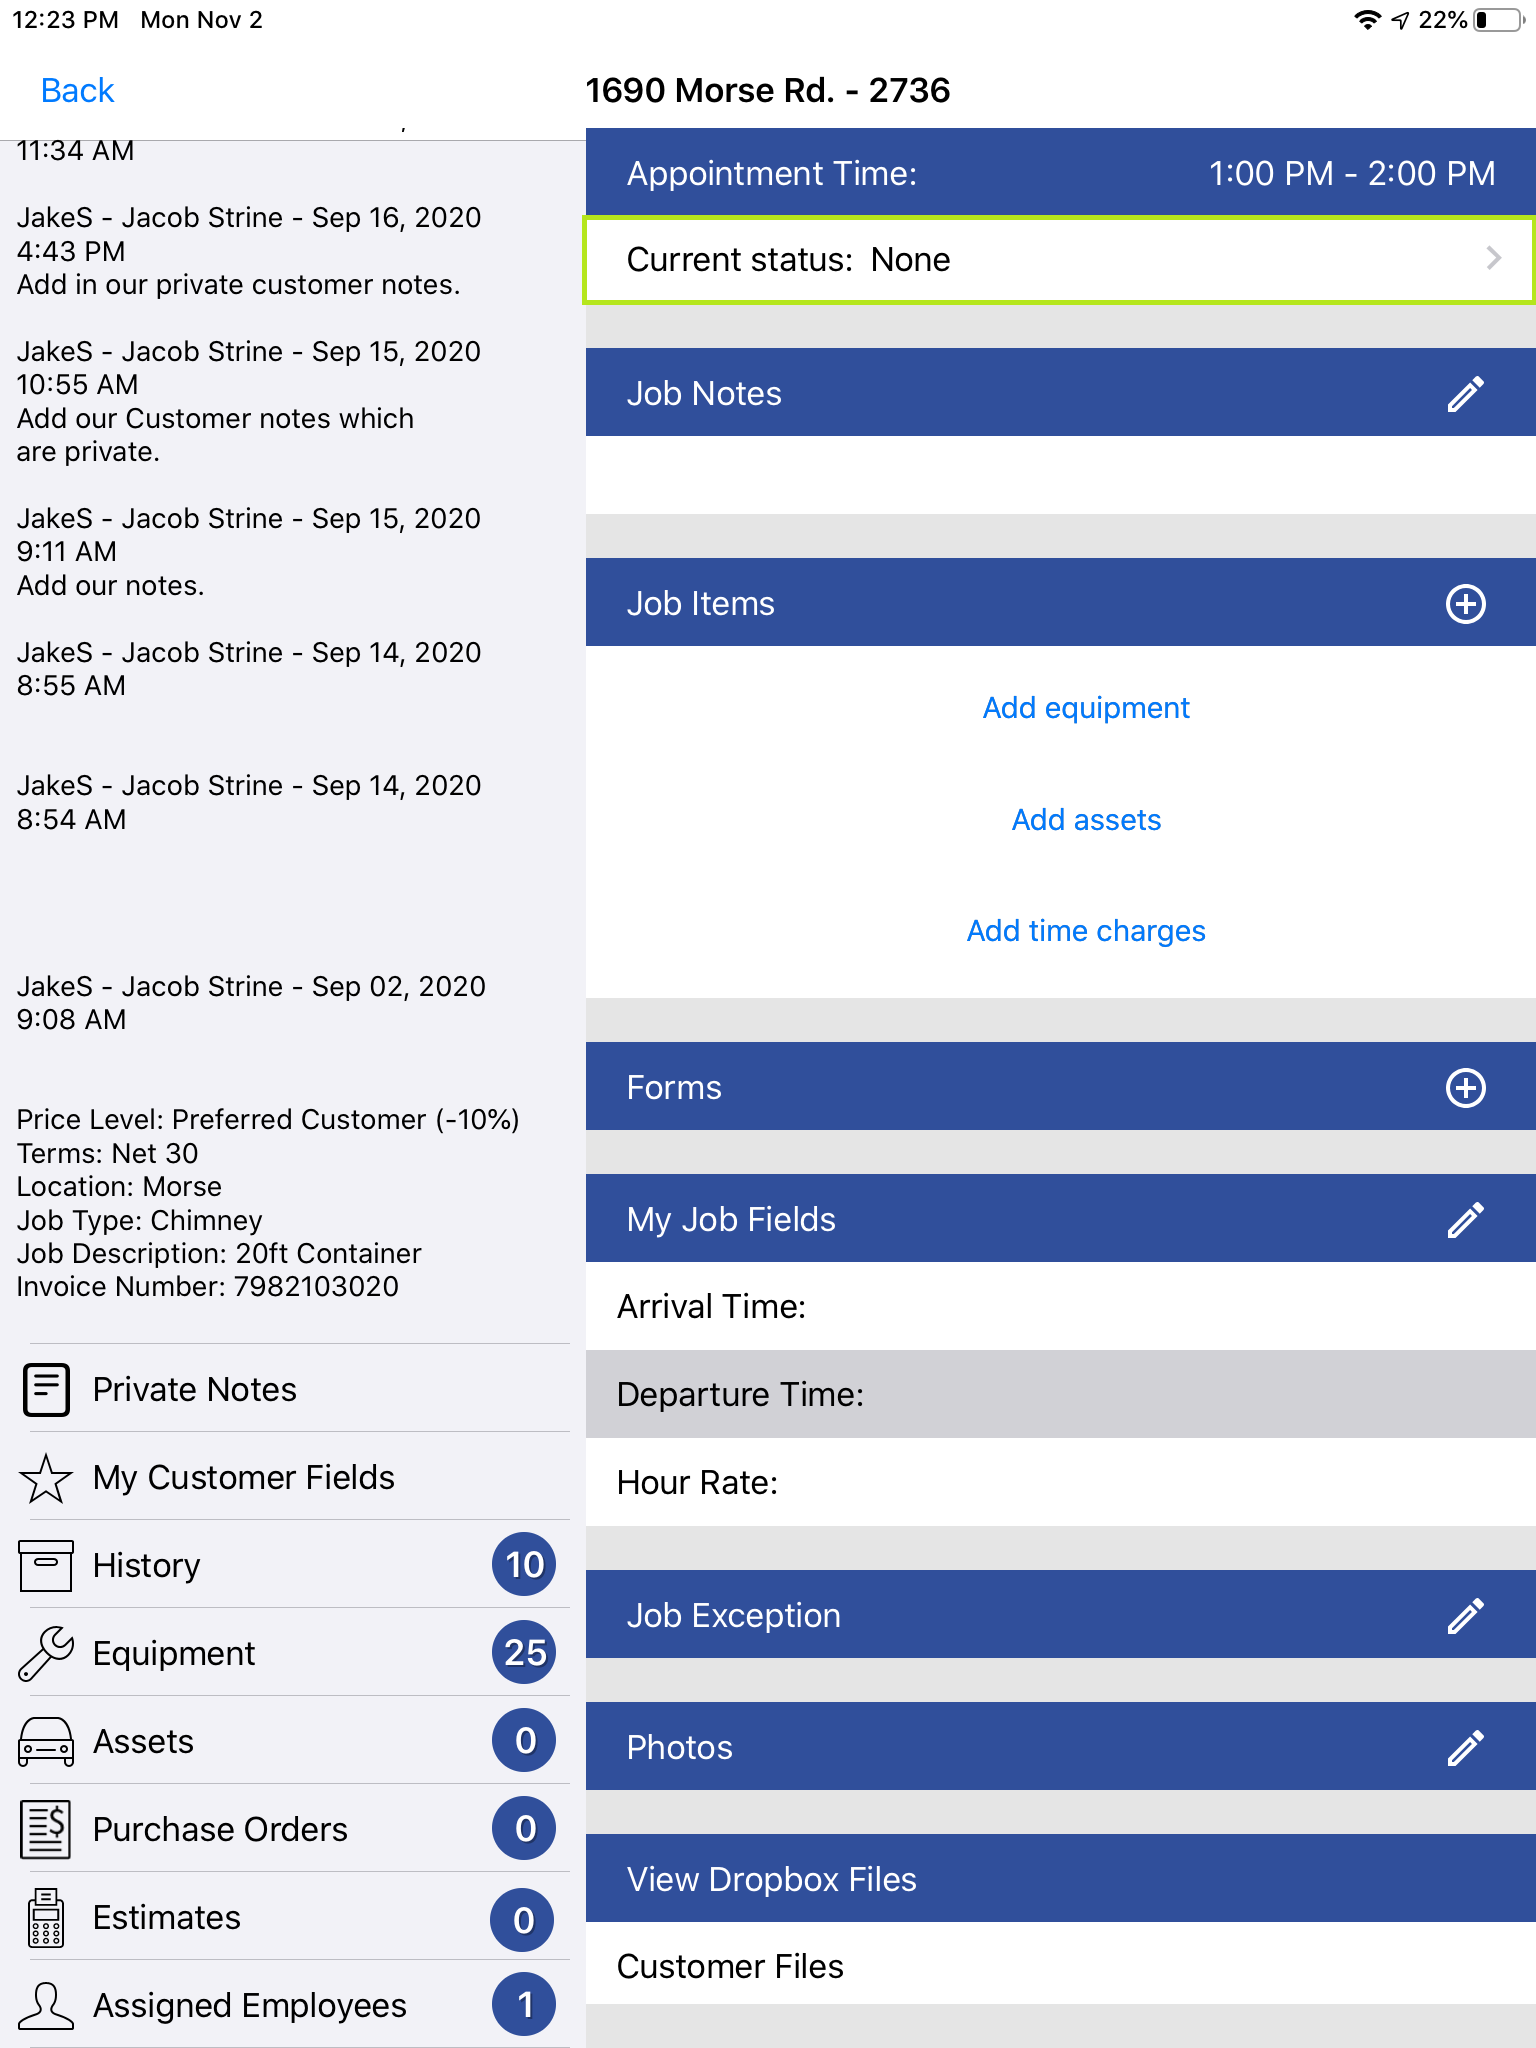
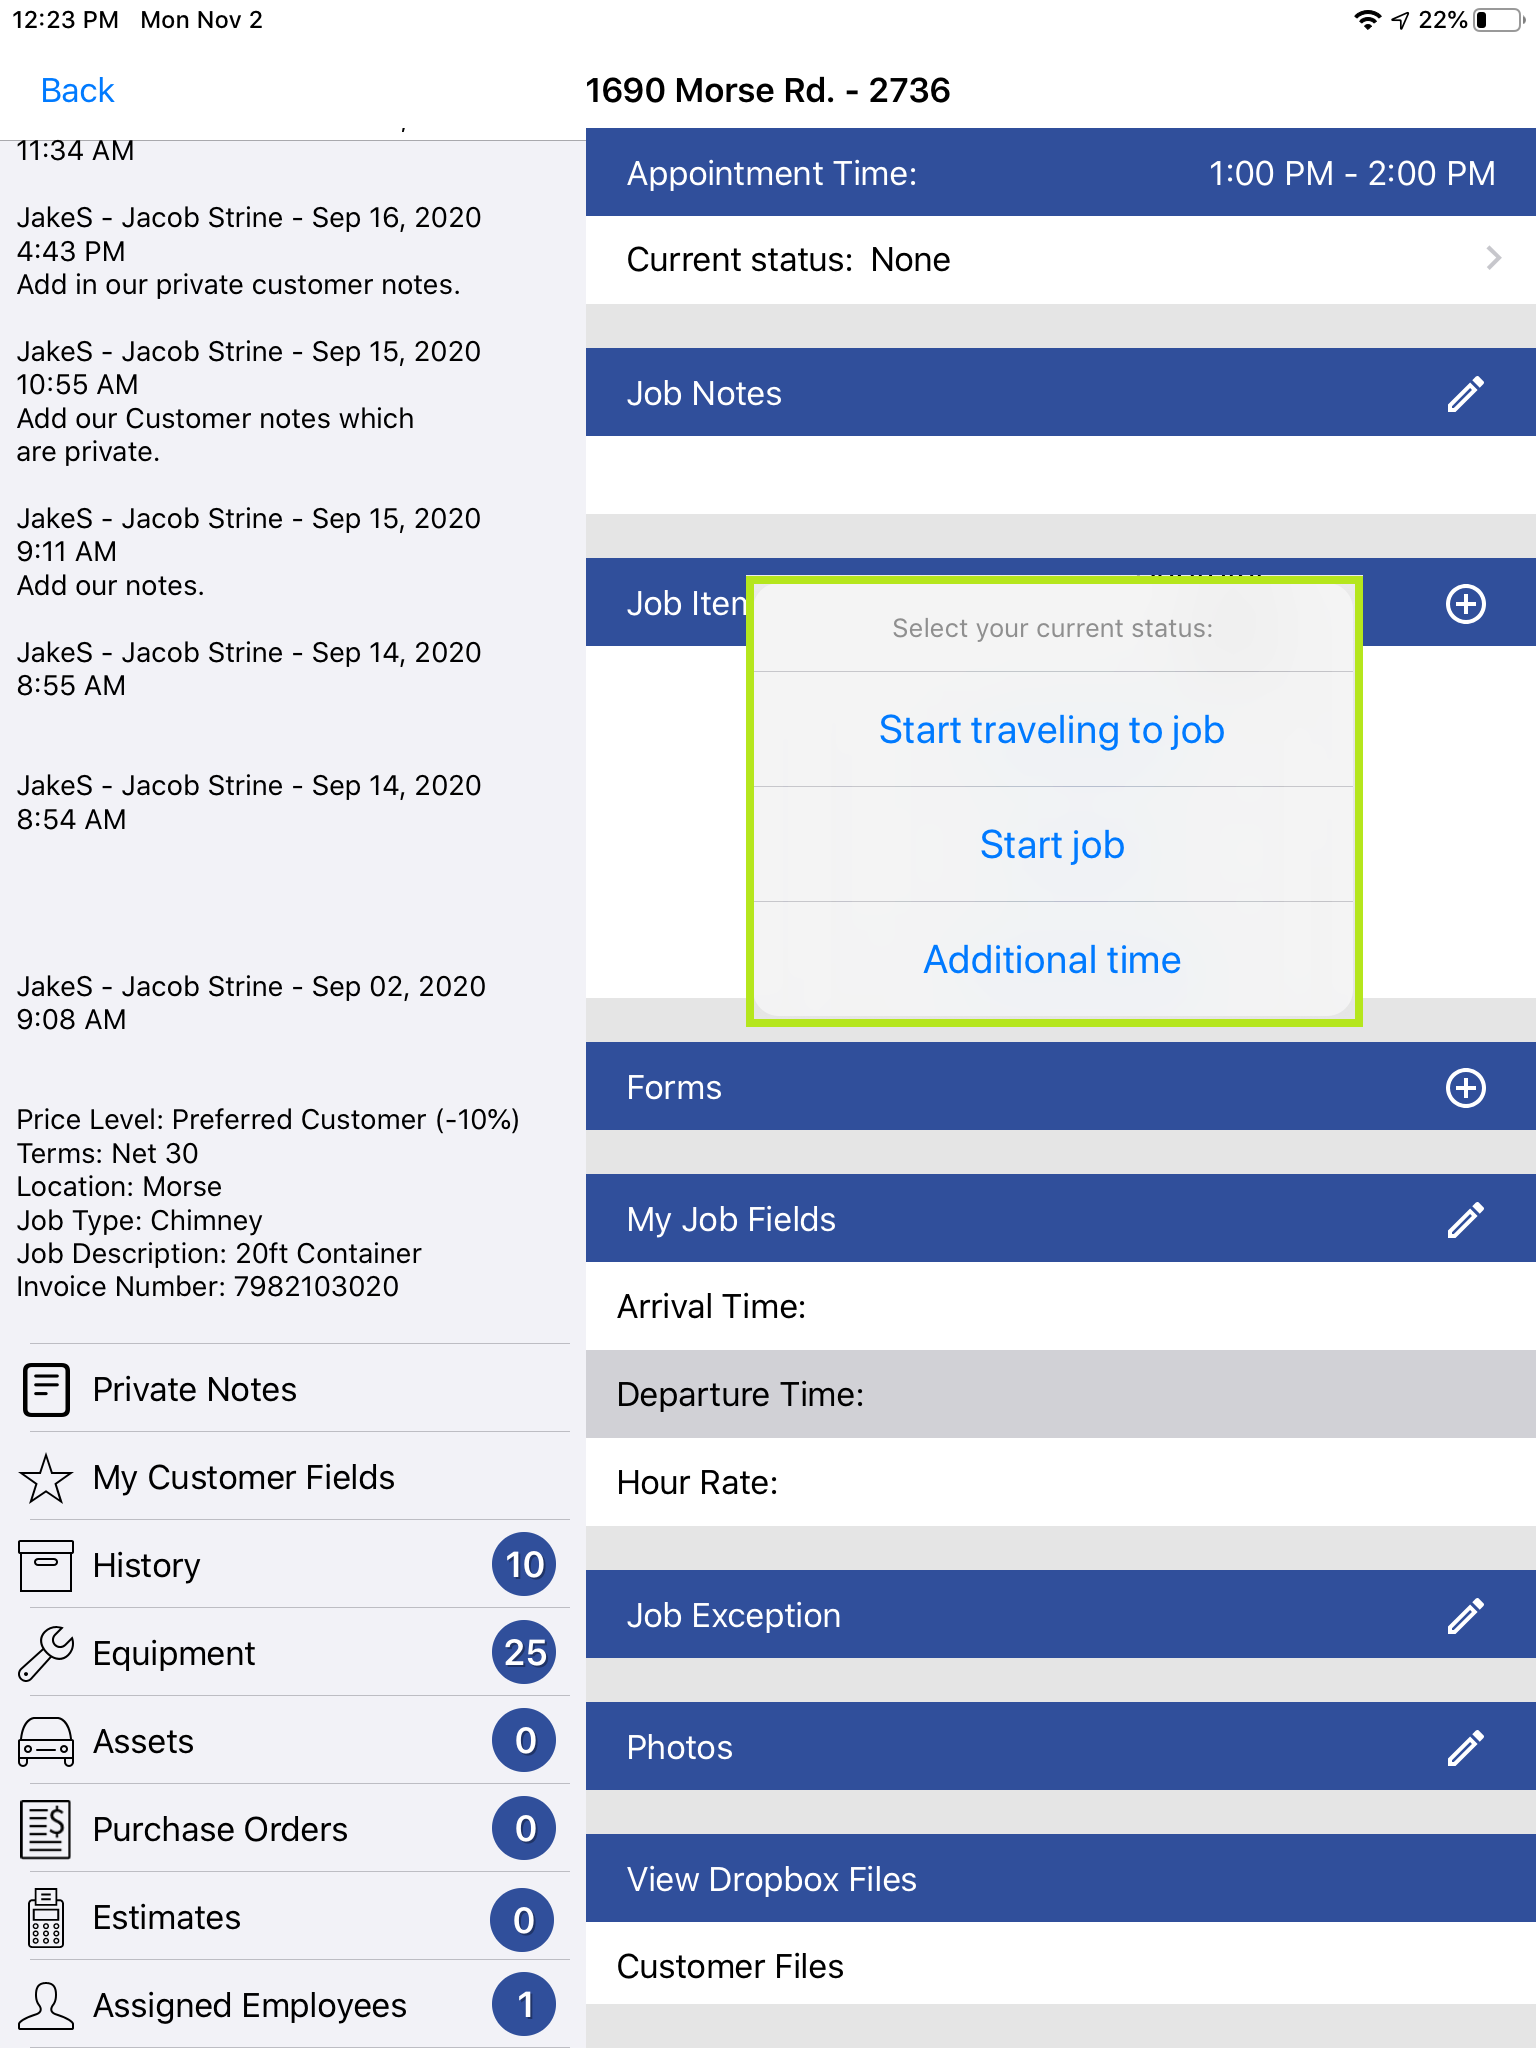
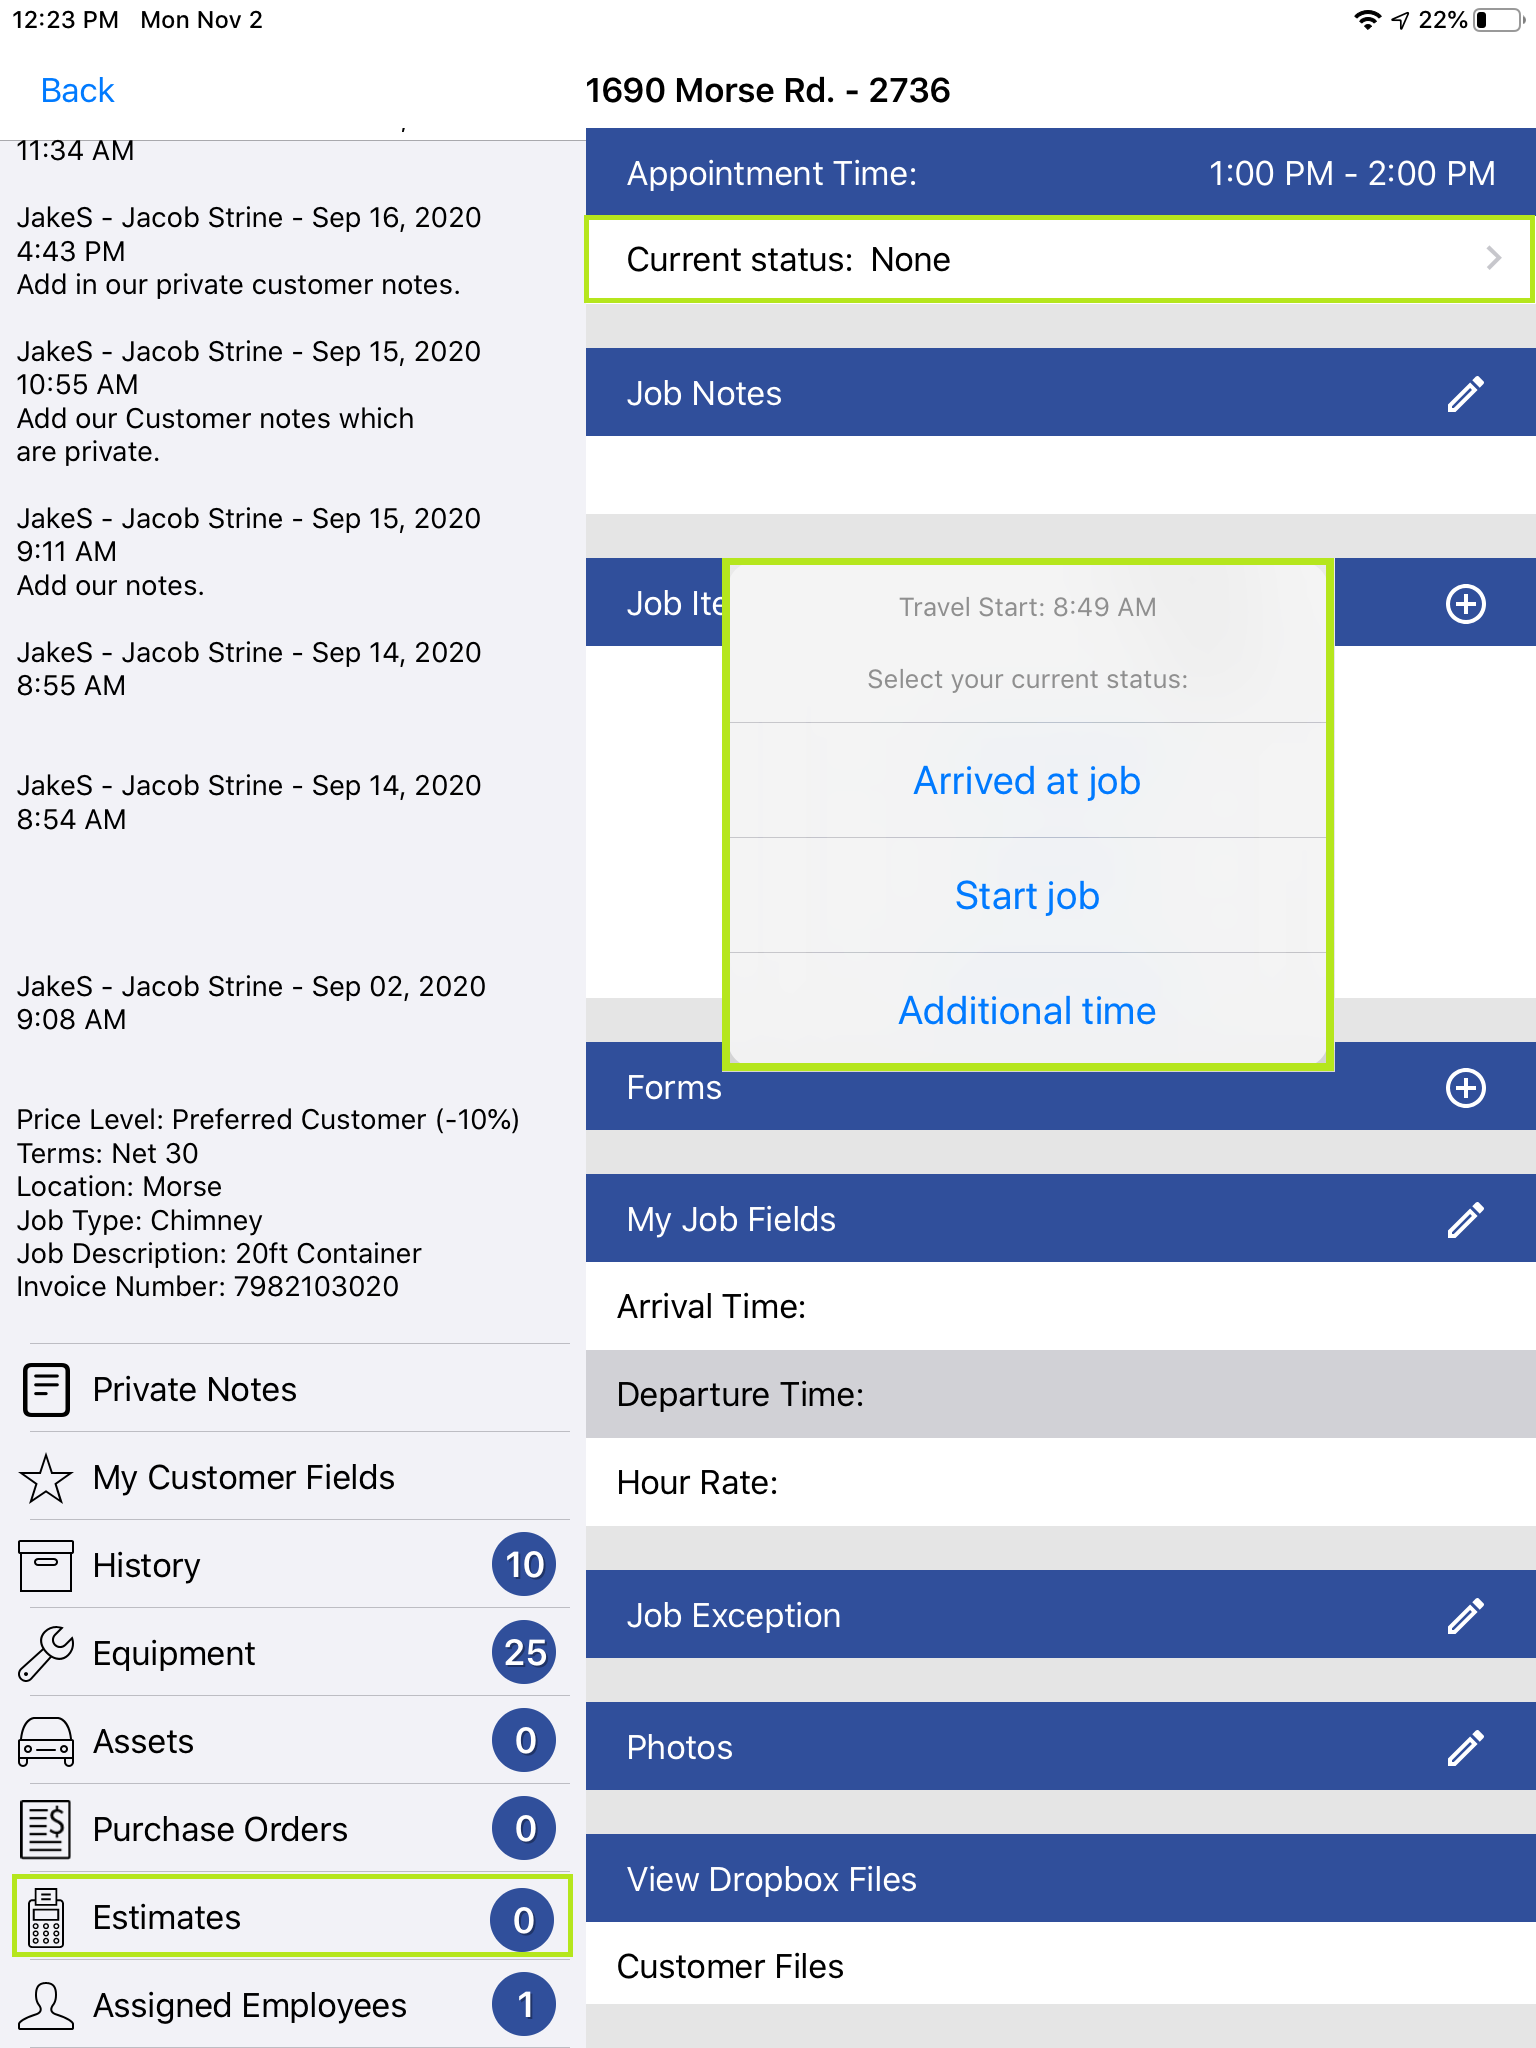
Adding timestamps to your job is an important part of the iFleet job process. When a timestamp is entered, the time and iFleet user’s current location are sent back to the office to keep them up to date on your progress throughout the day. Smart Service office users can also use these timestamps later on to generate payroll or run reports.
You should always start with the “Start traveling to job” option when you plan on making your way to the customer. When you arrive, you have the option of “Arrived at job” or “start job” depending on your needs. If you choose to start the job, but haven’t added an “arrived at job” timestamp, we’ll add it for you.
If you’re pulling up to the job site and just now realizing you didn’t add a travel time, you can use the “Additional Times” option to retroactively add a travel time for yourself. This option is also useful for adding additional production time or time for other employees on the service with you.
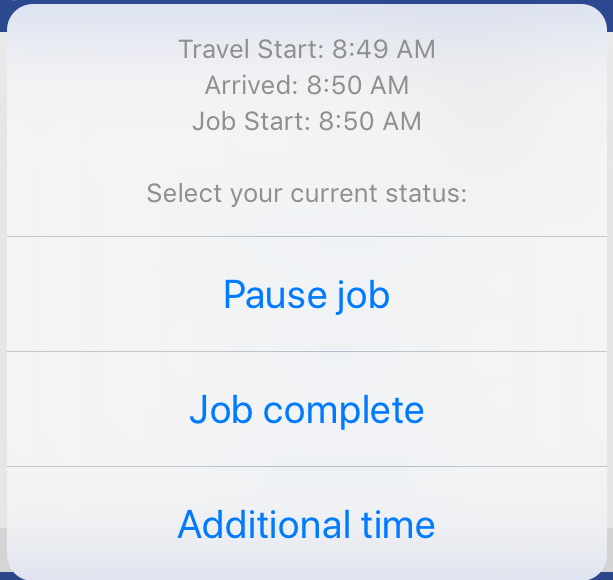
If you need to take a break, run to the store, or otherwise pause your service you will have the option to do so using your timestamps. Visiting the timestamp section after you’ve begun the job will display a “Pause Job” option. You can pause and resume the service as many times as needed in a day.
If you need a return trip added to the job, don’t use the additional times or pause job feature. Instead, you need to notify the office (usually via job exceptions) that you need an additional date on your service.
Once you’ve taken care of your timestamps, you can complete any option in iFleet in any order you choose. As long as timestamps came first, and the finalize button at the bottom is the last action, you’re free to add notes, items, take photos, or any of the other available options. For the guide, features are listed in order from top to bottom.
Job Notes
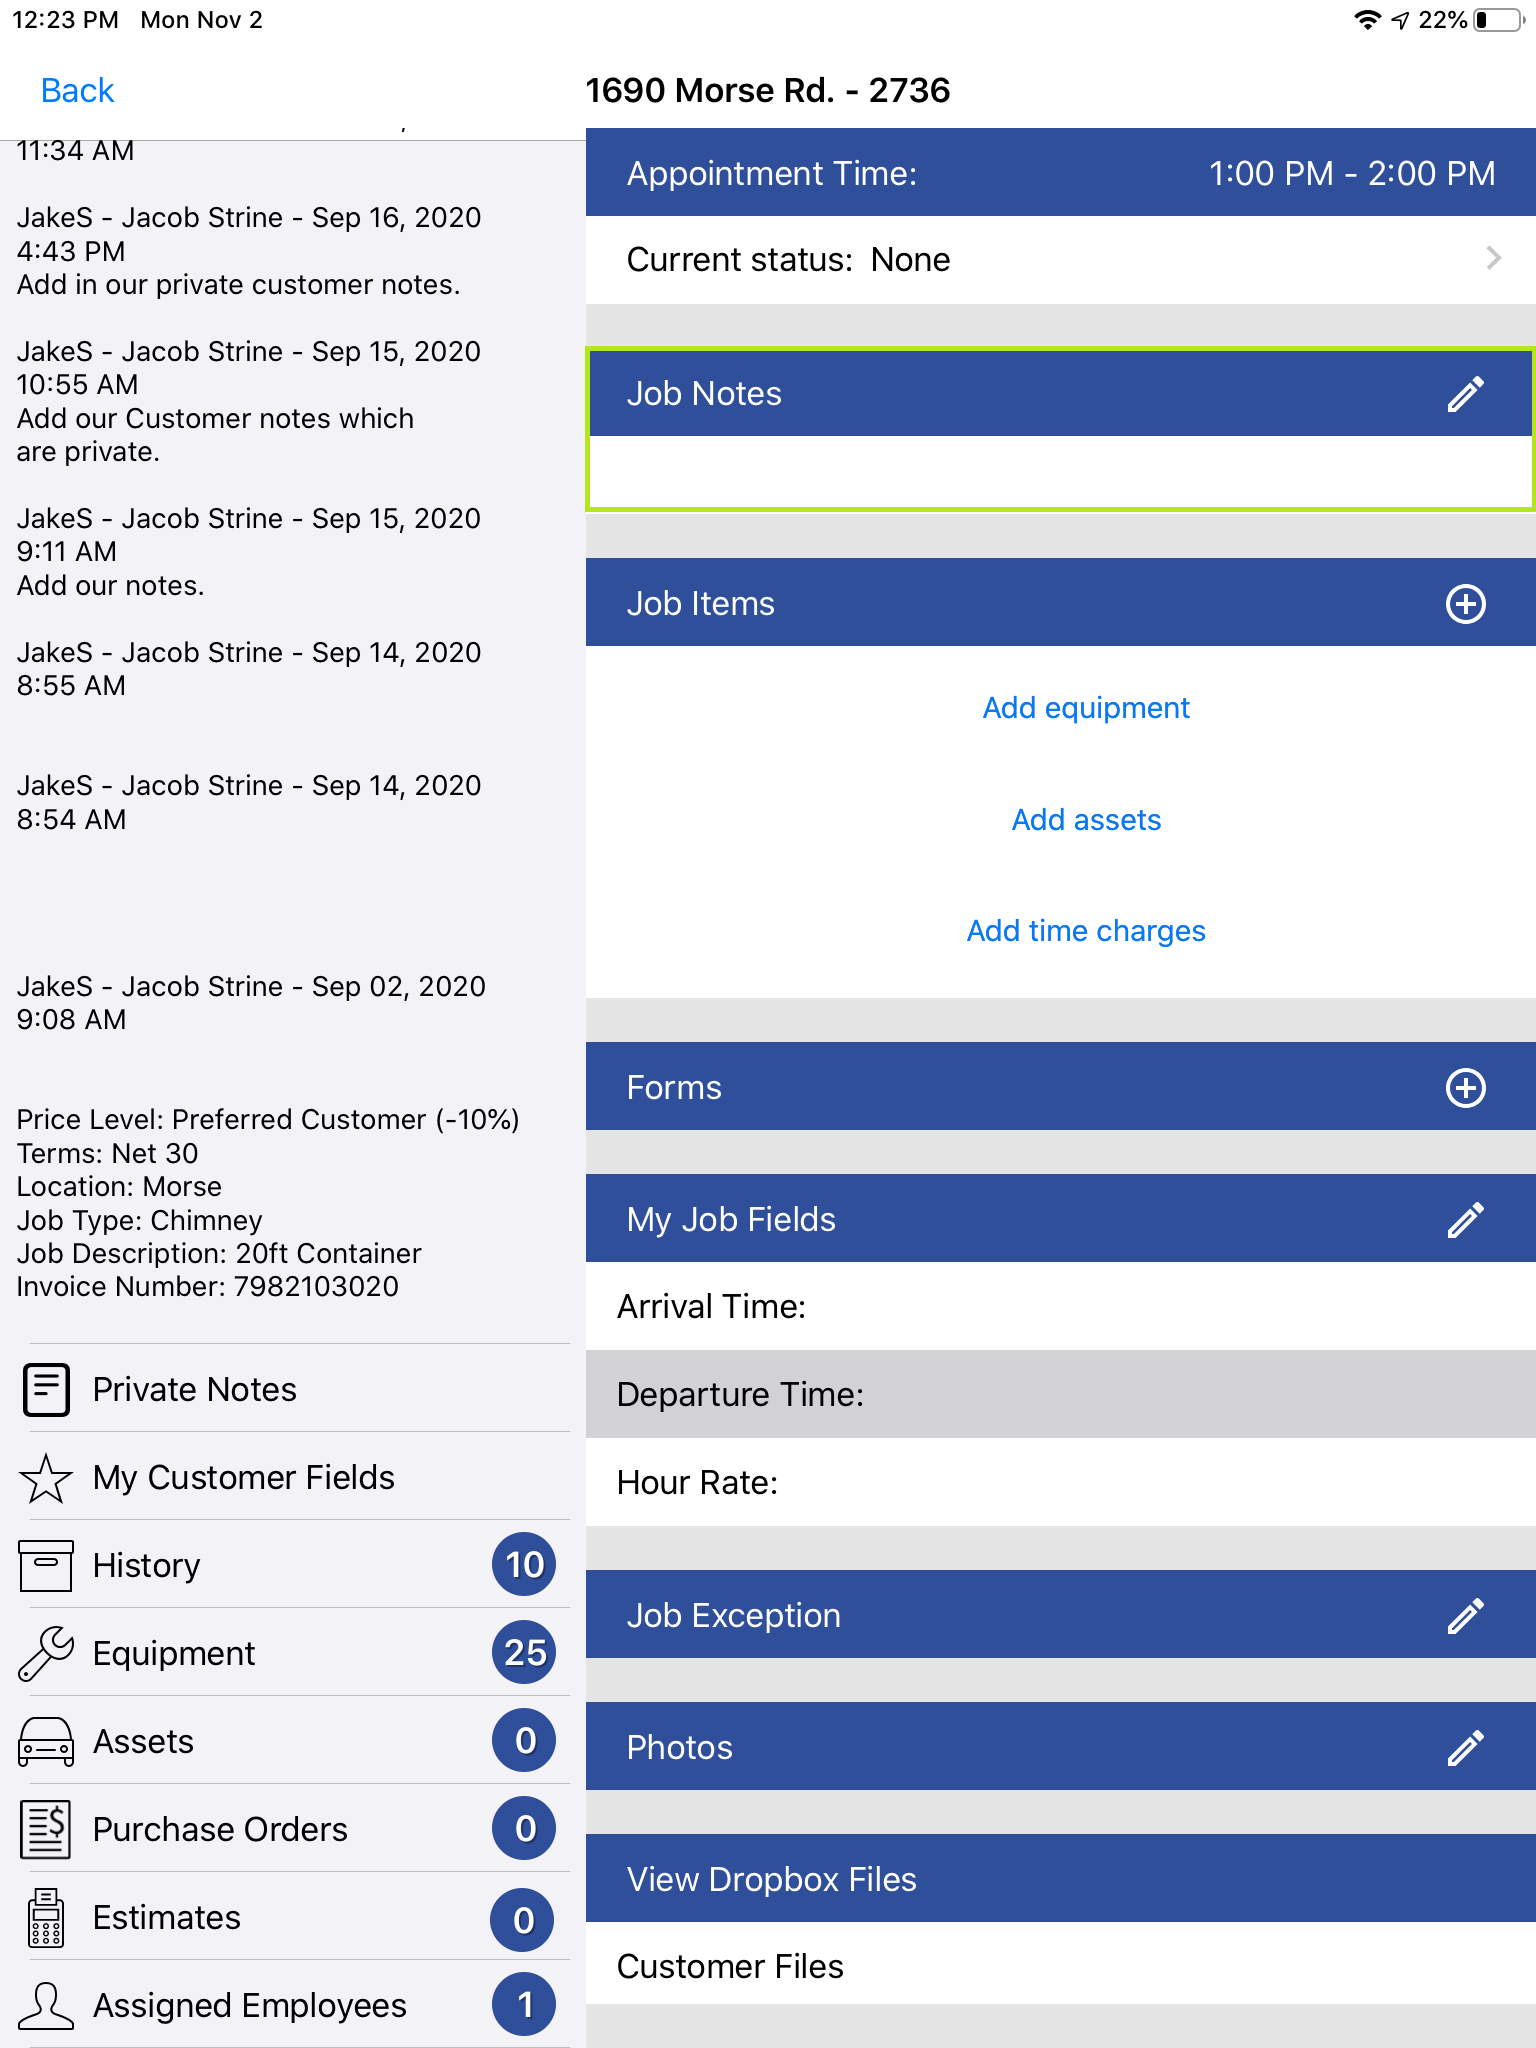
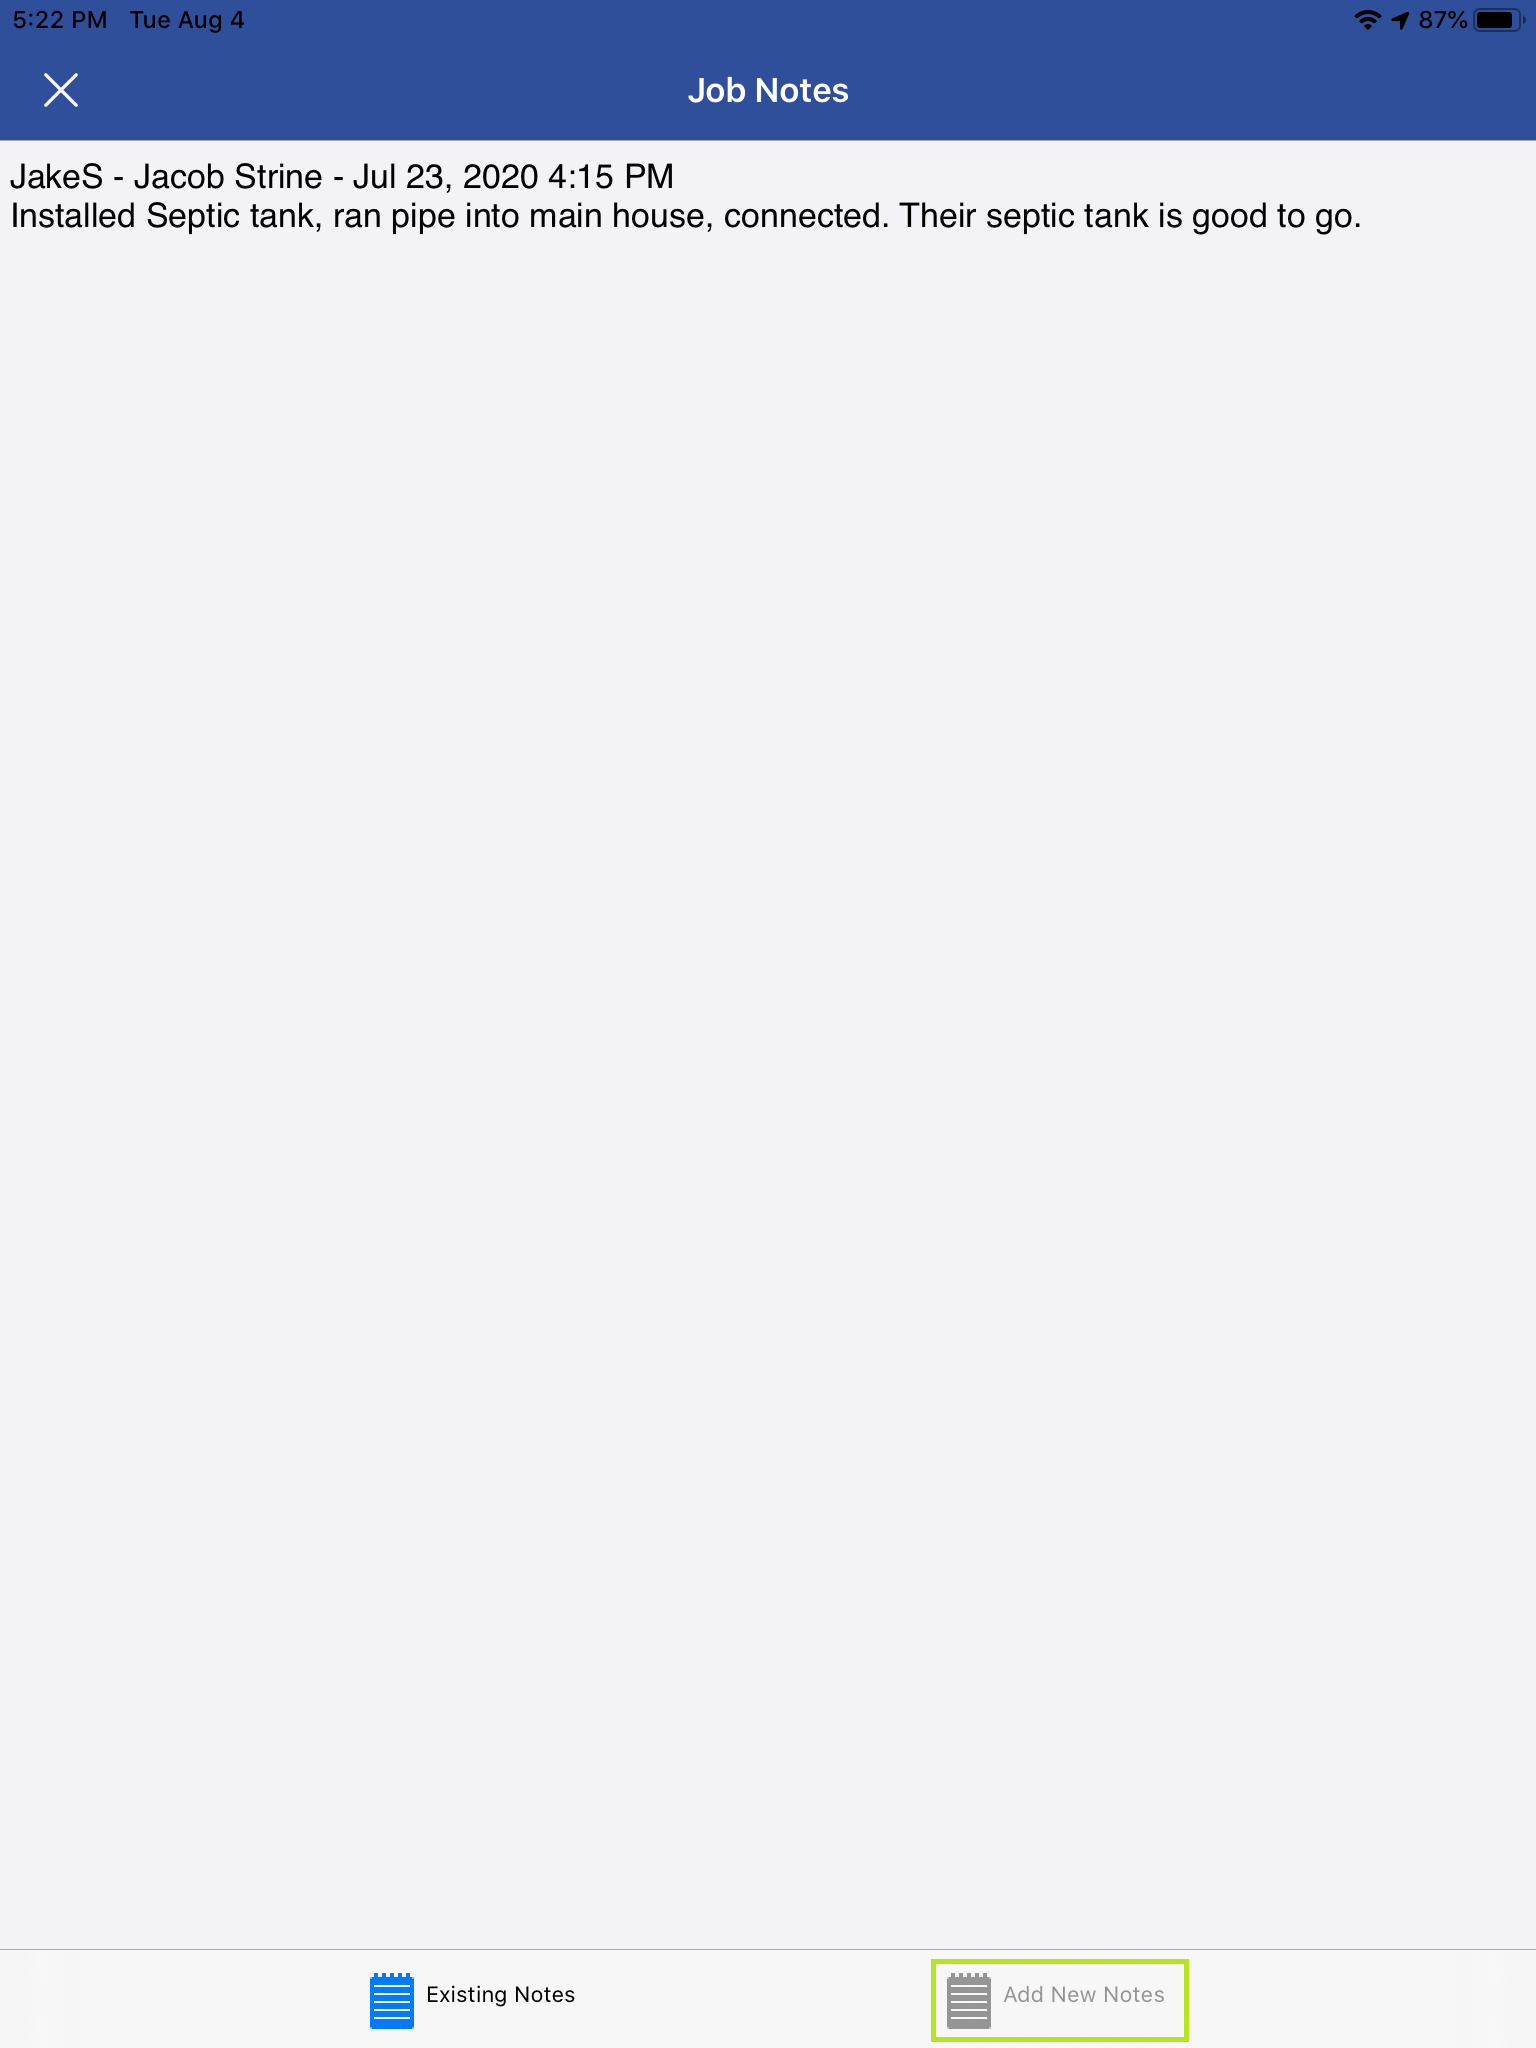
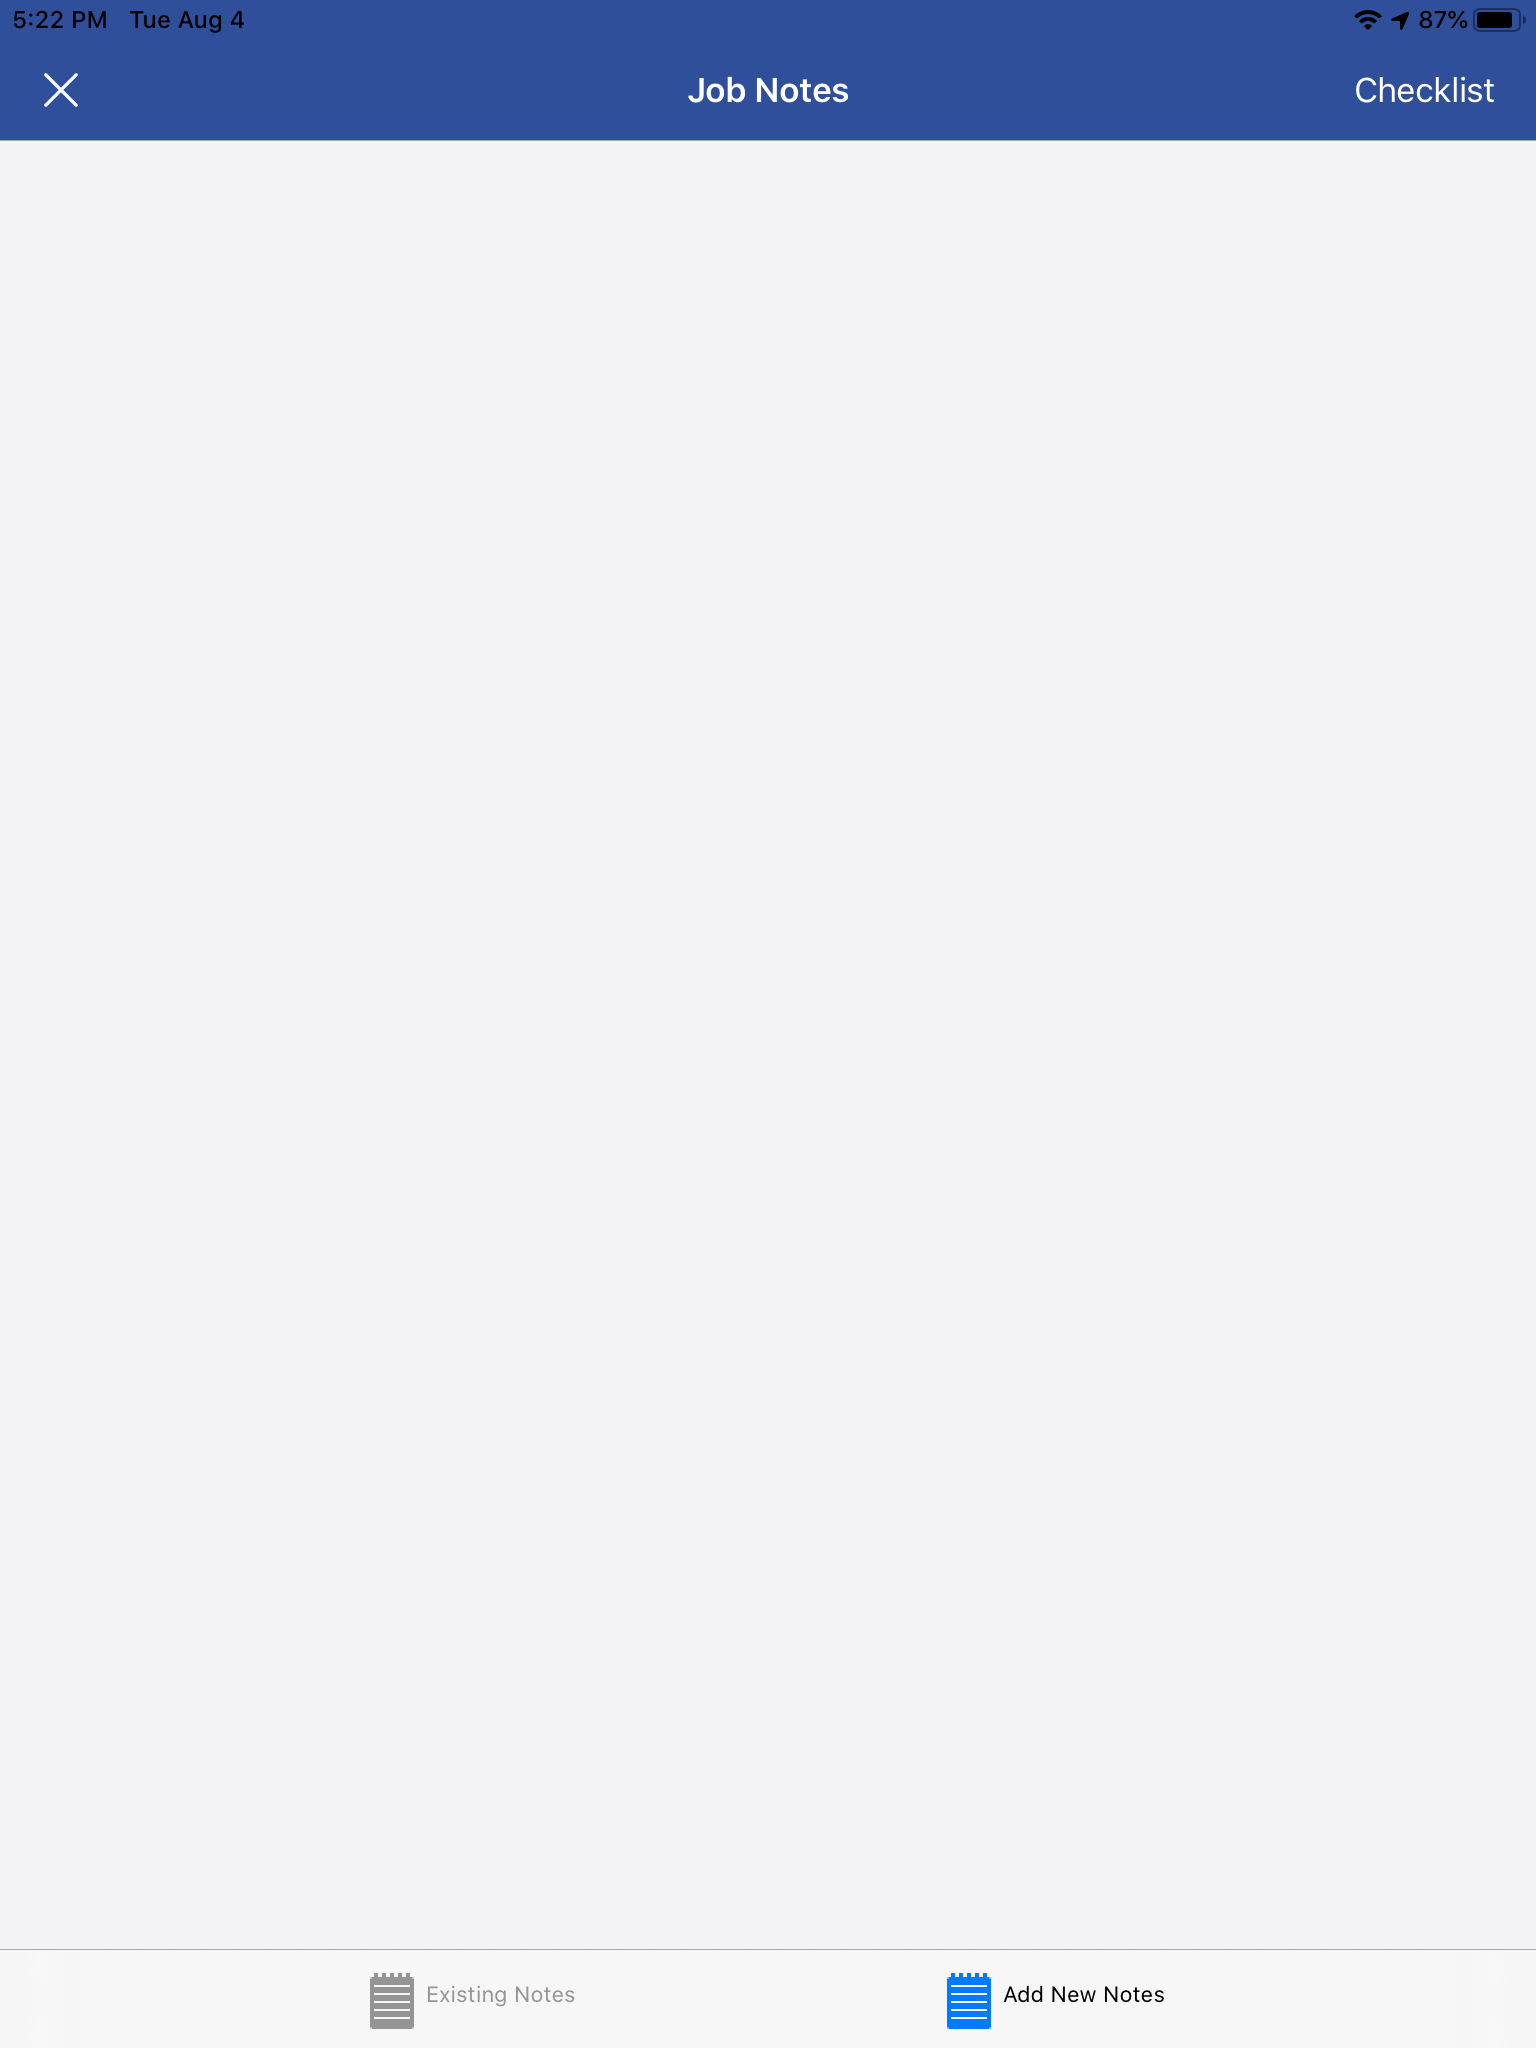
By tapping the pencil symbol next to the “Job Notes” header, you can add or review the description of work for this service. Once the note window is open, you should see an “Existing Notes” and an “Add New Notes” option at the bottom. The existing notes cannot be edited, as these are generally instructions from the office or notes from a previous visit. choose “Add New Notes” to make your own notes on the service. Tapping anywhere in the notes window will display your keyboard and a timestamp option at the top right of the window. If your devices has a microphone, you can also dictate your notes to iFleet via the microphone on your keyboard.
An important thing to remember when adding notes is that the default work order provided with iFleet displays these notes to the customer. If you or anyone from your staff emails or prints this work order out for the customer they will be able to see those notes. If you’d like to disable those notes from ever displaying to the customer, you can learn about creating a custom work order here.
Job Items
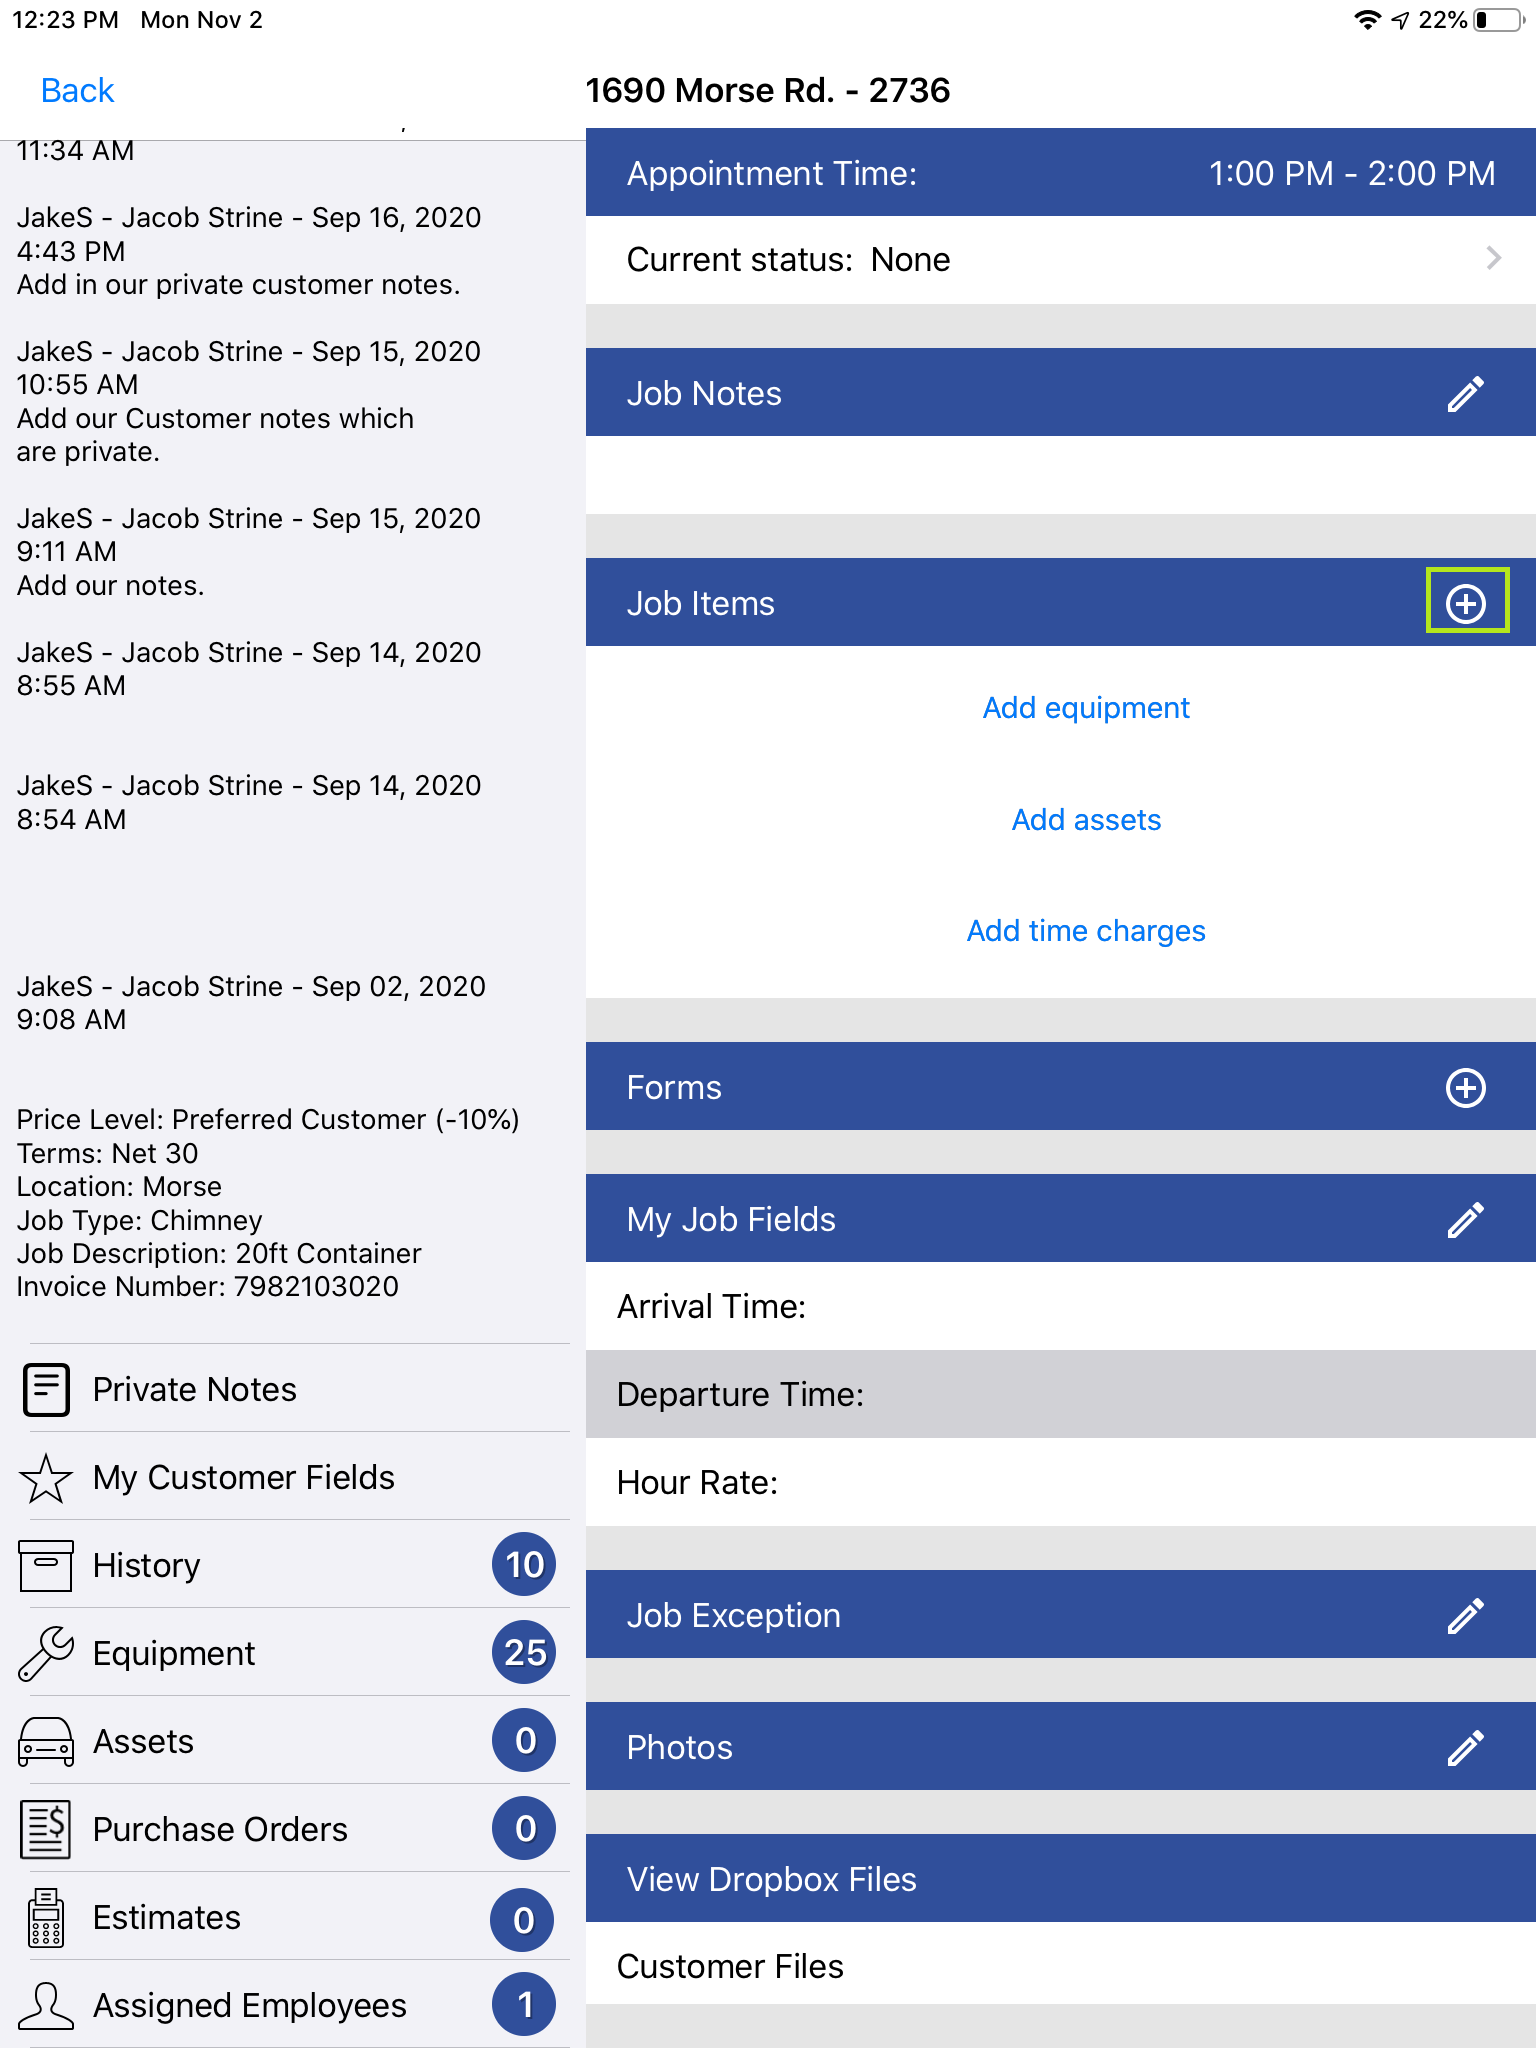
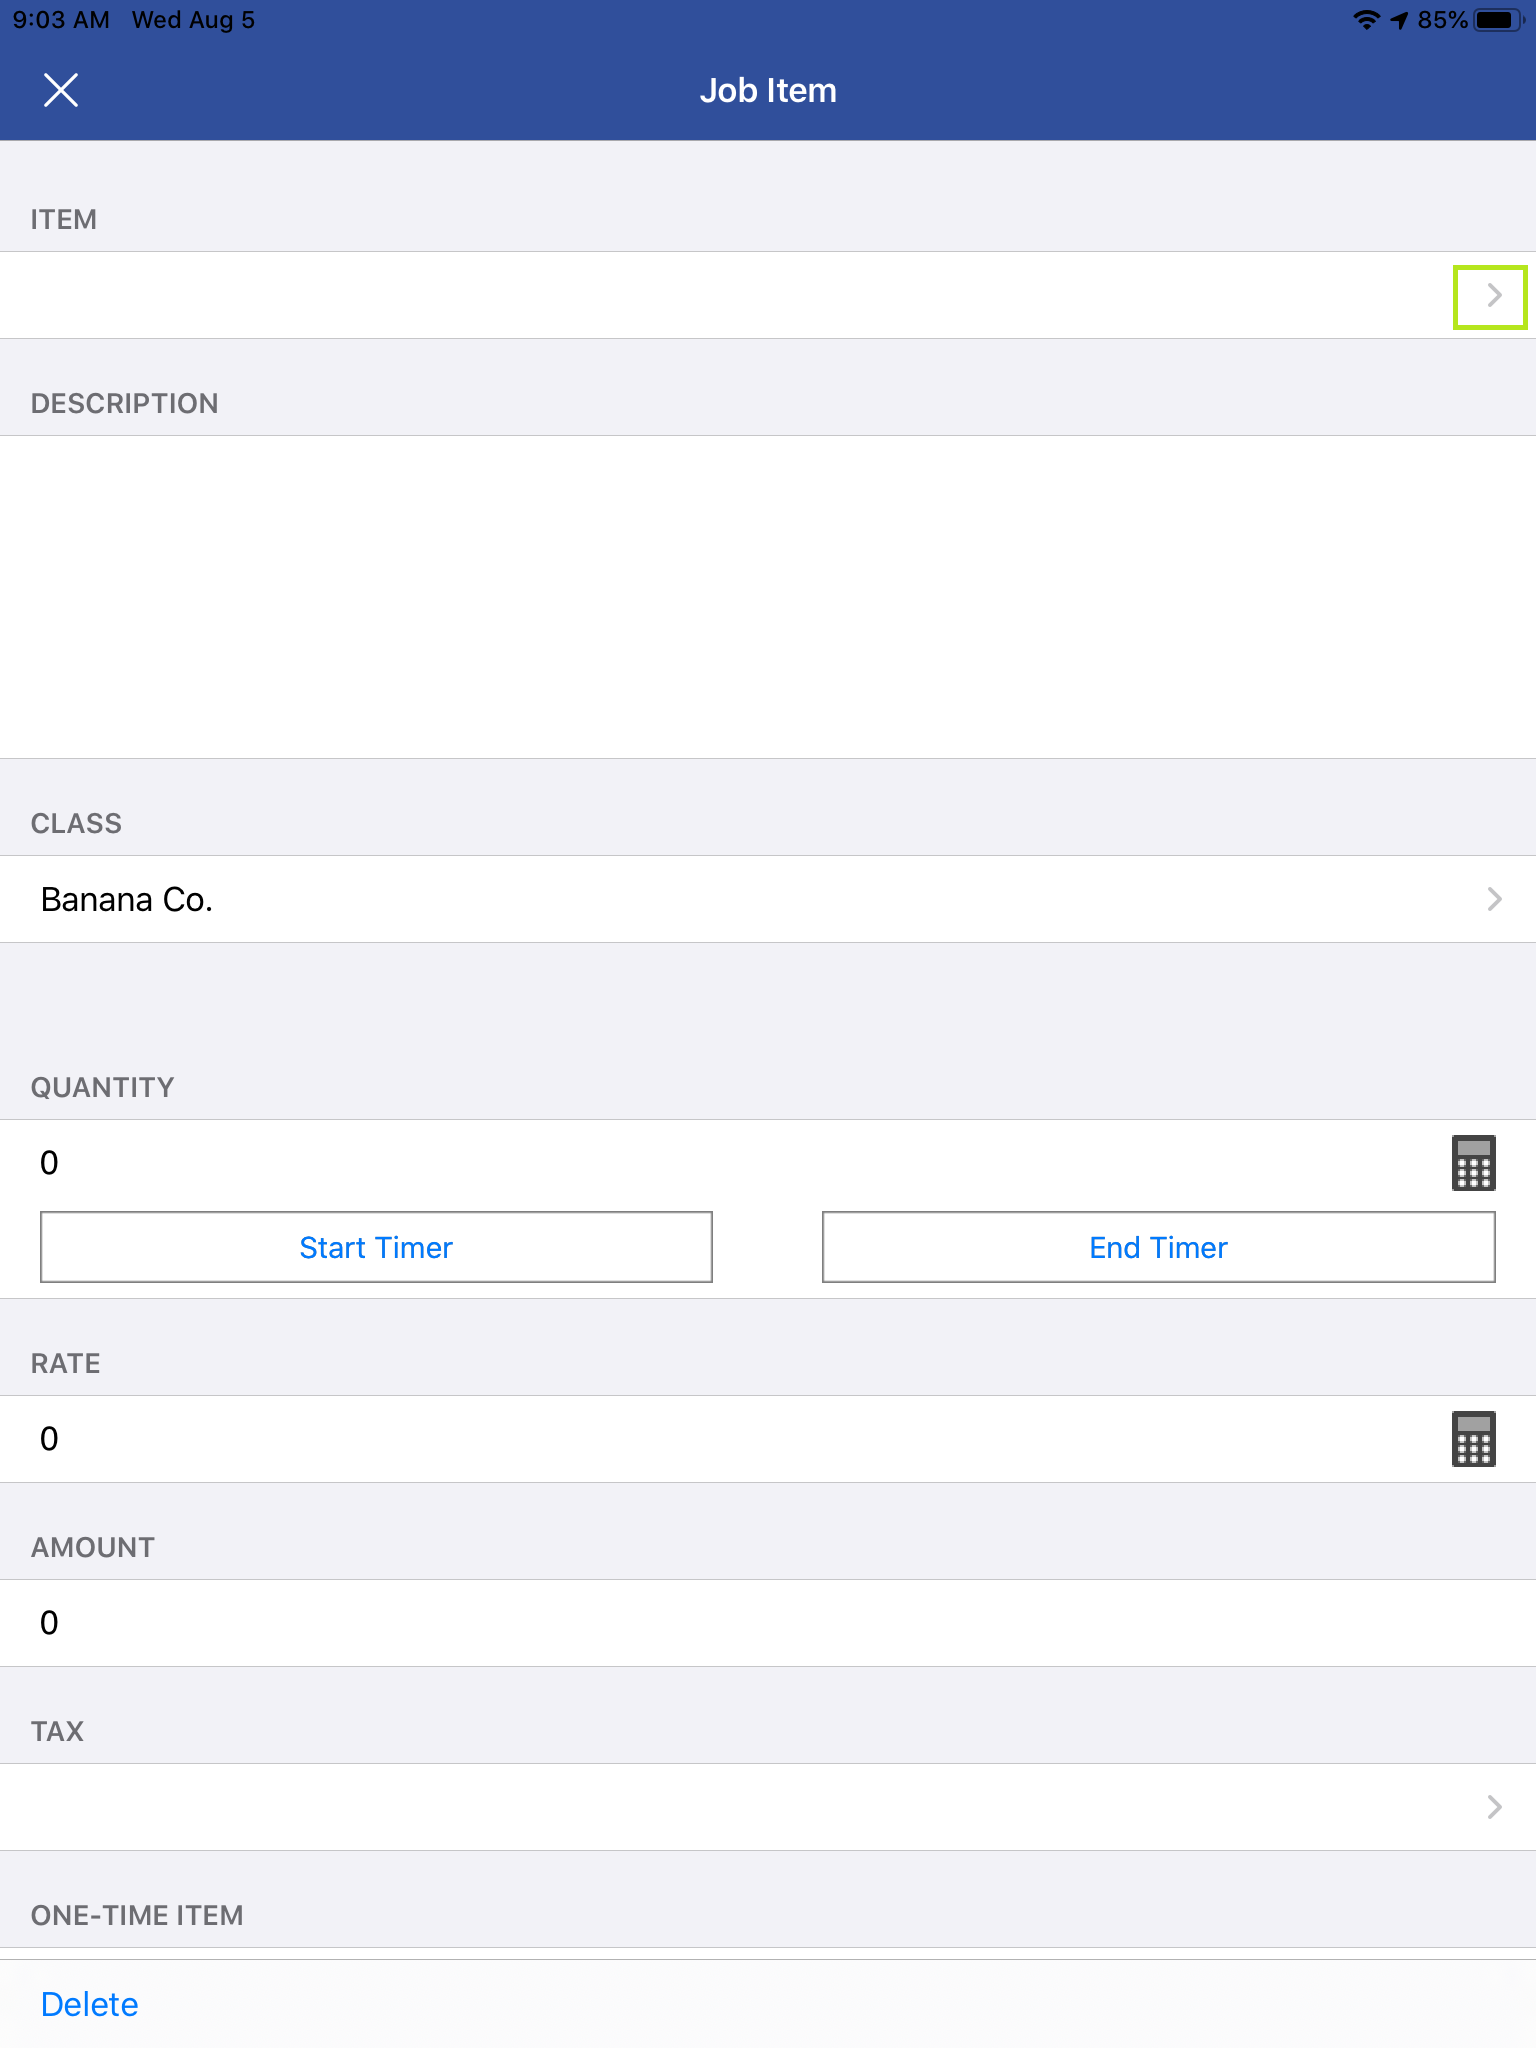
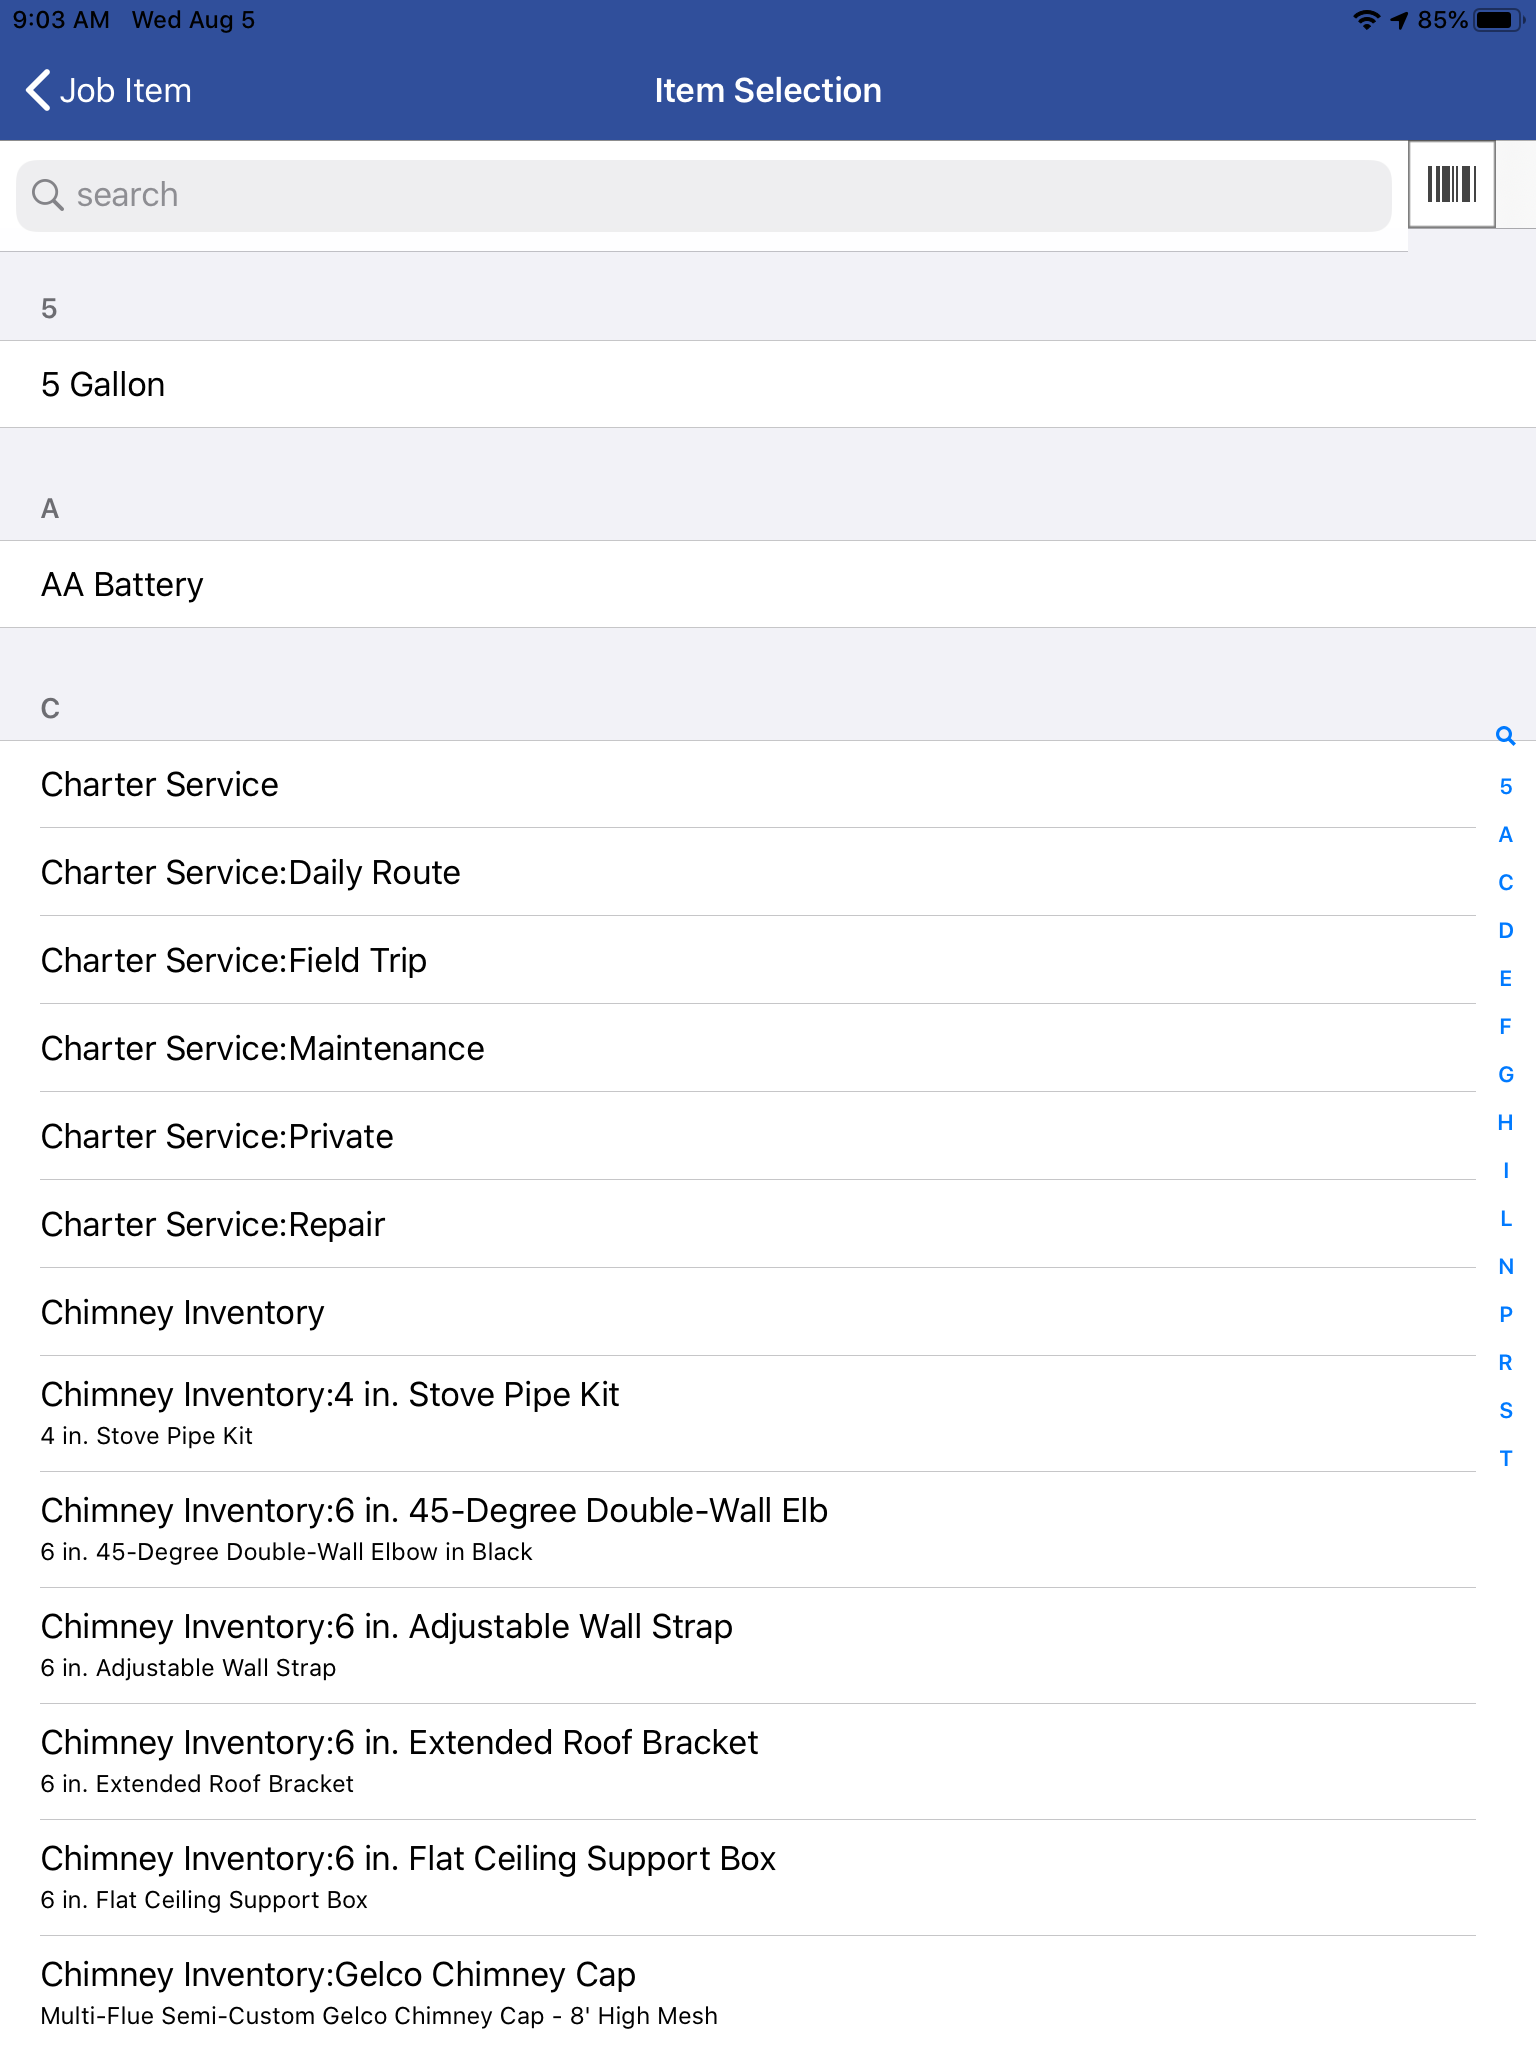
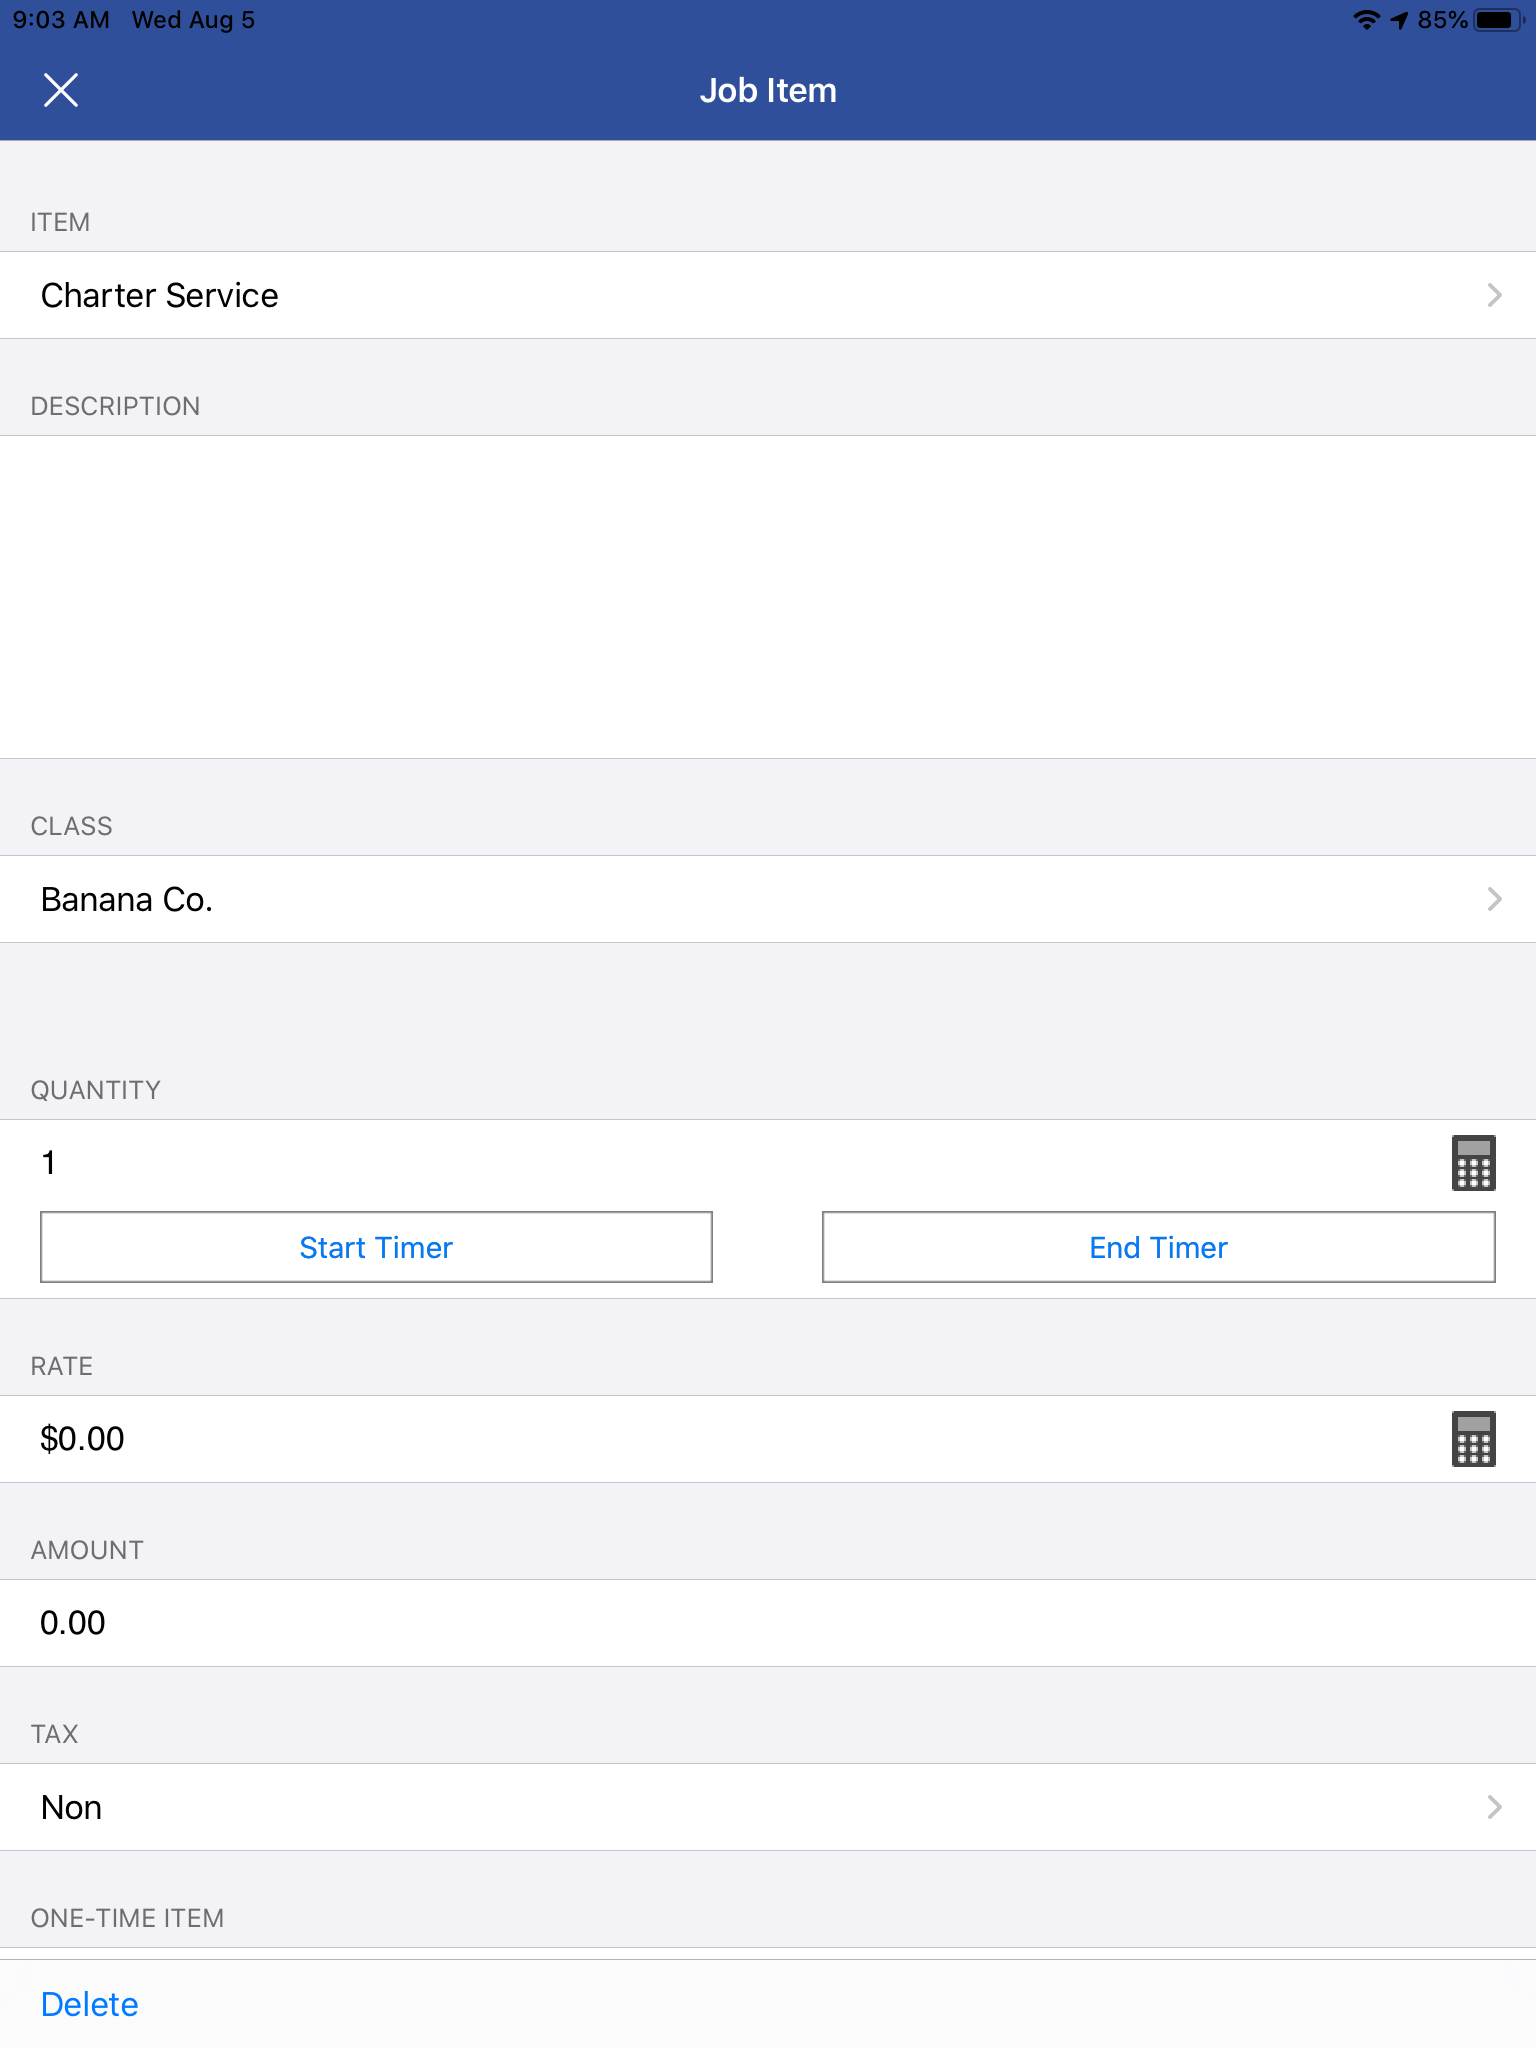
If you need to charge the customer for an item, you can do so by clicking the + symbol next to job items, then tap the first field under the word “Item”. This will open your QuickBooks item list where you can search using the search bar at the top, scroll through your list, or search for a part using the barcode scanner at the top right of the window. Tap on the desired item, make any necessary adjustments to the quantity, etc. and tap the “x” at the top left of the window to add the item to the job.
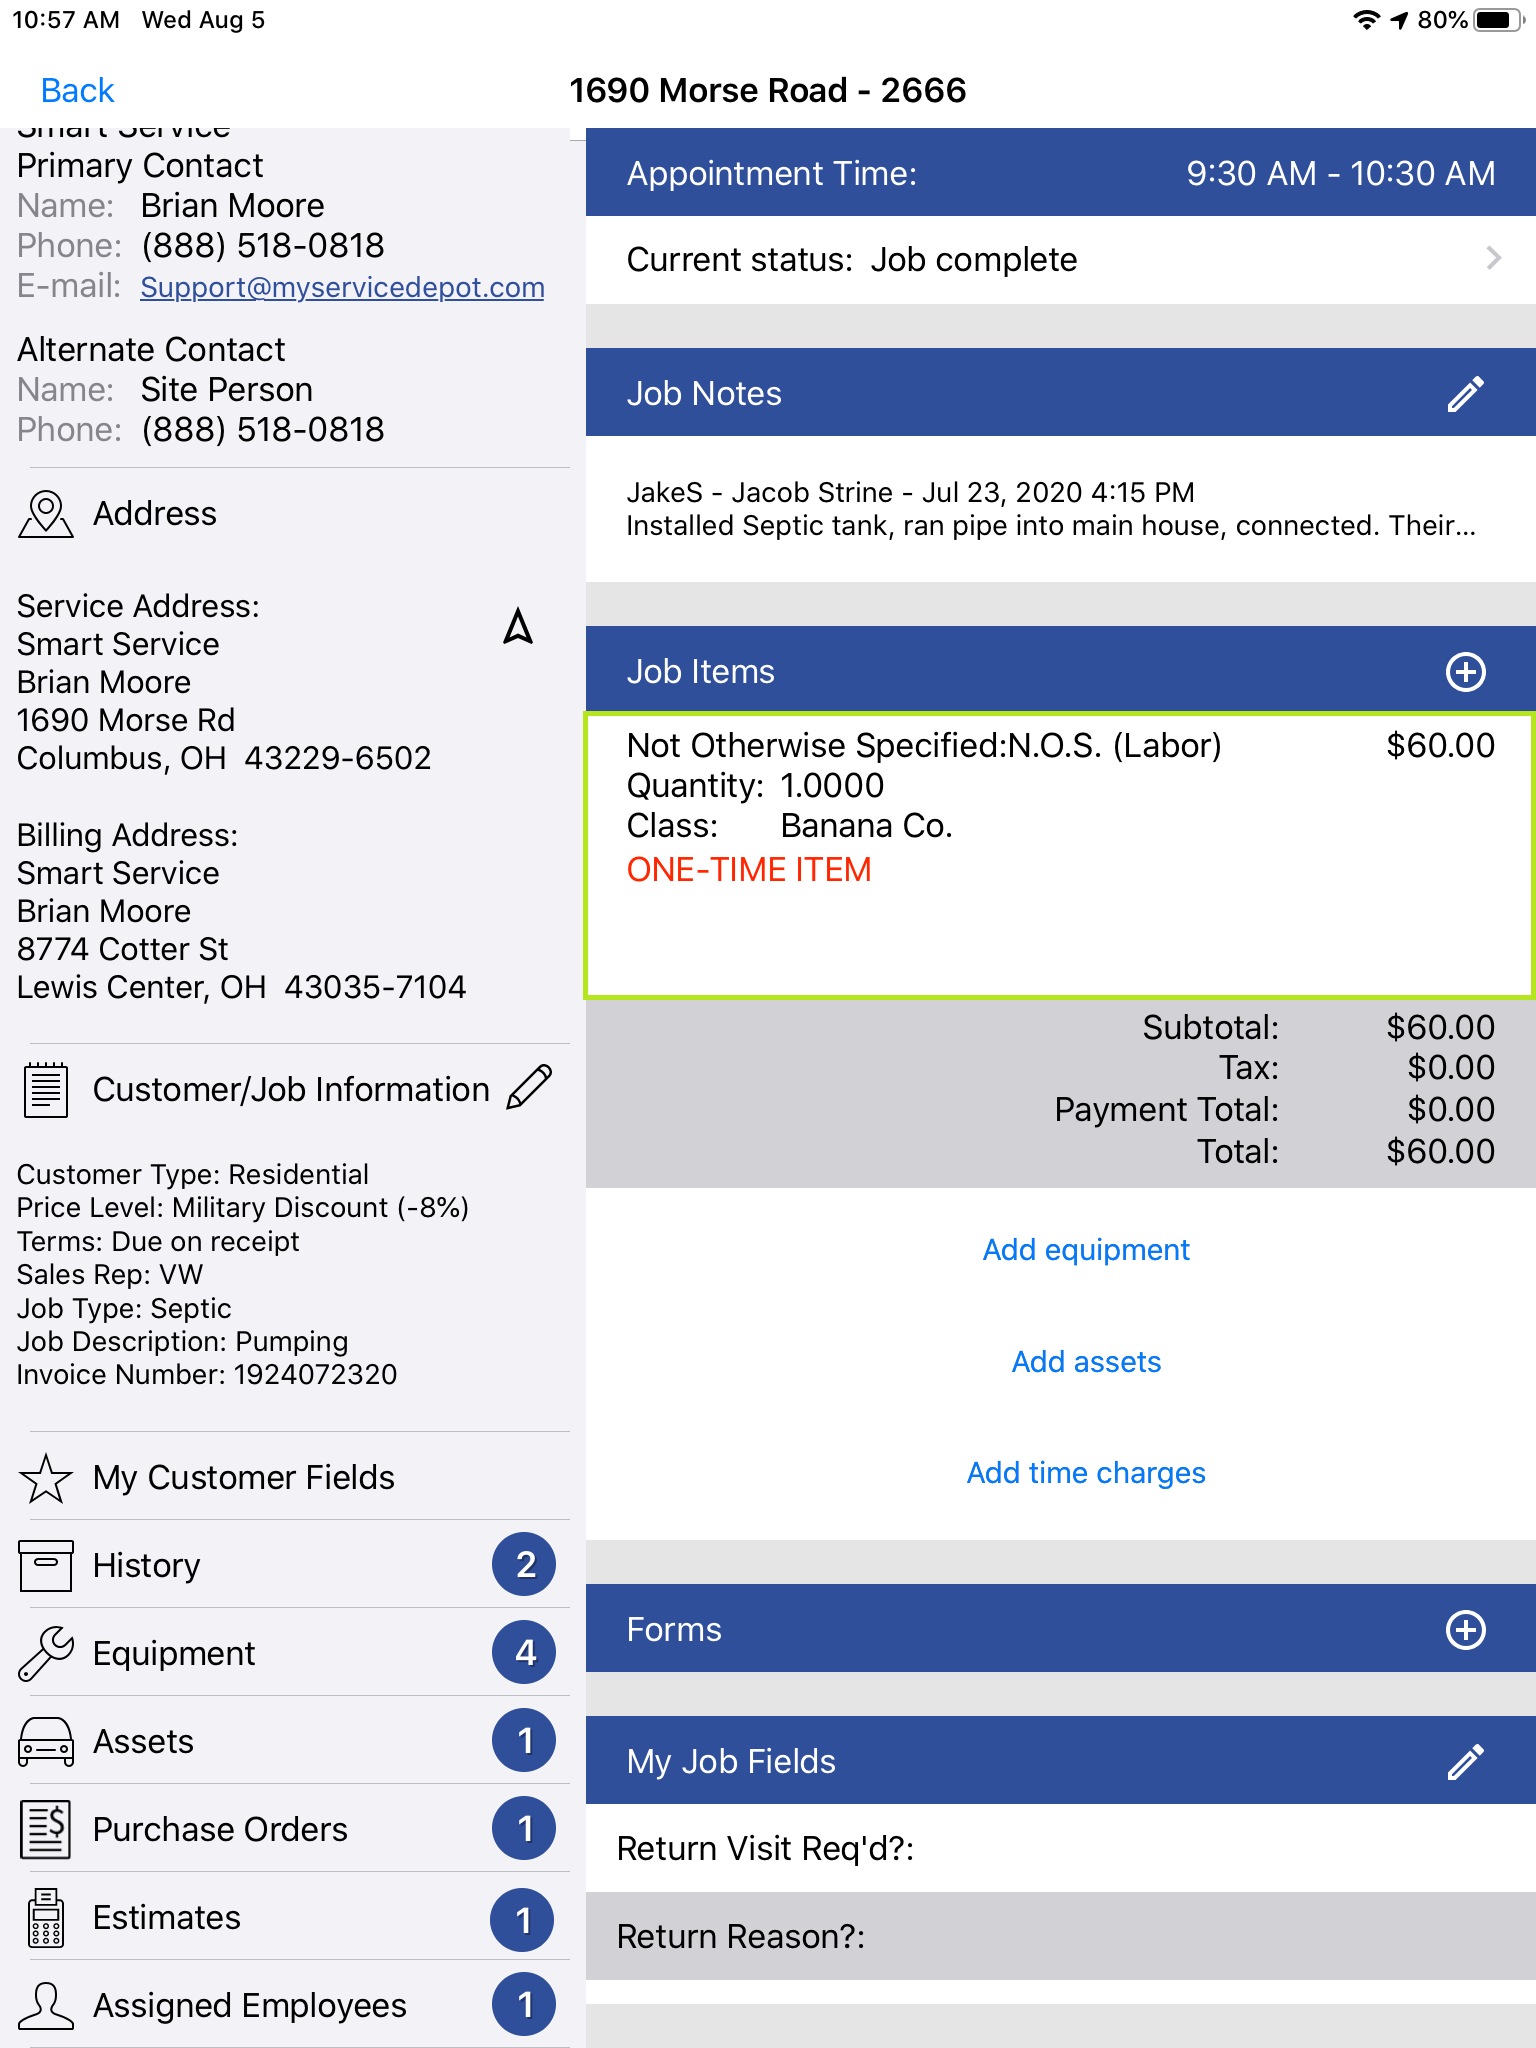
You can add labor charges to jobs using this method of via the “Add Time Charges” option below.
Add Equipment
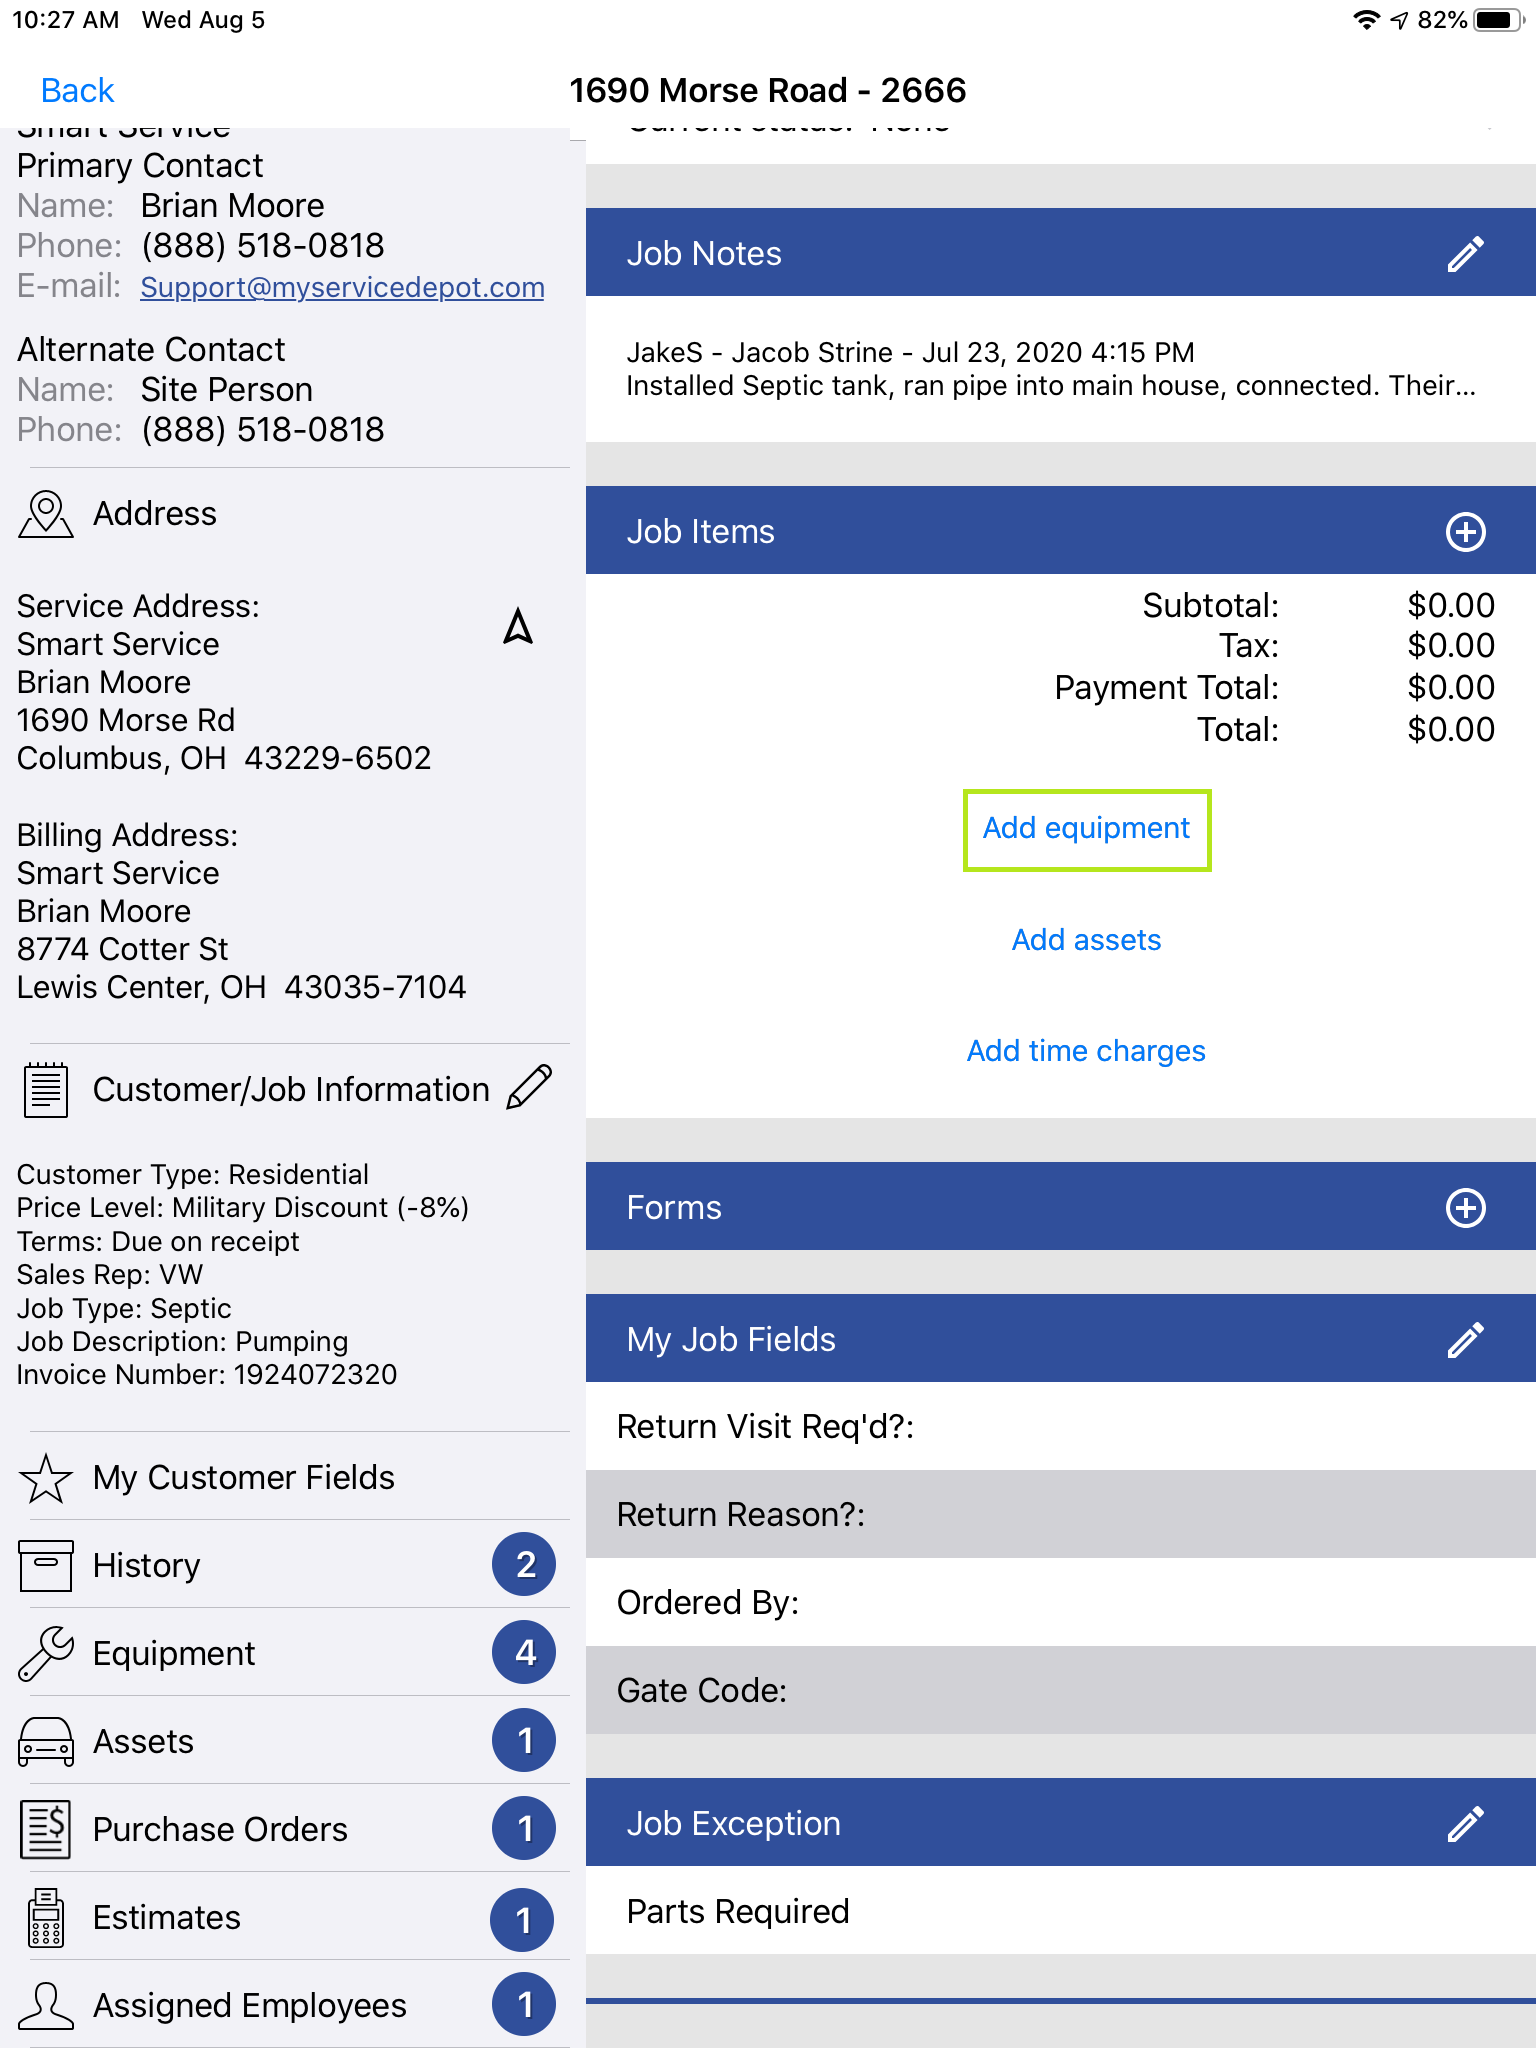
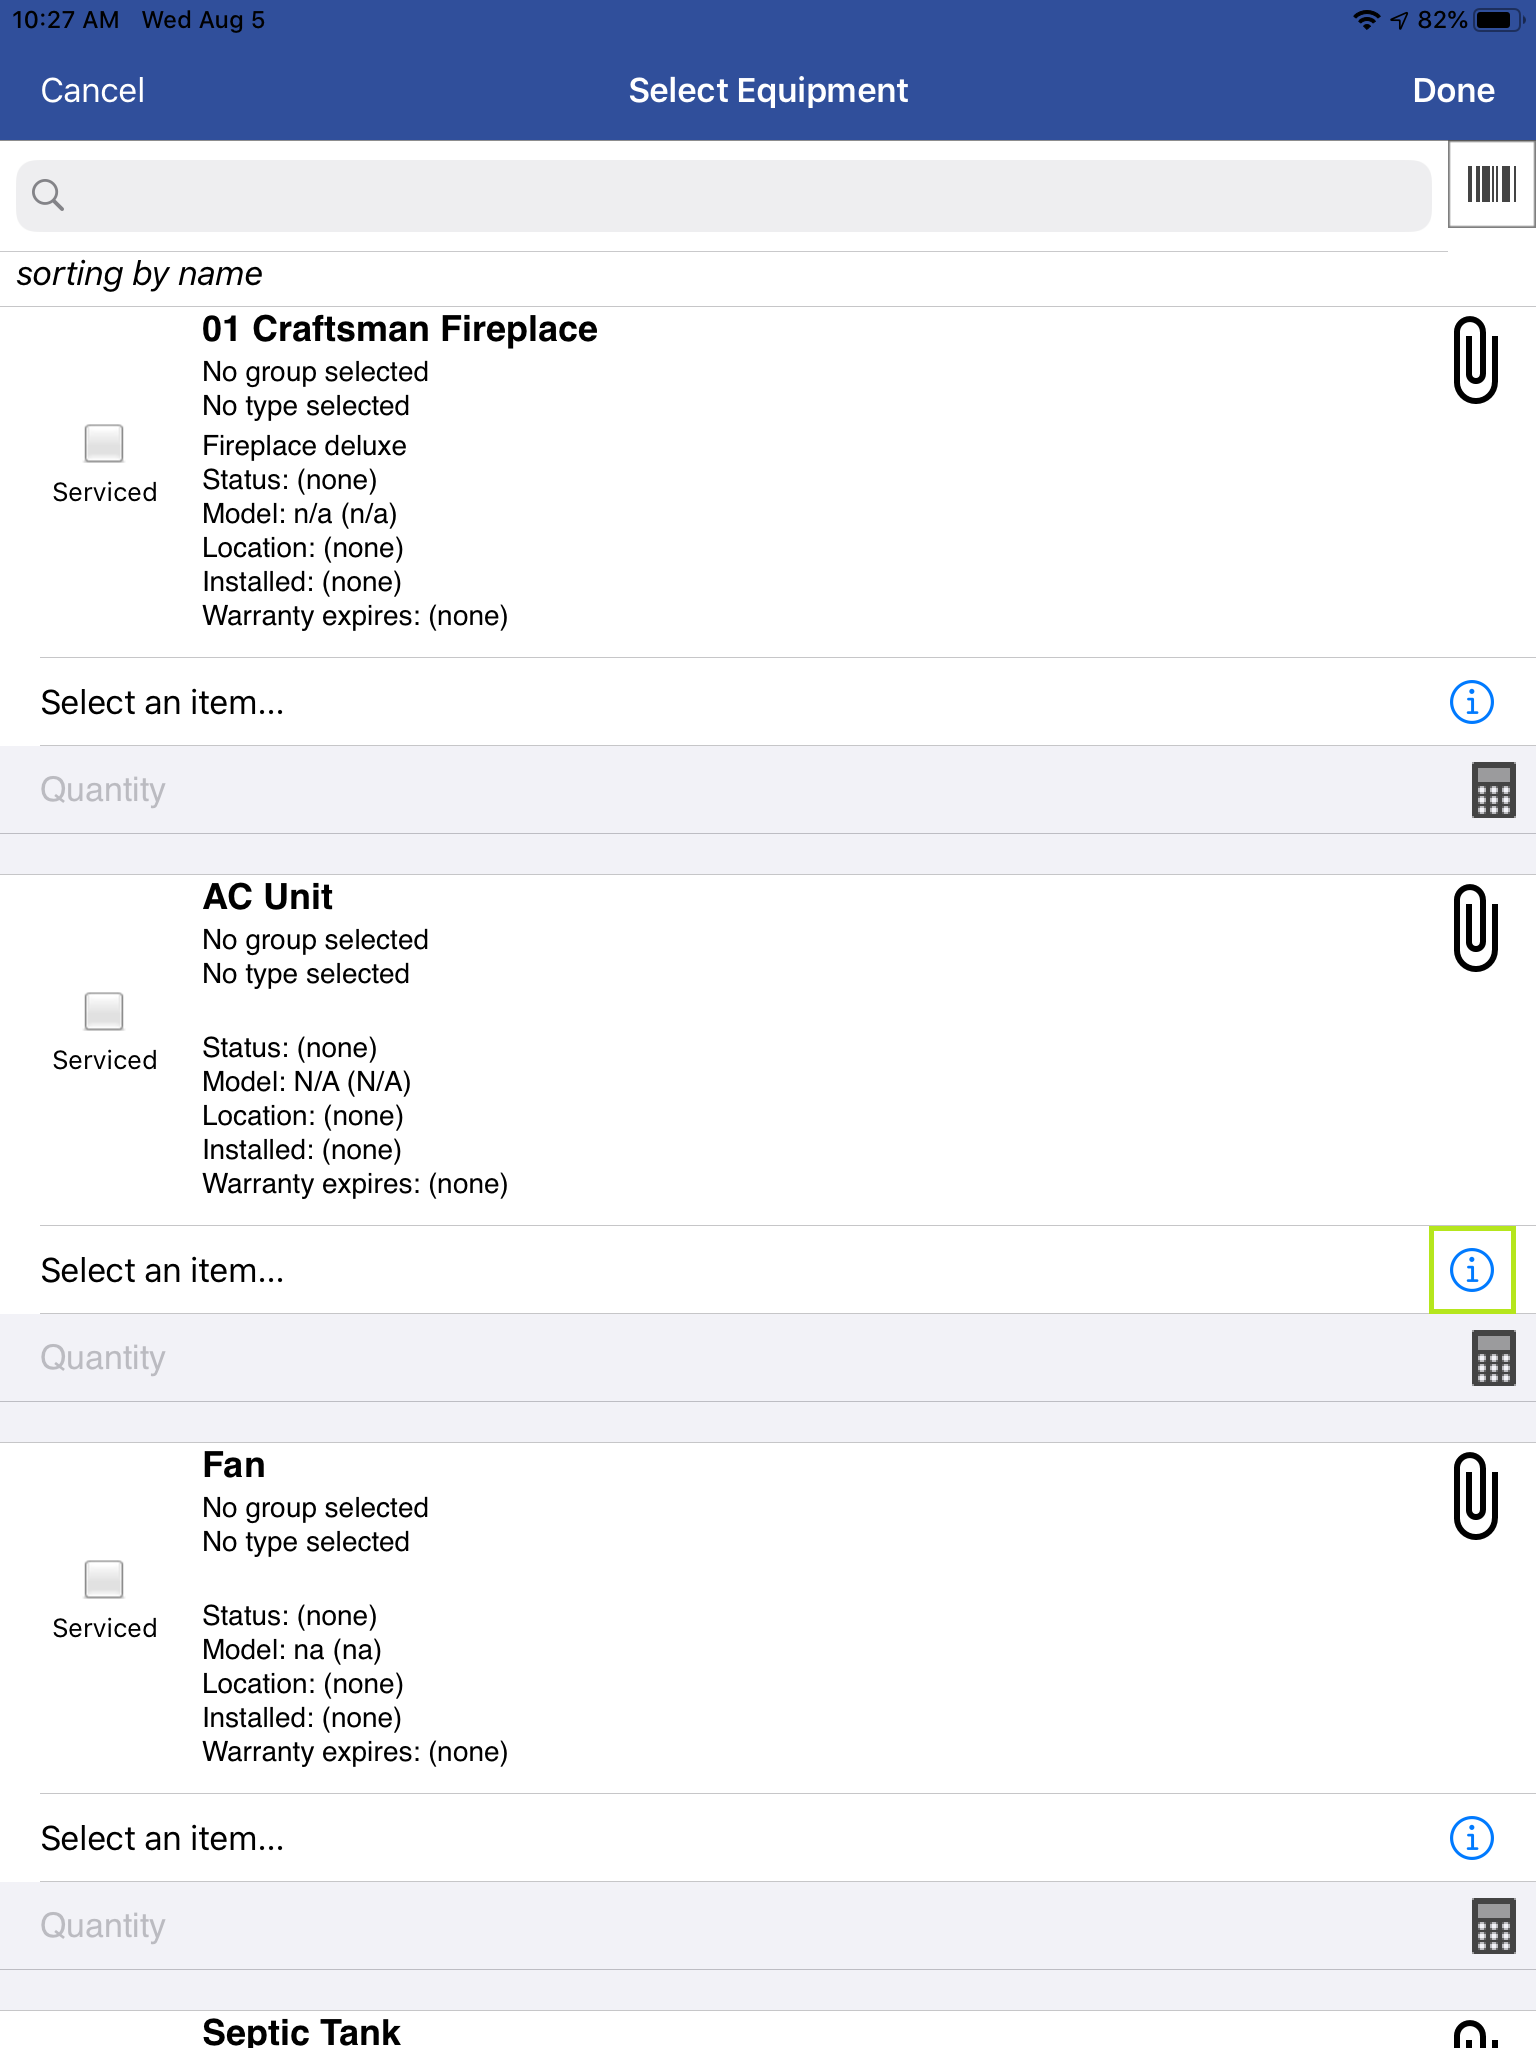
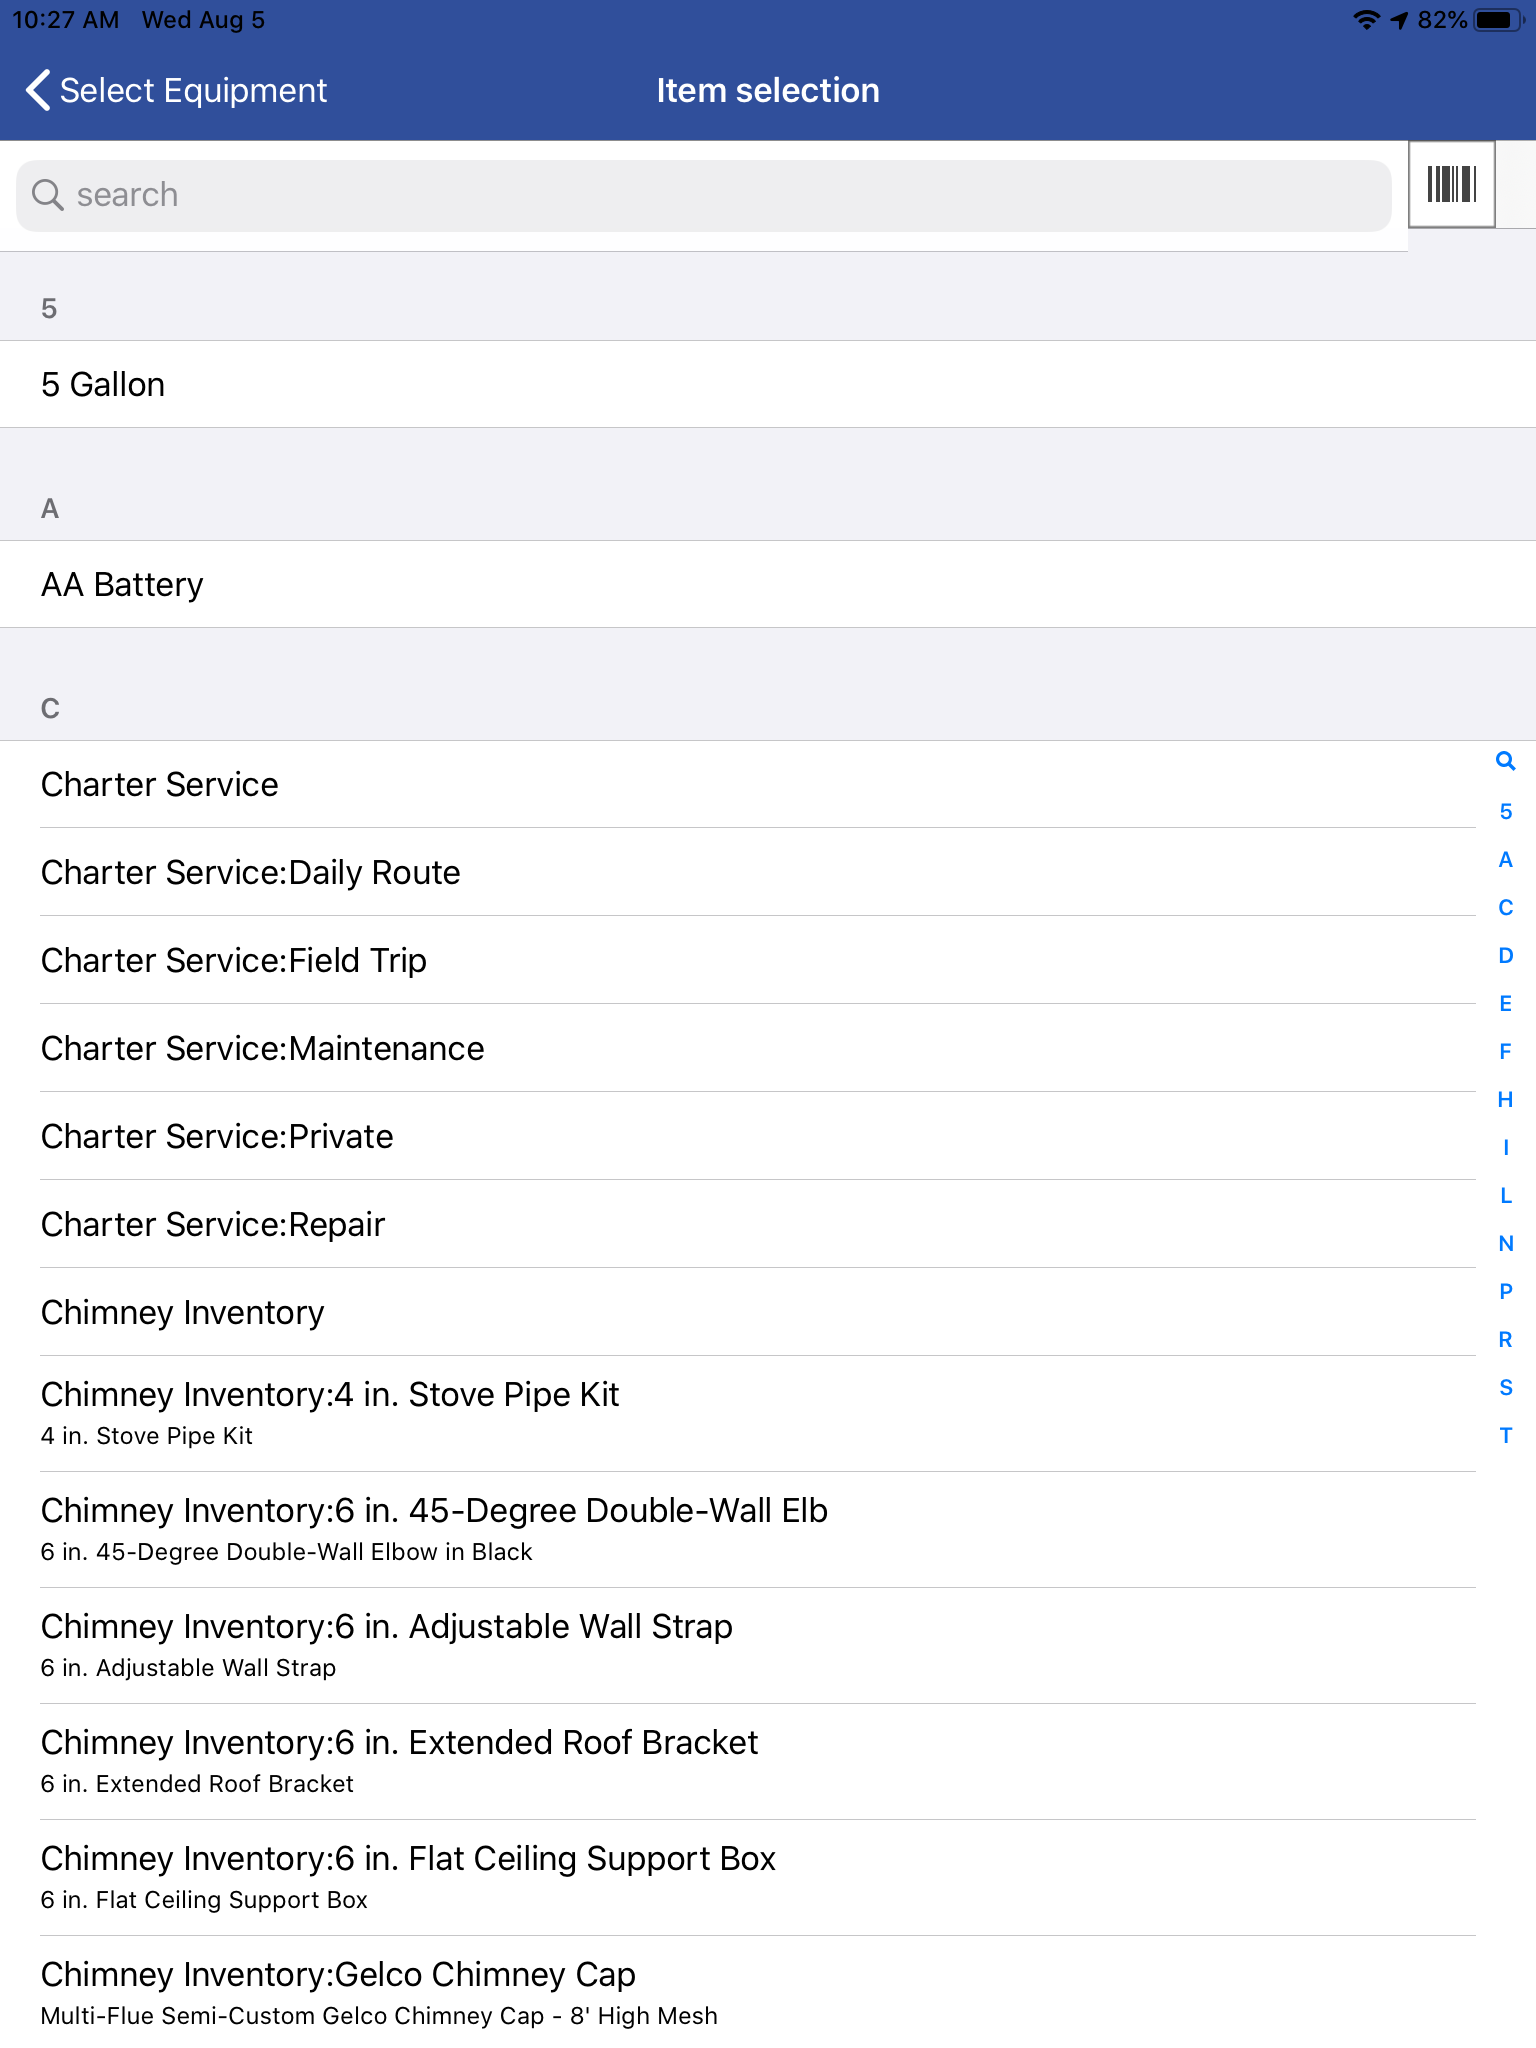
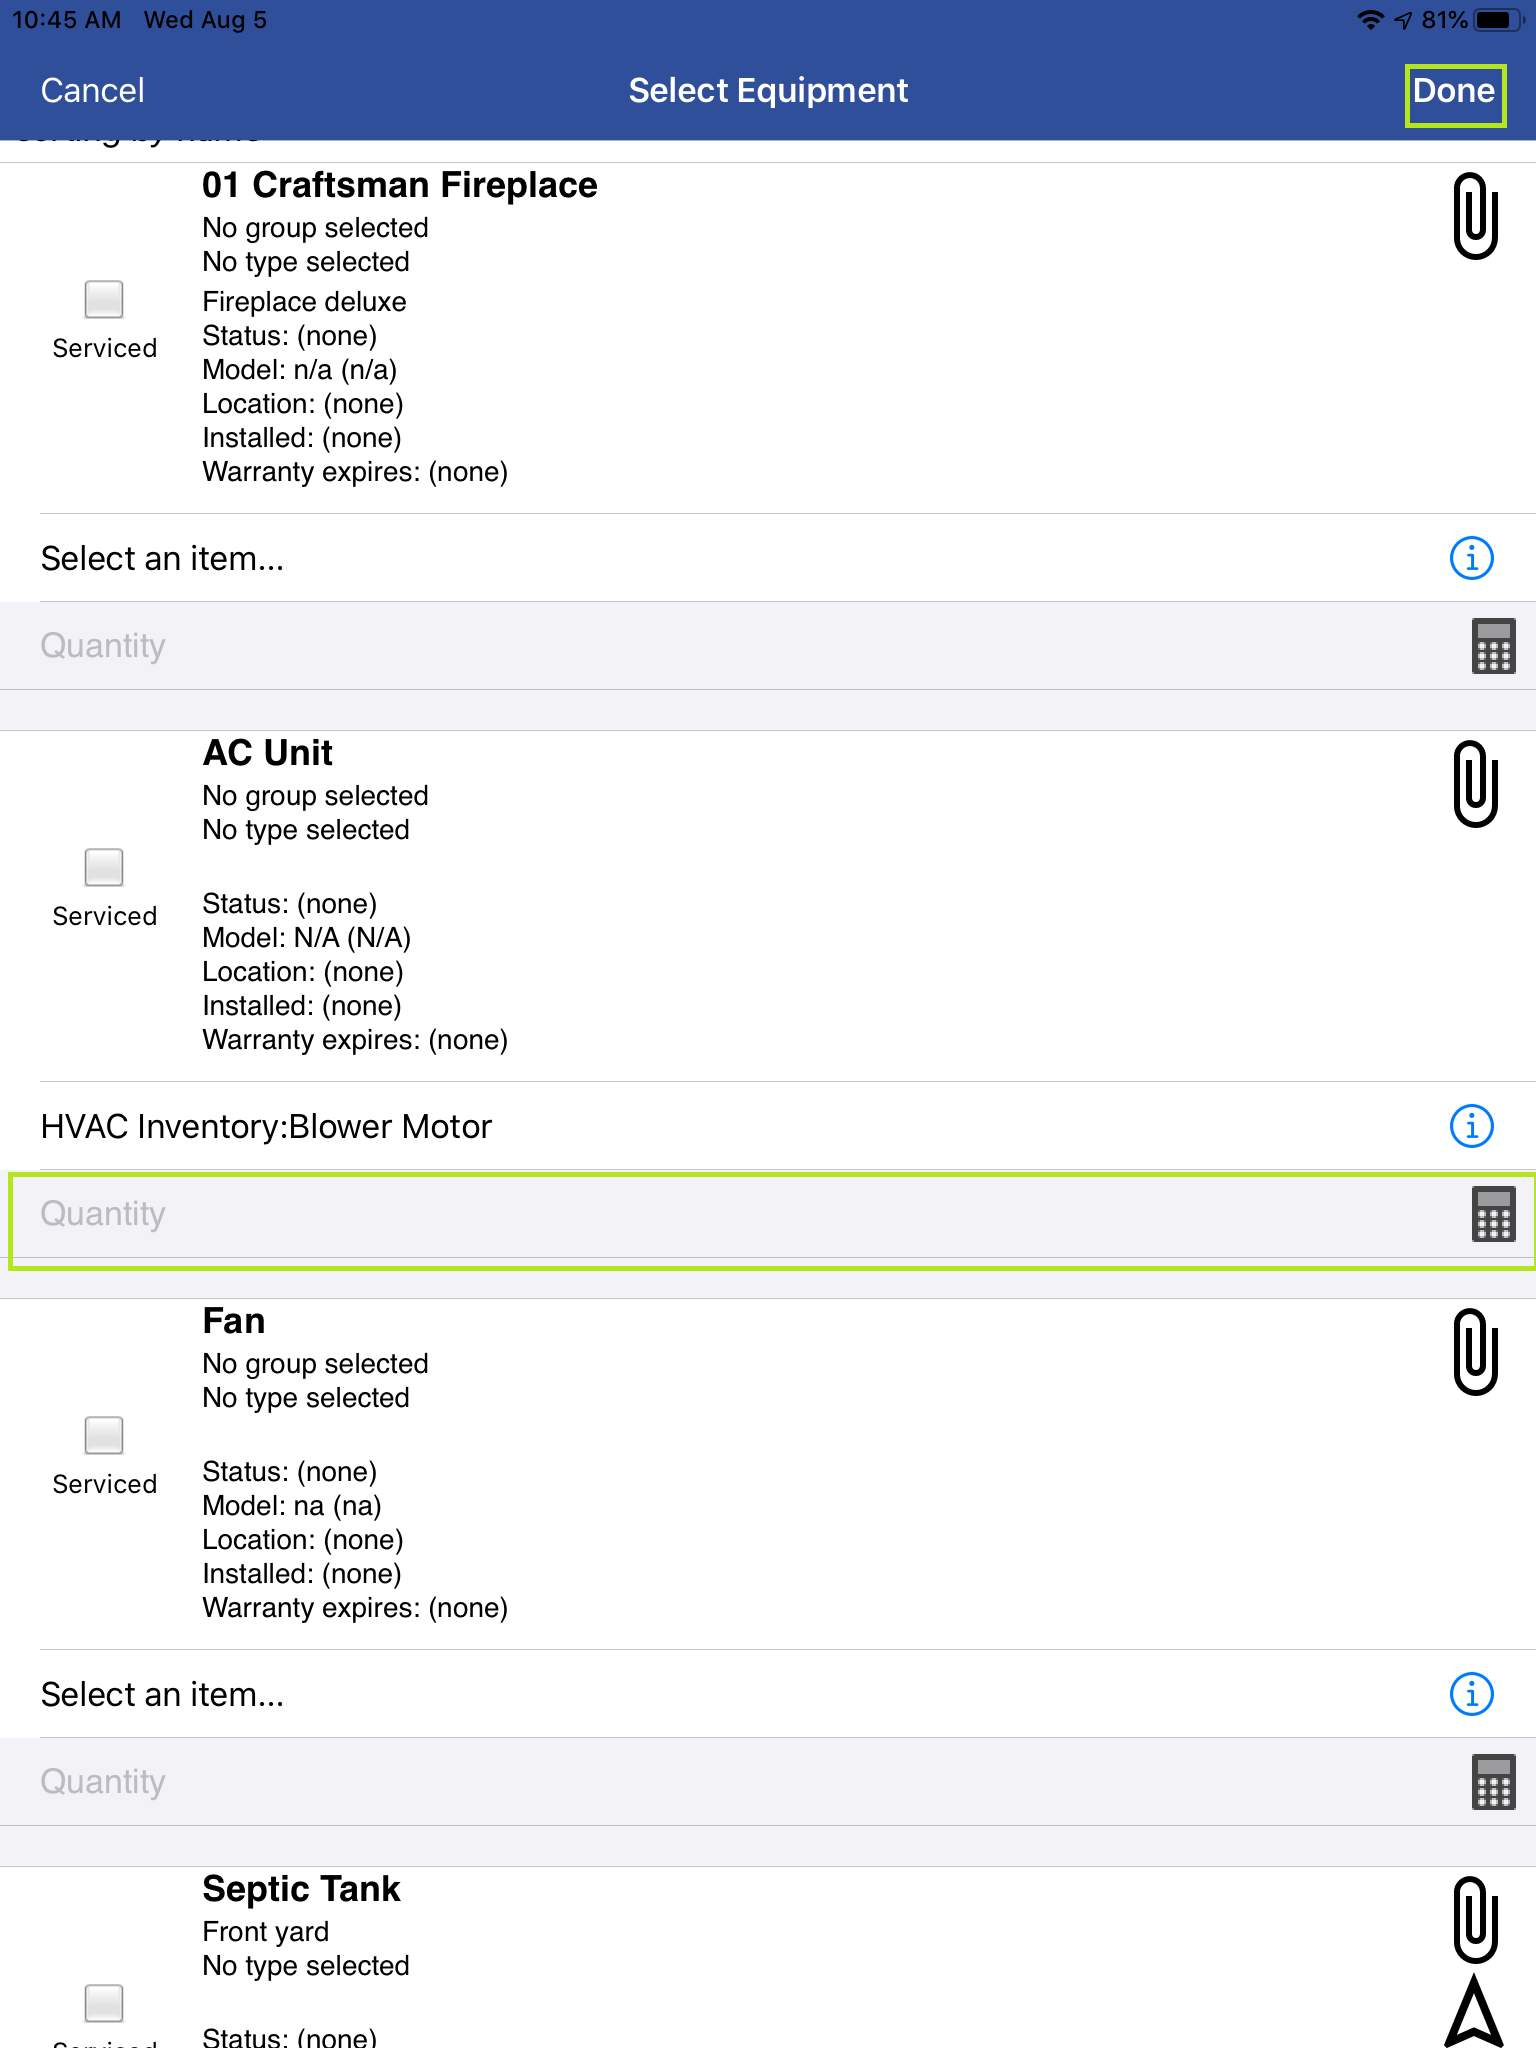
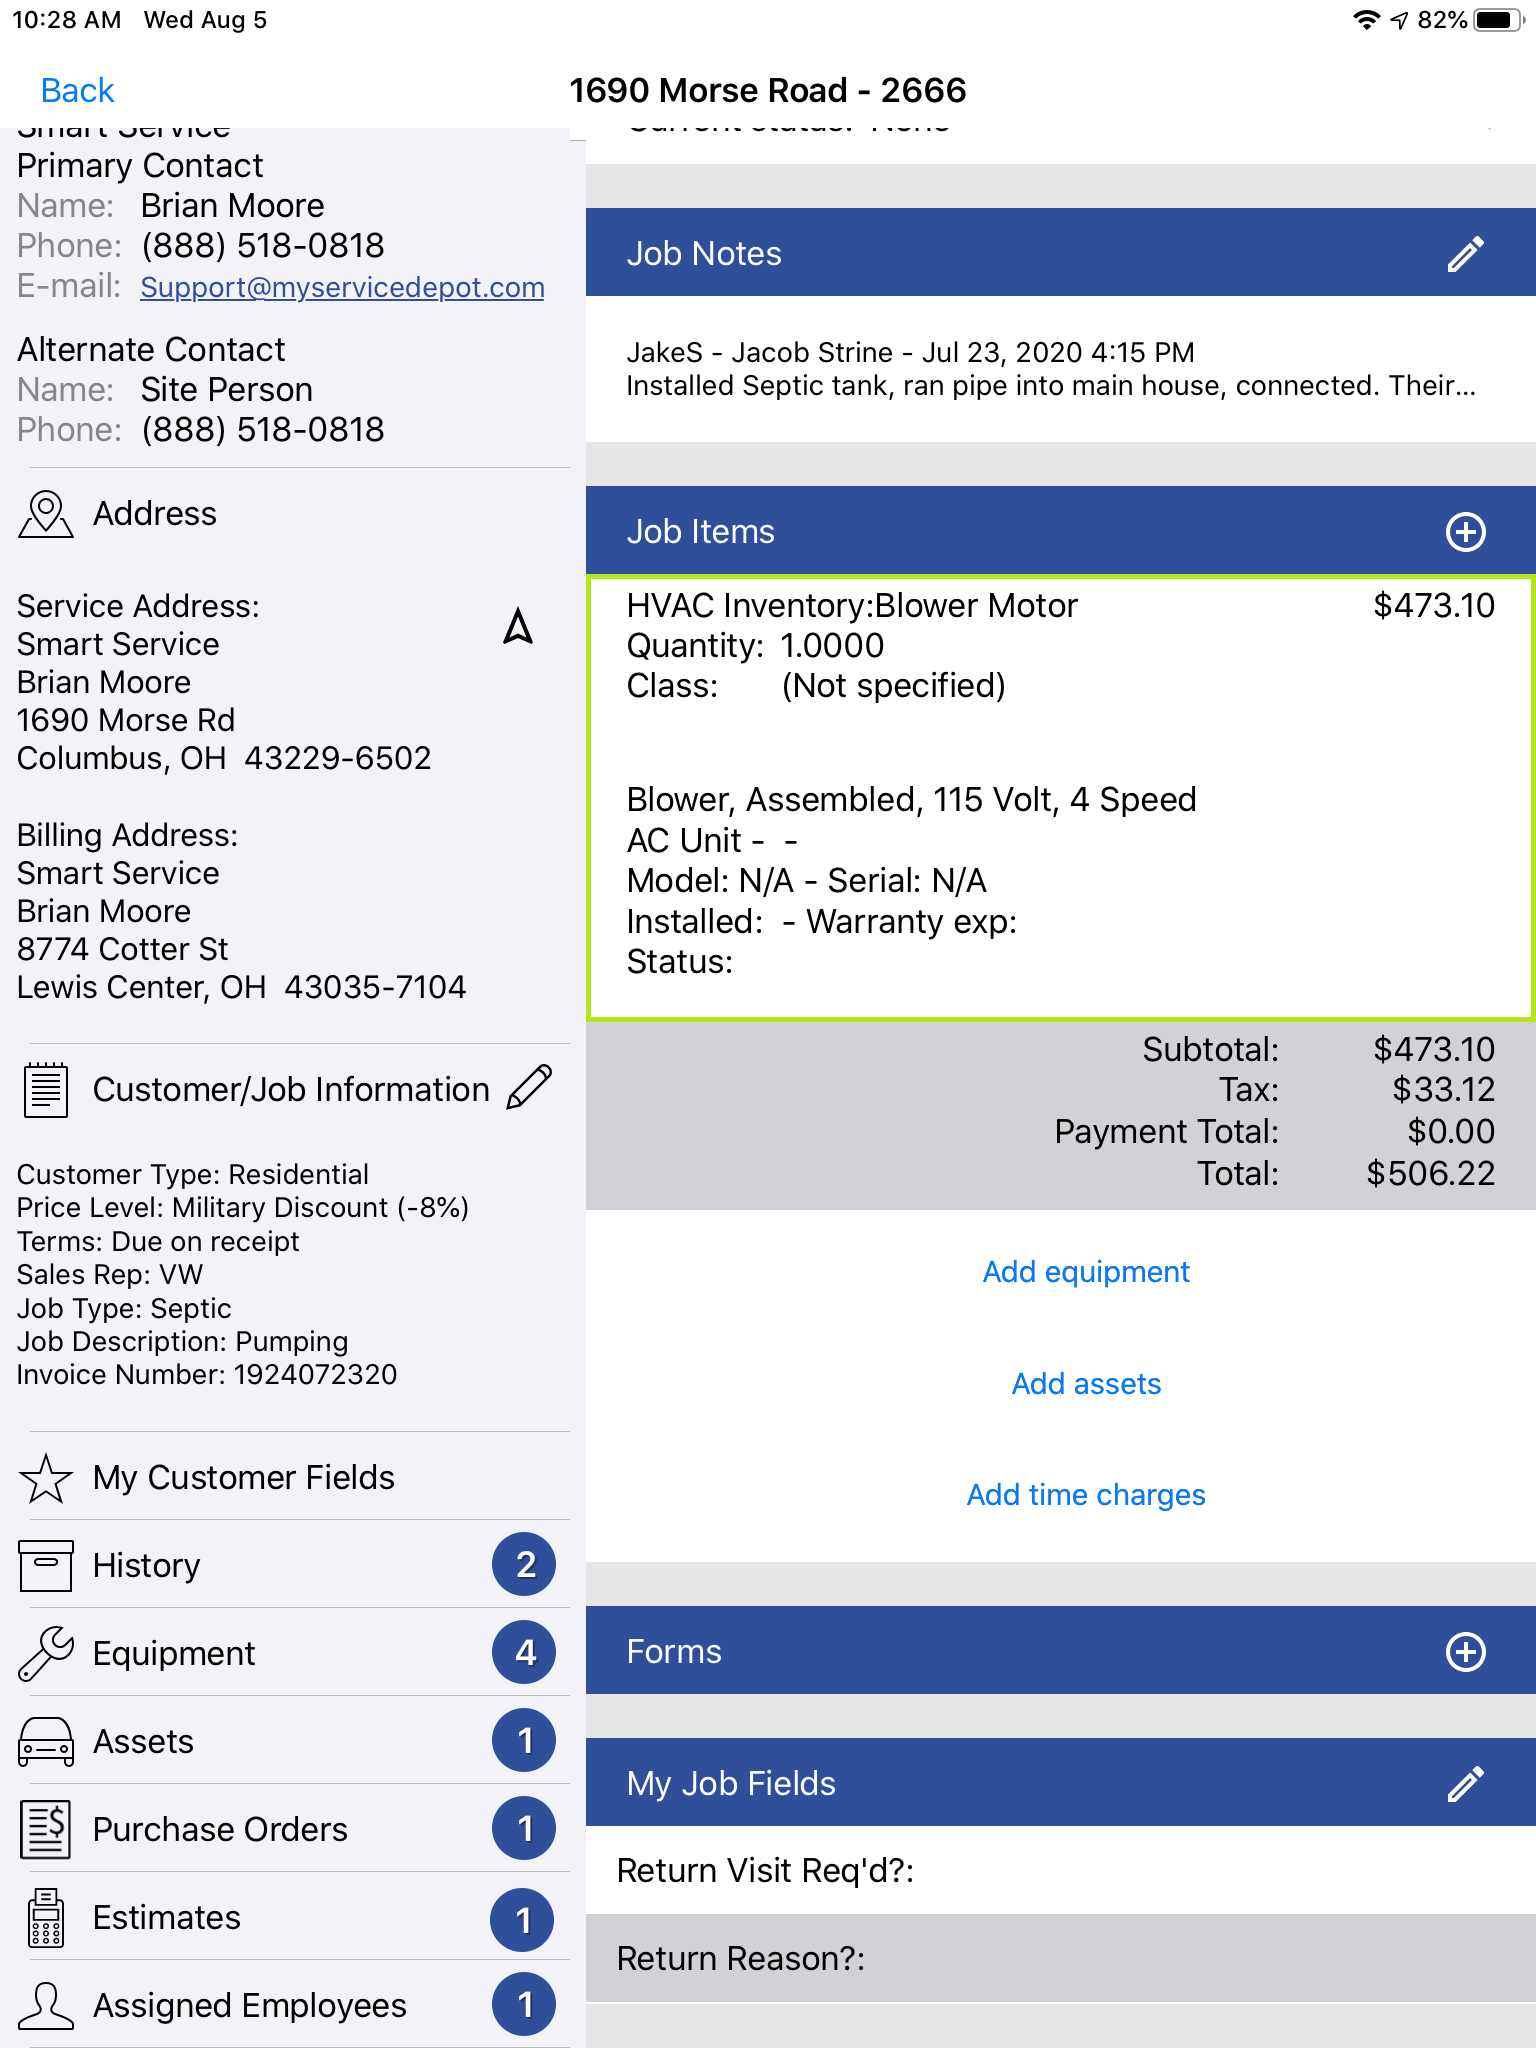
If you’re servicing a specific piece of equipment, you can use the “Add Equipment” option to select what equipment you’re servicing, an item to service it with, and the quantity of items. Tapping the “Done” button will add the item to the job with the equipment’s information in the item description. This is a great way to show what equipment you serviced, especially when the customer has identical pieces of equipment.
Please note that you must have equipment on file for this customer in the “Equipment” section to the left before using the feature.
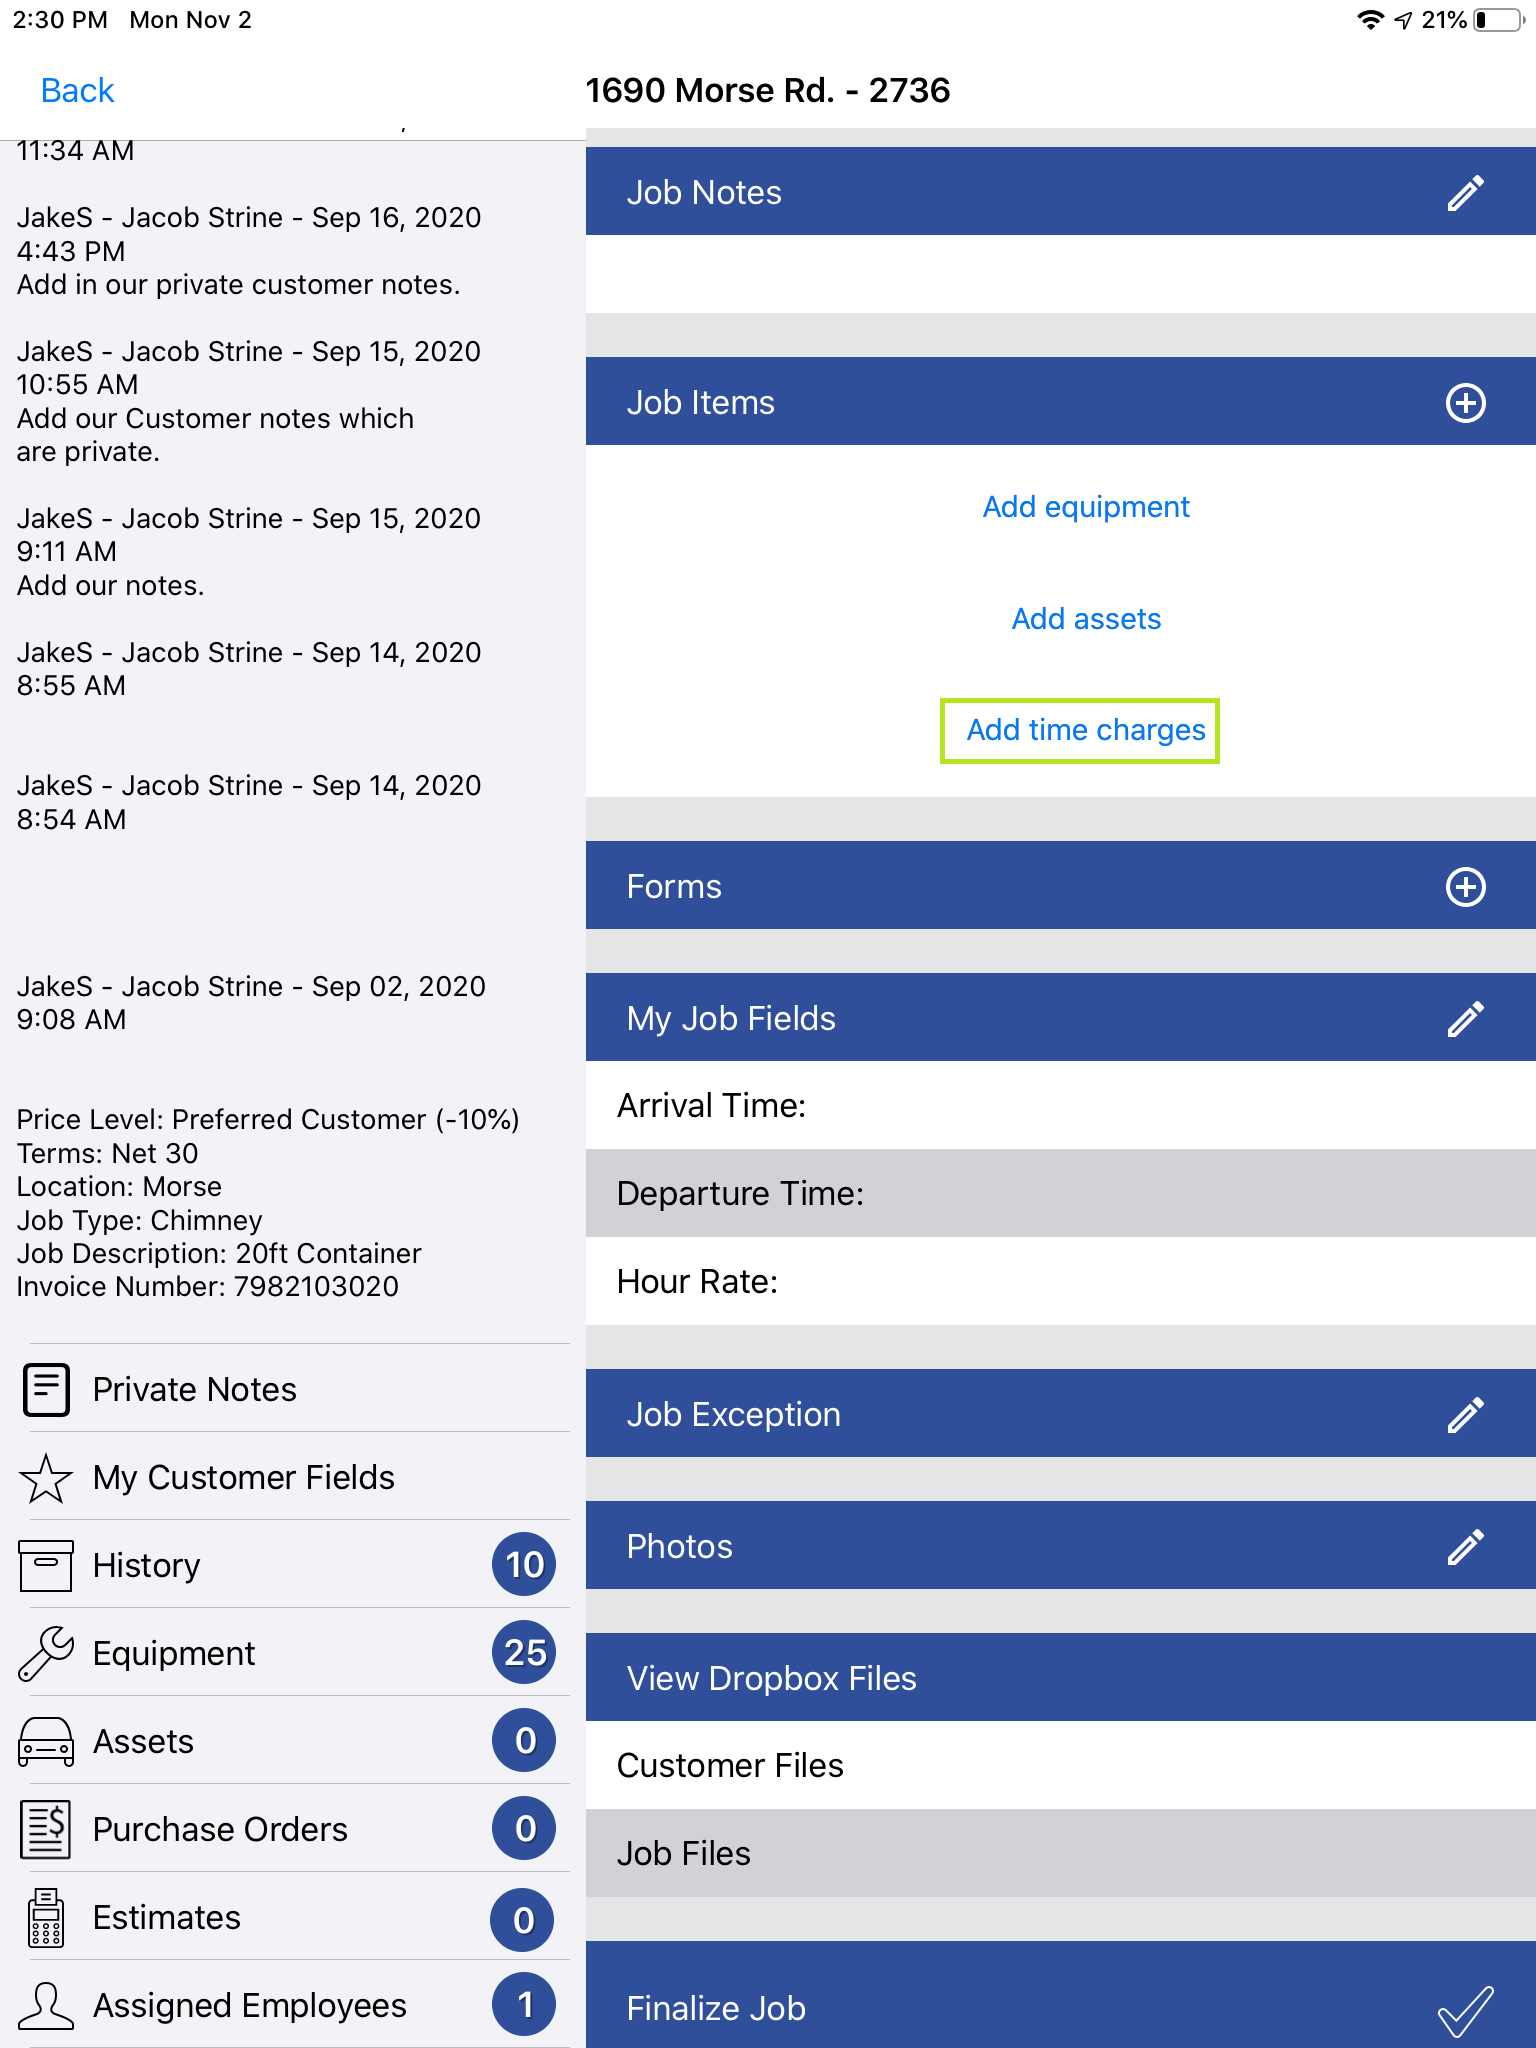
Add Time Charges
For those who wish to charge for their time on the job using their timestamps, we have the “Add Time Charges” option available for you. In order to use this feature, your “Current Status” must be “Job Complete”. You can tap where you added your travel and production times above to obtain this status.
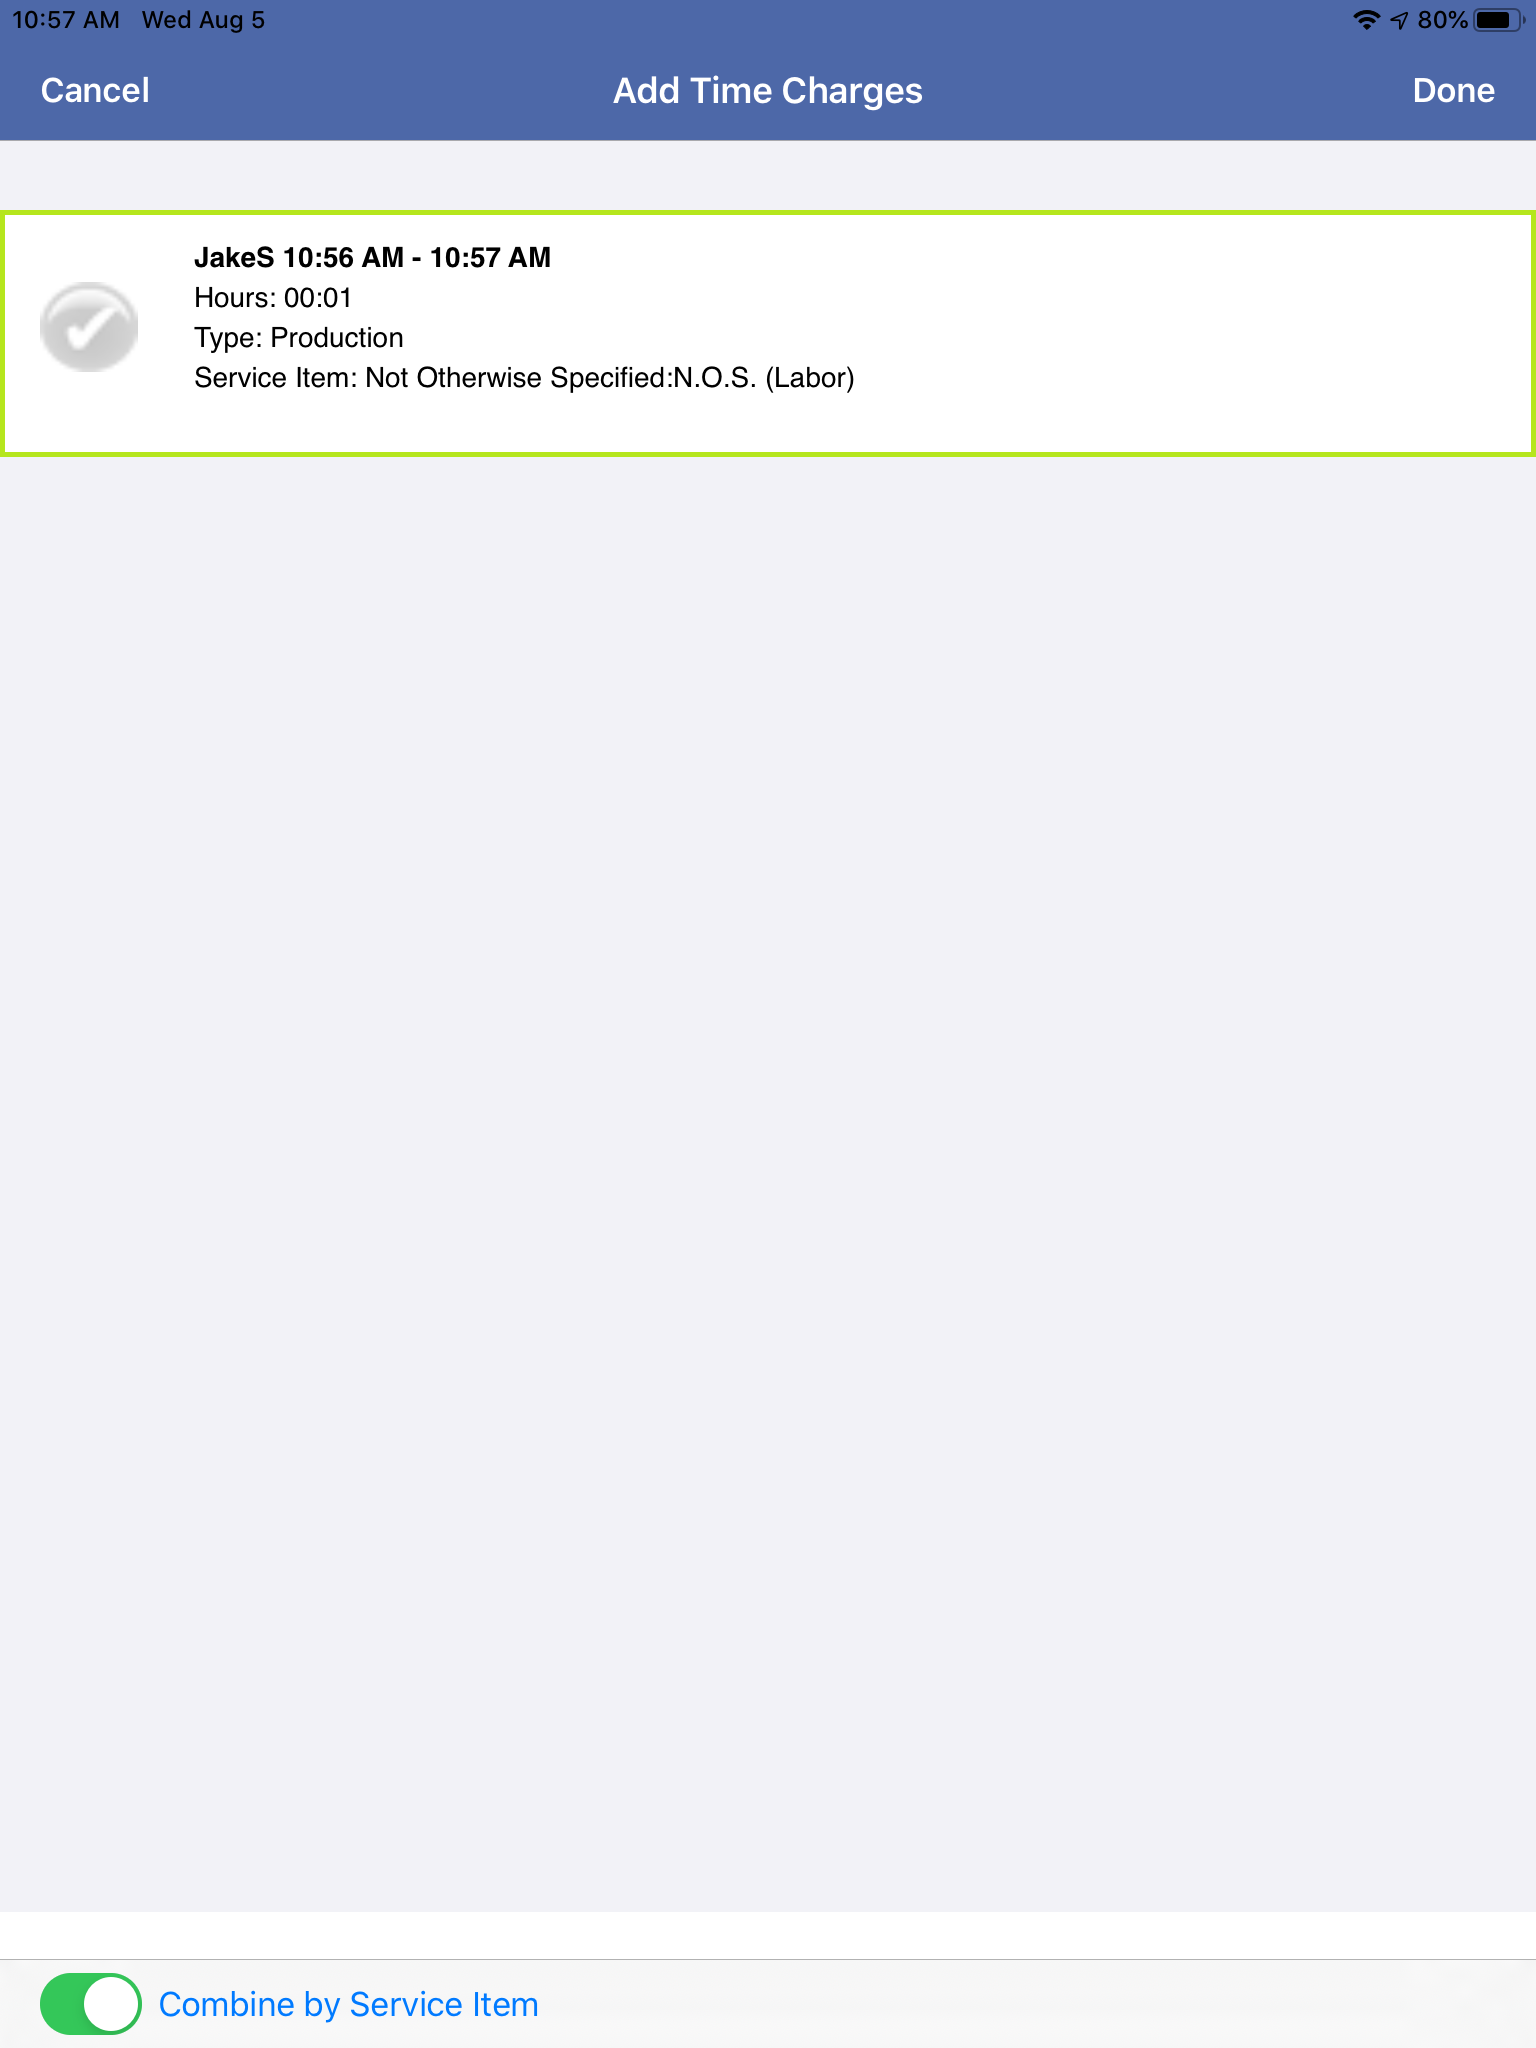
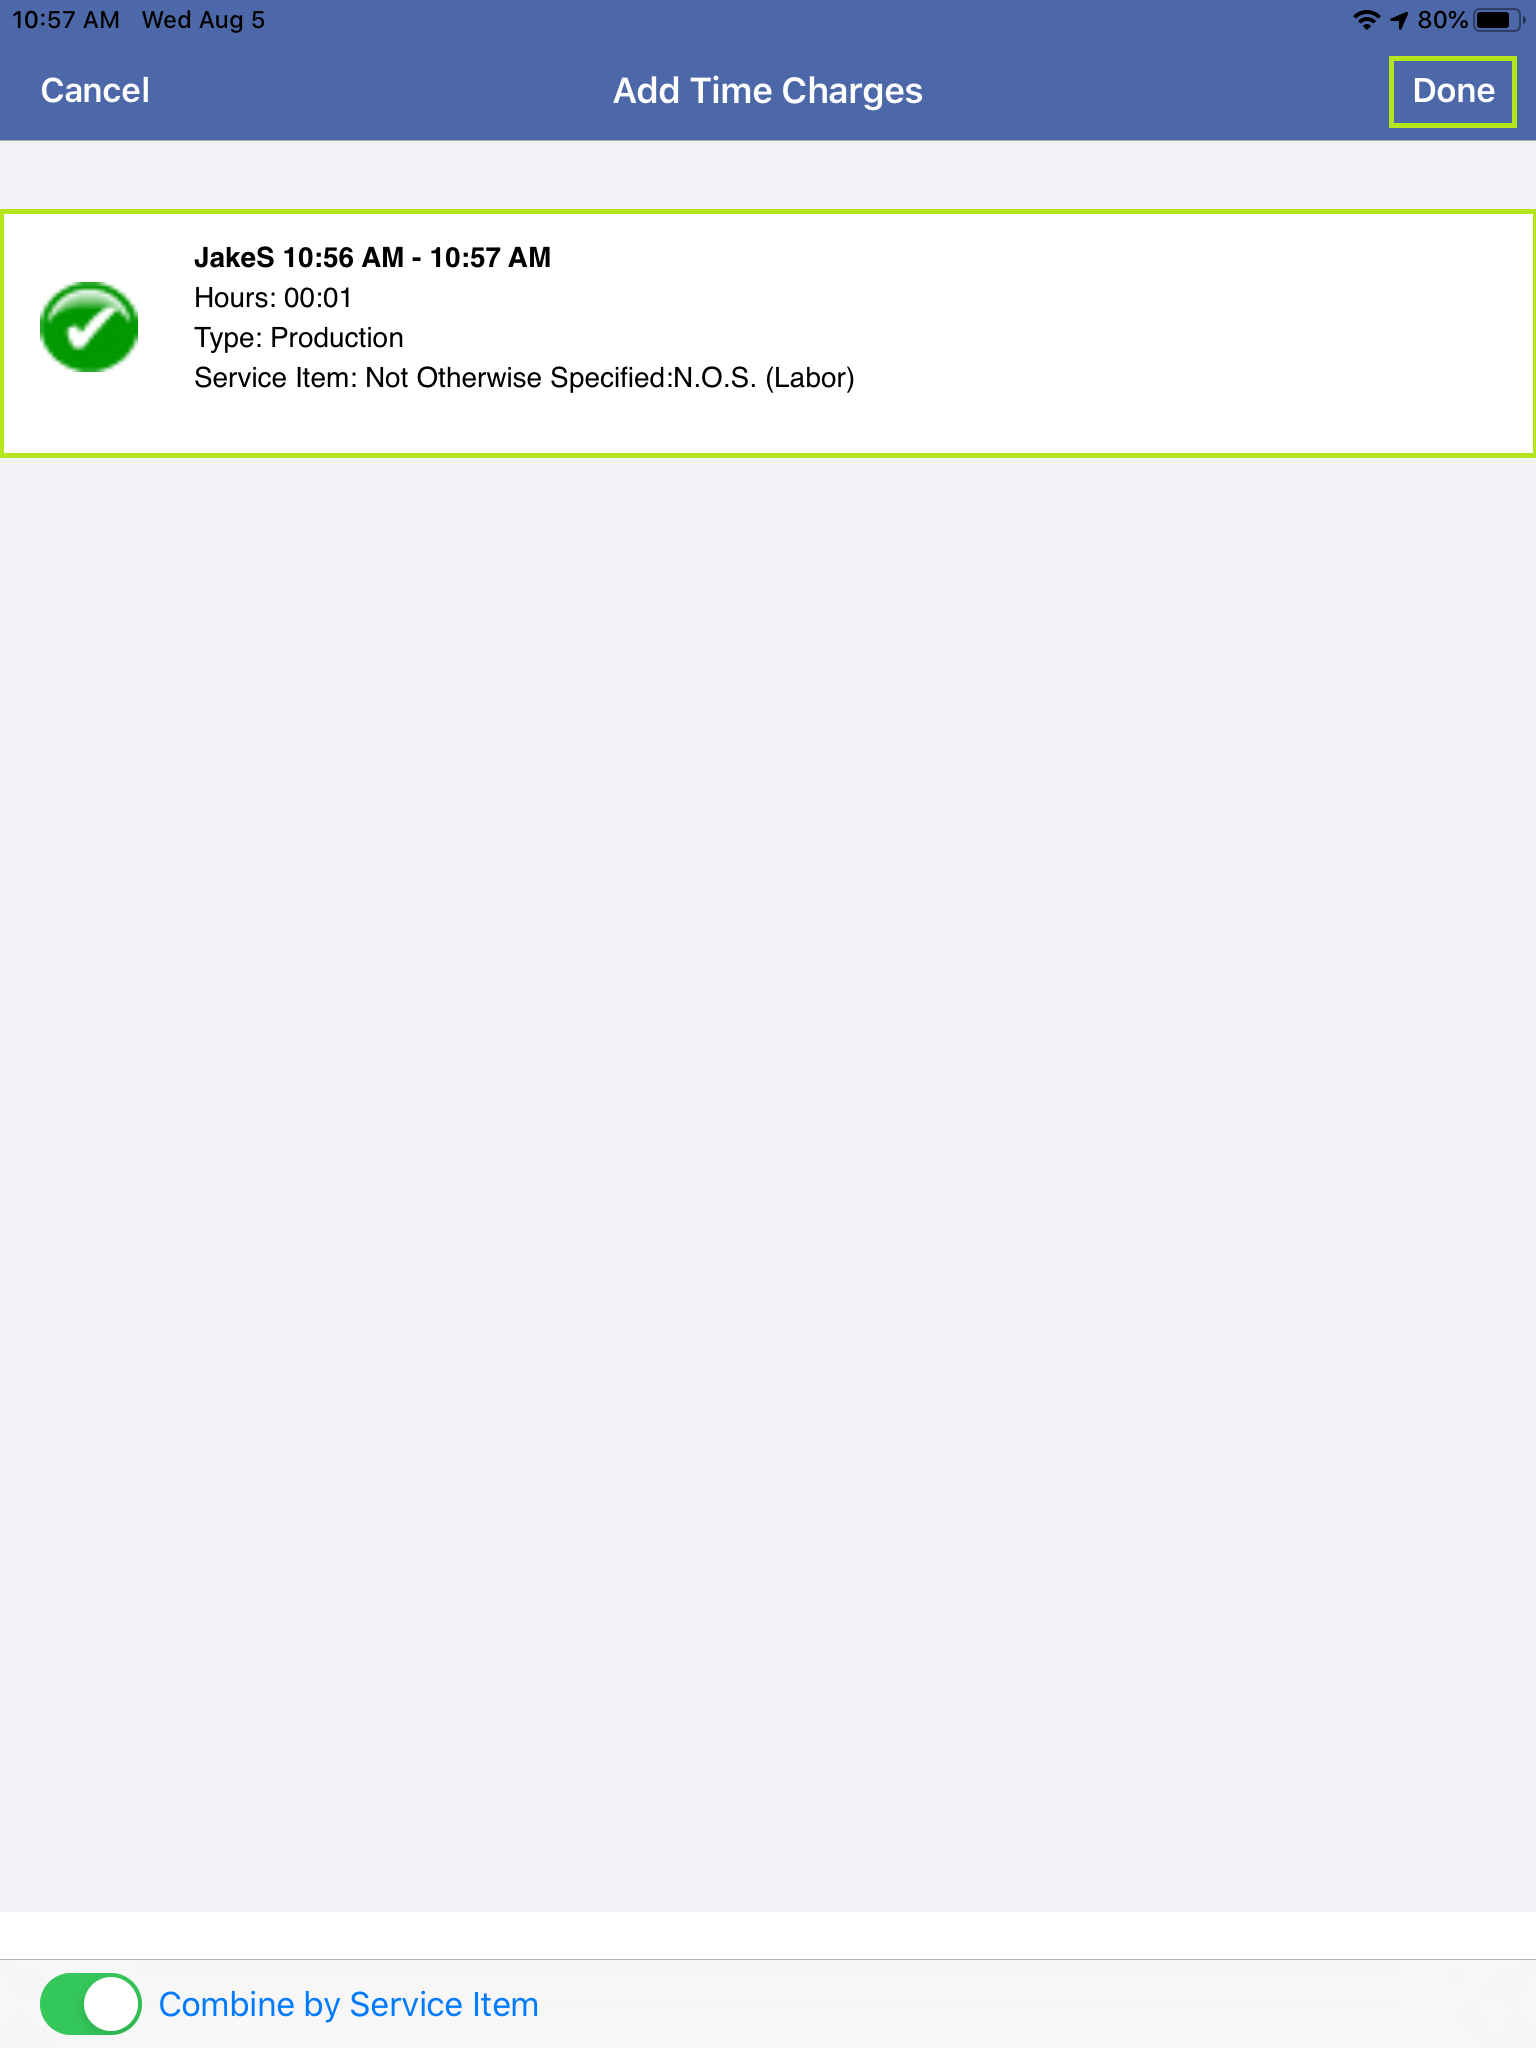
Afterwards, tap on this option to display all timestamps currently on this service. Tapping the checkmark next to your times will use the service item associated with that time type for your user in Smart Service.
If any of your times say “no service item assigned” in red, it means that your office hasn’t entered default service items for your account yet. You can learn about adding service items on this page. At the bottom of the window is a “Combine by Service Item” slider which will make all timestamps using the same service item into one line item. Without this setting, each time entry will produce its own line item.
Add Assets
If you’ve added a “QB Item” when setting up your assets, and you have attached the asset to this service, pressing this option will charge for that QB item. This is a helpful feature for those of you who charge a standard fee for rentals.
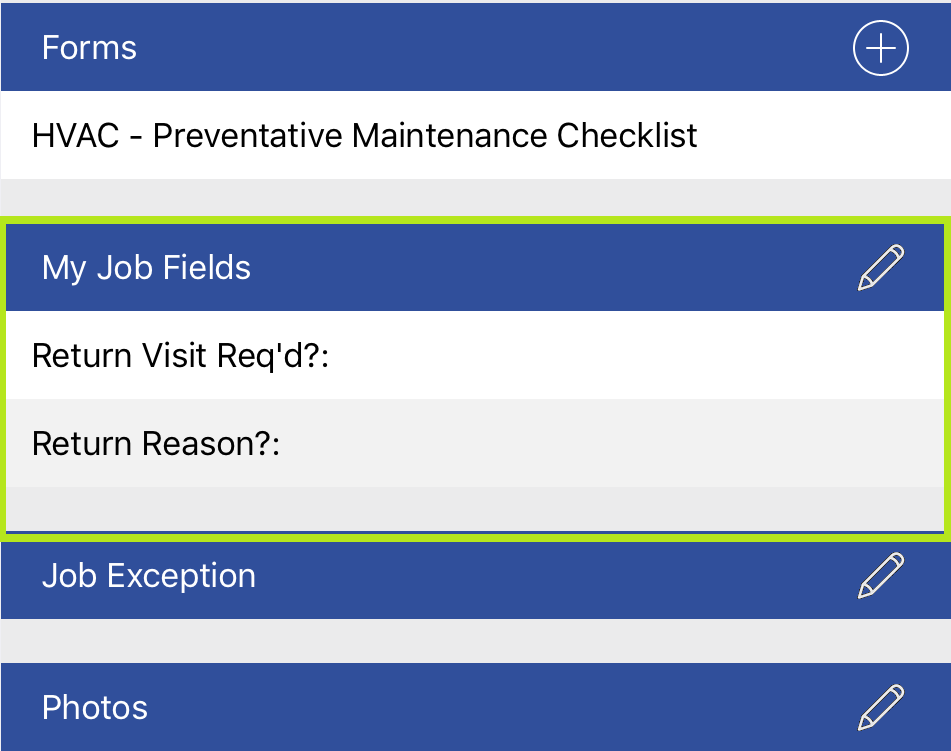
My Job Fields
You have user fields which can be used on a per job basis instead of a per customer basis like the “My Customer Fields” section.
Not sure how to create new user fields? Visit our article on Smart Service Settings to learn how! You can also check out this page of user fields every company can benefit from.
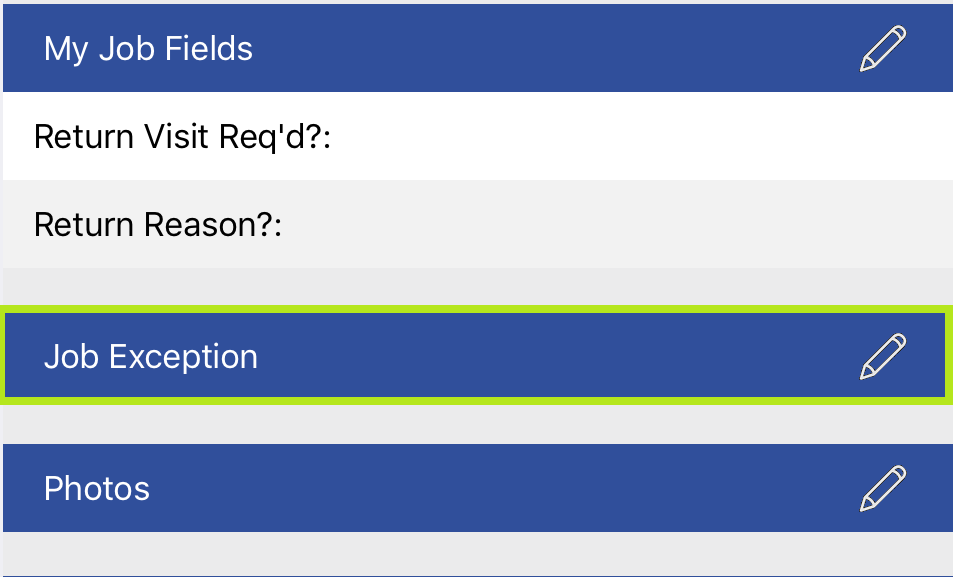
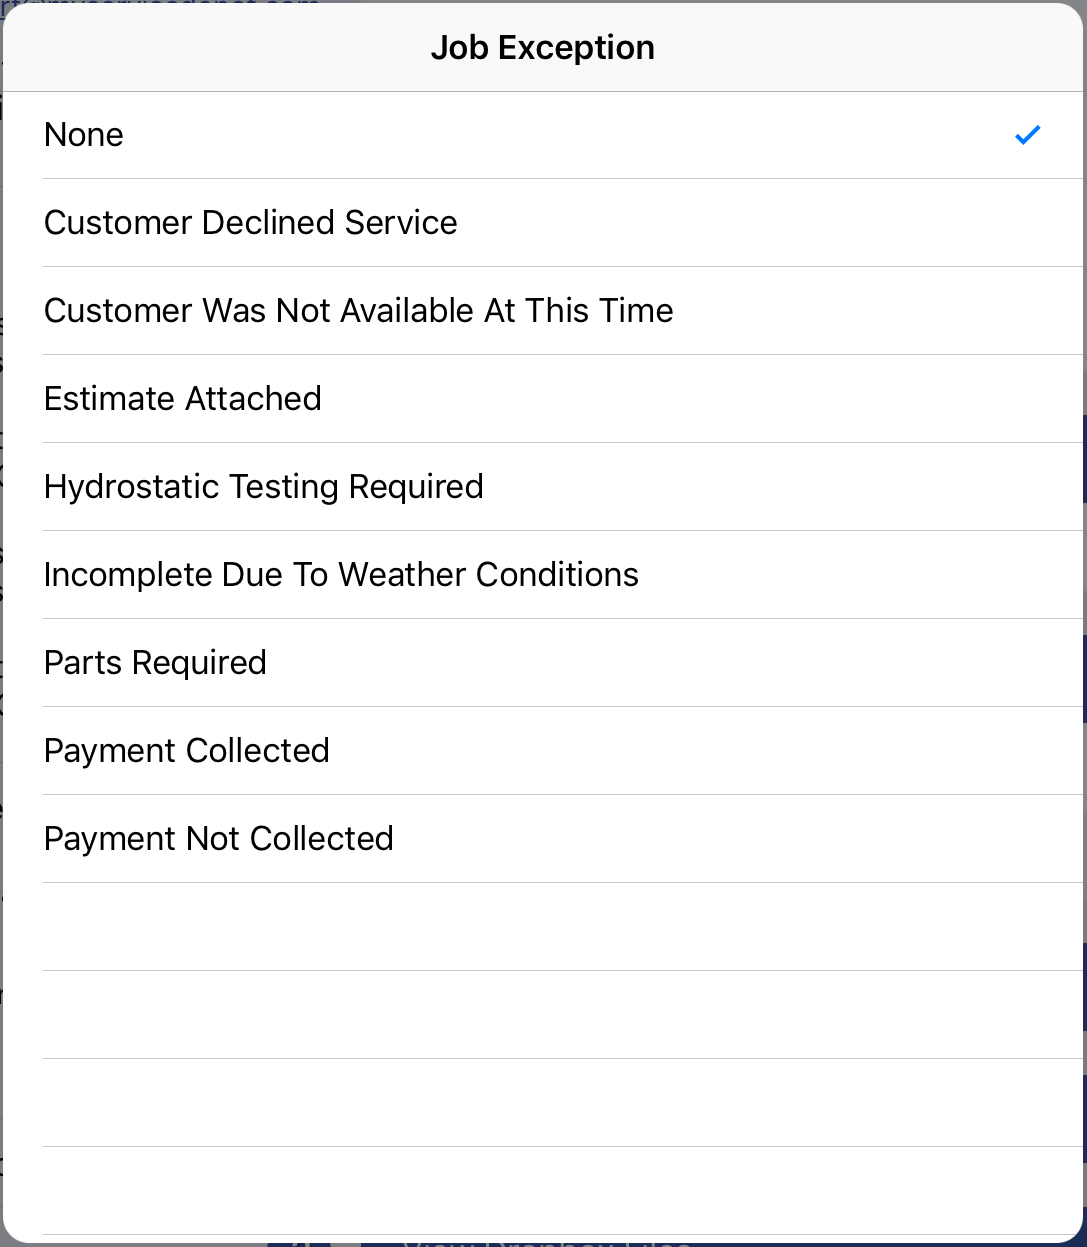
Job Exceptions
Job exceptions are a key feature for communicating with your office personnel. If there’s an issue with your service, we need to return with parts, or anything else you need the office to see, make sure to include a job exception.
The job exception you choose will appear on the office’s Post Work Orders screen, which is the review sheet the office uses to decide what happens next to your completed services. Using this feature ensures that the office will be made aware of any issues you’ve encountered.
Photos
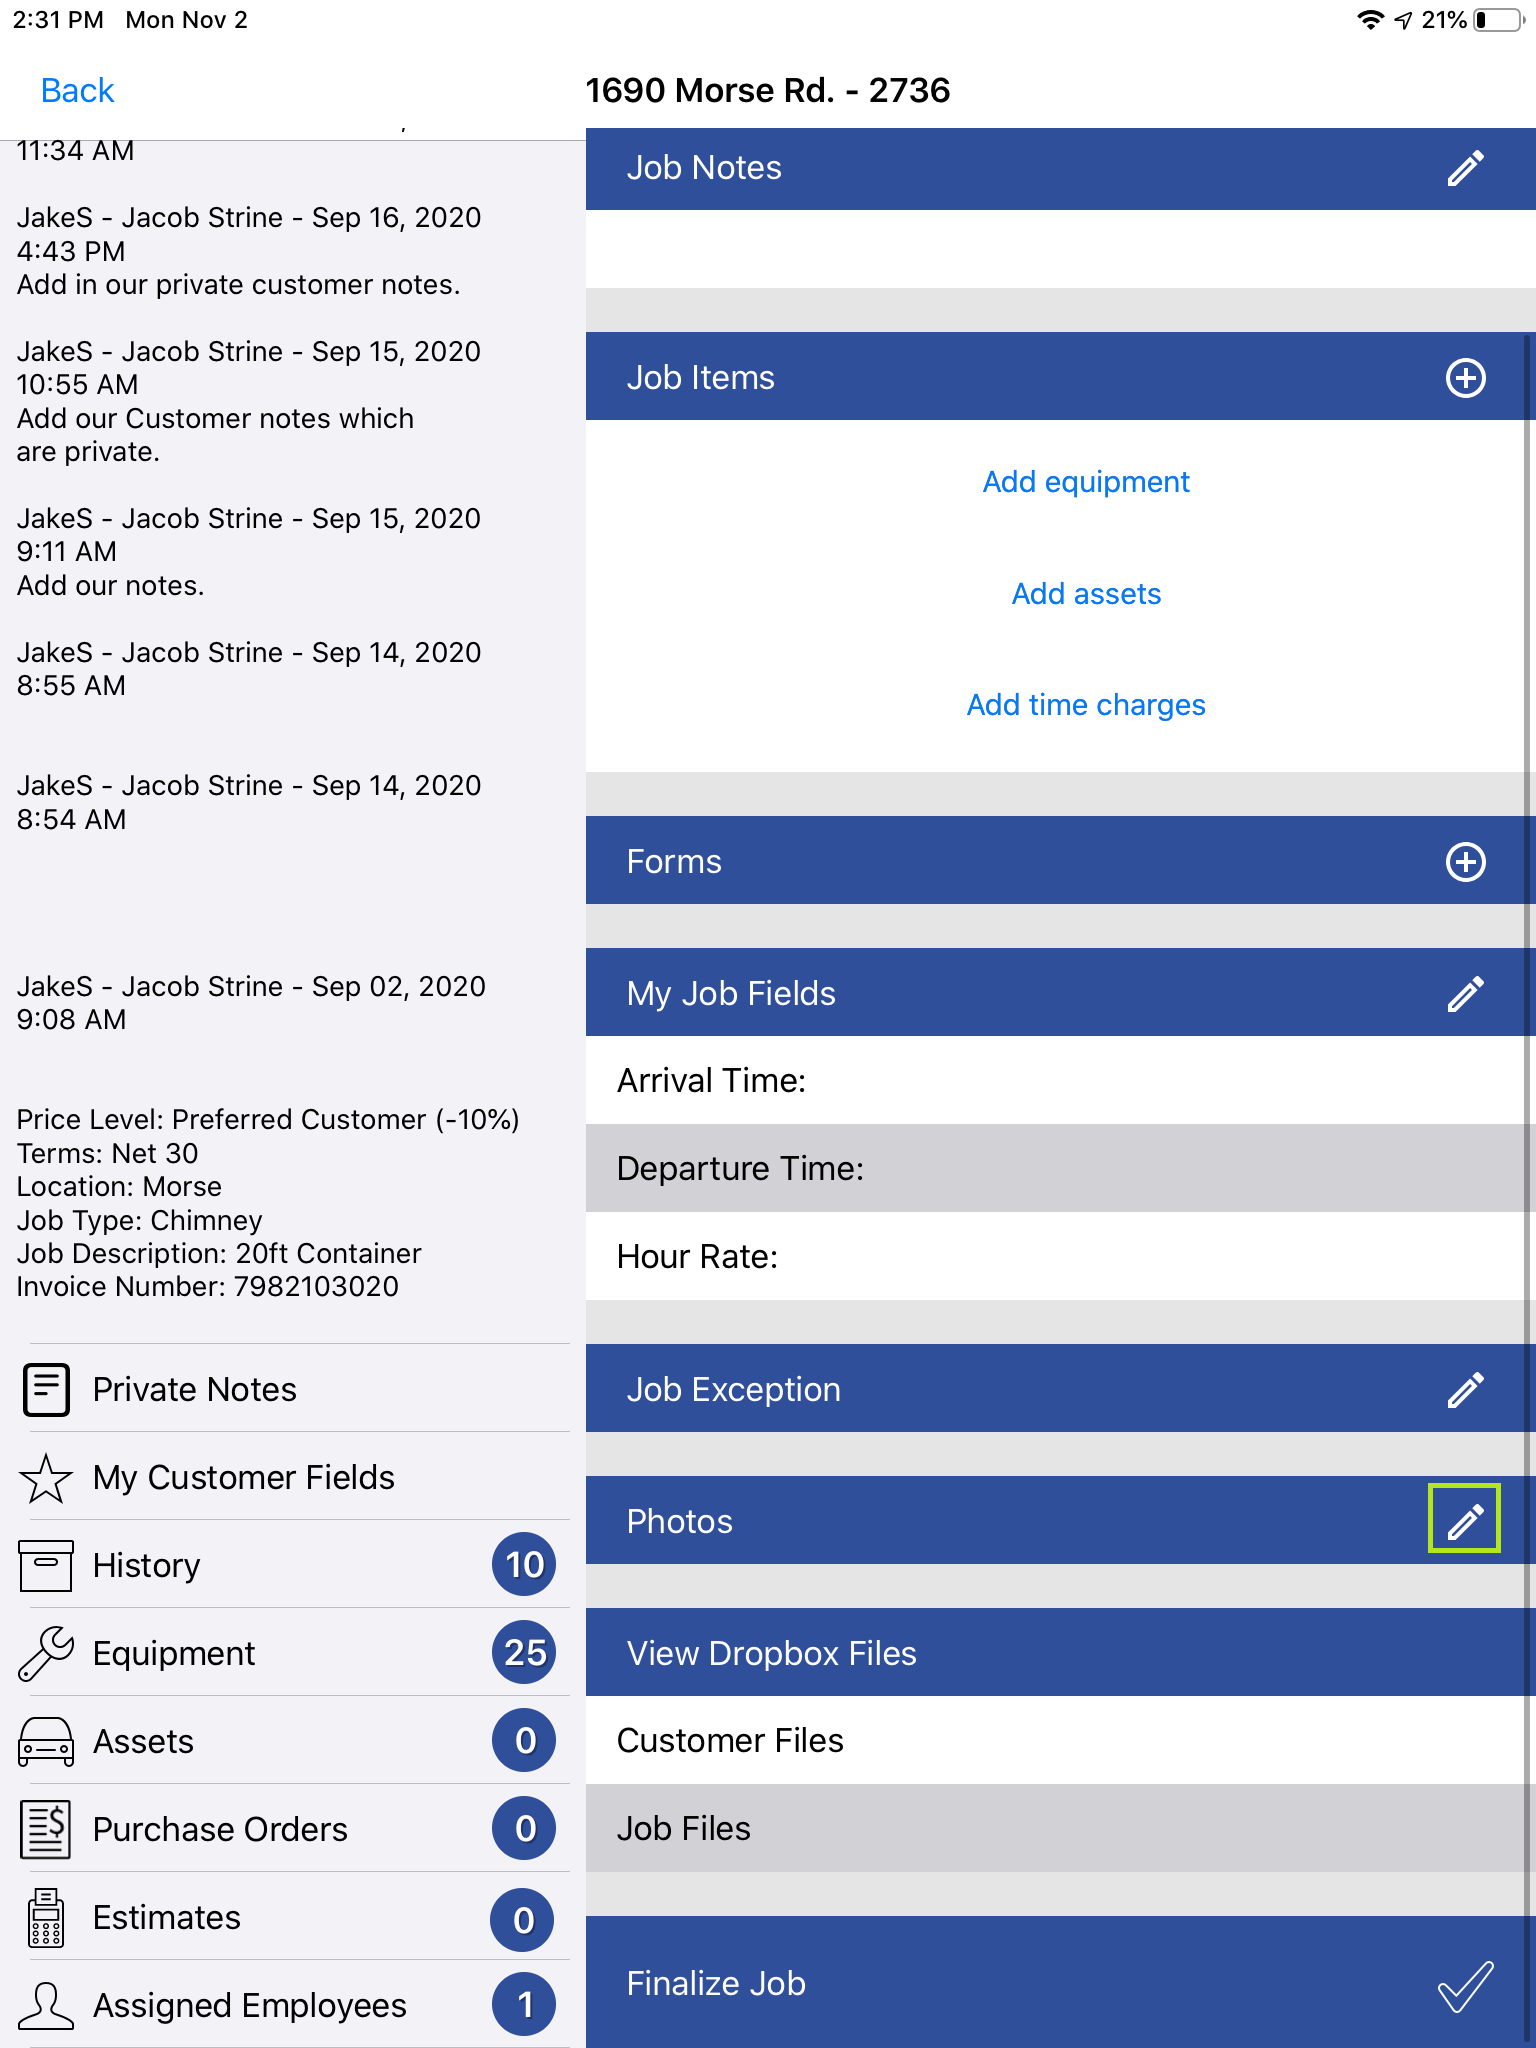
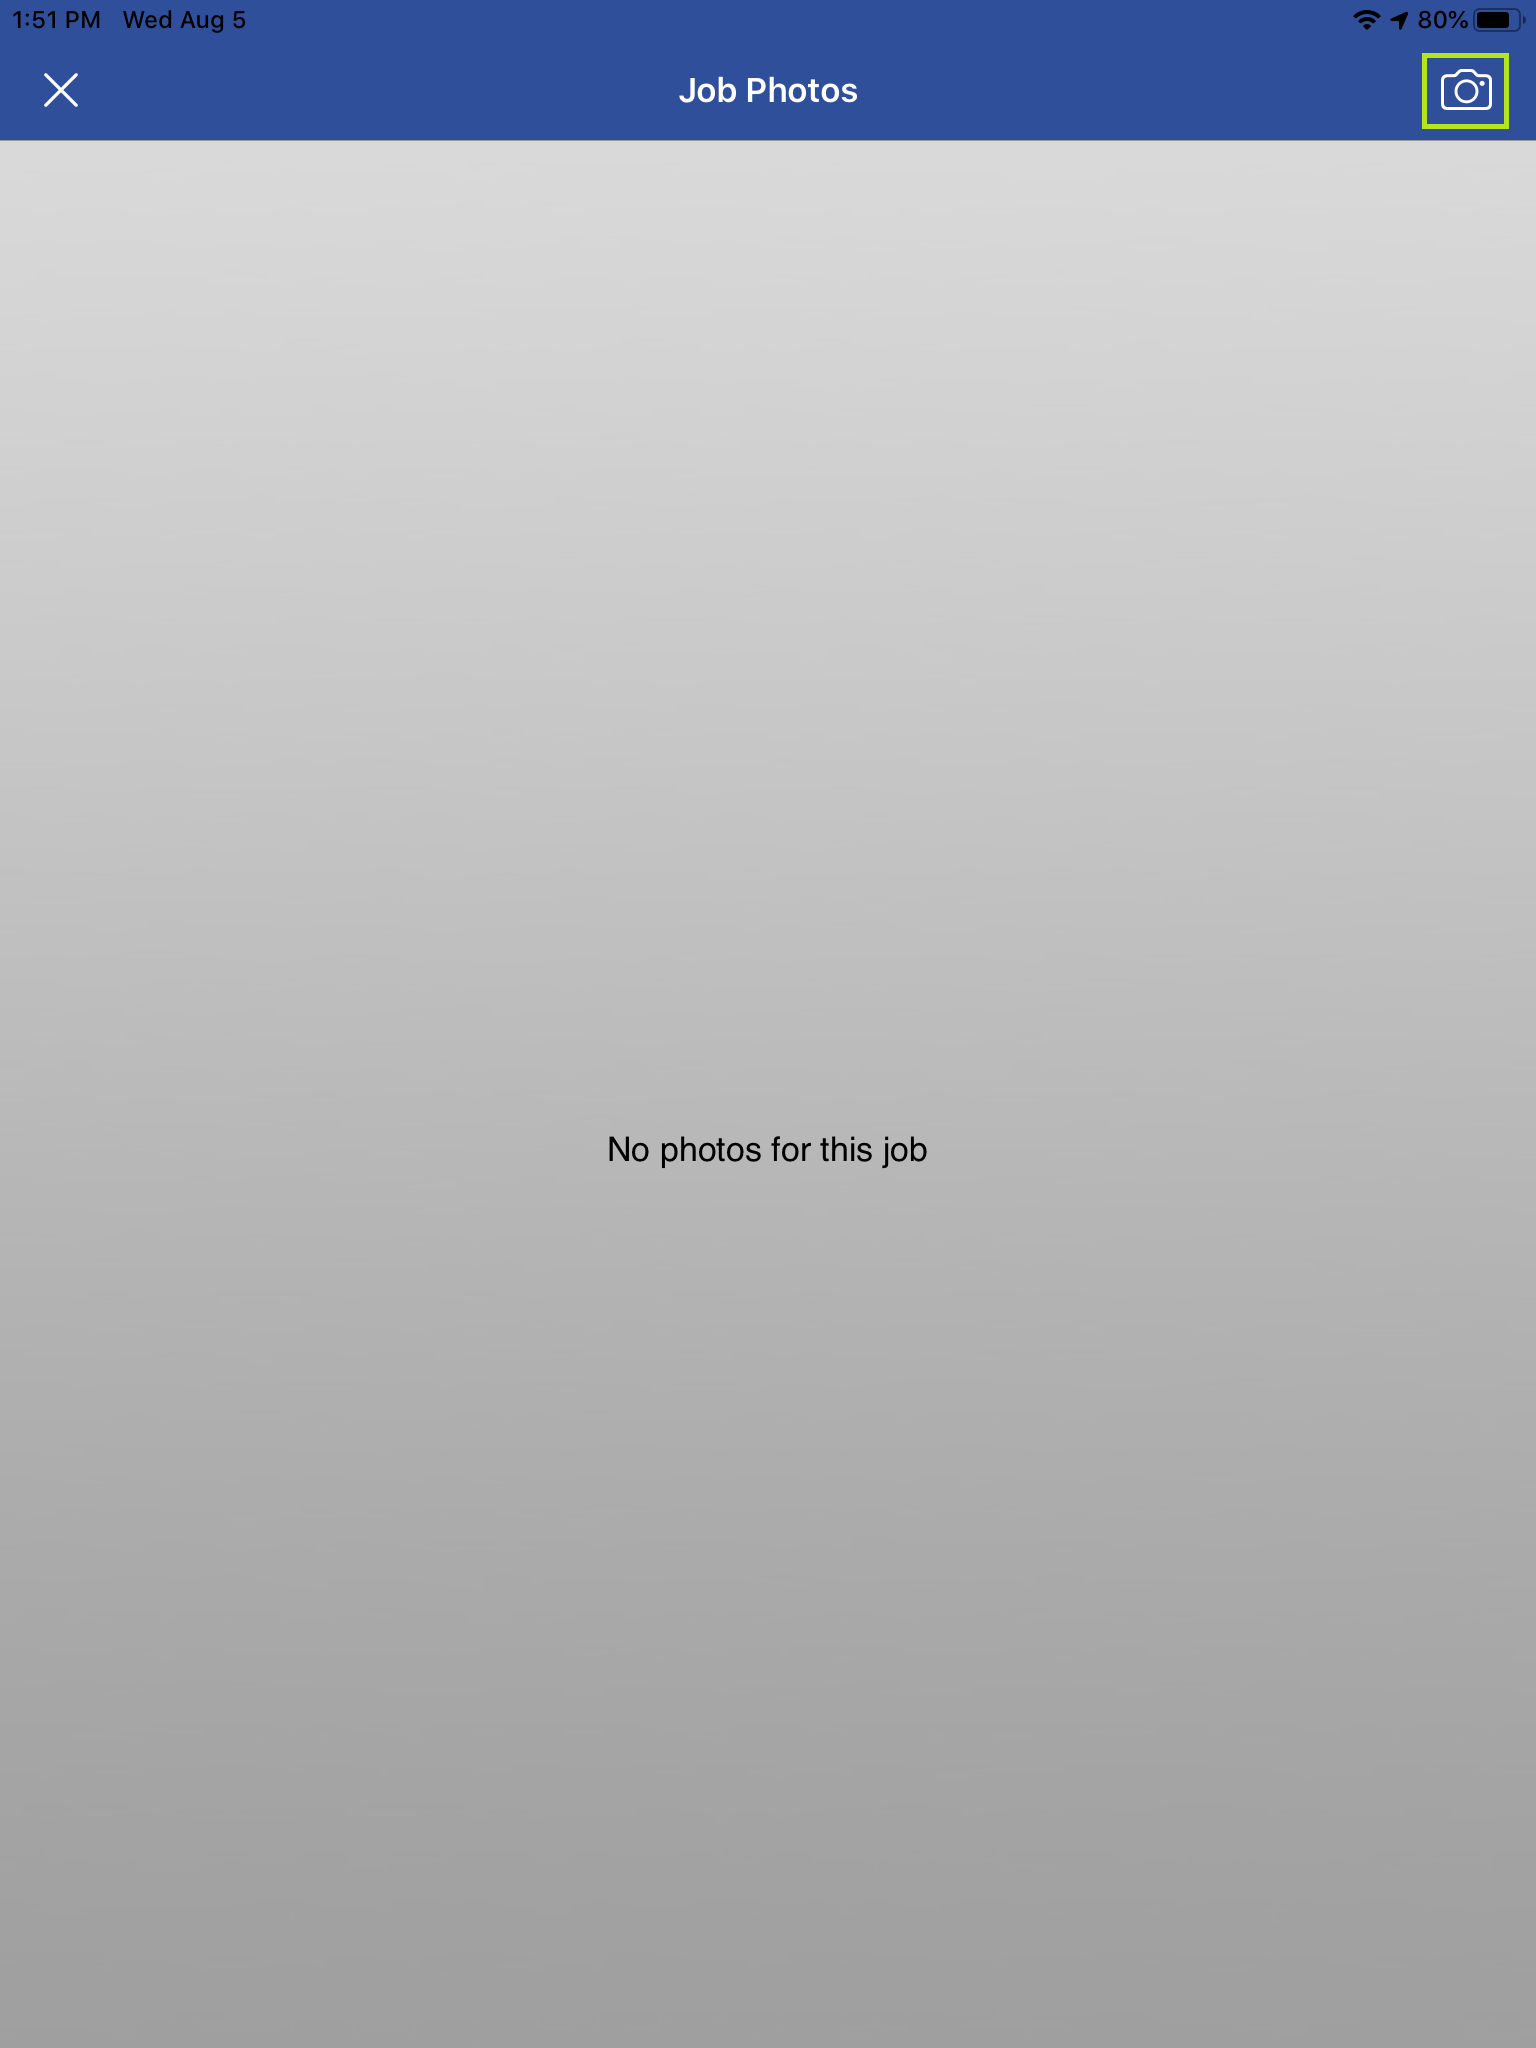
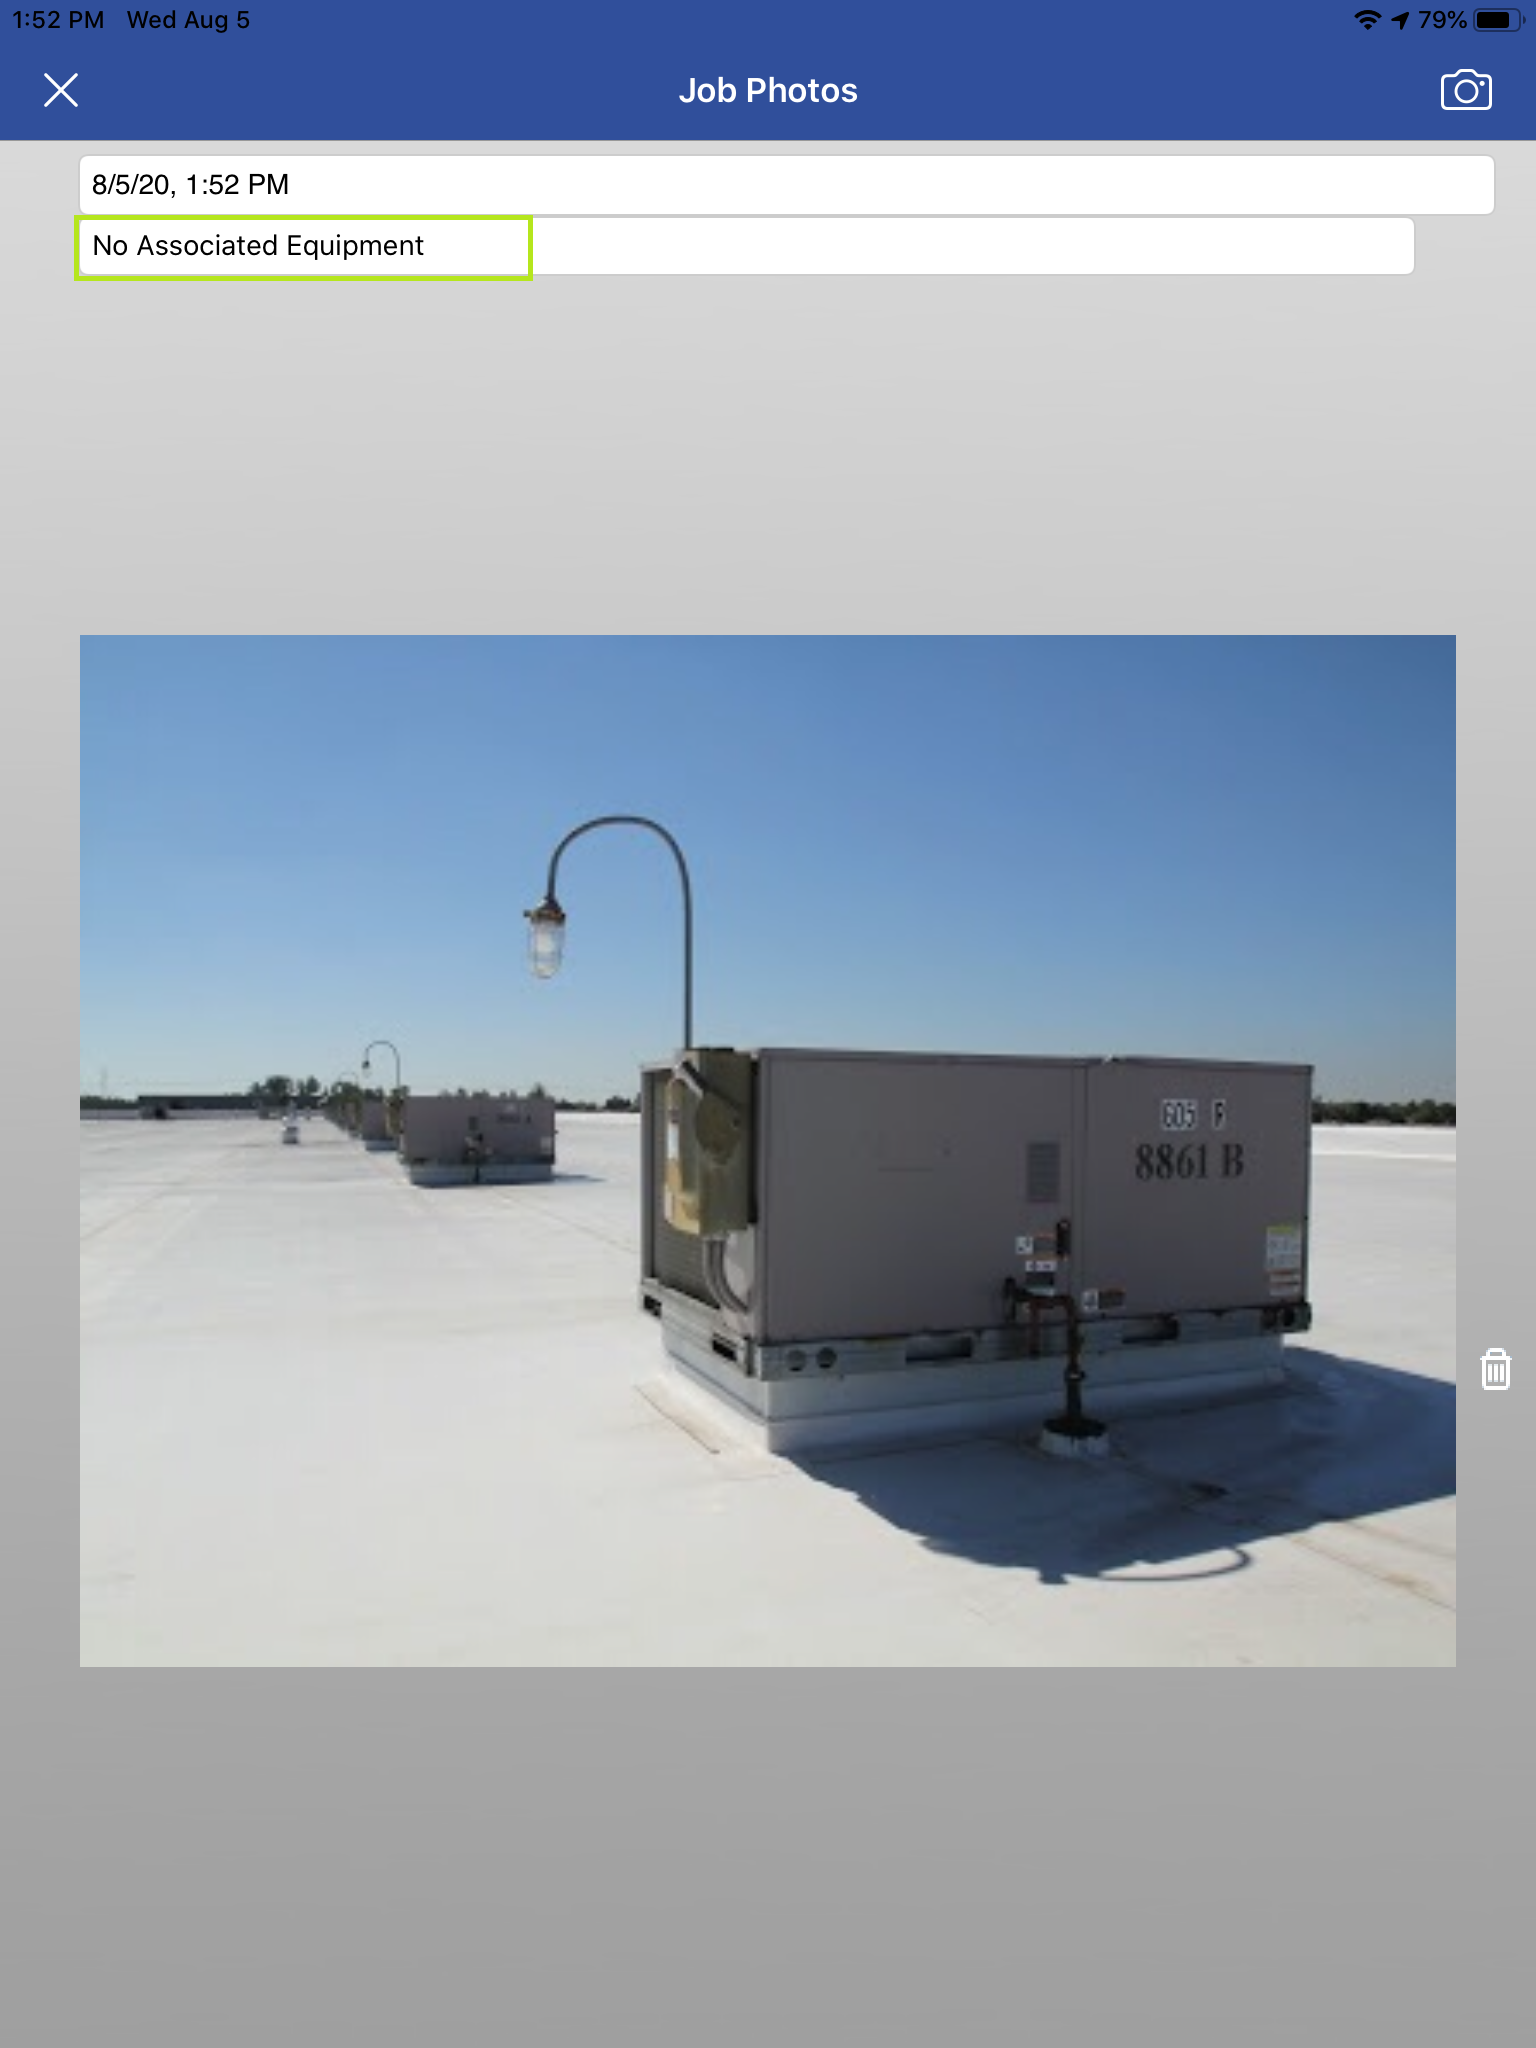
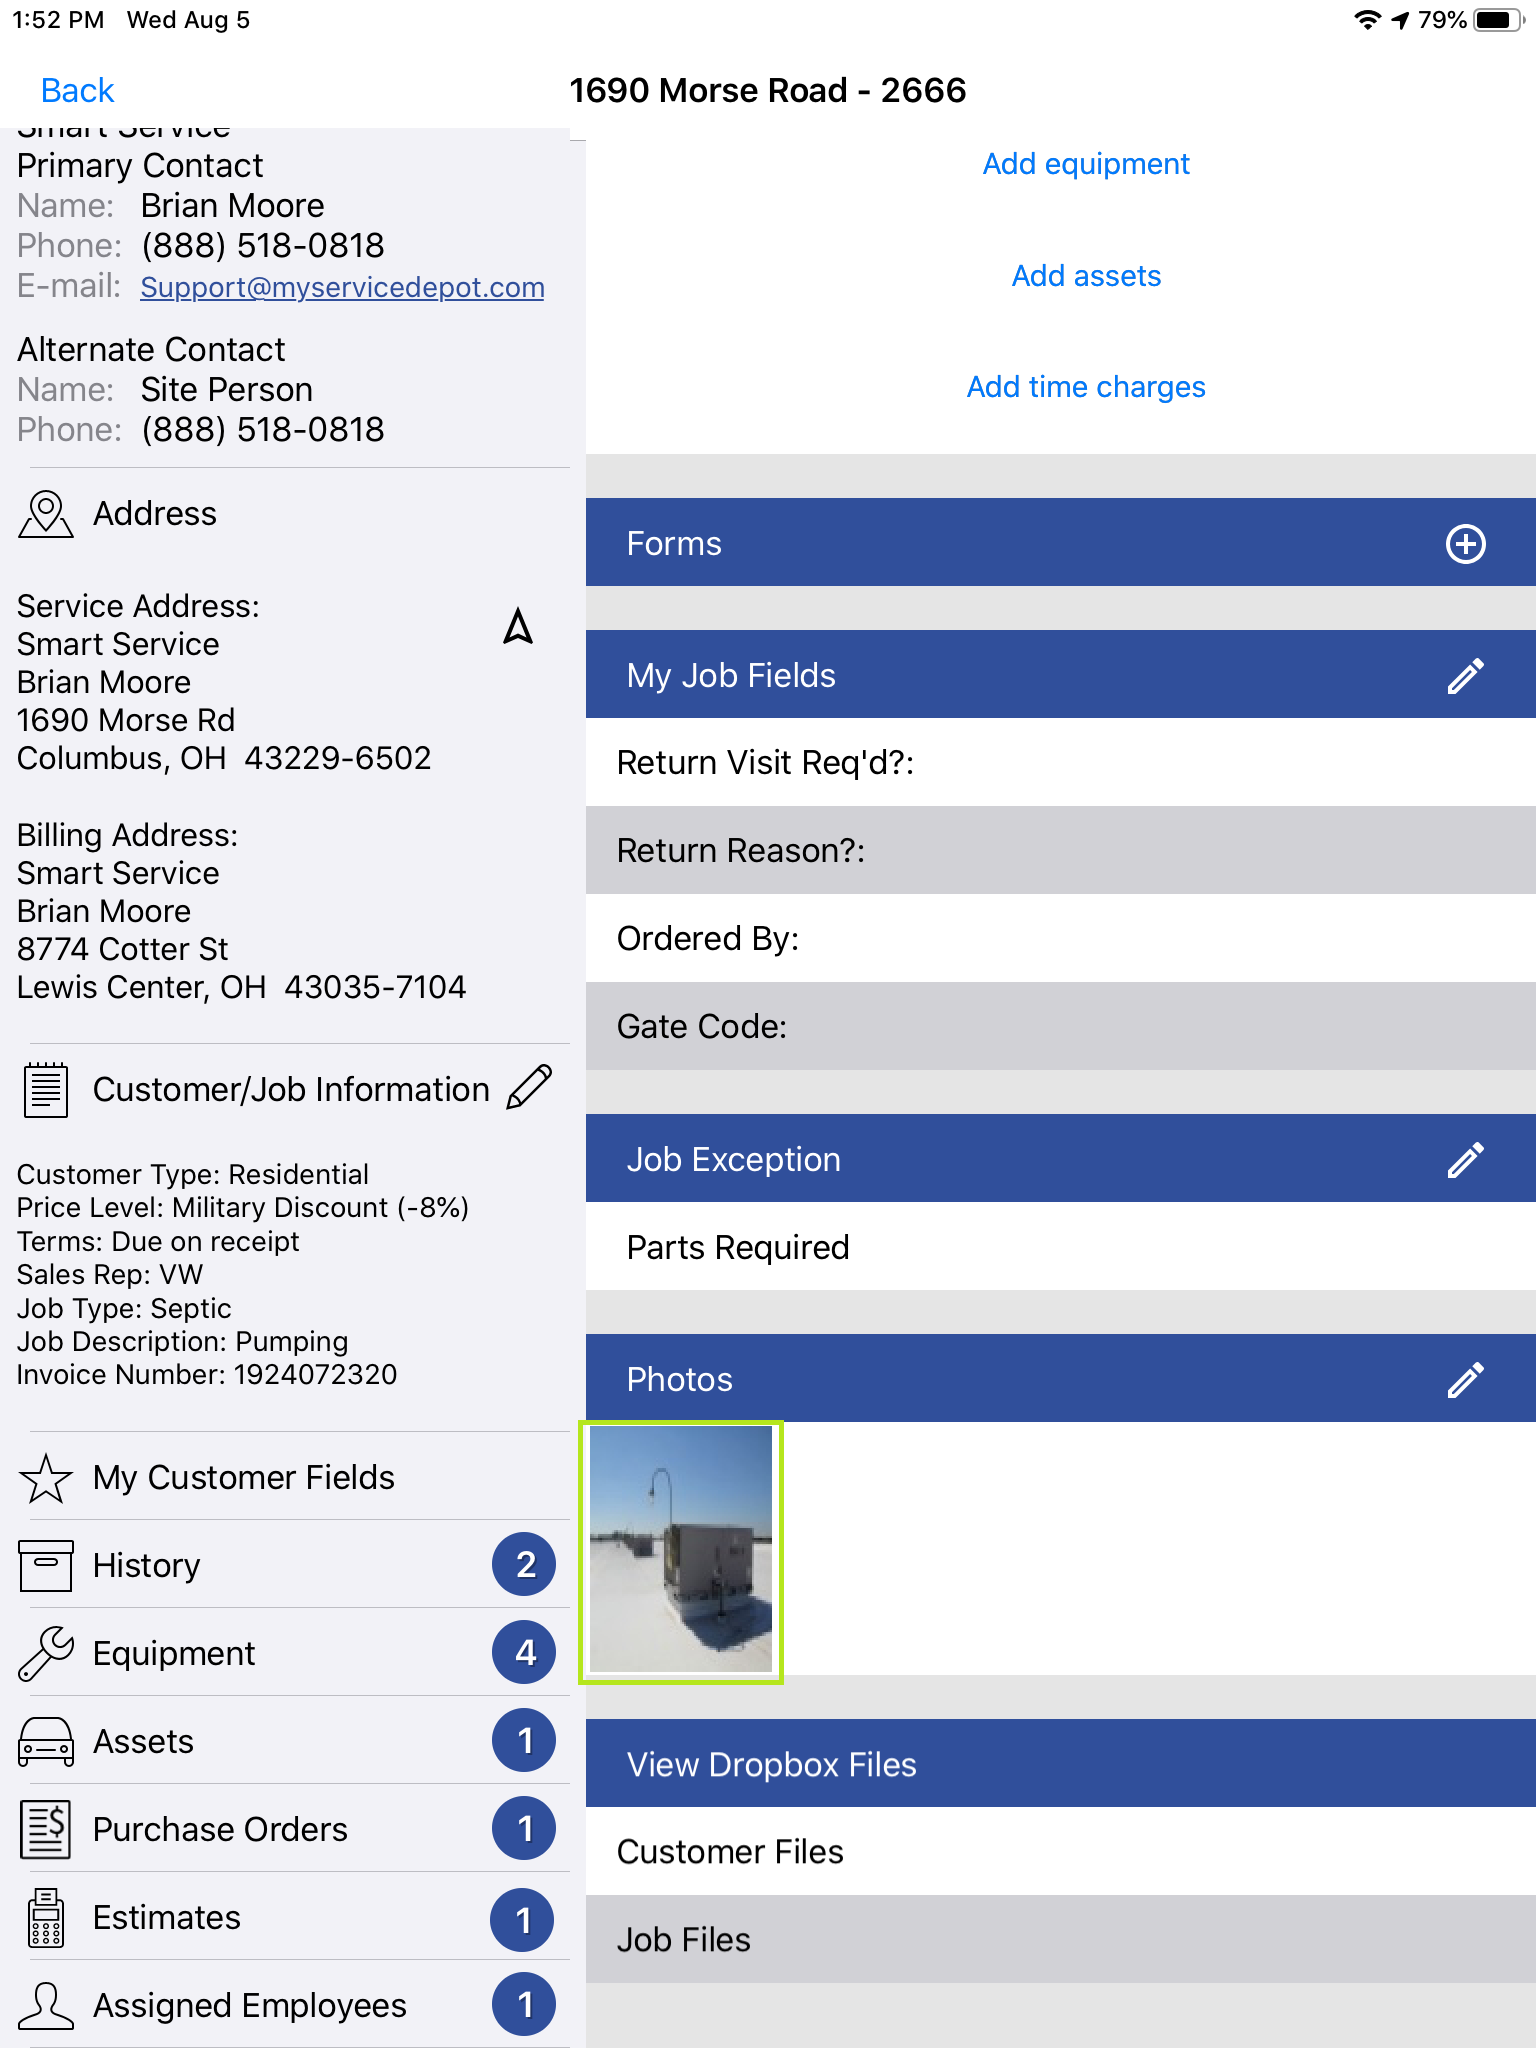
You can take up to 25 photos per job in iFleet using the photo section. For companies requiring more that 25 photos per service, we have a PDF form that can support 40 additional photos available here. To take a photo, tap the “+” symbol next to photos, which will take you to a screen displaying any photos you’ve already taken. To take another photo, tap the camera symbol at the top right of the window. Once you’ve taken your photo, you will have the option of throwing the picture away by tapping on the trashcan, or captioning the photo by tapping the date/time above.
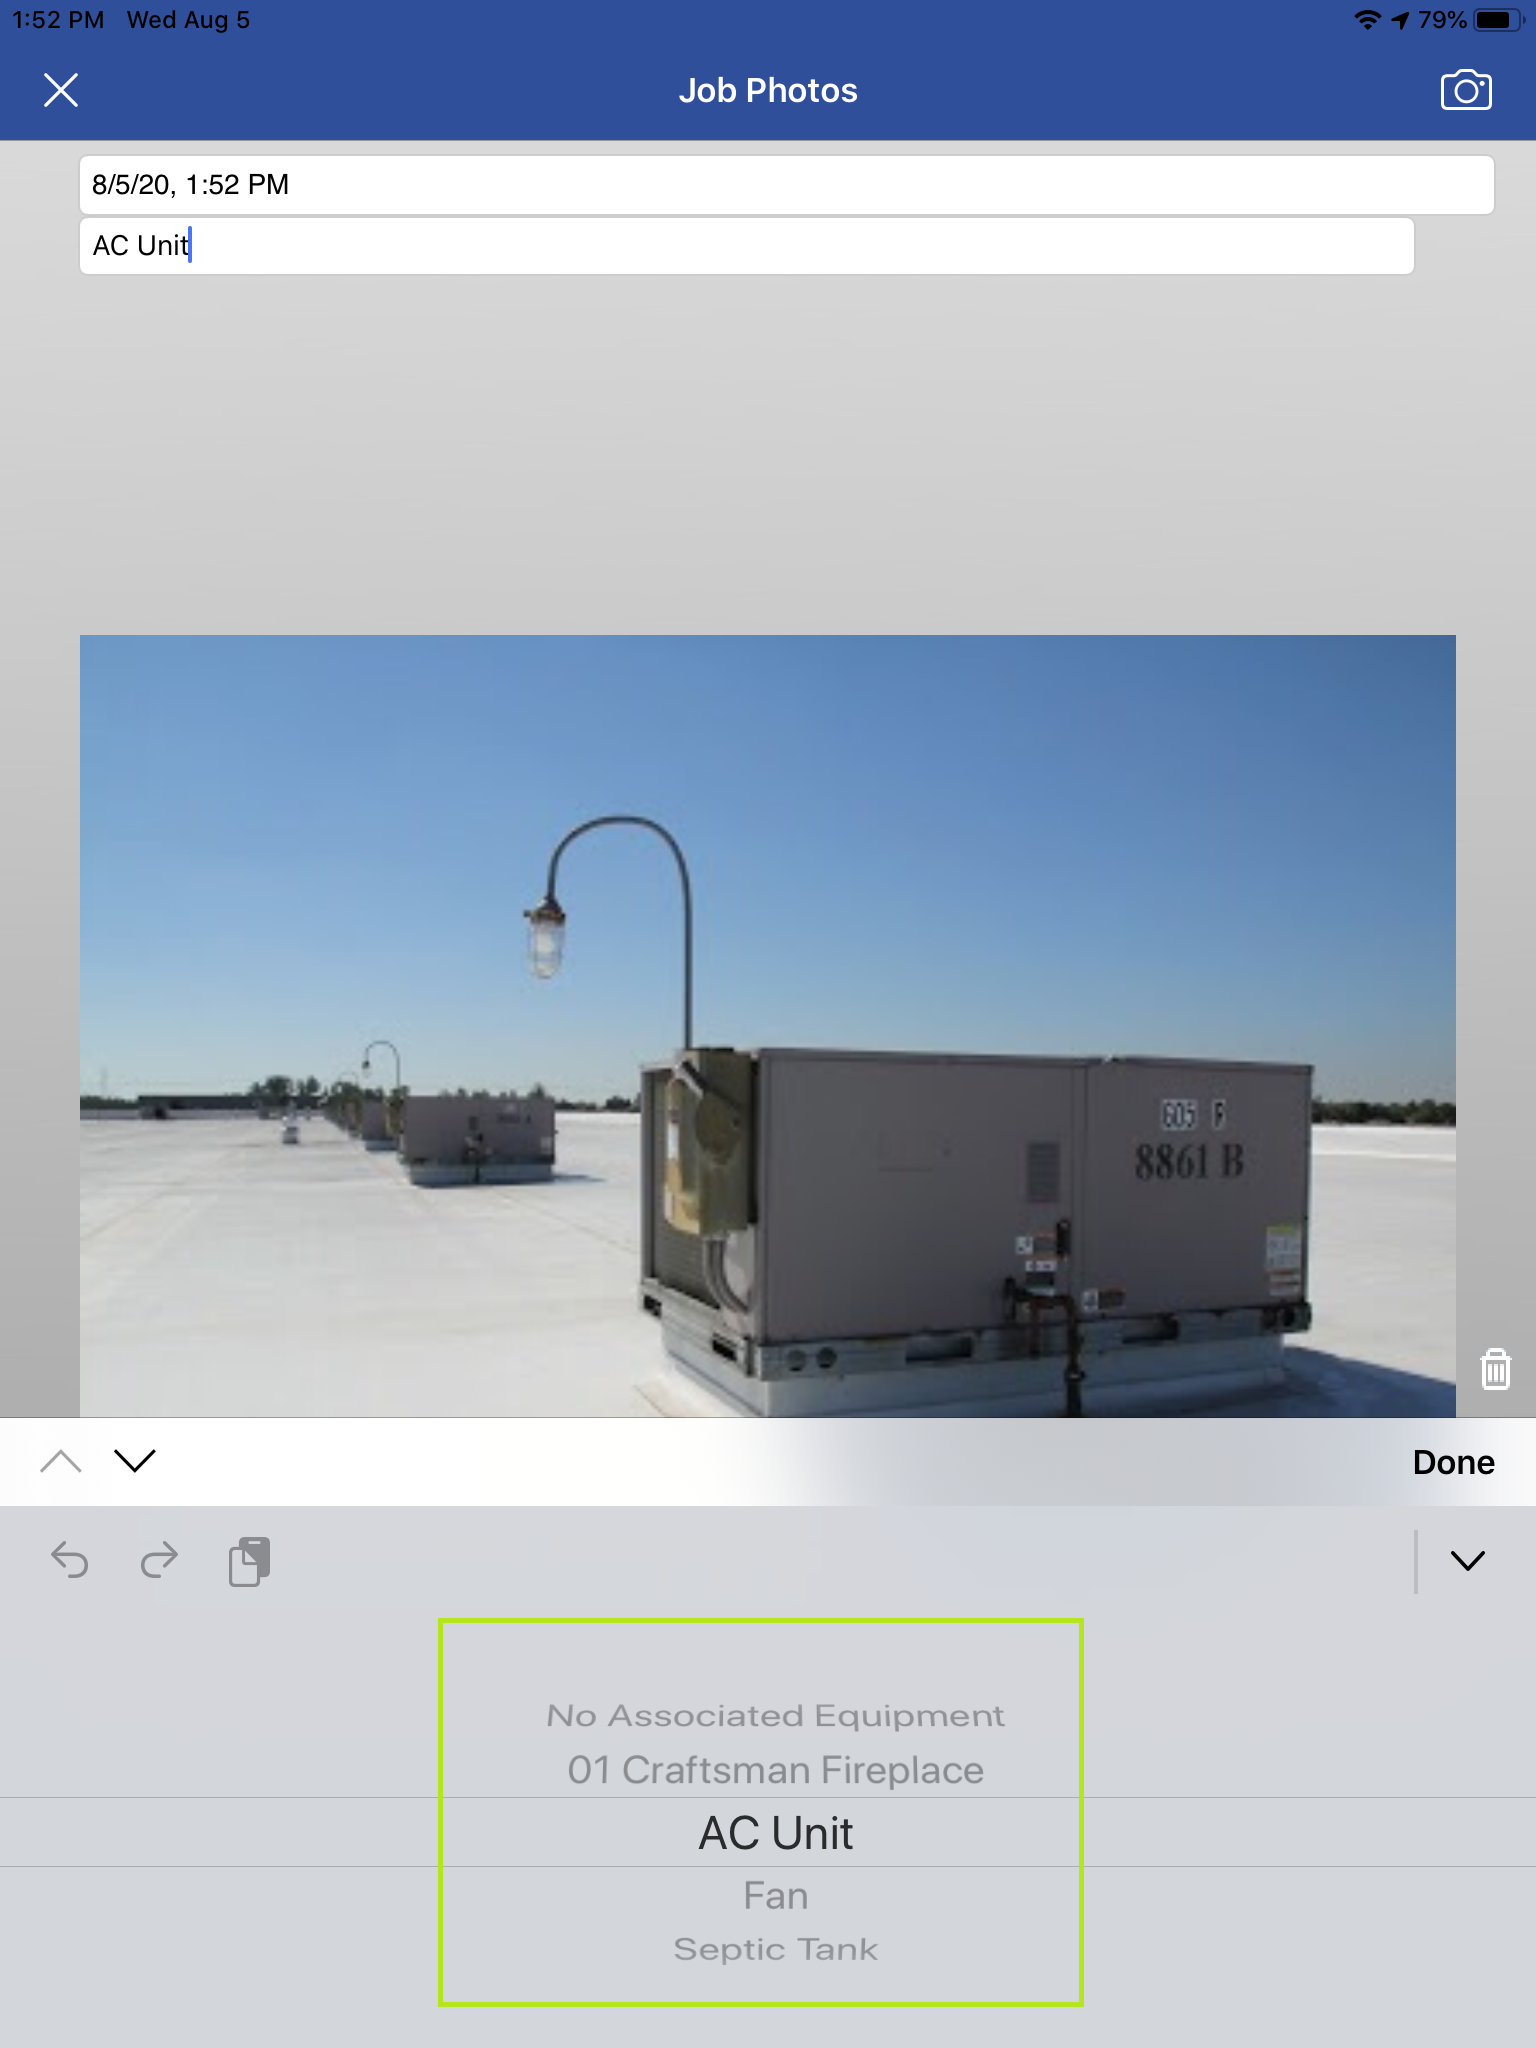
You also have the ability to attach a specific photo to a specific piece of equipment you may have for that Customer or Location.

Dropbox Files
If you’ve chosen to integrate Dropbox with iFleet, you can use this section to view any previous photos or forms used for this customer. This section is split into items attached to the customer in Smart Service, and items attached to this particular job back in Smart Service.
Payments
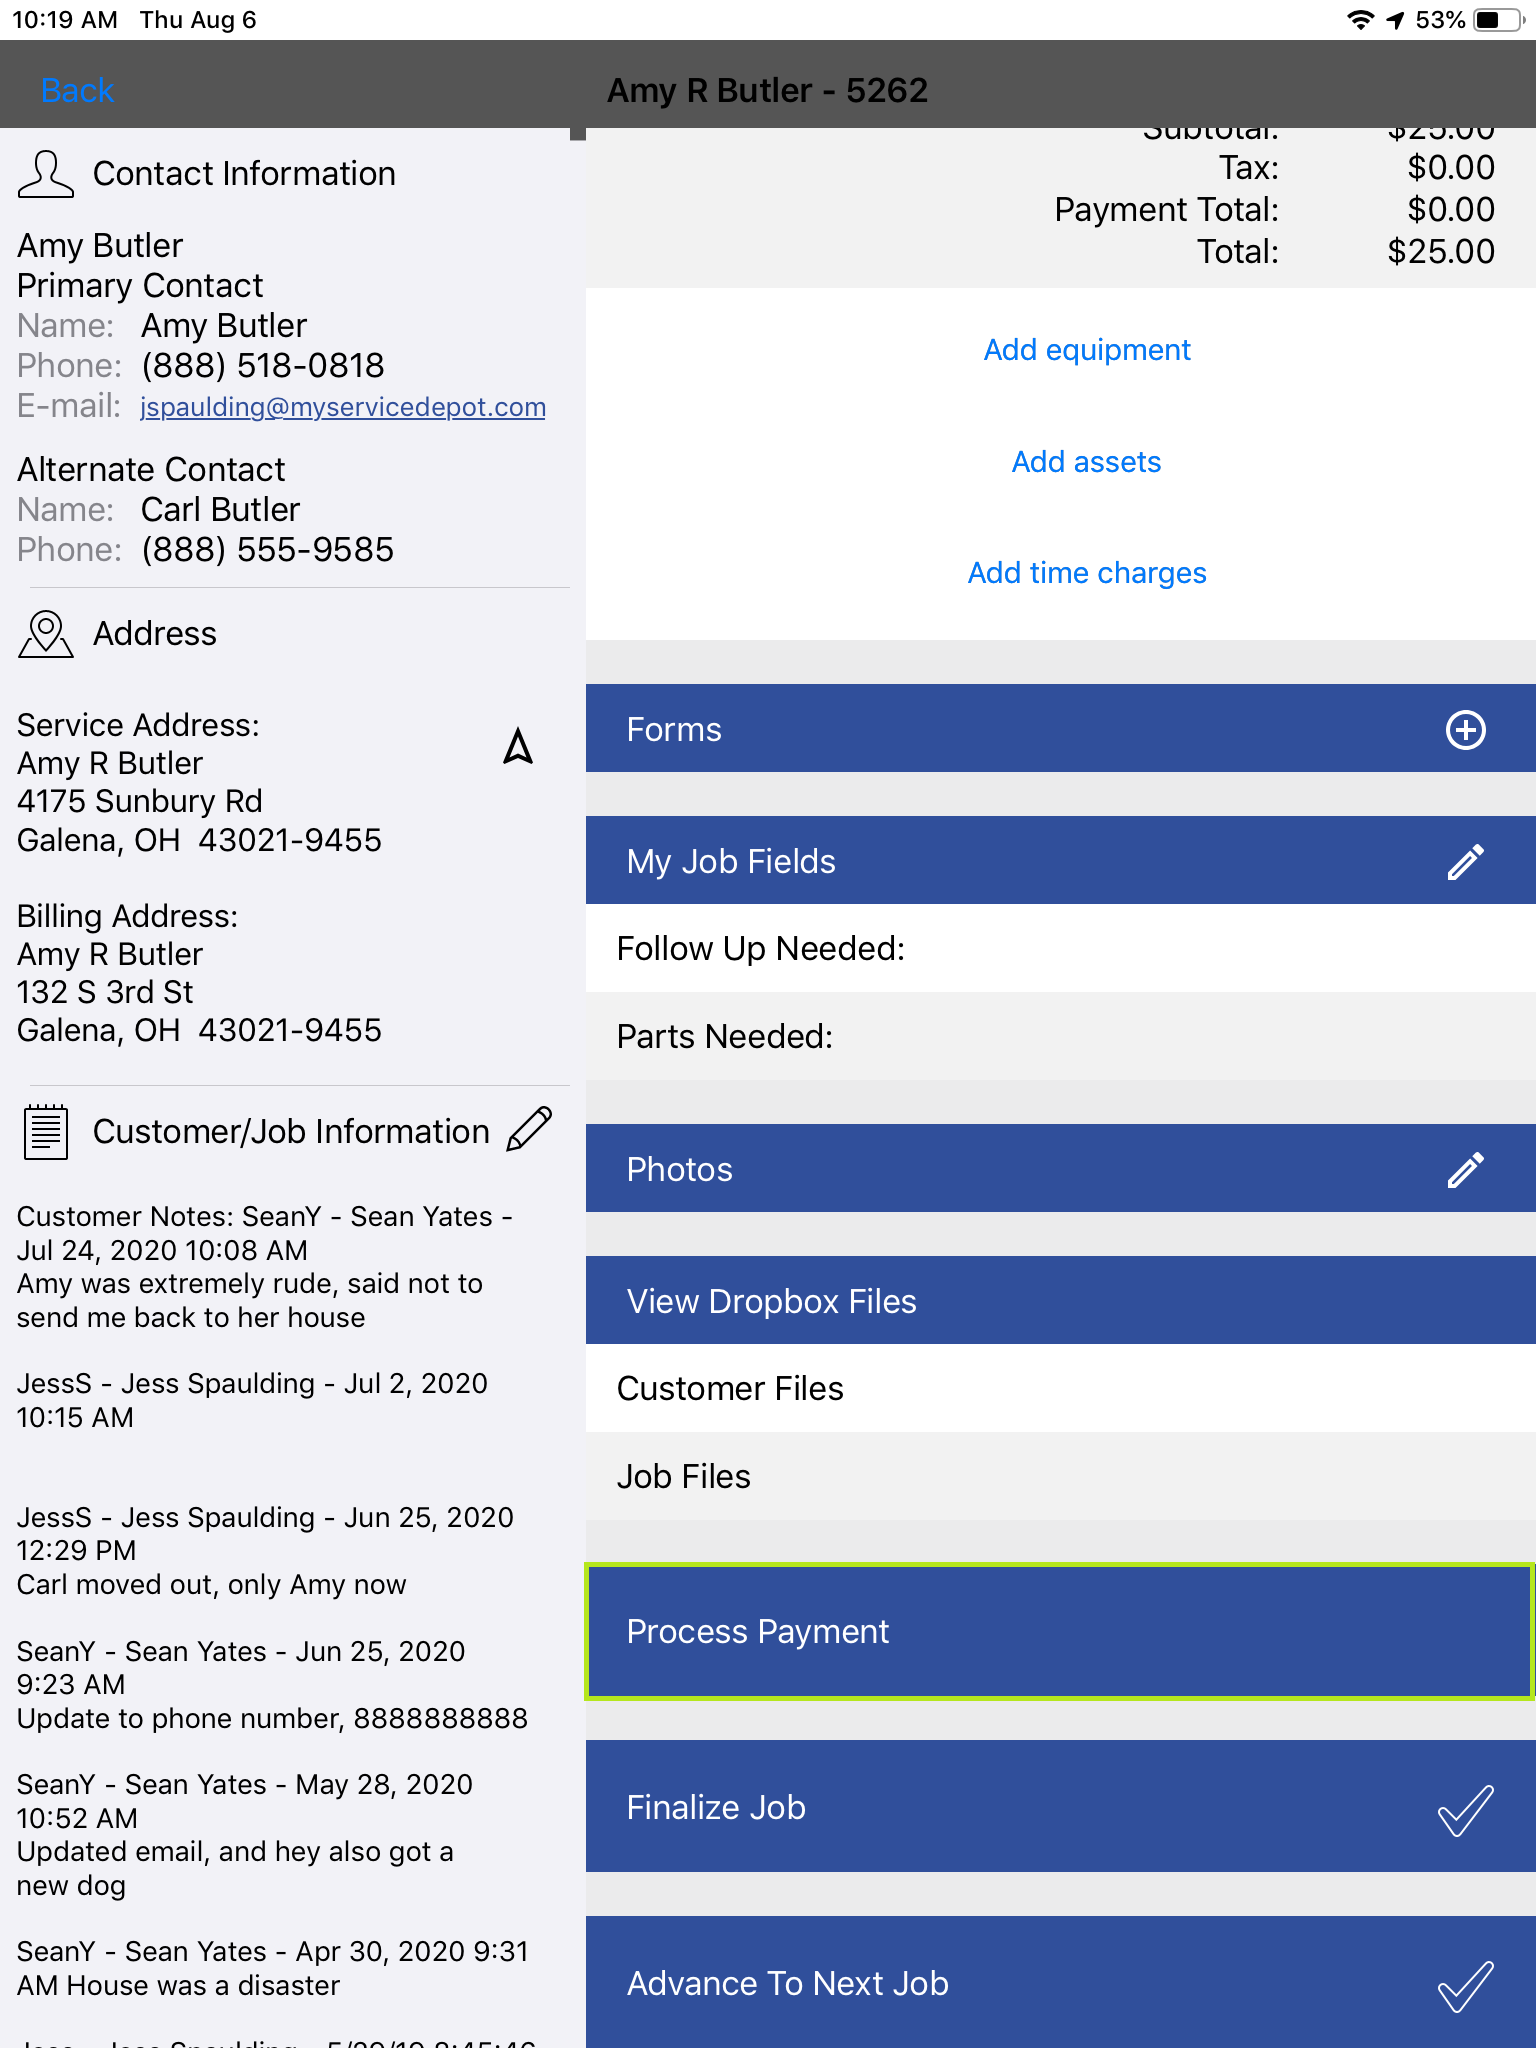
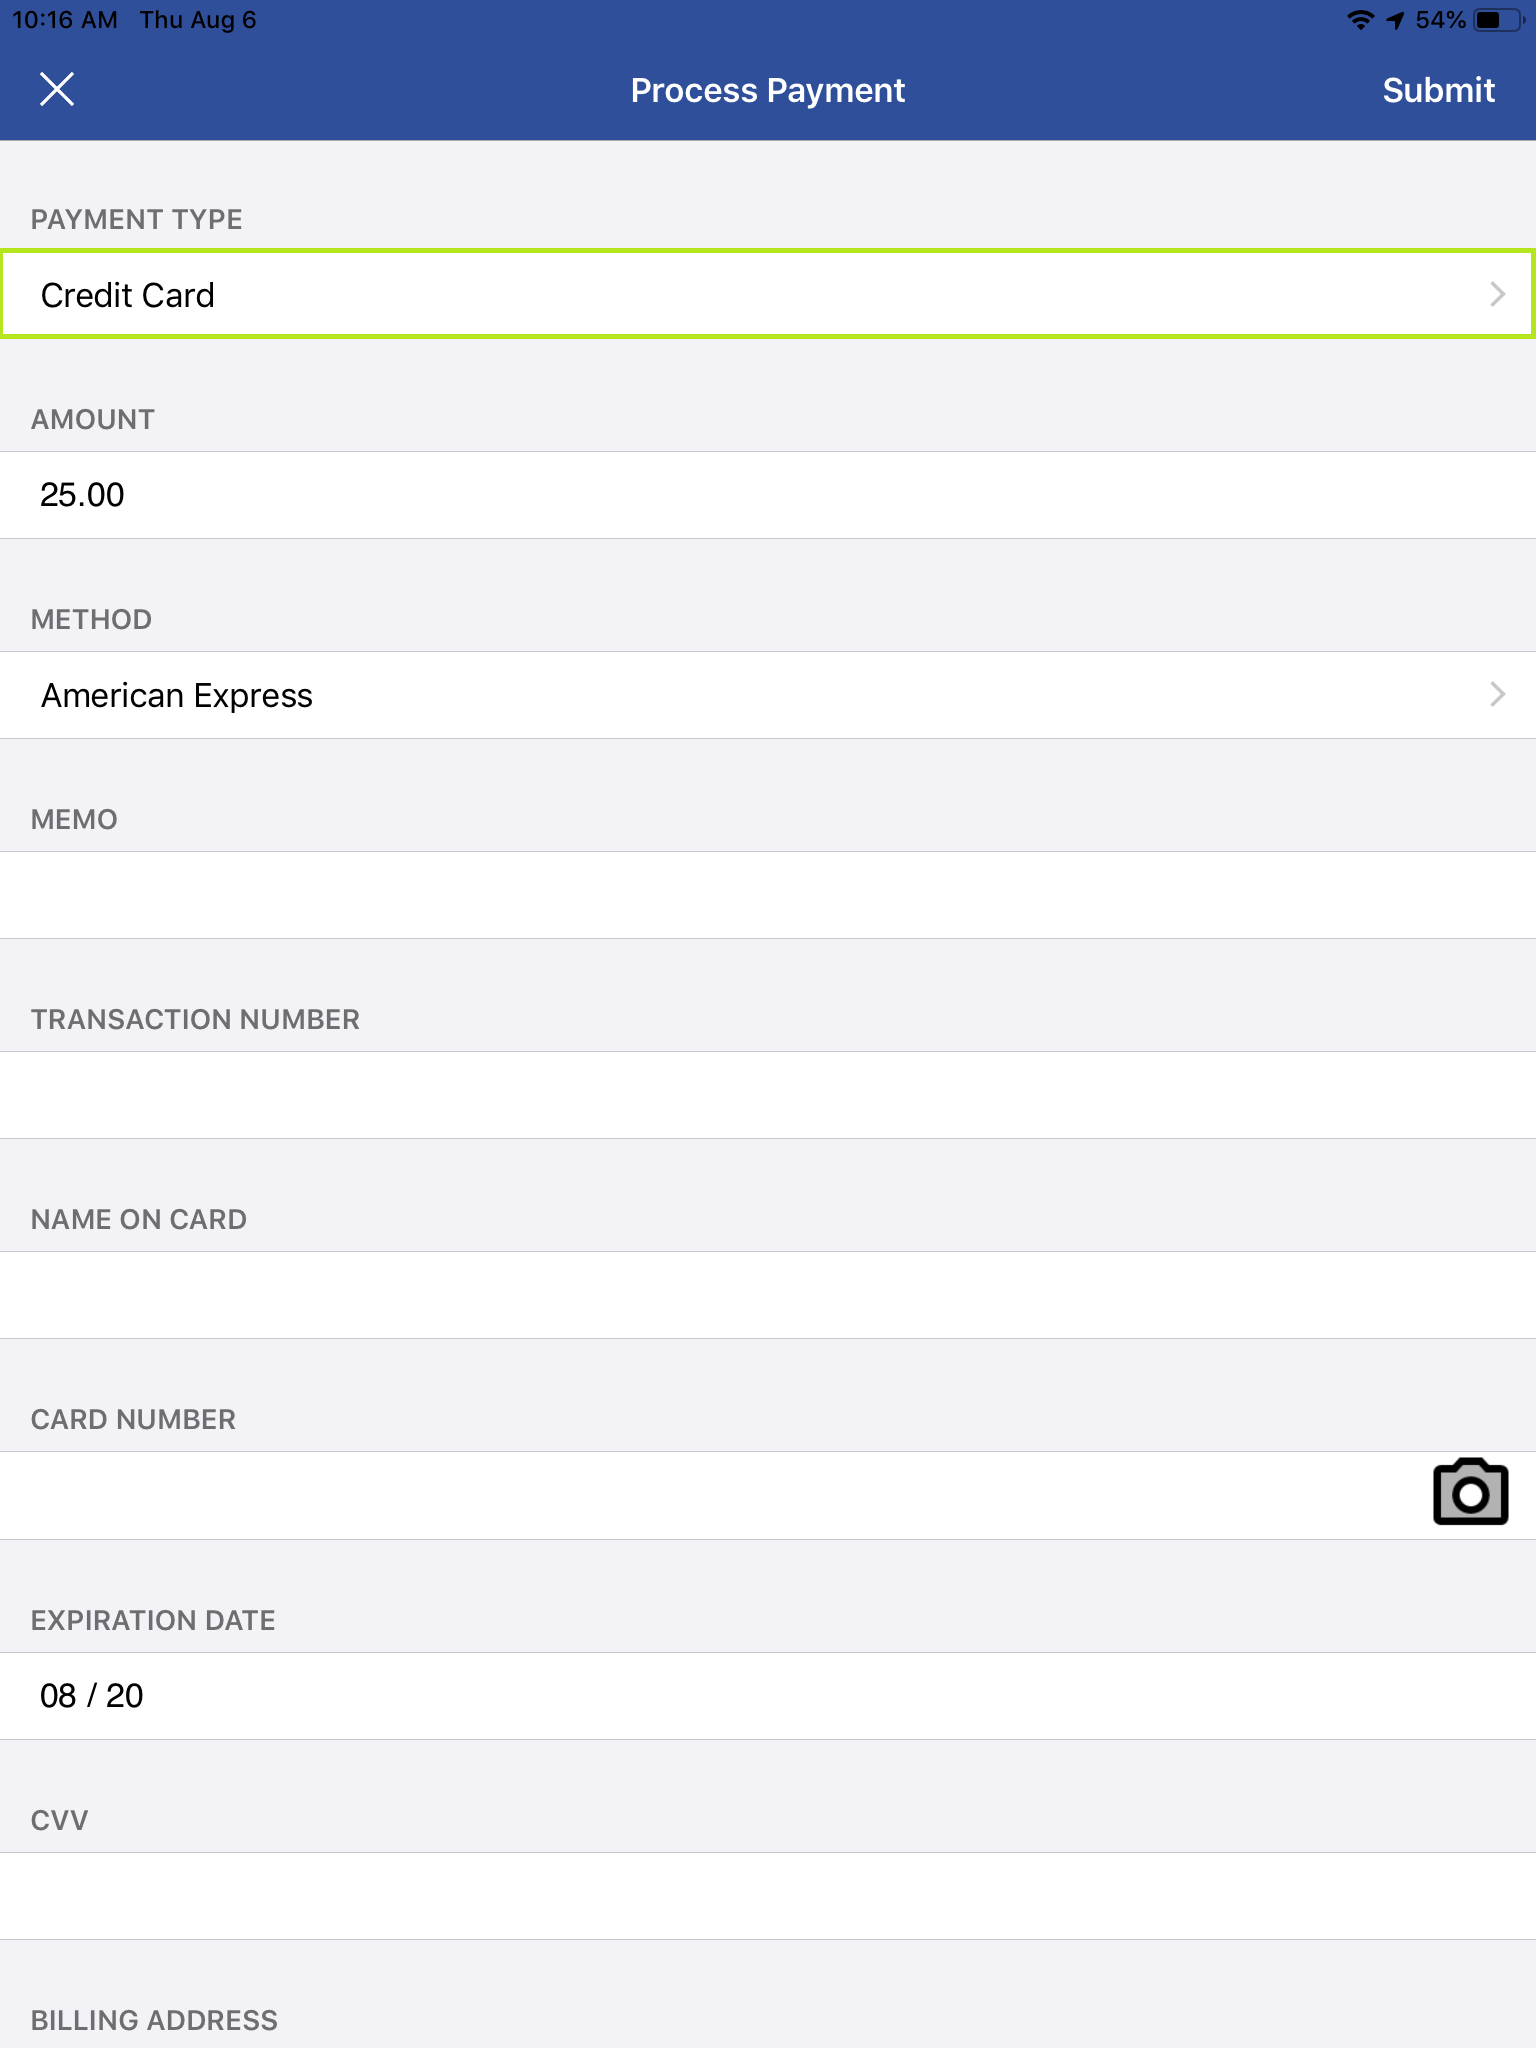
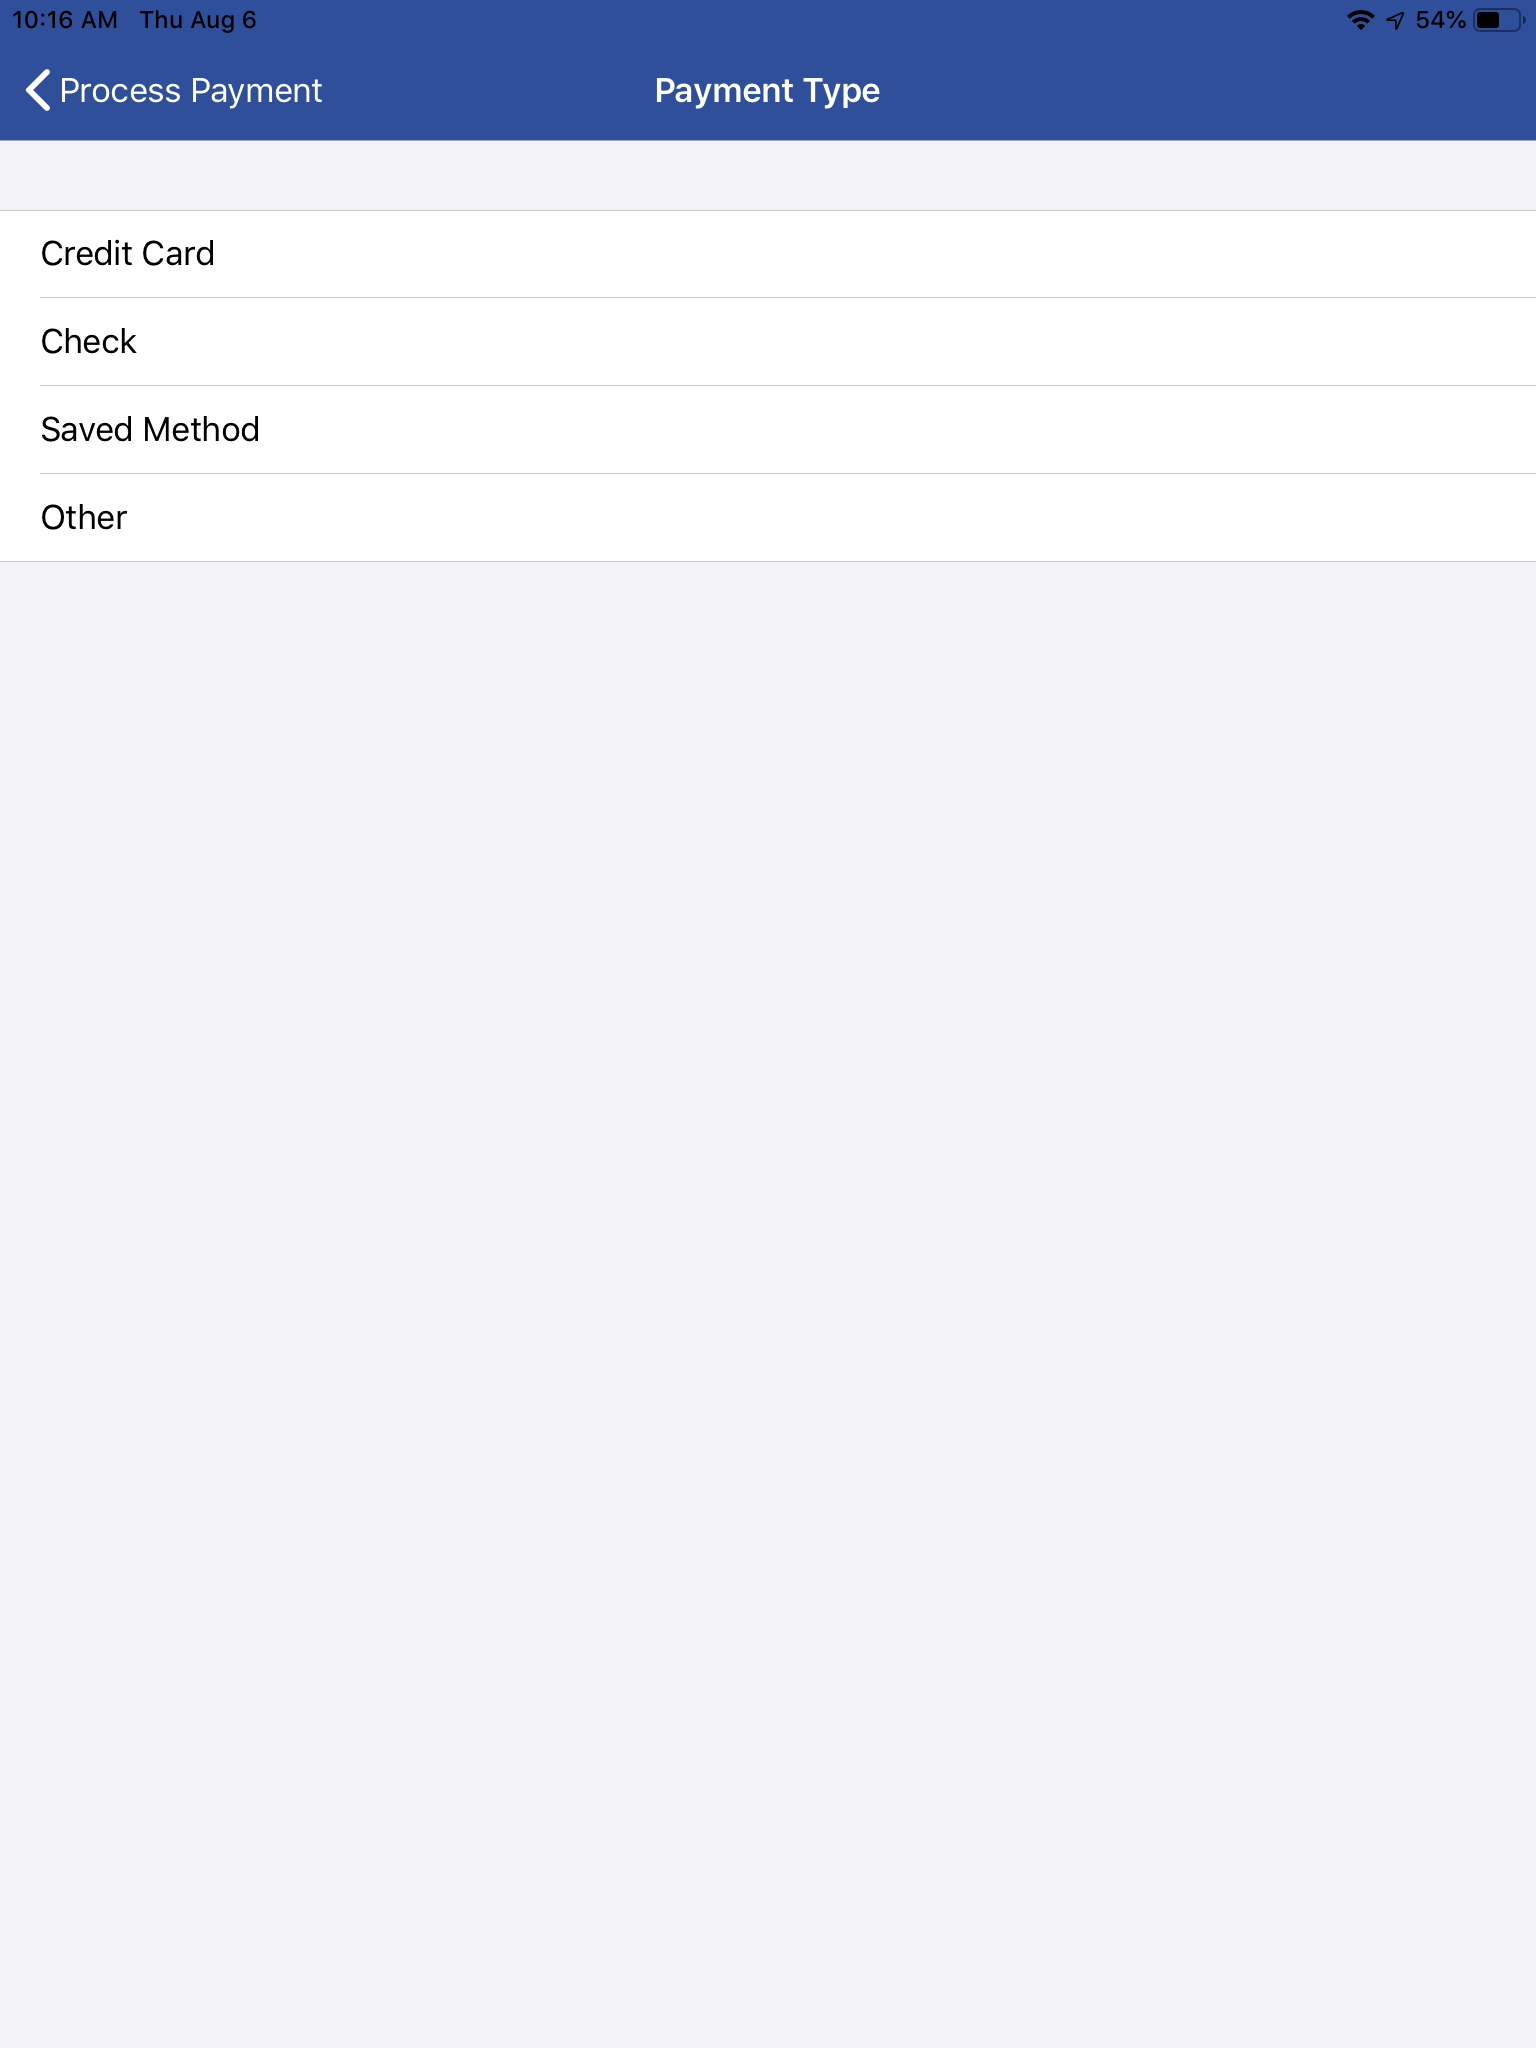
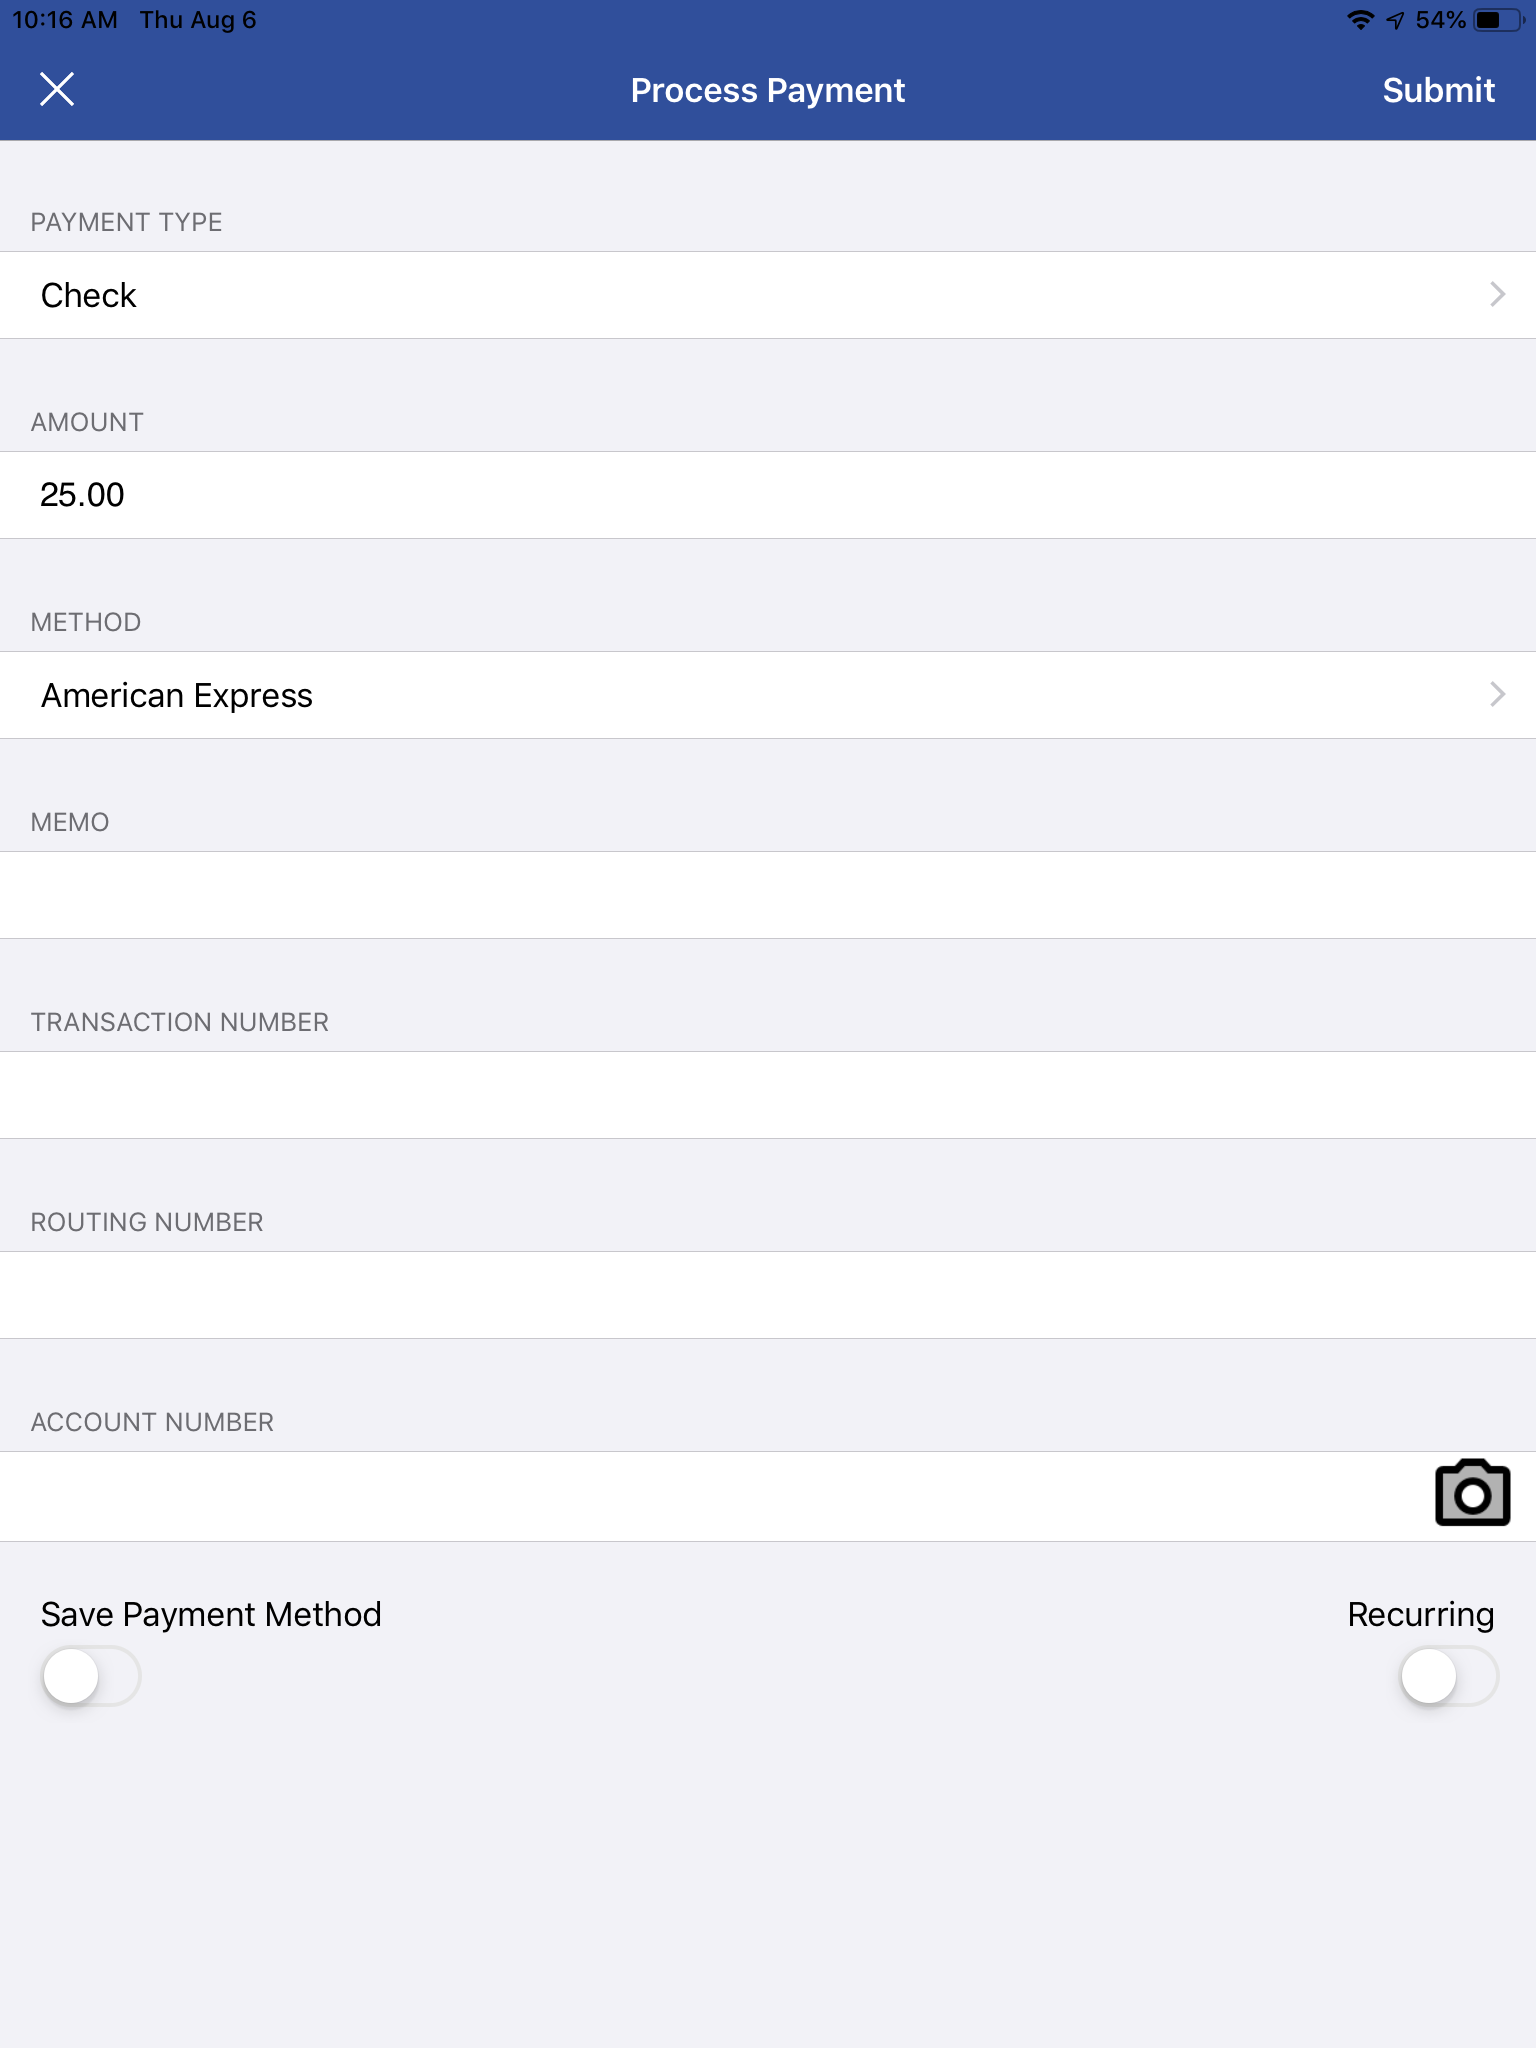
Before closing out this work order, you have the option of collecting payment via the “Process Payment” button. This will display a window where you can enter payment information using the standard features or CardPointe integrated features. We do not recommend taking card payments using this feature unless your company has CardPointe integration. You can learn more about taking credit and debit cards using iFleet by visiting this article.
Finalize Job
All of your notes in? Did you need to collect payment? Before you tap finalize job once everything that can be accomplished on this service is done. When you’re leaving the job you must hit the finalize button to end your service. Remember, you can finalize with a job exception if there’s more to do another day.
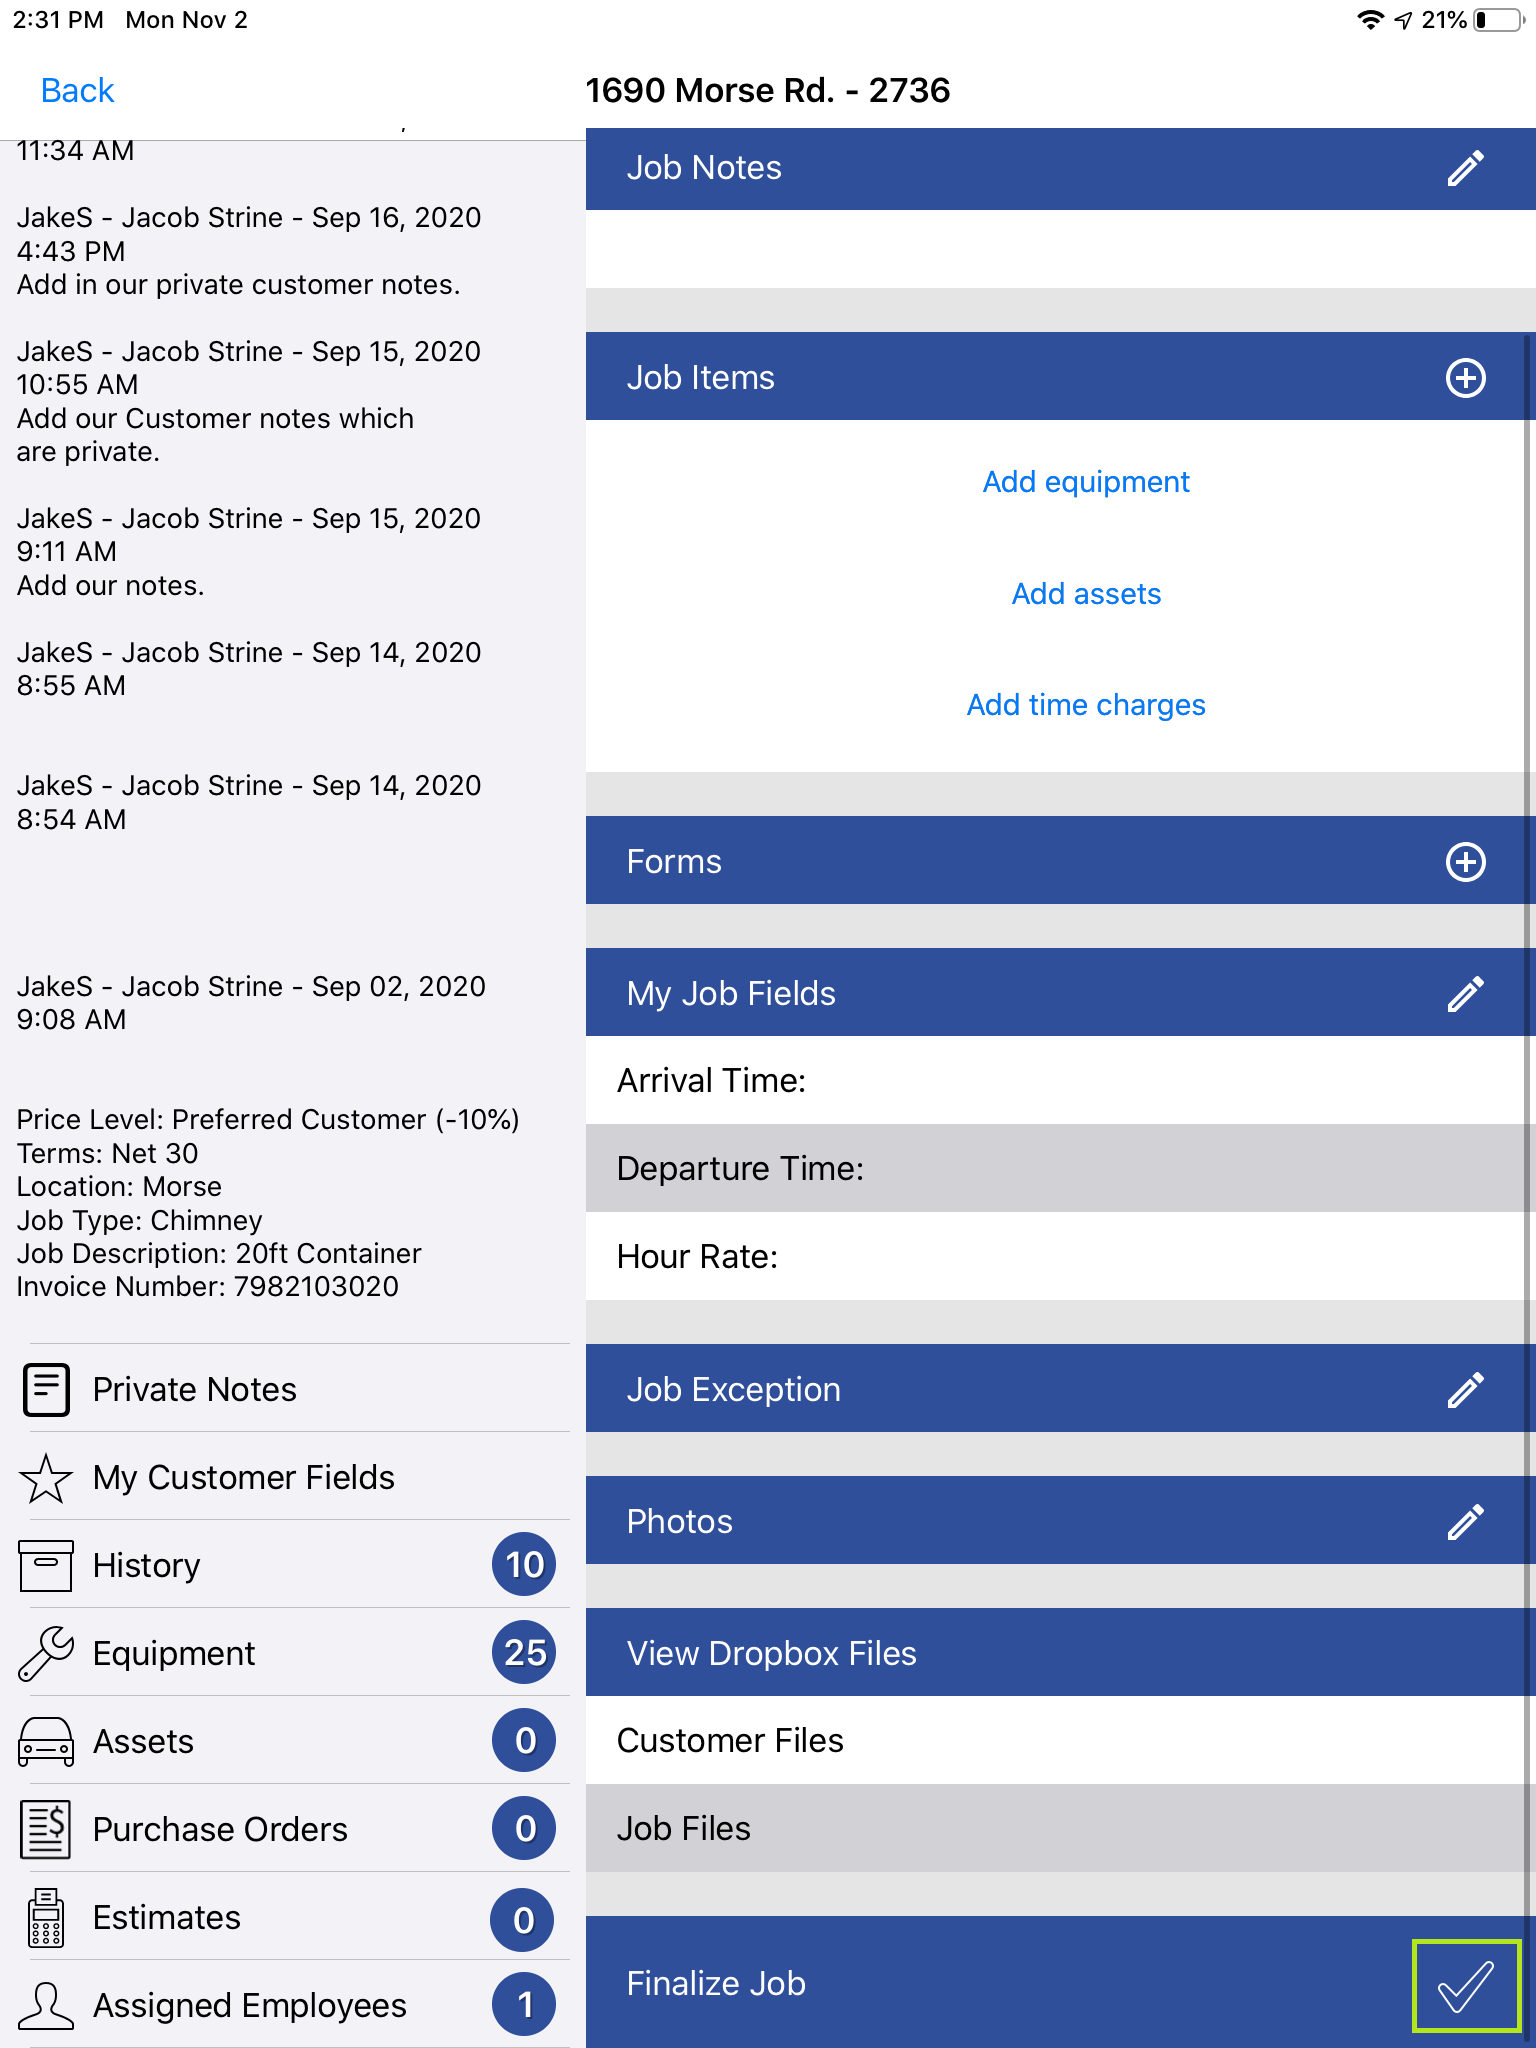
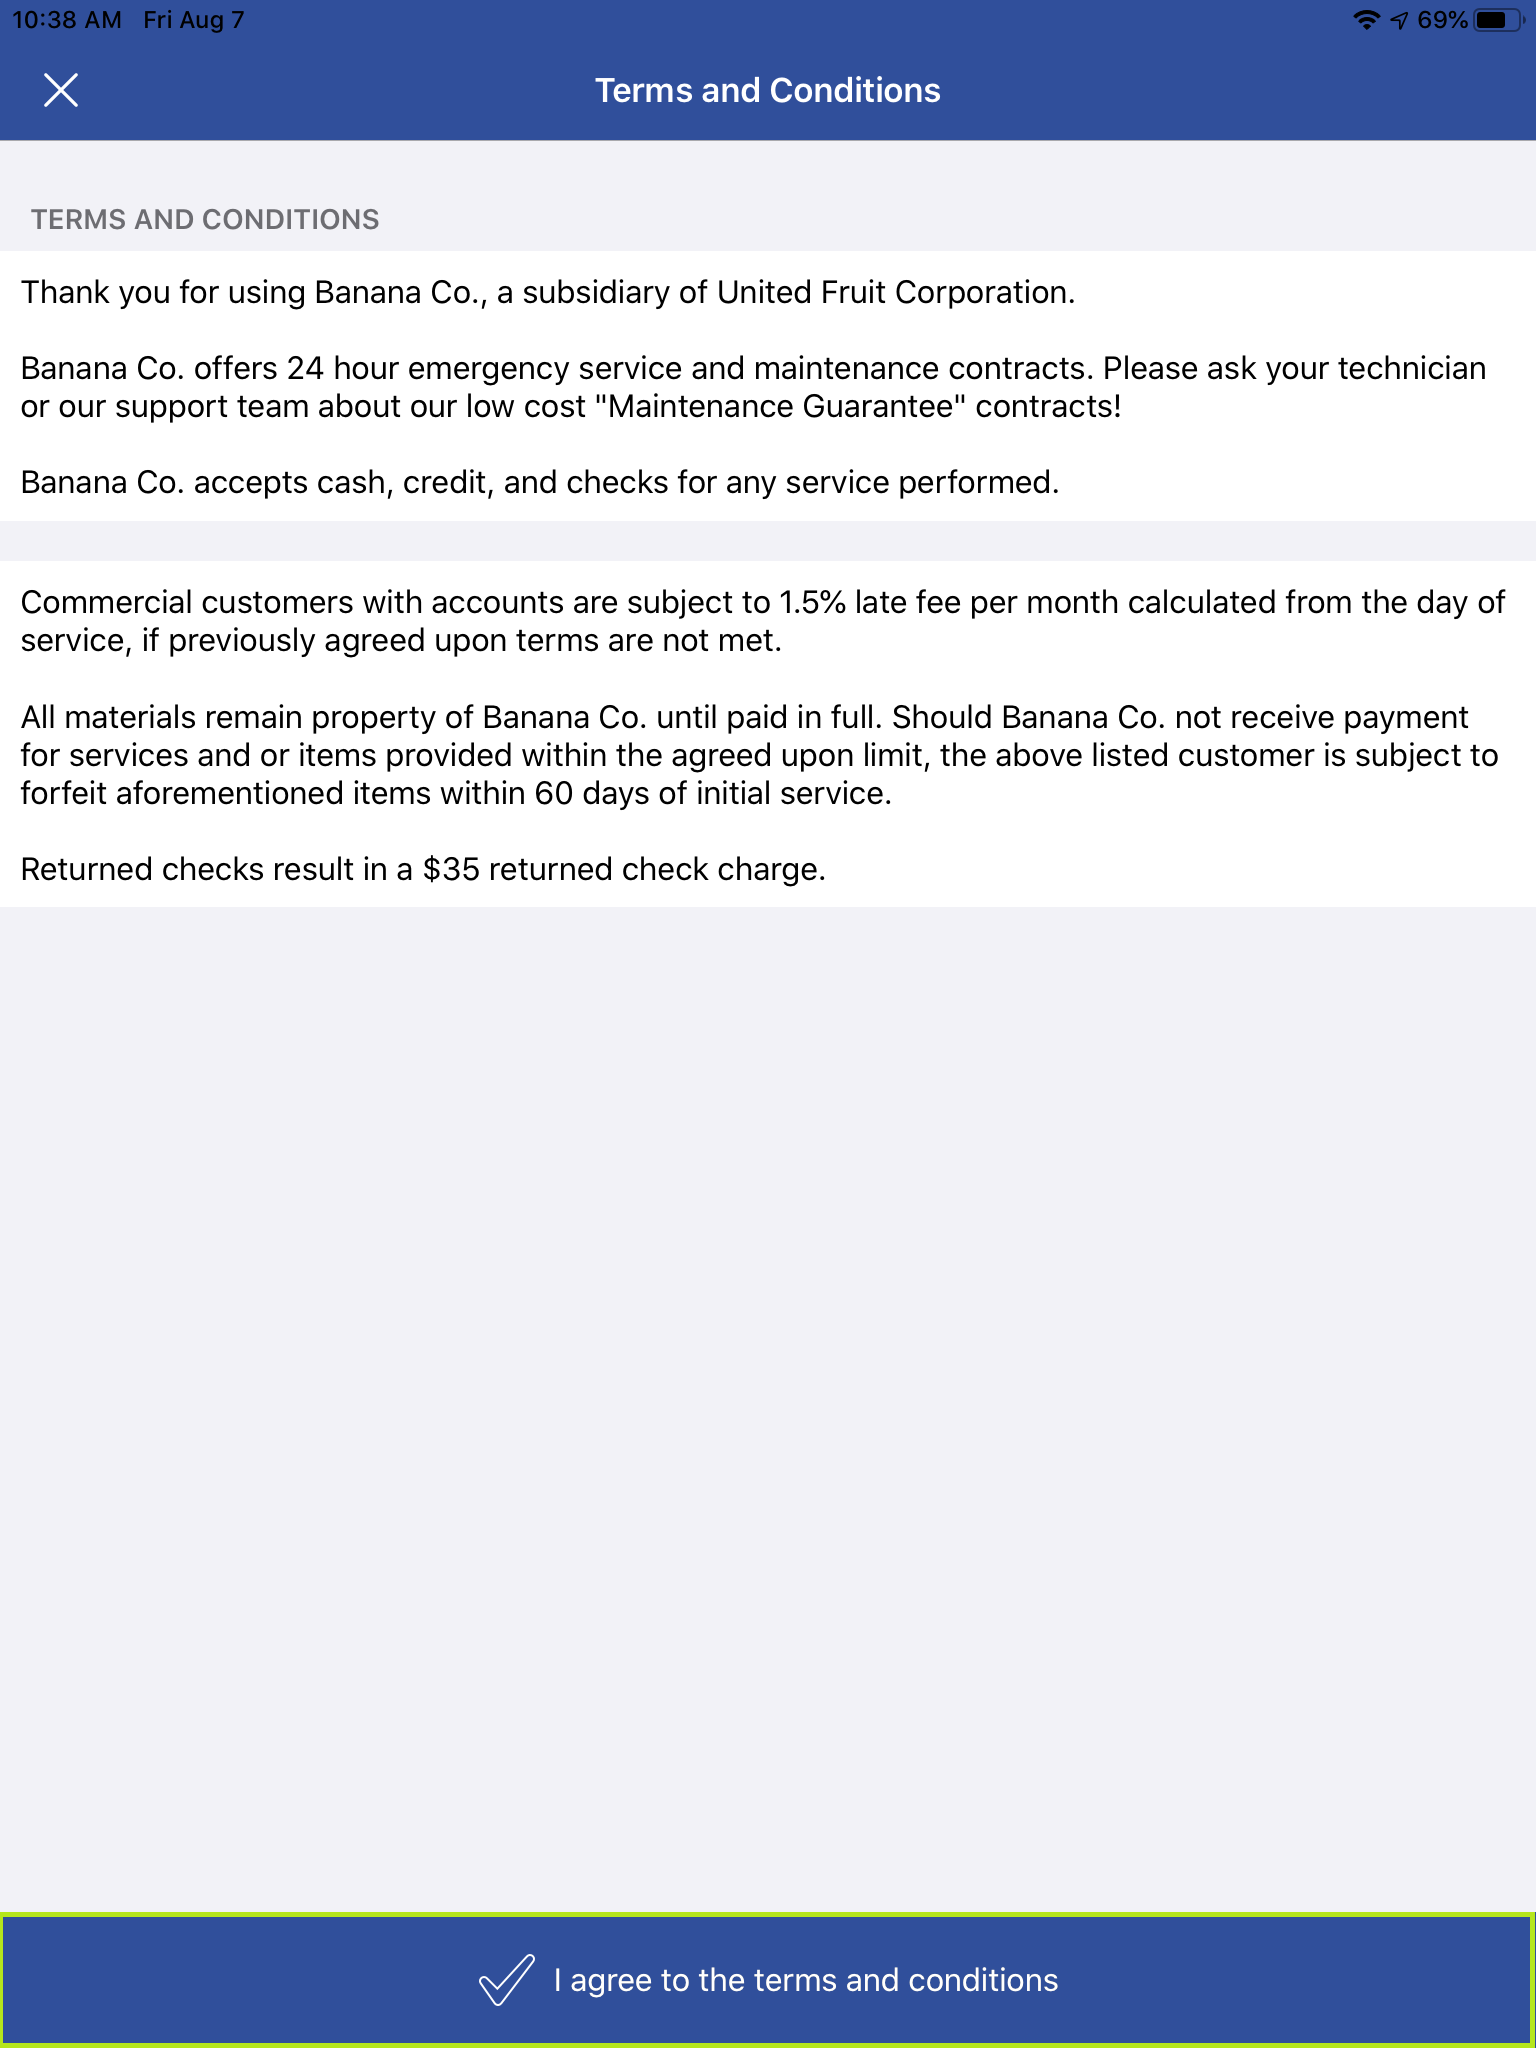
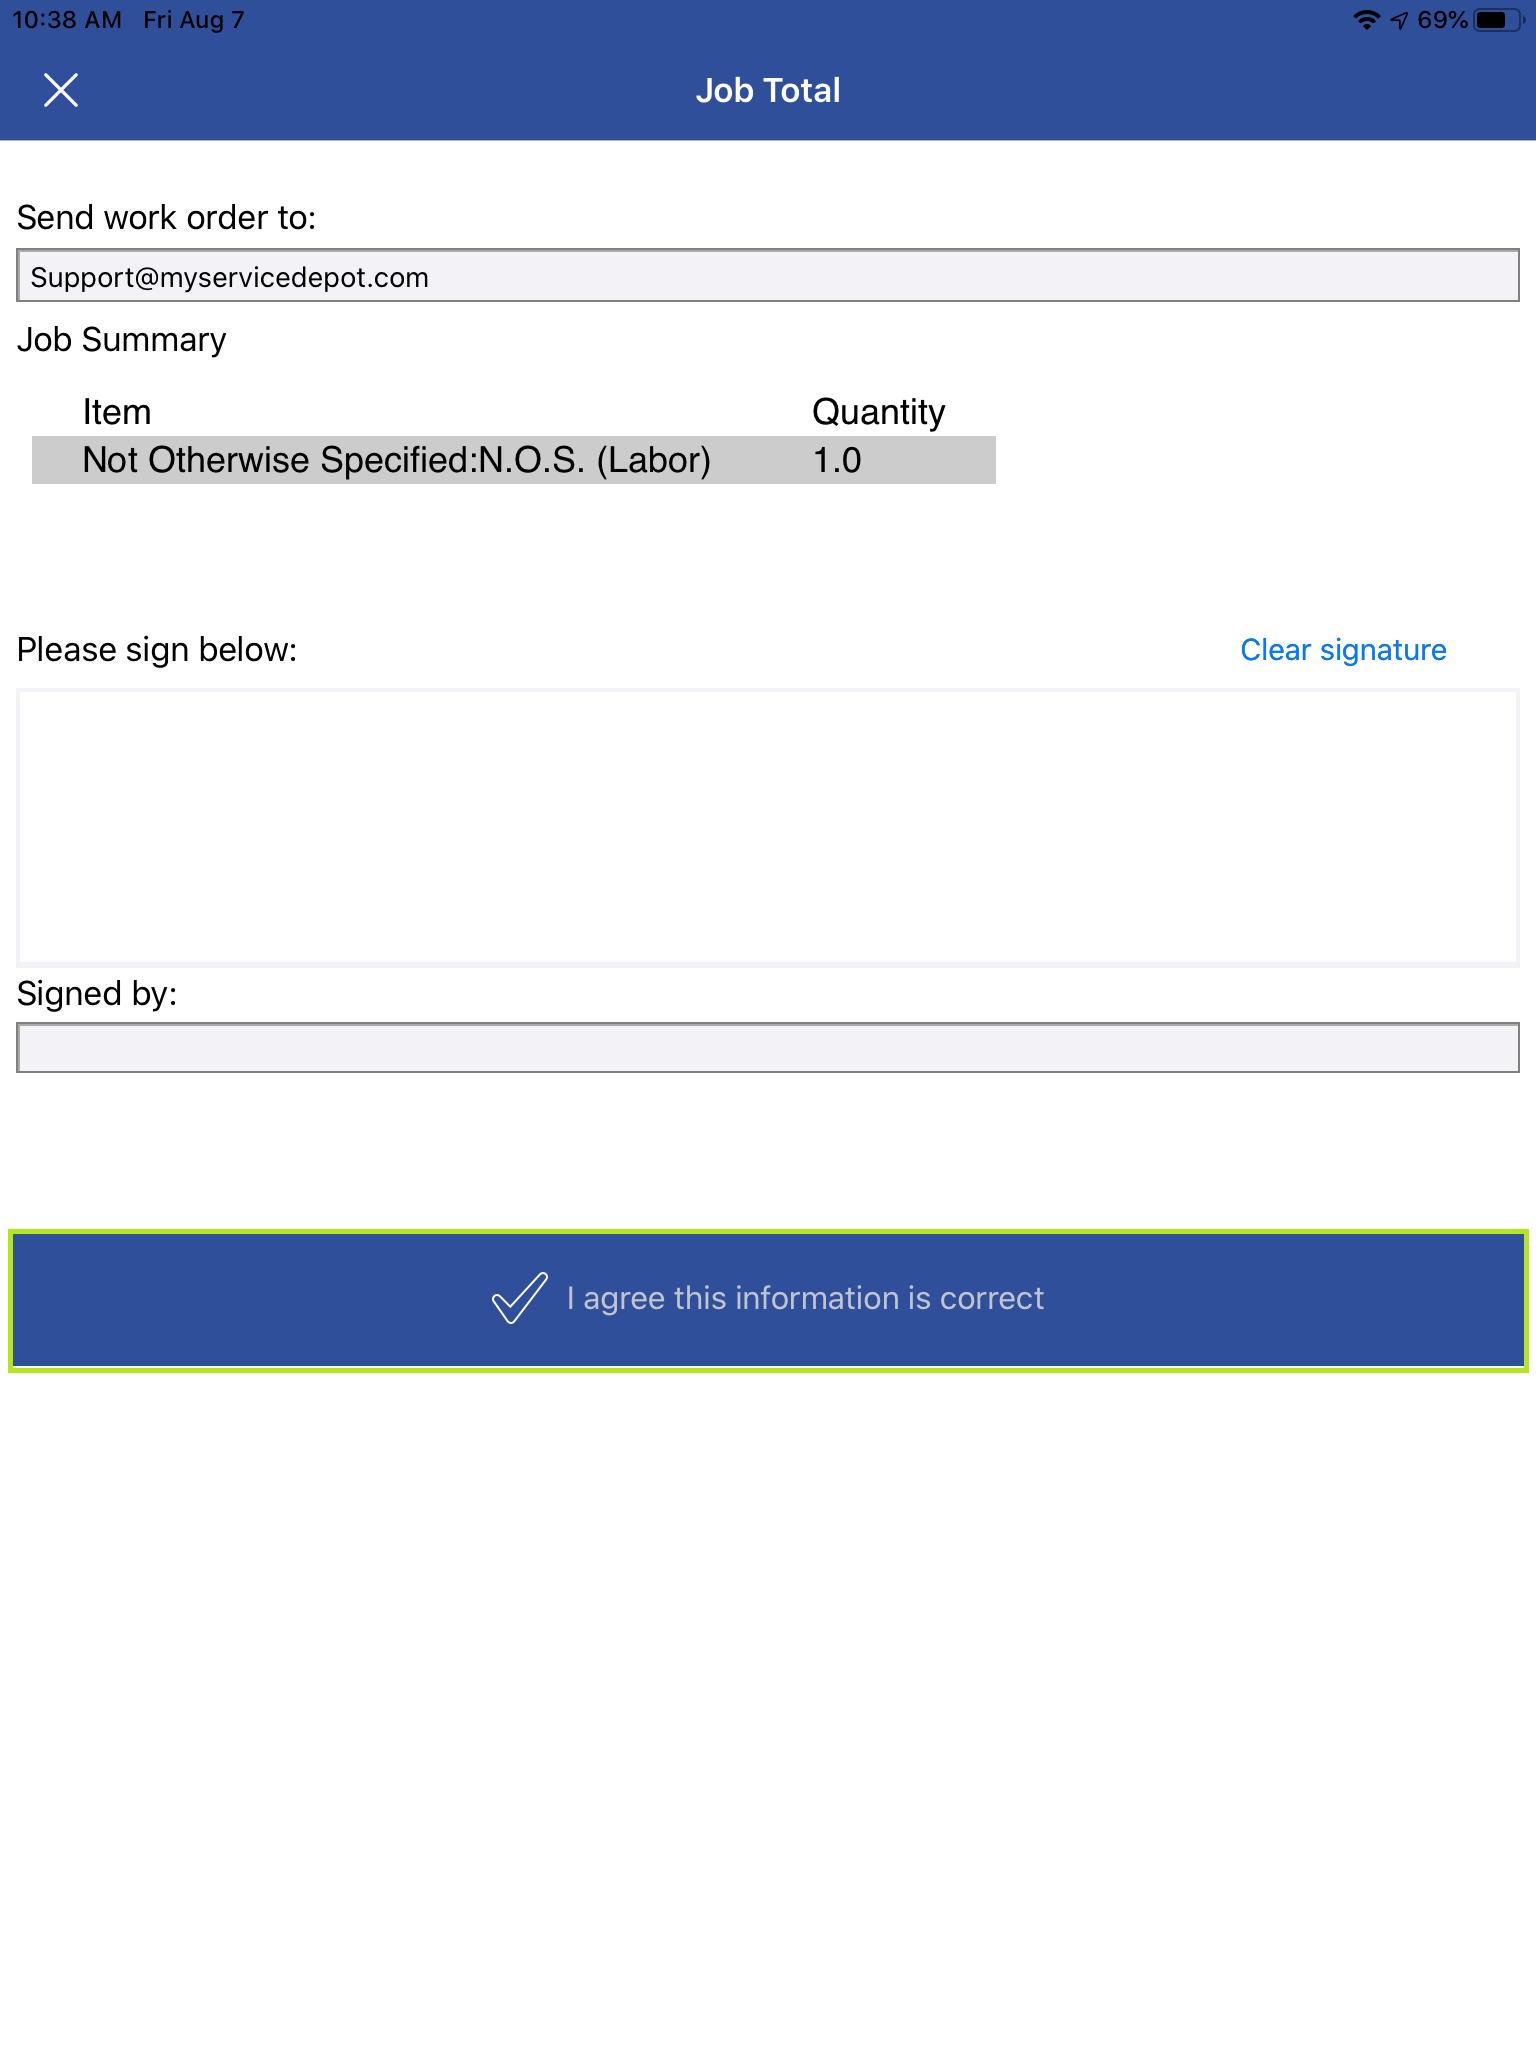
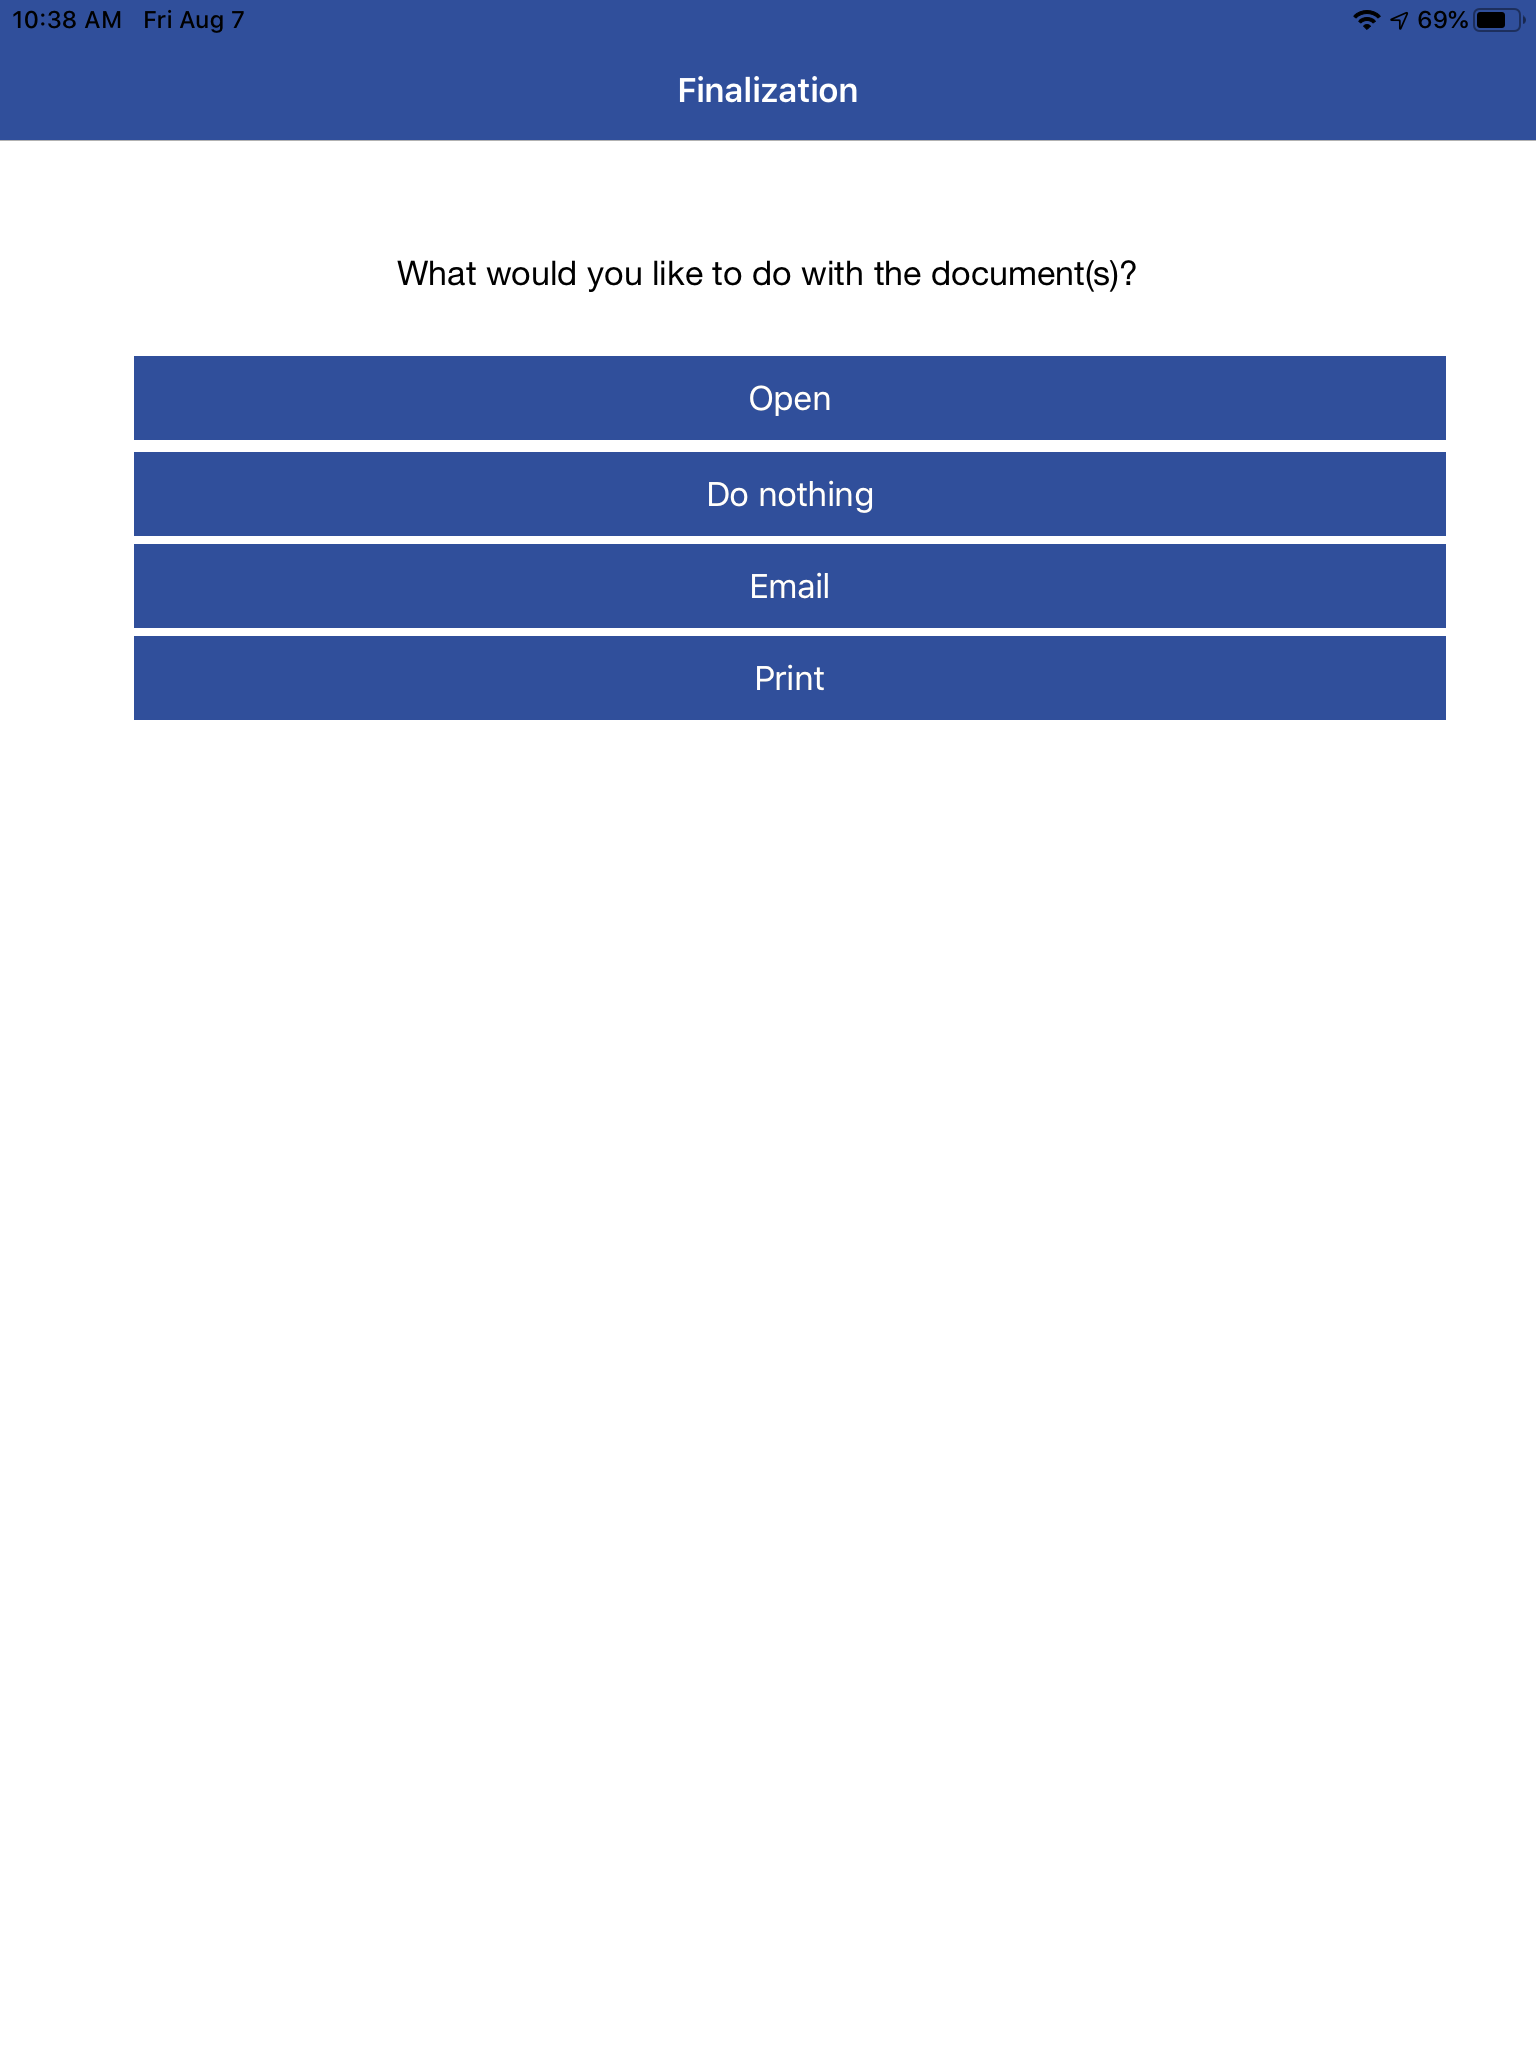
When you finalize a job in iFleet, the default process will display terms and conditions to the customer, collect a signature, ask about PDF forms (when applicable), and ask whether or not the customer receives a work order.
This entire process can be replaced with a custom PDF which would display automatically when tapping finalize. This is a quicker option for those who don’t collect signatures or those who need to complete a document at the end of each service. You can learn more about using the custom work order option here.
For those using the standard process, the terms and conditions displayed to your customer come from Smart Service’s settings, which can be changed here.
You can use your finger or a stylus to collect a signature by writing in the signature box. Afterward, you may be asked whether or not the customer should receive a copy of your PDF form, provided you used one on this job. The last screen will ask what method (if any) iFleet should use to send your customer a copy of the work order you’ve completed for them today. You can choose the “Do Nothing” option if your customer shouldn’t receive a copy of the work order. Regardless of what you choose, the office will always receive you information when you sync your device next.
Adding Jobs From iFleet
If this feature is enabled for your user profile, you will have the option to create your own work orders directly through iFleet rather than having to call the office and ask them to send you a work order. Typically this feature is used when you’re the “on-call” technician or when a second, separate work order is needed for your customer.
Along with this option, you can also be provided with the option to create a customer or customer location from the field. Since the permissions for these items are individual options, you can decide on a per-user basis who should have these options.
Once the appropriate permissions have been enabled, you should be able to start creating customers, locations, and jobs the next time you receive a new work order on your device.
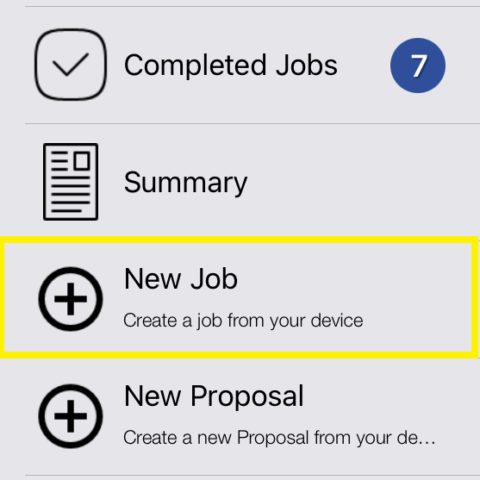
The option to create a new job happens within the iFleet menu (shown left) where you can search for an existing customer to create a job for, or create a new customer if you have permission to do so!
It’s important to note that you can search for a customer by address or by name, so make sure to search for a customer before you create a new one. If you make a mistake, no problem! The office can fix this for you later.
If you tap on the customer name in the list, this will allow you to create a new work order for them. Tapping the plus symbol next to their name will provide the option to create a location for that customer.

