What Are Purchase Orders?
If you need to restock or pick up a special part for a customer, odds are you’ll be purchasing those items from one of your vendors. In QuickBooks, you would record that shopping list as a “Purchase Order” which would be converted into a “Vendor Bill” upon purchase. Smart Service and iFleet have built-in features to expedite this purchase order process. The first step is to enable purchase orders in your QuickBooks File. If you’re using QuickBooks Desktop, click here for an article on enabling purchase orders. If your company is using QuickBooks Online, click here instead.
New to Purchase Orders?
A common question before enabling purchase orders is regarding the types of items that can be placed on purchase orders. The good news is, you do not need inventory items to use these purchase order features! Service and non-inventory items can be added to purchase orders and vendor bills too. Purchase orders will require vendors regardless of which version of QuickBooks you’re using, so make sure to create some before continuing.
The next step is to decide where the purchase order process begins for your business. Purchase Orders can start in the field with iFleet, or in the office with Smart Service. An important part of this process is to remember that iFleet nor Smart Service contact your vendors for you when making purchase orders; these features merely record transactions so you can manage what’s going on.
iFleet Purchase Orders
When discussing purchase orders in iFleet (which is definitely a recommendation) a few concerns arise from customers new to this process. First, it’s important to remember that the purchase order created by iFleet is only seen by your office staff, and will never be seen by the vendor or customer. Giving your technicians the ability to create purchase orders is giving them the ability to create a shopping list and pin that list to a job. Since your field user will likely be the first person to know parts are required, avoid the double entry by reviewing the purchase orders they create.
Another concern comes on the topic of item costs. If the iFleet purchase order feature is enabled (and your items have costs associated with them in QuickBooks) your technician will have access to that cost information. This is because necessary for the purchase orders to function properly and cannot be changed.
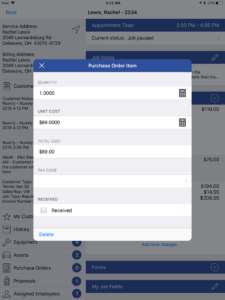
Lastly, if your field users are allowed to pick up parts from a vendor to finish a job, iFleet will allow them to record how much they paid for each item and mark the purchase order as received, thus creating an item receipt and vendor bill for you in QuickBooks.
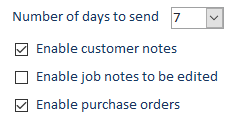
We recommend that any company purchasing materials from a vendor give purchase orders a try. You can enable iFleet’s purchase order functions for all devices by checking the “Enable Purchase Orders” option in the settings window. Visit our article on Smart Service Settings here for more information.
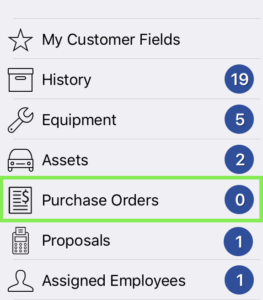
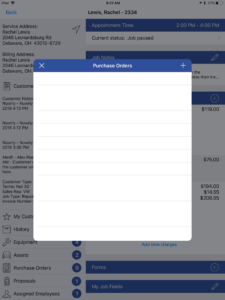
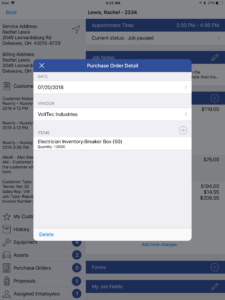
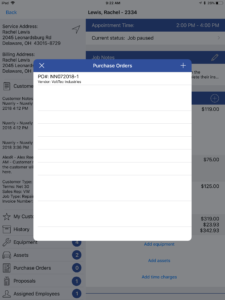
Once this function is enabled, all iFleet devices will start seeing the purchase order feature on the next job created for them. Tapping on this option will display the following windows allowing them to select a vendor and record necessary materials. This purchase order will be sent back to the office once the field user finalized the job in question.
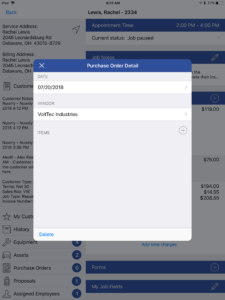
Once inside the purchase order window, tap the “+” symbol at the top right-hand corner. This begins a new purchase order where you must specify a vendor (where we’re getting parts from) and a date, which will be defaulted to the current date for you. An important note is that vendors cannot be added from the field, so make sure you have them in QuickBooks beforehand or that you have a fake vendor to choose, which can be corrected by the office later.
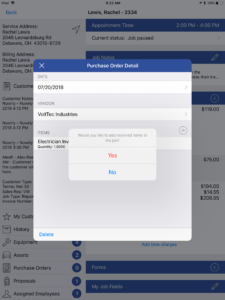
Items can also be marked as received via this purchase order feature, allowing field users to tell you when they’ve picked up parts for their customer. Once the purchase order has been saved, it will be given a PO name/number for easy tracking back in the office. This naming convention is the technician’s name, followed by the date, followed by the number of purchase orders they’ve created today. This name can be changed by the office, but its purpose is to conveniently explain who made the purchase order, when, and since it’s already attached to a vendor and a customer:job, you know where those parts are coming and going from.
Smart Service Purchase Orders
Smart Service users have more options when creating purchase orders as compared to the features available to iFleet users. Before getting started with purchase orders in the office, visit the “Settings” menu at the top of your screen to see the “Get PO’s and Bills” function. Since purchase orders are a QuickBooks function, you can import any purchase order (that was attached to an active job in QuickBooks) into your Smart Service database. Of course, you have the option of creating purchase orders directly within Smart Service as well.
To create a purchase order in Smart Service, open the job you wish to order a product for and head over to the job items tab. There’ you will see an option at the top of your screen that says “Purchase Orders & Billable Items”.
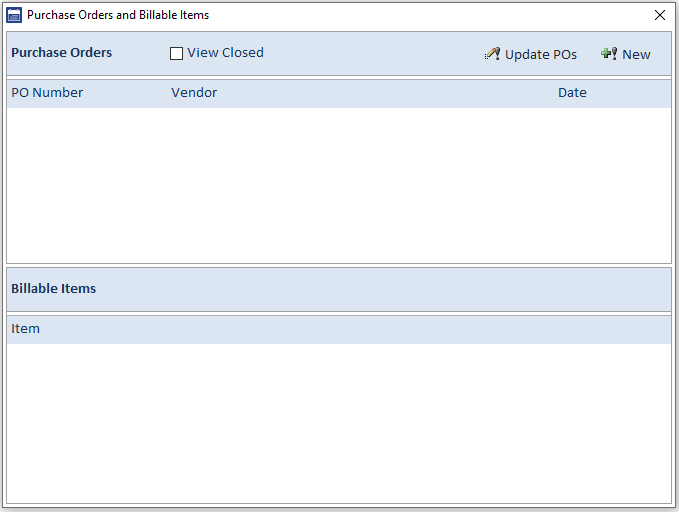
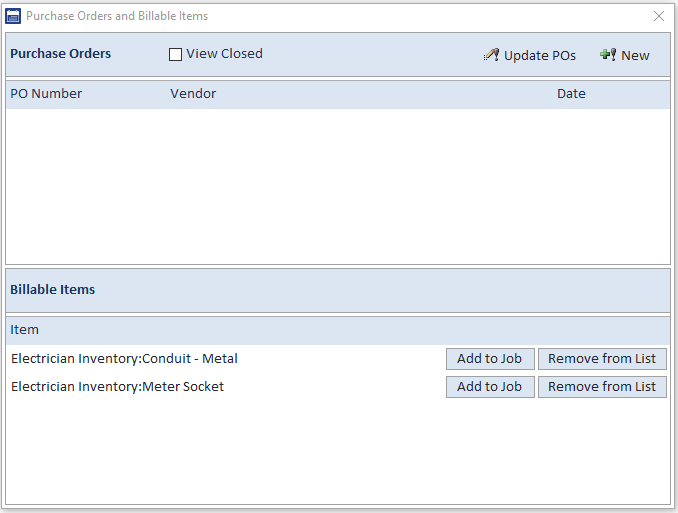
Clicking on this option will open the purchase orders window where you can create and manage your purchase orders and billable items you’ve picked up for this job already.
Remember, if you have created a purchase order or vendor bill in QuickBooks already, you might want to run a “Get PO’s & Bills” to update Smart Service with the new information.
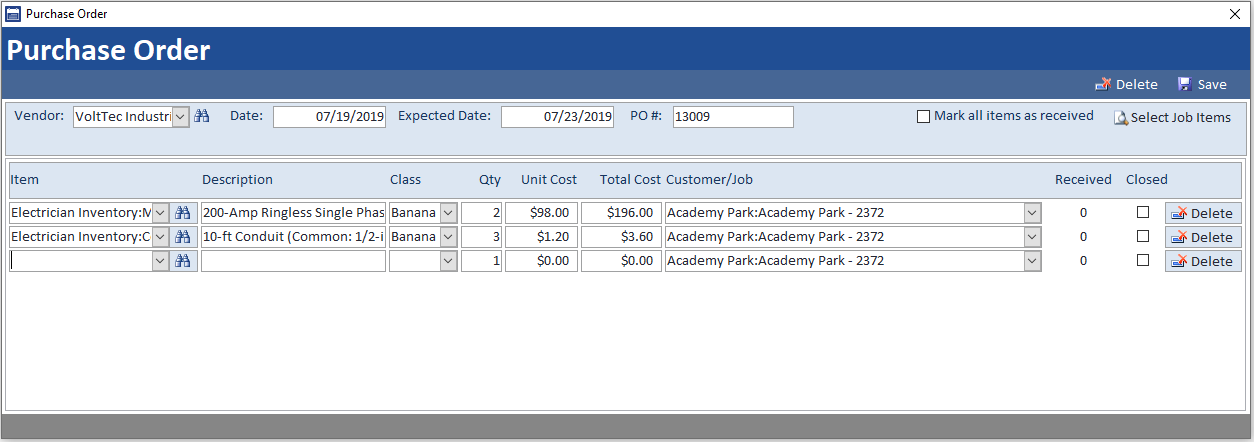
To create a new purchase order now, click the “+! New” button at the top right-hand corner of the purchase order window. Clicking these options will open another window where you can enter information about what exactly you need to order and from where it needs to be ordered. When you’ve finished your purchase order, save the record and we’ll create it in QuickBooks for you.
Use this selection to choose the vendor you’ll be requesting materials from. If you do not see the vendor you were thinking of, you must create that vendor in QuickBooks and run a “Get Lists” to import the new vendor profile into Smart Service.
This date field will add the current date, which is likely when you’re creating the purchased order. You can click into this box to edit the creation date of the purchase order if needed.
This field will help you track the estimated delivery time for the requested materials. This is a Smart Service only field and can only be seen from within our purchase order window.
Smart Service will assume you wish to use the next highest available purchase order number from QuickBooks. However, you may wish to change the purchase order number generated with this option.
If you’re retroactively entering this purchase order into the system, you can use the “mark all items as received” option to tell Smart Service to generate a closed purchase order instead of a request to order these parts.
This option is usually used when you convert an estimate to a job in Smart Service. By choosing this option instead of adding items below, you can select the job items already on the job and make a PO out of those.
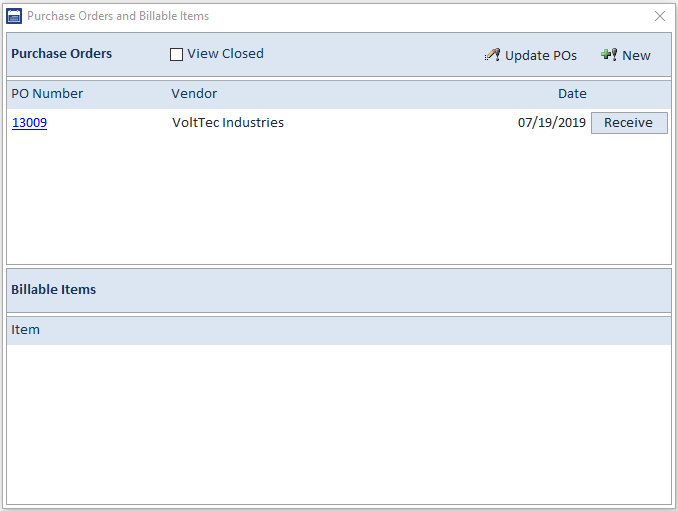
Once your purchase order has been saved, you will see it displayed by PO number in the purchase order window. You can click on the number to open the purchase order and make modifications or click the “Receive” button if the parts have come in.
If you have marked the purchase order as received in QuickBooks, hit the “Update PO’s” at the top of the window.
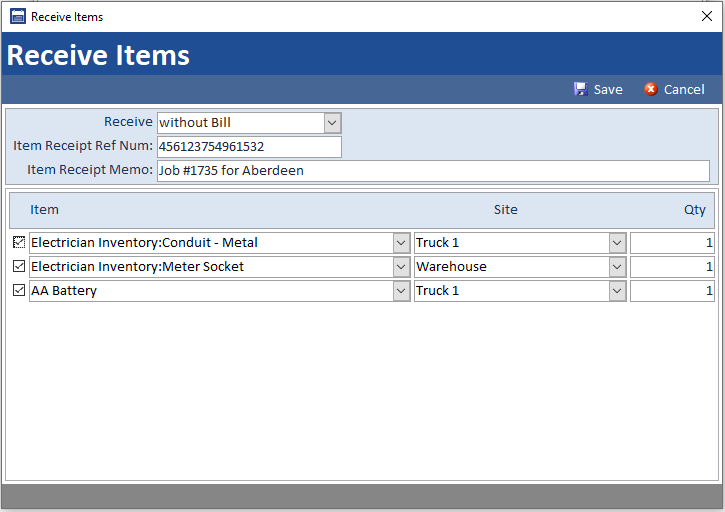
When you click the “Receive” button, Smart Service will create an “Item Receipt” in QuickBooks and provide the option to create a “Vendor Bill” in QuickBooks for you. We will also display a prompt asking if you would like to add the received items as line items to the job. If you say yes, the selected items will be added as line items. If you say no, they will be listed in the “Billable Items” section of the purchase order window.
When receiving items, you have the option to partially receive your order. Unchecking the box to the left will leave the item on the open purchase order, whereas the number of items received so far can also be adjusted. If you have QuickBooks inventory as I do, you will be prompted for an inventory site as a required field.
If you chose not to add the received items to the job, they will be displayed in the “Billable Items” section until further notice. From here, you have the option to add the received items to the job or remove them from the billable items list.
Generally, if you have the items on the job already, you would choose the “Remove from List” option to clean up this window.
Users also have the option to view closed purchase orders in the main purchase order window. When iFleet creates a purchase order, we would expect them to draw your attention to the purchase order window with a job exception. IF they do not, when you post the job to QuickBooks, their purchase order will be added to QuickBooks. If you open the purchase order window in Smart Service beforehand, that will be when their purchased order makes its way to QuickBooks. Either method still leaves the purchase order ready for your approval and edits.

