What is Mobile Workforce?
Mobile Workforce is your fleet management screen for iFleet users. Here you can track the location of your iFleet users, set up new iFleet users, and much more. If you’re looking for more information on using iFleet, you can check out our video tutorial and guide here.
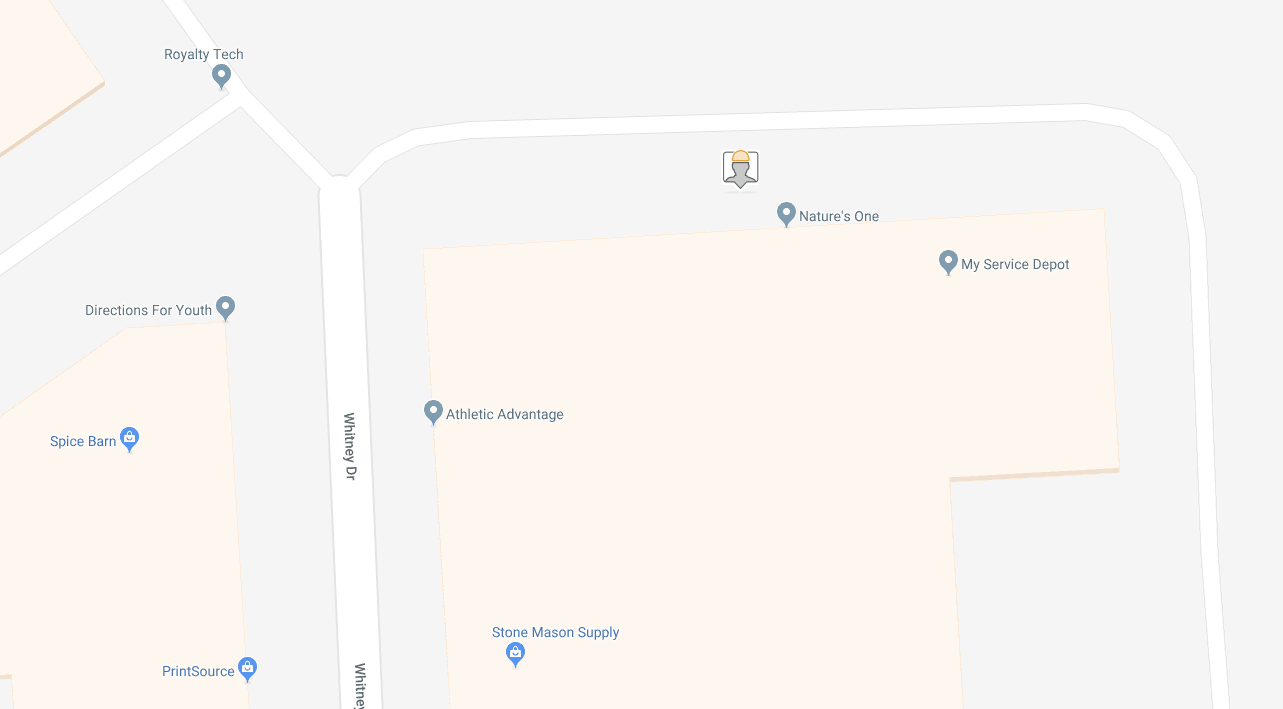
View the location of my Mobile Workforce
Clicking this option will display a map detailing the whereabouts of your iFleet user’s last known locations. If this option is unresponsive when clicked, or some of your users aren’t displayed, one or several of your iFleet devices have location sharing turned off. You can learn more about location sharing and iFleet settings using this link. Just click on your version of iFleet.
Workforce Summary
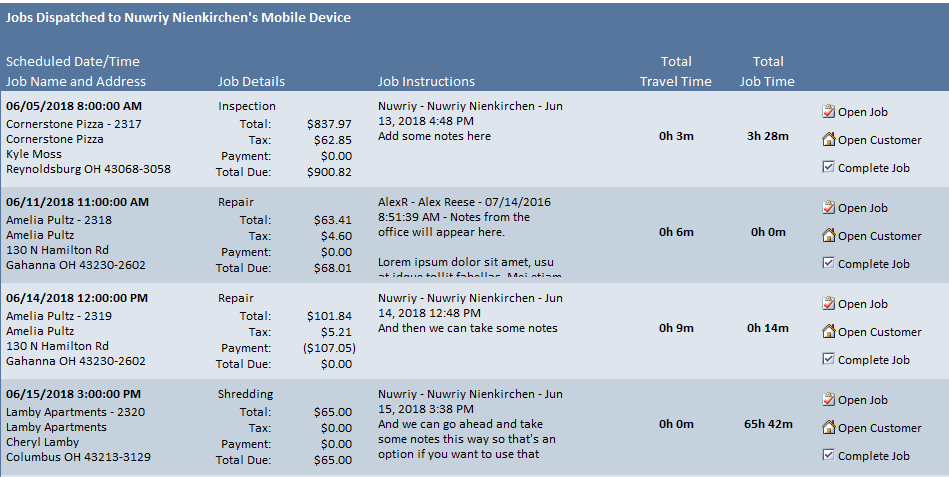
Click on the blue arrow next to the name of an iFleet user to see a summary of that user’s activities. This option will display which jobs are currently on the user’s device, detail on the totals, payments accepted, notes, and the user’s travel and production times. You can also use this section to access the job, customer, or post the job to QuickBooks. Before you make any changes to the job, be sure to review our article on resend triggers so you don’t accidentally wipe out information!
View Daily Summary
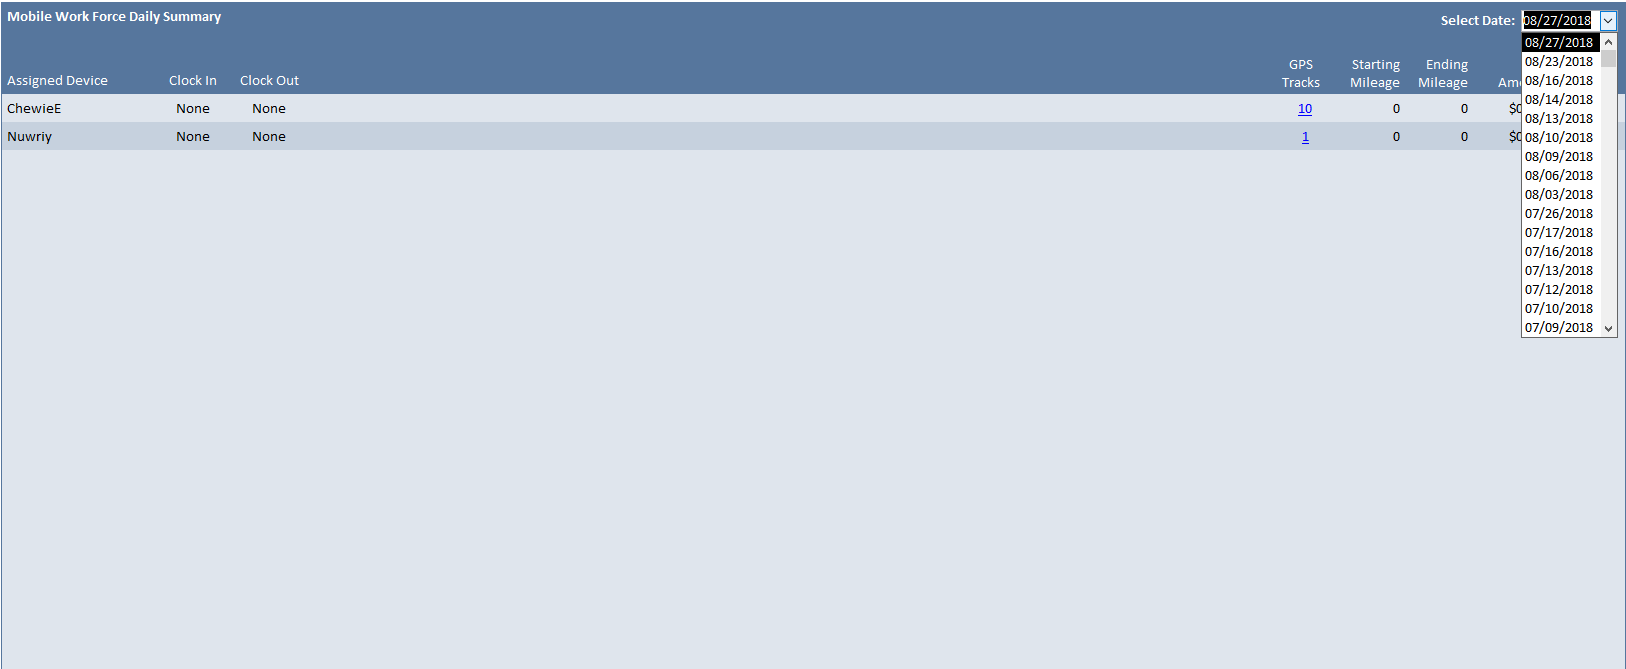
Click on this option to see clock in / out times, mileage entries, and all GPS tracks since your company started up with iFleet. If this window is blank, or some of your users aren’t displayed, one or several of your iFleet devices have location sharing turned off. You can learn more about location sharing and iFleet settings using this link. Just click on your version of iFleet.
There’s a “Select Date” dropdown at the top right-hand corner of your screen that will display information for the desired date. You can type a date into this dropdown, just be sure to do so using MM/DD/YYYY formatting.
Current Conditions
We’ve included links to Weather.com and a helpful traffic map to keep you updated on the conditions of your area.
Setup Devices
You can choose what your iFleet users will see using the settings below. These settings are global, meaning they are uniform for all iFleet users. The options available here are also available in Smart Service Settings. This also means that those without access to Smart Service Settings will not be allowed access to this section of Mobile Workforce.
Smart Service will automatically send any new information from the office to iFleet on a set interval. For the best results, this interval should be set to 10 minutes.
This setting determines how many days in advance worth of jobs will be displayed to iFleet users. Choosing 1 will display jobs scheduled for today. Choosing 2 will allow users to see jobs scheduled for today and tomorrow, and so on.
Any jobs scheduled for previous dates will appear on the device for 60 days or until the office posts the job to QuickBooks.
You can control how many previous visits to a customer iFleet can see. You have the option of seeing 10, 20, or 30 previous visits with no limit on how long ago the visit occurred.
Only check this setting if you’ve already uploaded a custom PDF to each of your iFleet devices. If you’d like more information on custom work orders, visit the article here.
If this setting is checked, iFleet will only see one job at a time. Once that job is completed, the next scheduled service will be sent to them. As an additional note, this setting will also prevent iFleet users from seeing their last service. Generally this setting is paired with selecting 1 days’ worth of jobs sent to iFleet so the user doesn’t continue working on the next day’s schedule.
In iFleet, you have a billing and a service address. The service address is the job site, and where all navigational features take you. The billing address is the address the office sends the invoice to. If you are collecting payment in the field, you may wish to display the billing address to ensure you’re collecting from the right person.
Customer notes are private notes notes that can be displayed to iFleet users but never the customer. These notes are often notes about billing or important information for the office. If you are looking for private notes specifically for iFleet users, they can be entered at the “job instructions and additional contacts” tab of the job. If you’d like to allow notes about a specific customer to be visible to your iFleet users discreetly, check this setting.
Most companies will choose to leave this setting unchecked. A common misconception is that this setting will allow technicians to make notes; your technicians can take notes regardless of this setting as its true purpose is to allow iFleet to edit notes written by the office. If you want your technicians to make notes, but not erase the instructions you gave them, leave this option unchecked.
If your company orders products from vendors to complete services, you should enable this option. This allows iFleet to create a purchase order that will be synced back to Smart Service and QuickBooks. Think of this as the ability to create a shopping list from iFleet. Your office can review these orders and place the actual request from the vendor.
Equipment is defined as anything your customer owns that your company services. Model number is always an optional field in iFleet, but checking this setting will make an entry required when entering equipment. If the equipment in question already has a model number, of iFleet is not working on that equipment this visit, iFleet won’t force you to gather the information.
If the equipment in question does not have a model number, or your iFleet user cannot find the model number, you have the option of adding “N/A” to bypass the requirement.
Equipment is defined as anything your customer owns that your company services. Serial number is always an optional field in iFleet, but checking this setting will make an entry required when entering equipment. If the equipment in question already has a model number, of iFleet is not working on that equipment this visit, iFleet won’t force you to gather the information.
If the equipment in question does not have a model number, or your iFleet user cannot find the serial number, you have the option of adding “N/A” to bypass the requirement.
This setting is only applicable if you have inventory items in QuickBooks. Your cost (what you pay to buy the item) can be hidden from iFleet users with this setting. If you enable this and the purchase order setting, cost will remain visible on purchase orders only.
Enabling this option will prevent job scheduling or service address changes from resending jobs to devices once timestamps have been received indicating that the jobs have been started or completed. Use this setting to avoid accidentally confusing iFleet users with jobs that they have already completed. This does not stop additional scheduled dates from being sent to iFleet.
This option is used in conjunction with the Text Messaging functionality available with Smart Service and iFleet. Turning the setting on will enable the texting functionality when the iFleet user uses their “Travel Start” time stamp.
Using this button opens a dialogue window for the Smart Service user to enter the message that should be sent when an iFleet user starts traveling to a job.
This option has right-click functionality, allowing the Smart Service user the ability to insert fields to personalize the text message for the recipient.
Work Order Complete Email Template allows the Smart Service to create a preset email message that is sent to the customer during the Finalization process in iFleet. Leaving this blank will result in a blank email subject and body in iFleet when emailing during finalization.
This option allows the user to right click in the subject and body fields to insert fields to personalize the message for the customer.
Estimate Complete Email Template allows the Smart Service to create a preset email message that is sent to the customer during the Finalization process in iFleet. Leaving this blank will result in a blank email subject and body in iFleet when emailing during finalization.
This option allows the user to right click in the subject and body fields to insert fields to personalize the message for the customer.
Managing Devices
If you need to add or remove an iFleet device from Smart Service, use this section. If you’re planning on adding a new device, make sure to obtain your device ID first, more on that here.
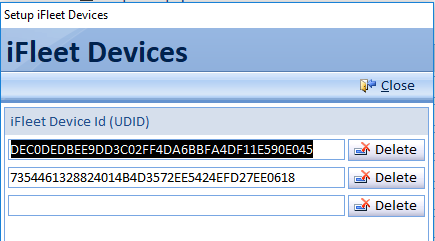
After you’ve obtained a new device ID, click the “Setup Devices” button on the right. Click in an available slot and use the keyboard shortcut “Ctrl+V” to paste the device ID. Click “Close” to return to the previous window.
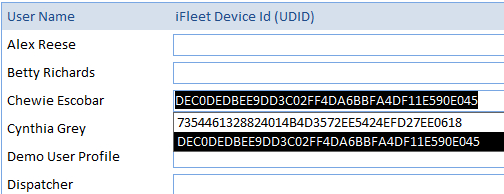
Once the device ID is registered with your database, click in the dropdown to the right of your new user and use the shortcut “Ctrl+V” again to assign the device. If you don’t see your new user, you can learn about managing your employees here.
With the ID assigned, your device should start working within 10 minutes, provided that you have at least one job or estimate scheduled for that user. If no services are scheduled for the user in question, the device will remain in demo mode. To check your device’s connection, tap the “Sync” button at the top of the app.
Removing Devices Properly
Replacing or removing an iFleet device? There are a couple steps to keep in mind before uninstalling the app or removing the device ID. If you still have access to the device, tap the “Sync” button at the top of the app and wait at least 10 minutes before proceeding to the next step. If you don’t, and information that hasn’t made it back to Smart Service yet will be lost.
Device Lost or Stolen?
If you've enabled location sharing for iFleet, it might be worth a try to check the "View location of my mobile workforce" or "View Daily Summary" options mentioned above. However, these options are only effective if the app is running in the background. We highly recommend adding a tracking app to your devices to make them easy to locate.
After 10 minutes it should be safe to uninstall the app from your old device. Next, remove the device ID from the employee’s name, then delete it from the “Setup Devices” window. If you plan on reinstalling iFleet on this device, you may receive a different device ID from the one you had.
iFleet Sync Status
You can check on your connection to your iFleet devices using this window. If you aren’t receiving new data from the field, it’s a good idea to take a look at the iFleet sync status to make sure it says “Primary Tests: Okay” as it does in the picture below. There are a few warnings you can receive in this section which we’ve detailed below.
If you’ve restarted the server recently, the iFleet service running there may not have started correctly. If you have permission to do so, head over to the server and search for “Services.msc”. You can use this WikiHow link for a good visual. Find “iFleet Service” in the list, right click and choose to start the service.
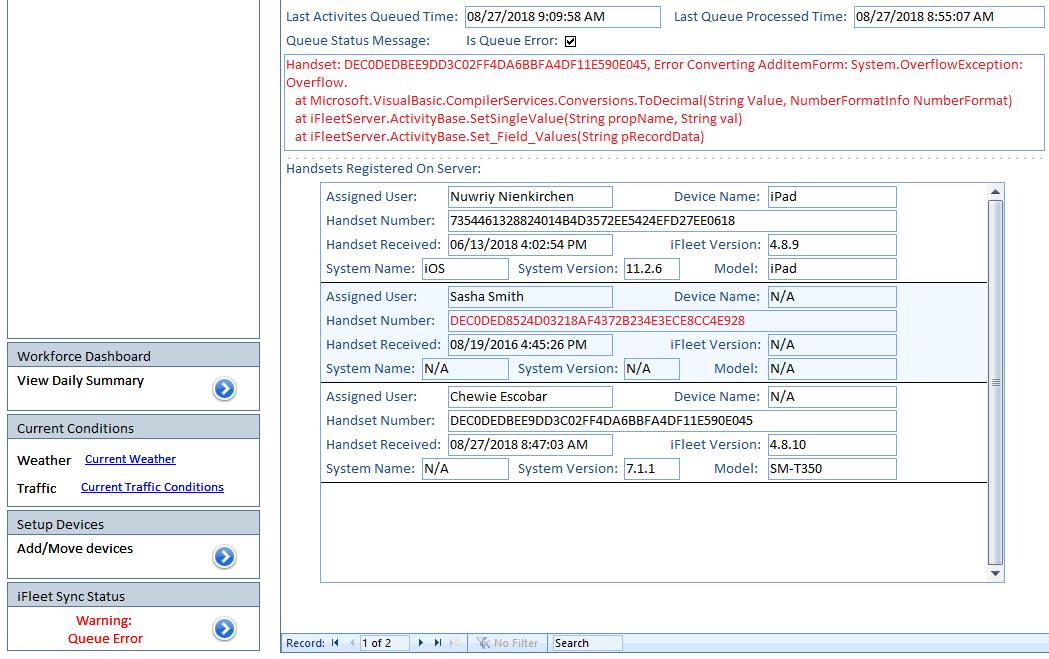
A queue error occurs when an iFleet user has entered data that iFleet doesn’t understand. This could be more text than a field was designed to take, incorrect timestamps, etc. If you receive this message, your iFleet service will pause until the issue is corrected. Be sure to give our support team a call if you receive this warning.
During the queue error, data from iFleet will be stored safely, but new information will not be sent out from the office. When you call the support team, be sure to ask us what caused the error so you can prevent this issue in the future.
If your company purchased iFleet outright, you can disregard this message. iFleet places your expiration date a year away and will automatically update within 2 weeks of the expiration date.
If your company purchased iFleet on a monthly subscription, this warning will inform you that you’re approaching your subscription renewal date. If you’ve already renewed, you can ignore this warning.

