Scheduler
The scheduler section determines what times are available on the calendar, the color coding used, and what information is displayed on scheduled services. To get started, you need to first set up scheduler and business times. Regardless of what you set these times to, you can still schedule jobs for all 24 hours of the day, these settings determine what times are displayed on the calendar. Here’s a breakdown of what each option does:
- Scheduler Start Time: The earliest you will schedule a service.
- Business Start Time: When you expect the first job of the day to begin.
- Business End Time: When you expect the first job of the day to end.
- Scheduler End Time: The latest you would schedule a service.
Show History on Scheduler
Check this option if you’d like the history left behind after posting to QuickBooks to remain on the calendar. This allows you to look back and see what services were completed on a given day in the past.Regardless of your preference, the customer’s history will always be saved within the customer.
Show Job Total on Scheduler Summary
Checking this option allows Smart Service to display a total dollar amount for a given employee’s schedule. Using this option does slow down scheduler responsiveness slightly.
Scheduler Fields
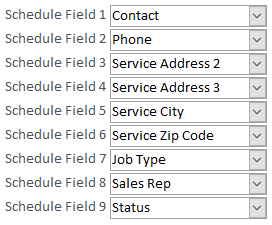
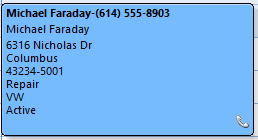
The Schedule Fields allow you to determine the customer and job information that you want displayed within a job box on the Schedule. There are a total of 9 fields from which to choose. Fields 1 and 2 are displayed on the first line in bold within the job box, so the most important customer and job information should always be set in these two fields.
Scheduler Color Settings
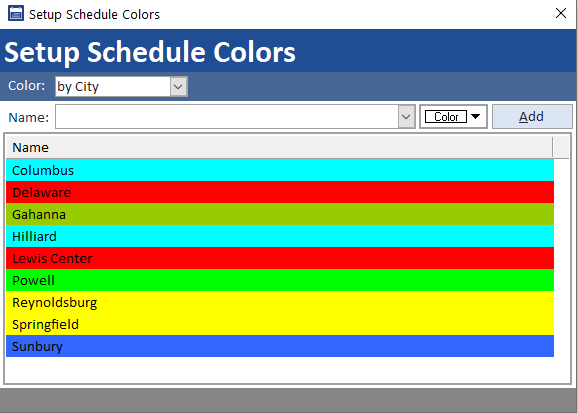
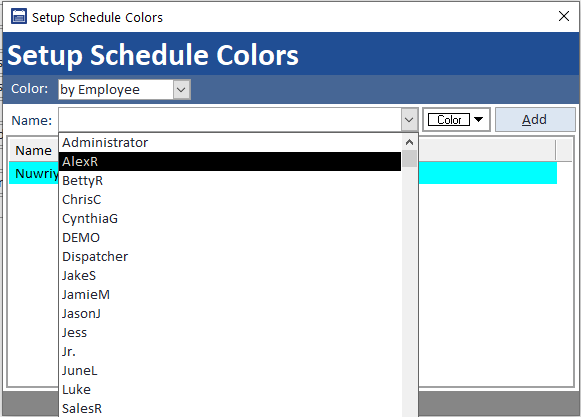
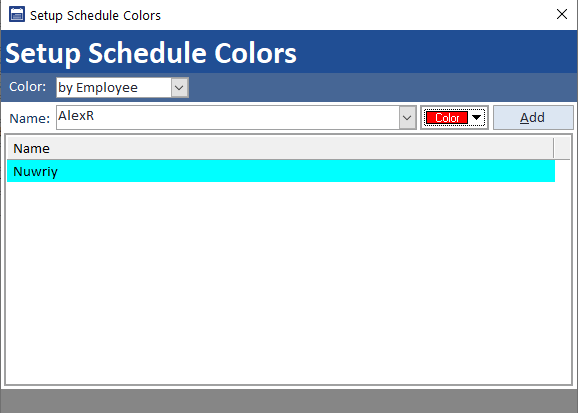
By default, each color coding option on the scheduling board comes with a default color. Some users may wish to create your own set of color codes for cities, timestamps, etc. but remember, color coding option set here will reflect on all users’ scheduling boards. Clicking this button will open the ‘Setup Schedule Color’ window from which you may create you own custom color schemes

